This tutorial guides you through creating a Client ID and Client Secret in Kintone.
Go to keragon.kintone.com
1. Introduction
Login to your kintone accou
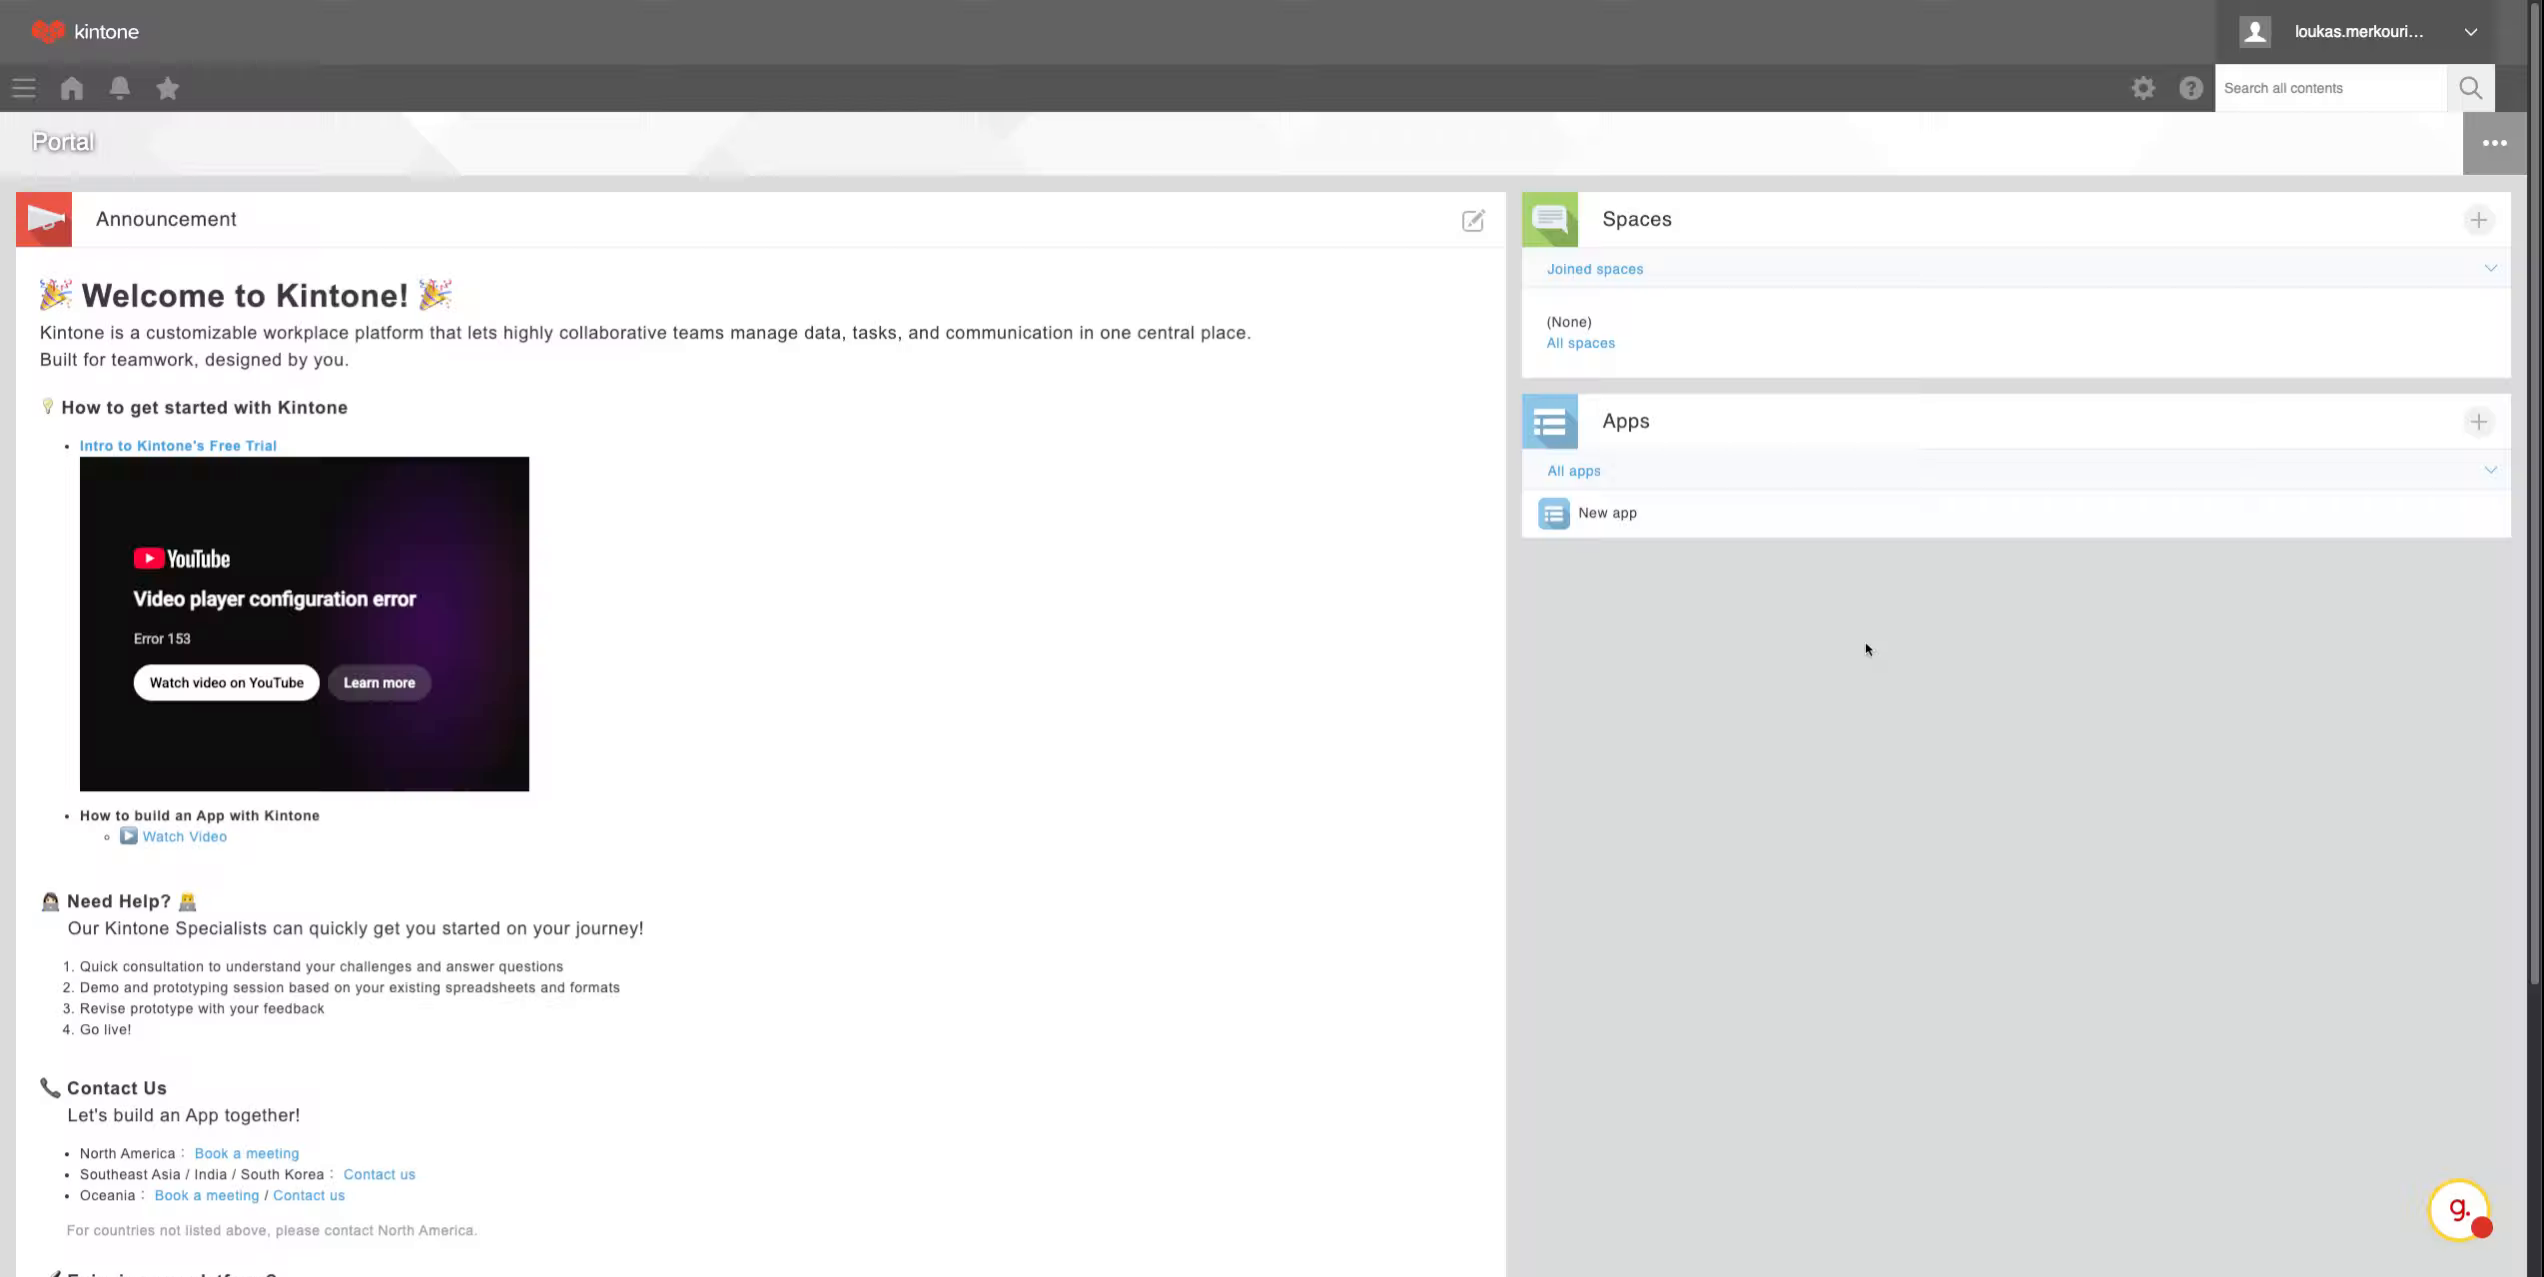
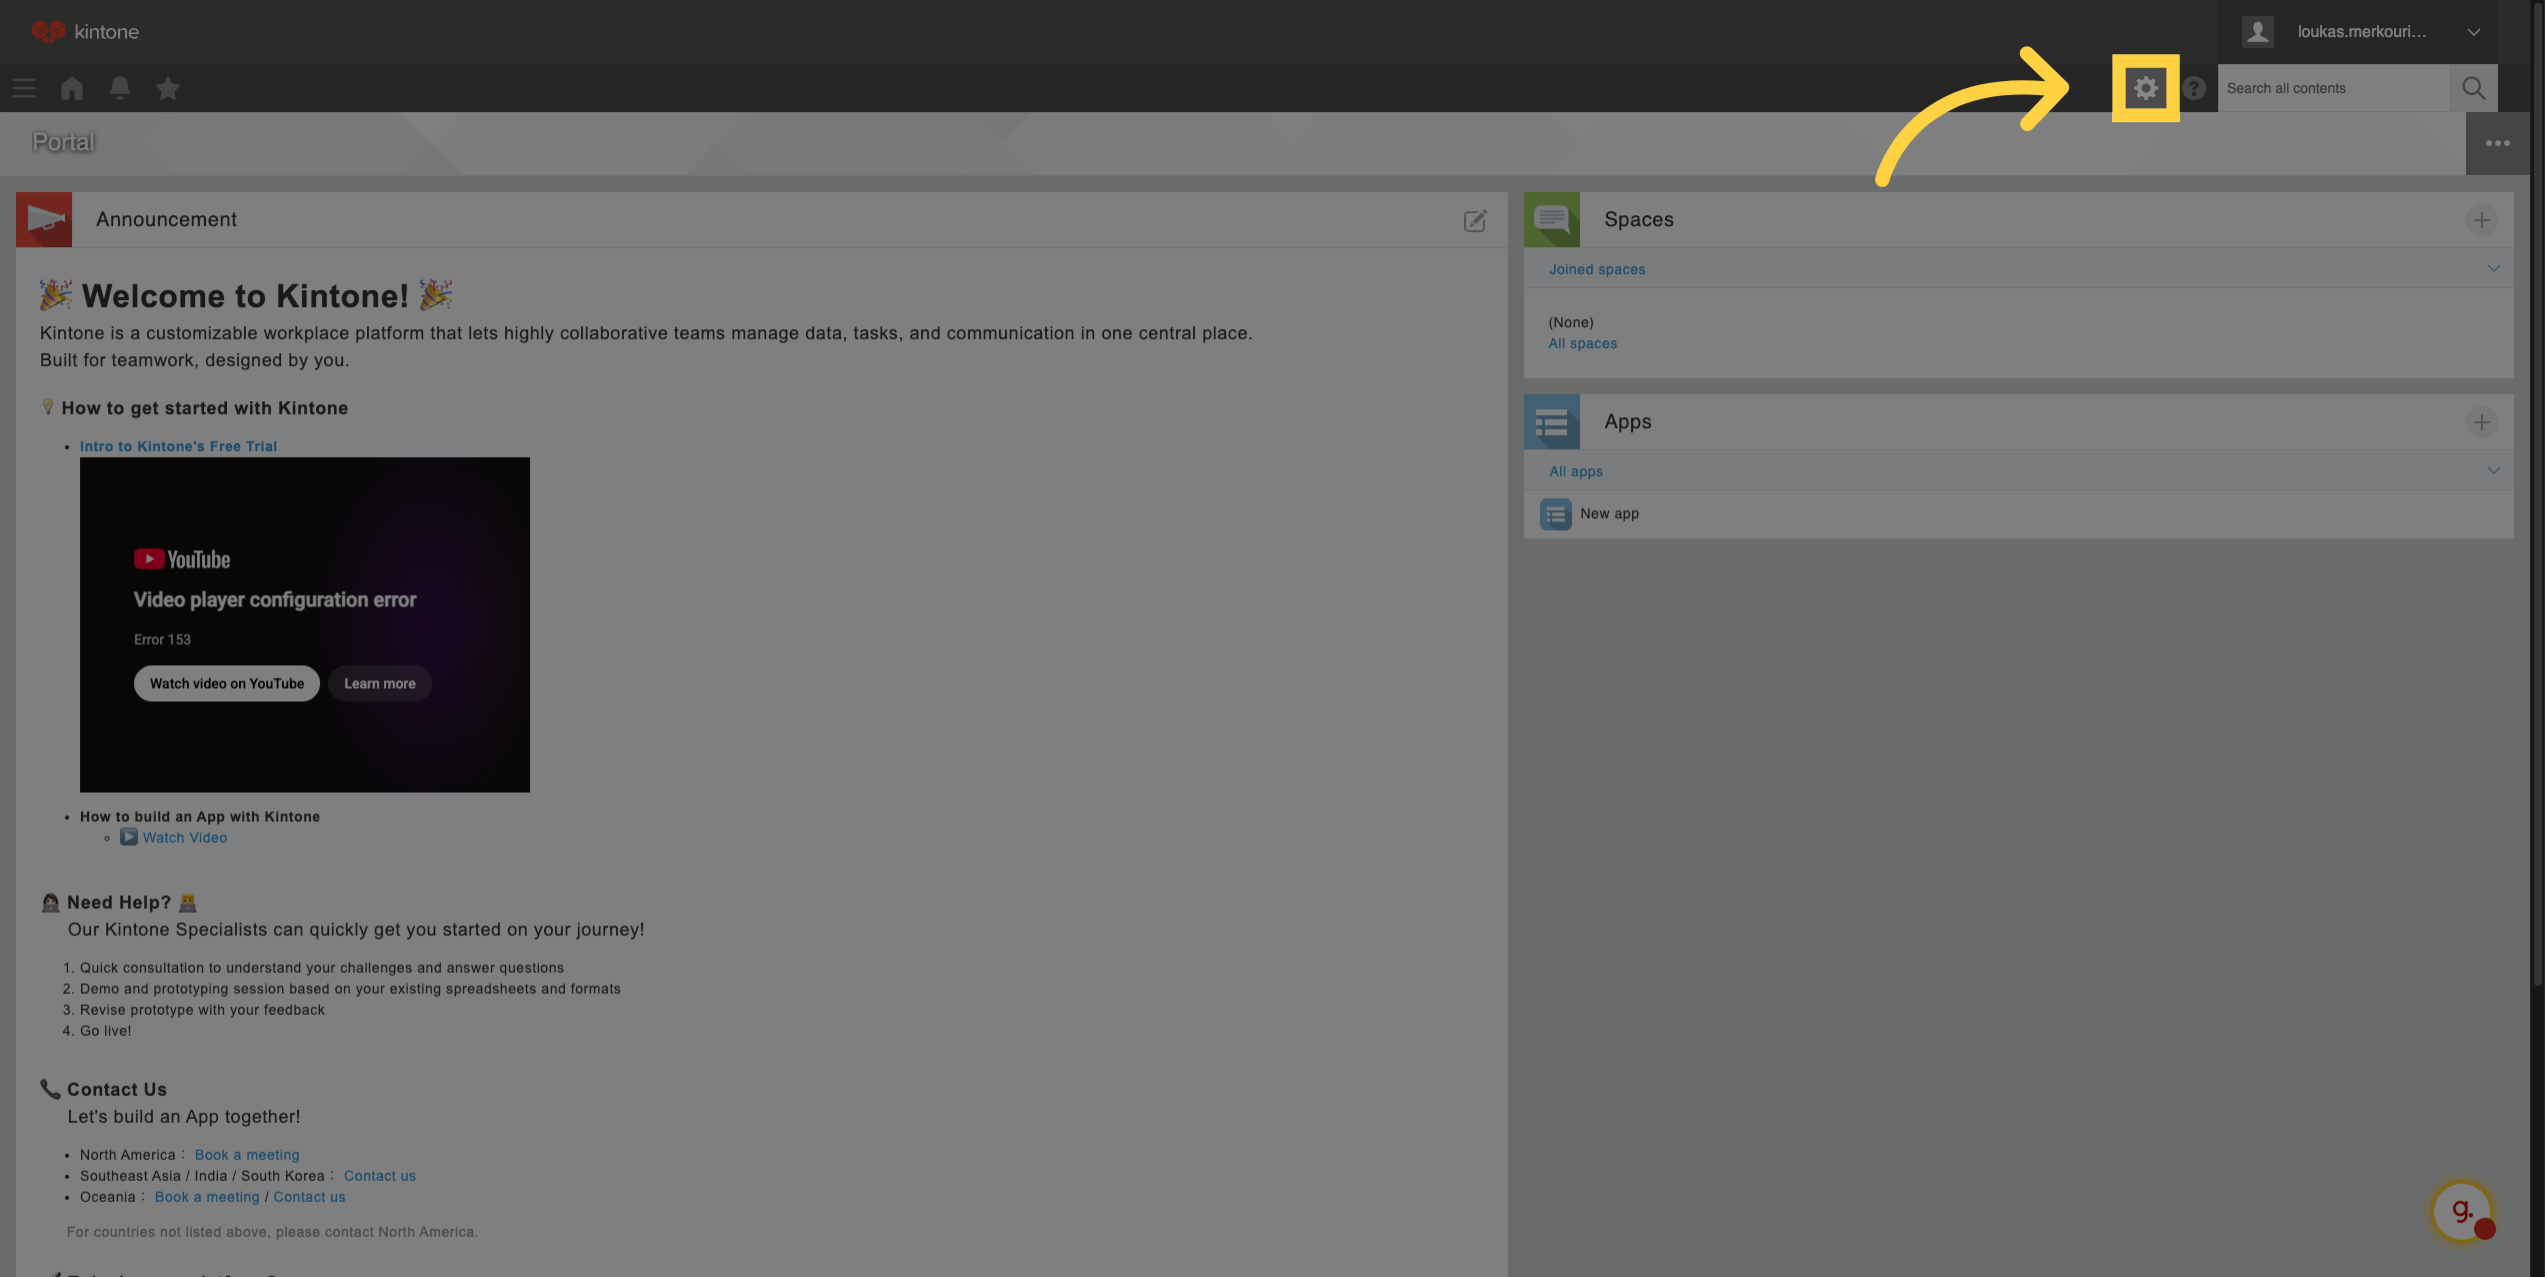
2. Open User Administration
Open the user and system administration section to manage your Kintone settings and permissions.
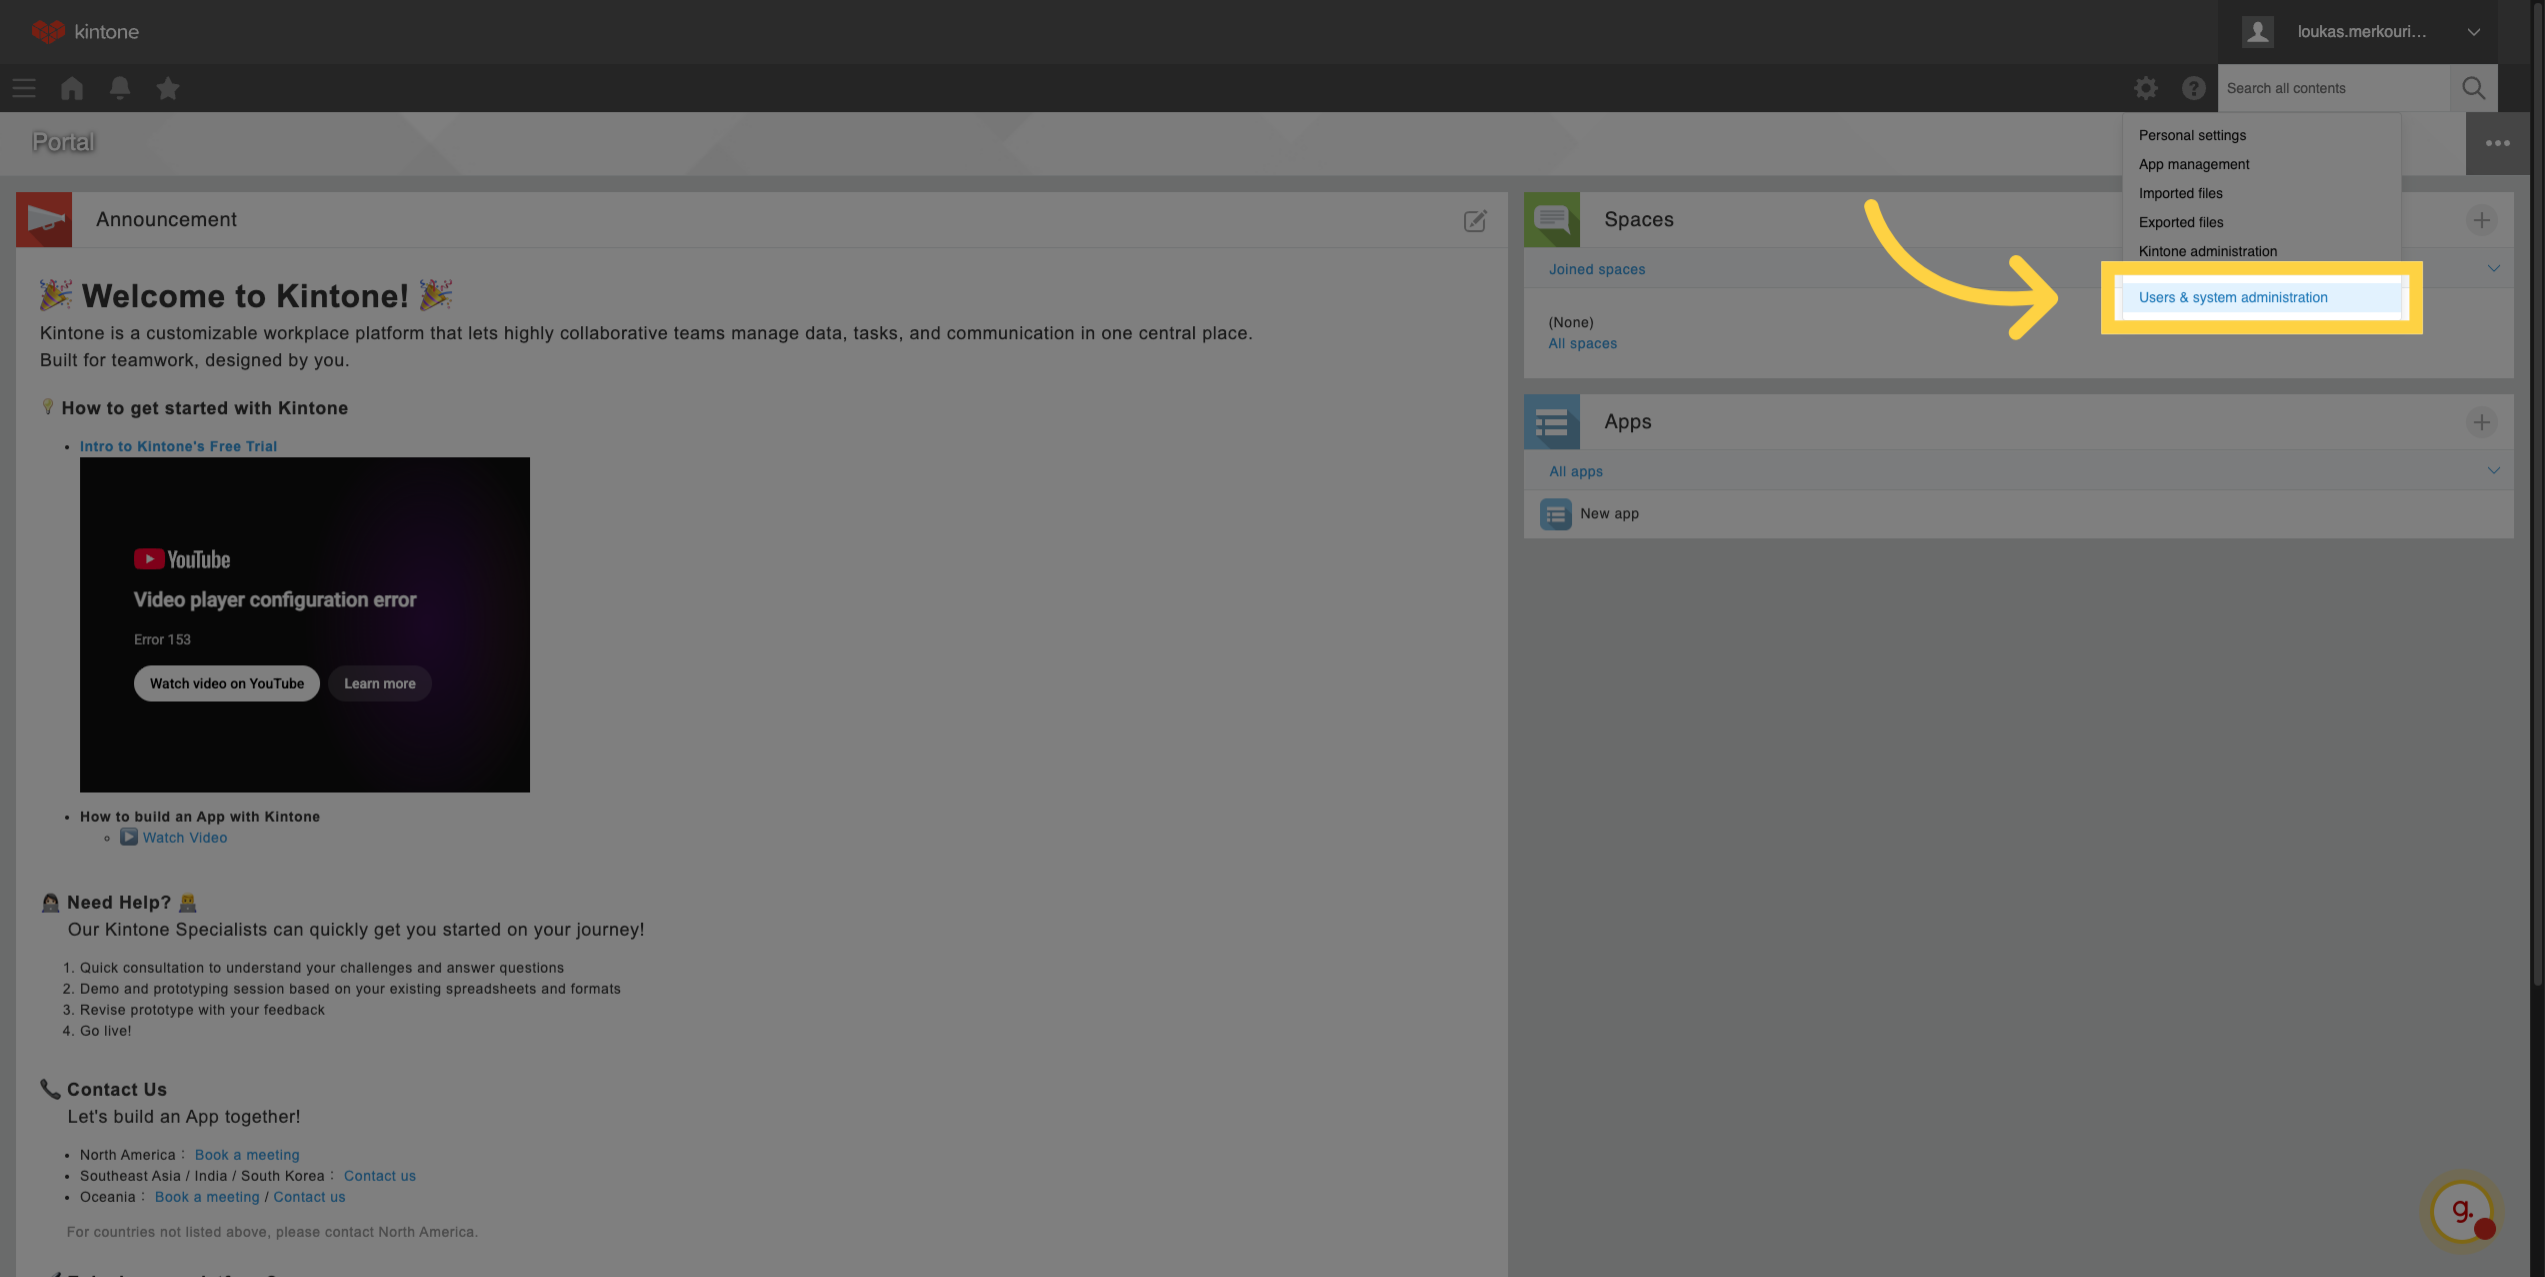
3. Access Users & System Administration
Navigate to the Users & System Administration area to configure user-related settings within Kintone.
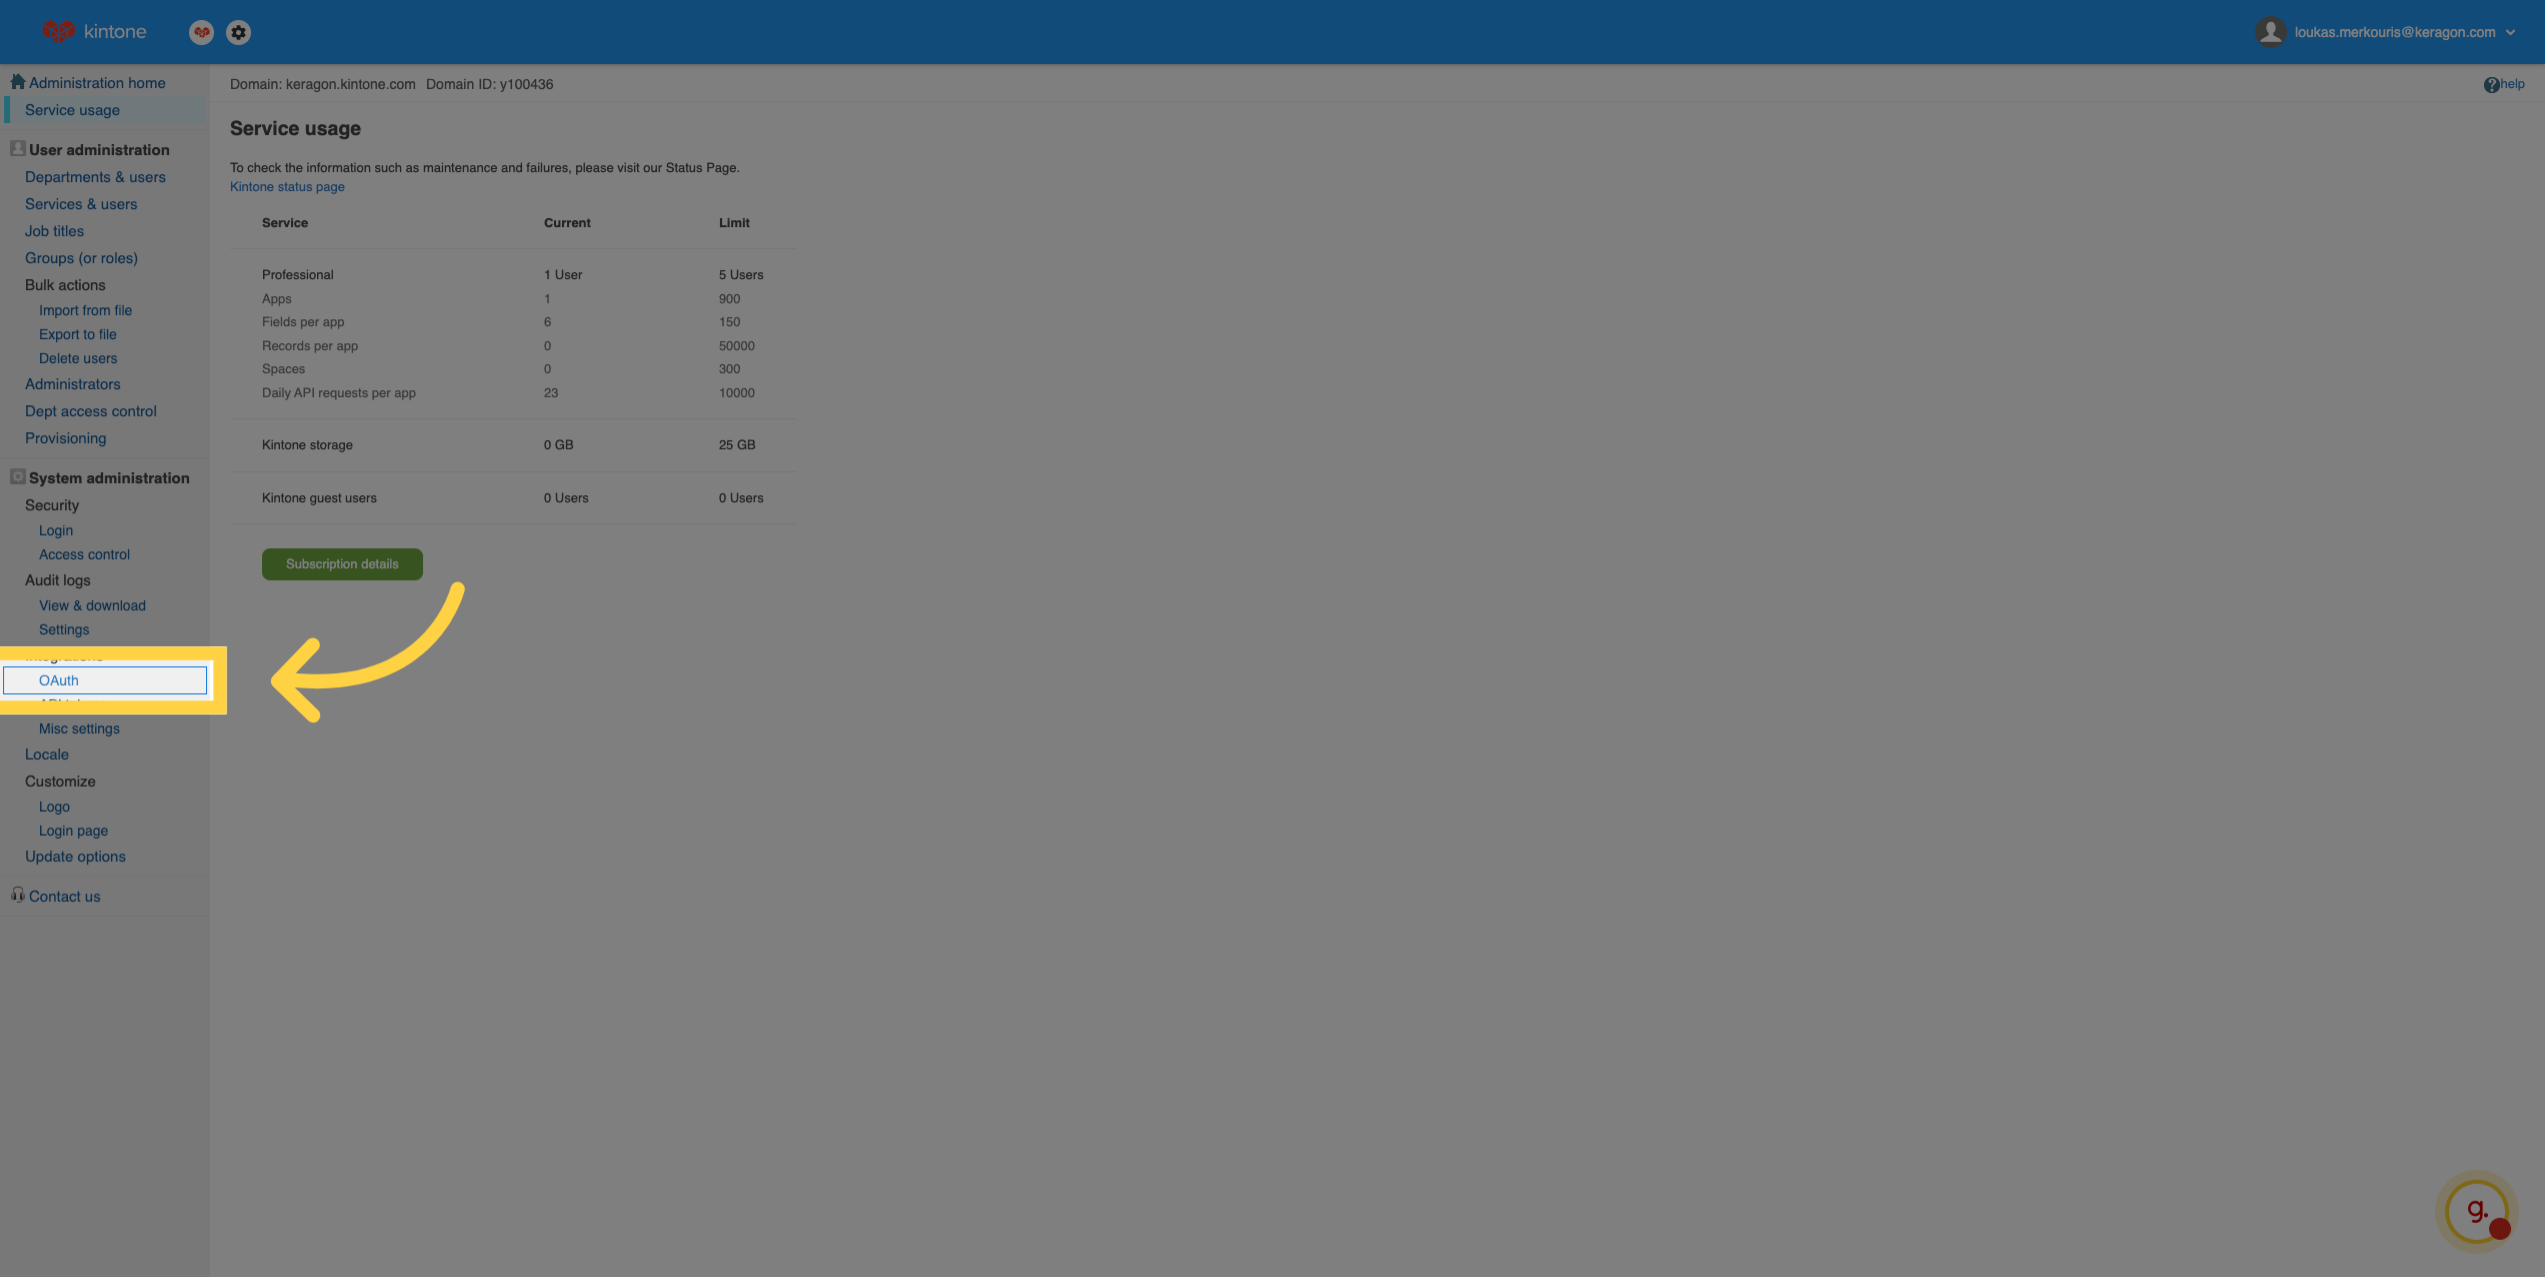
4. Open OAuth Settings
Access the OAuth settings to manage your applications.
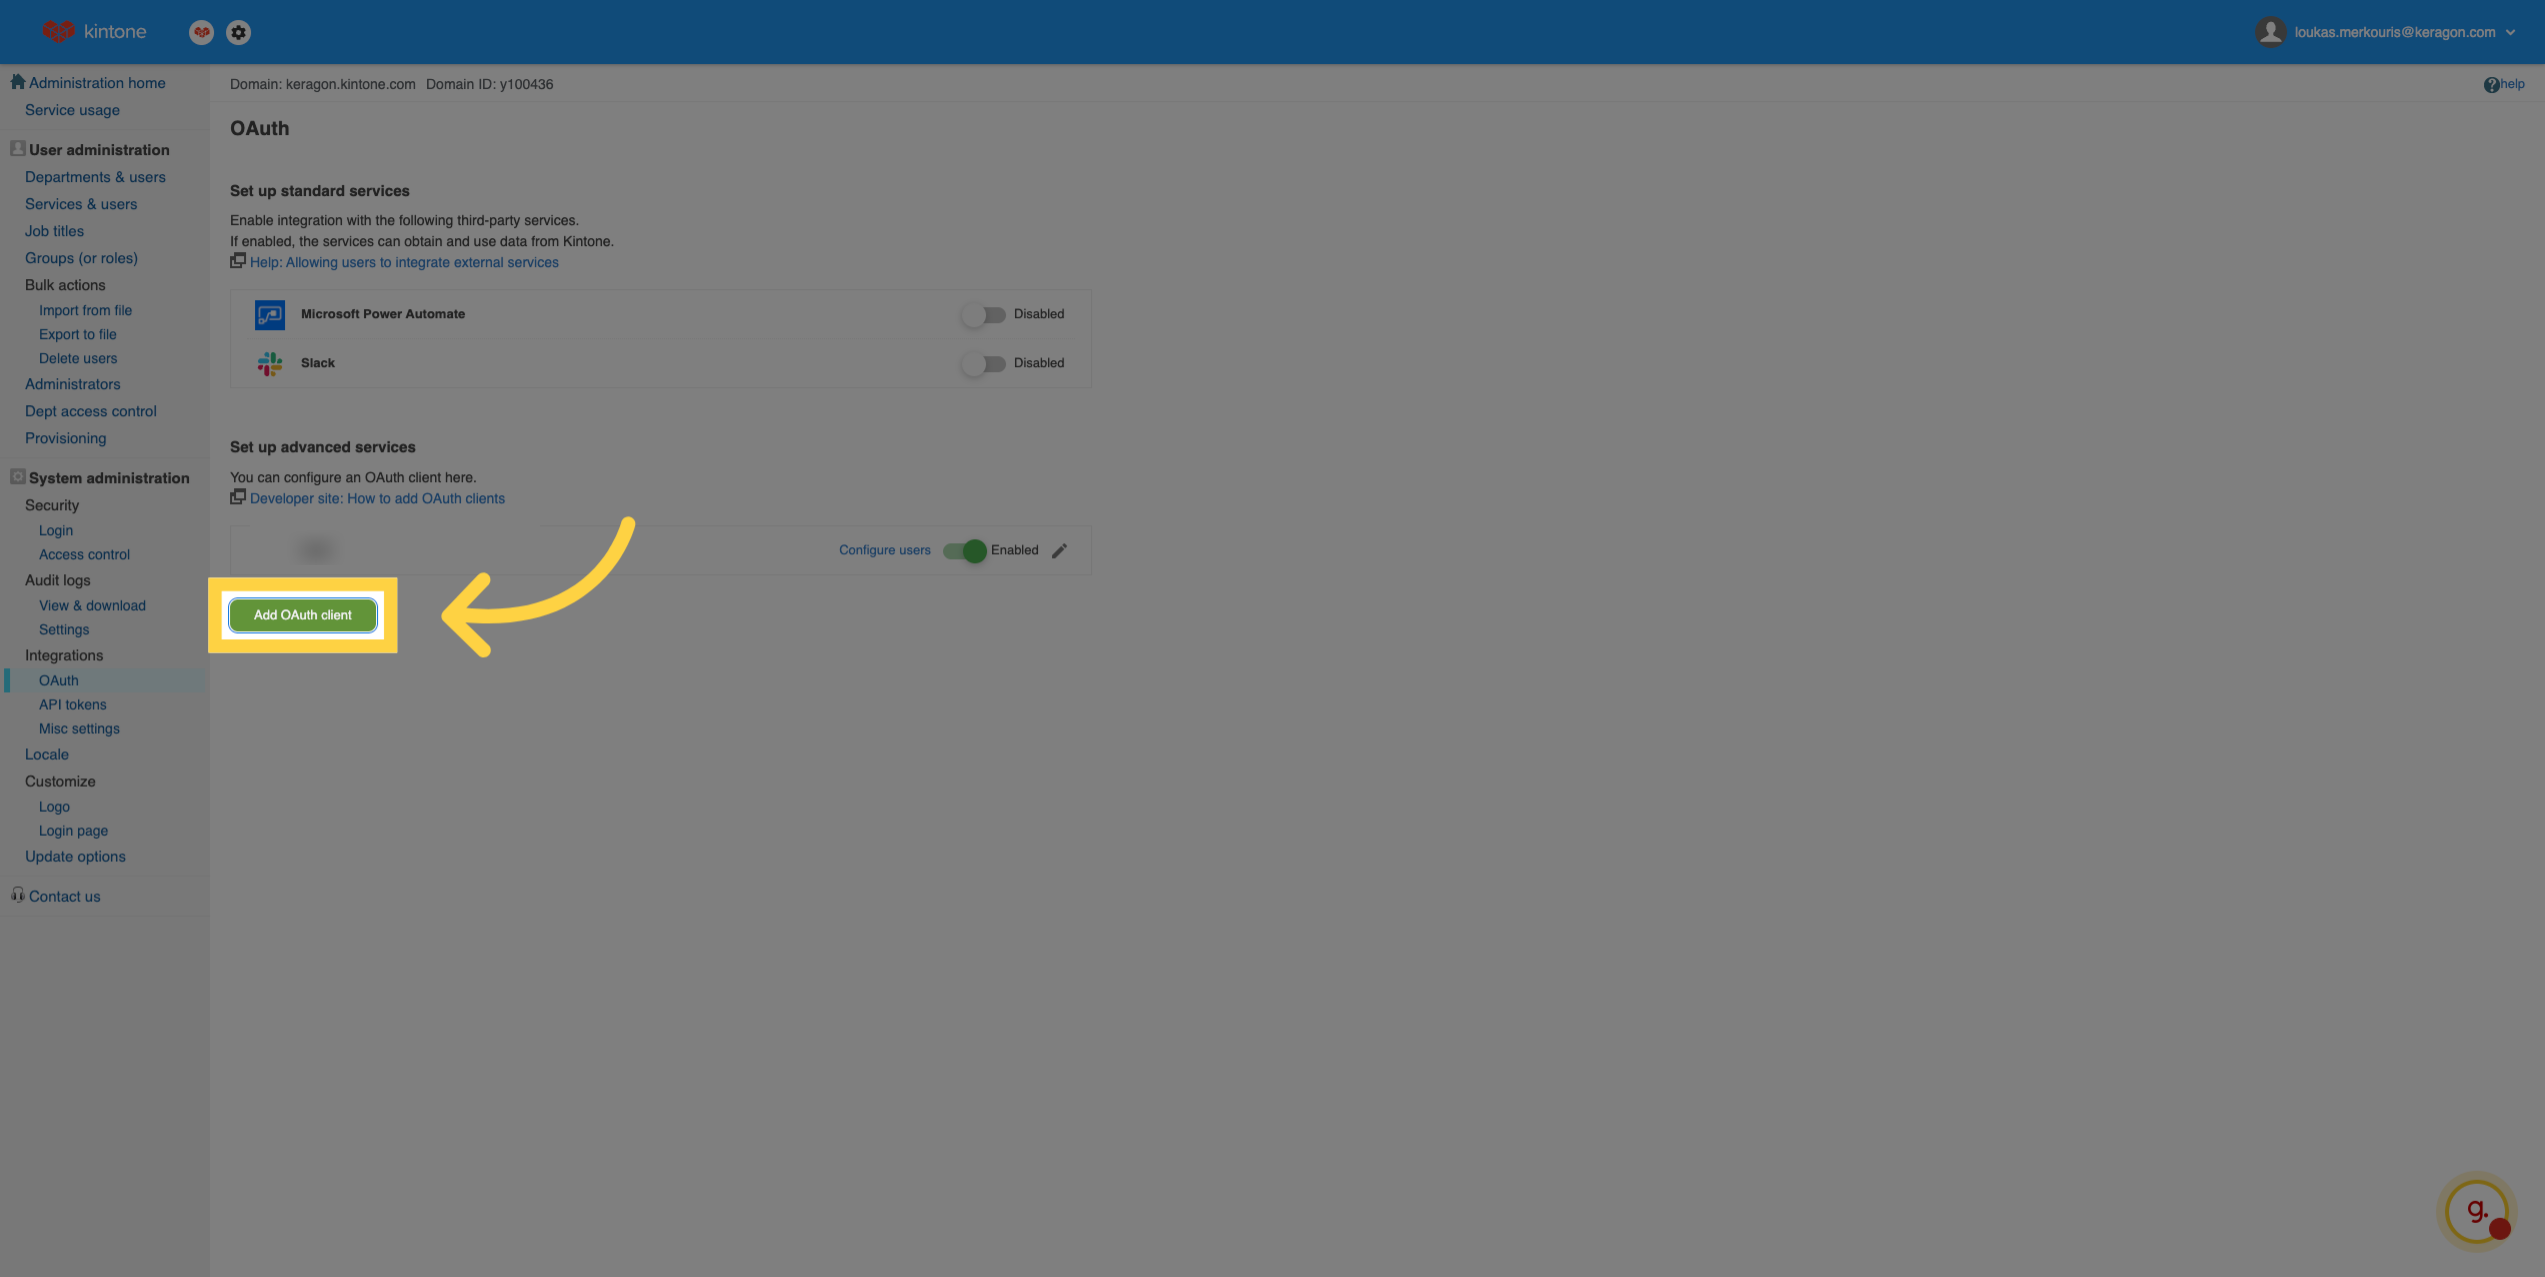
5. Add New OAuth Client
Start adding a new OAuth client to enable external authentication for your Kintone applications.
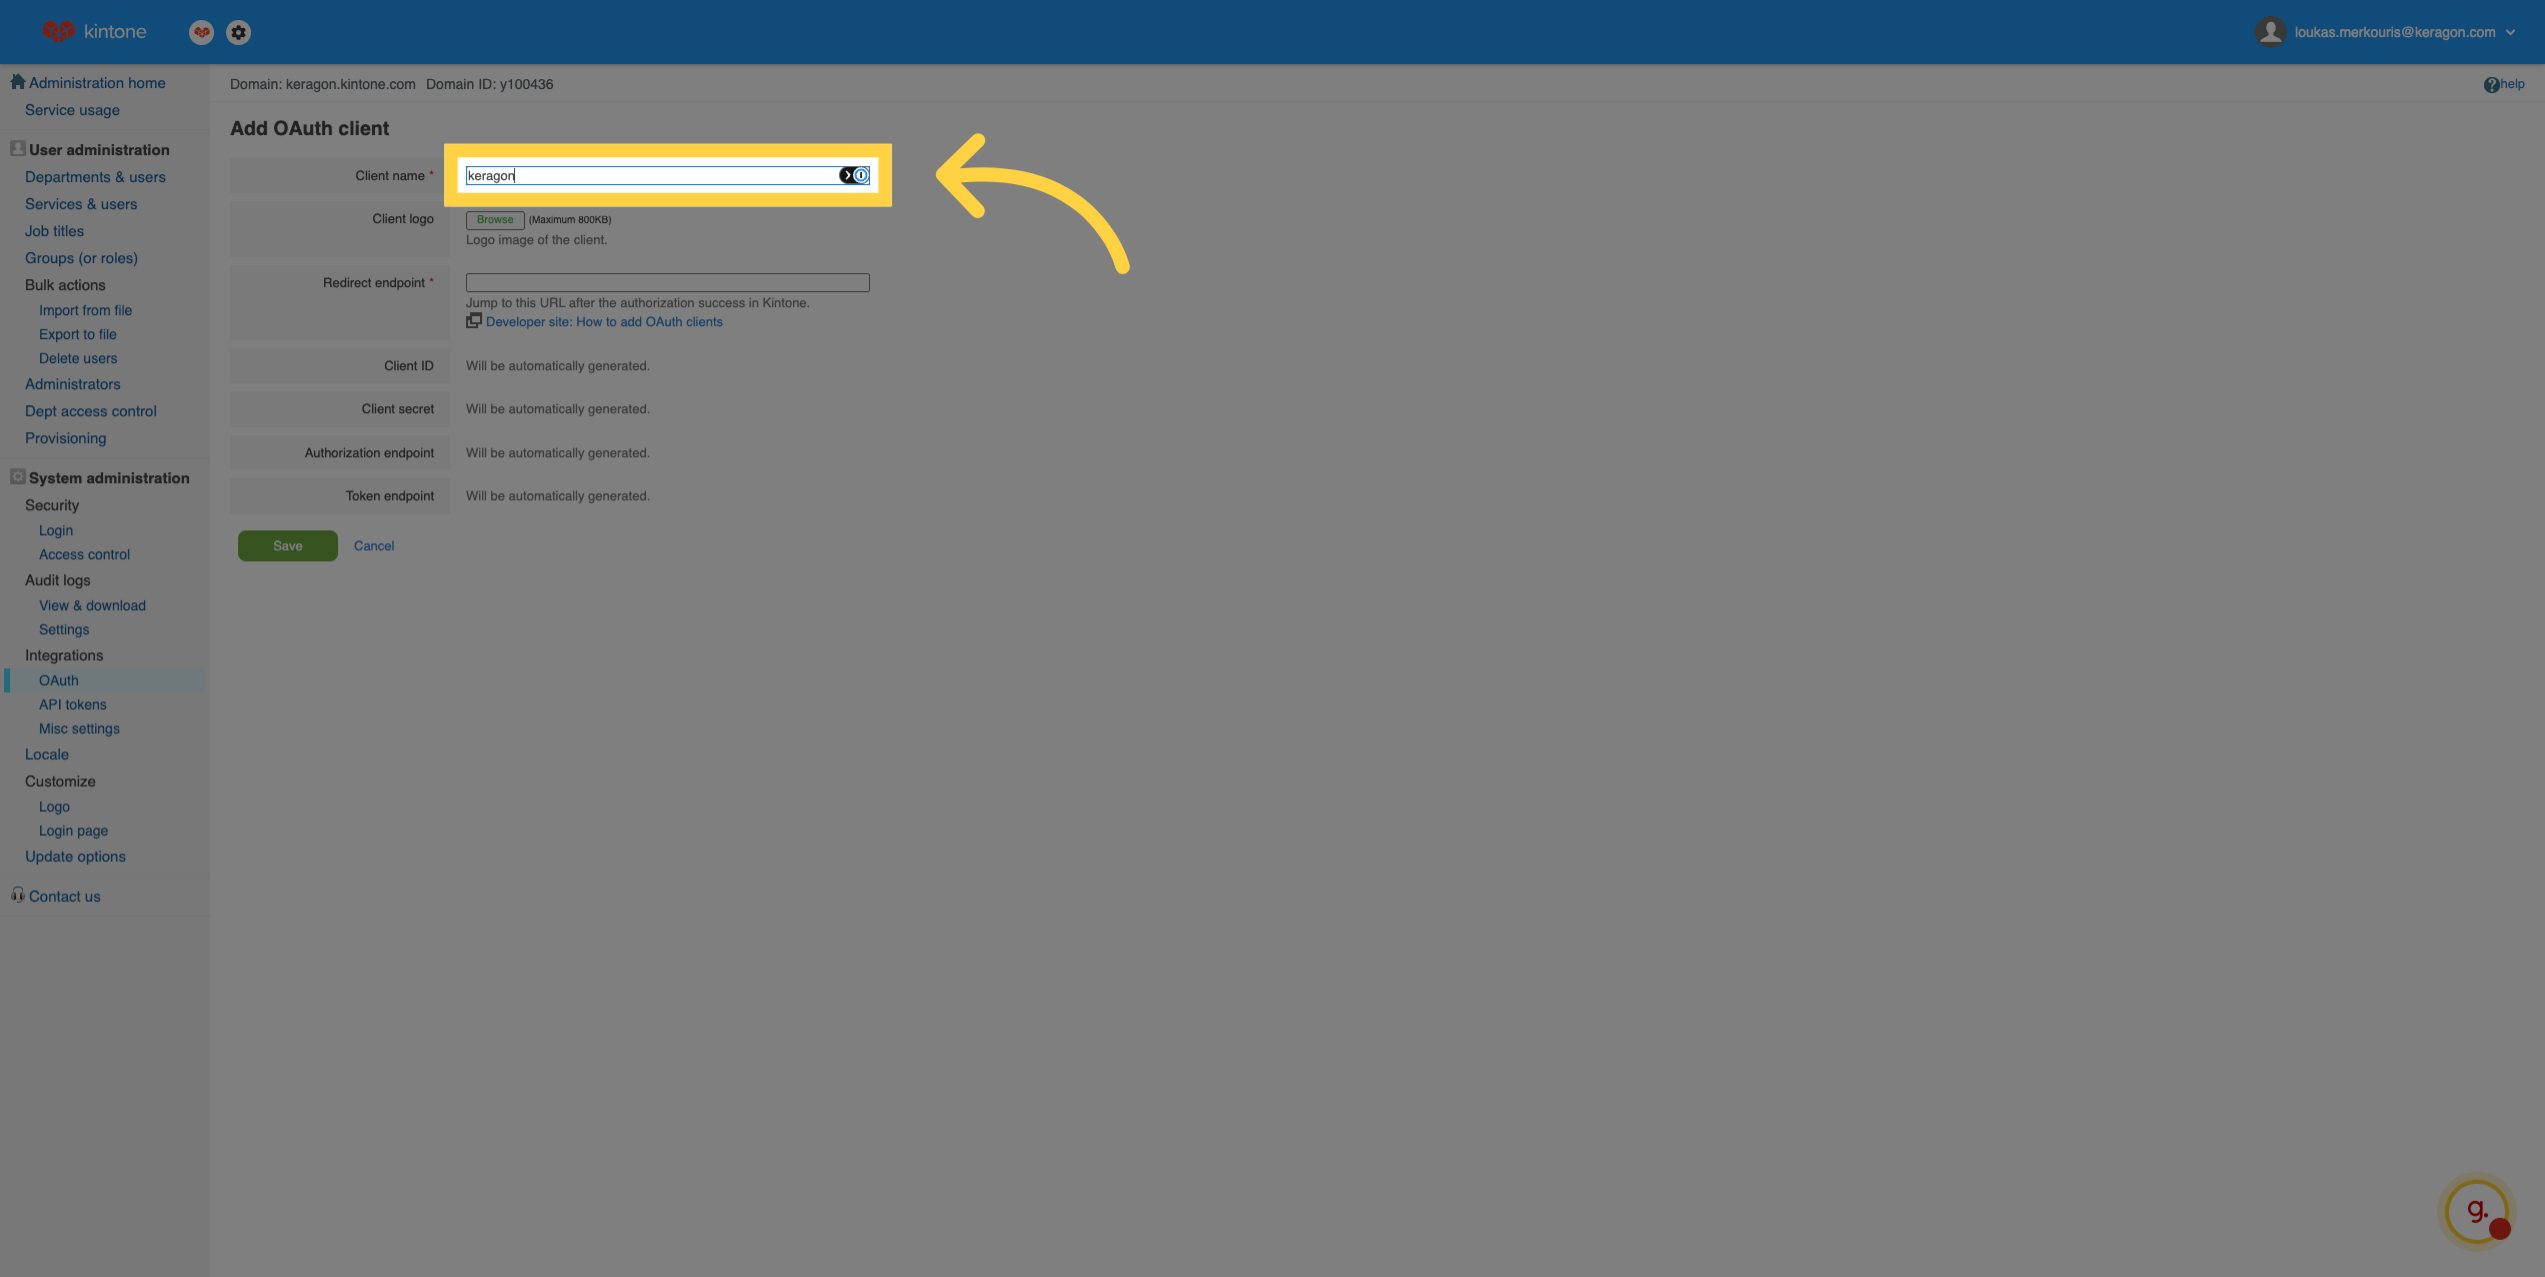
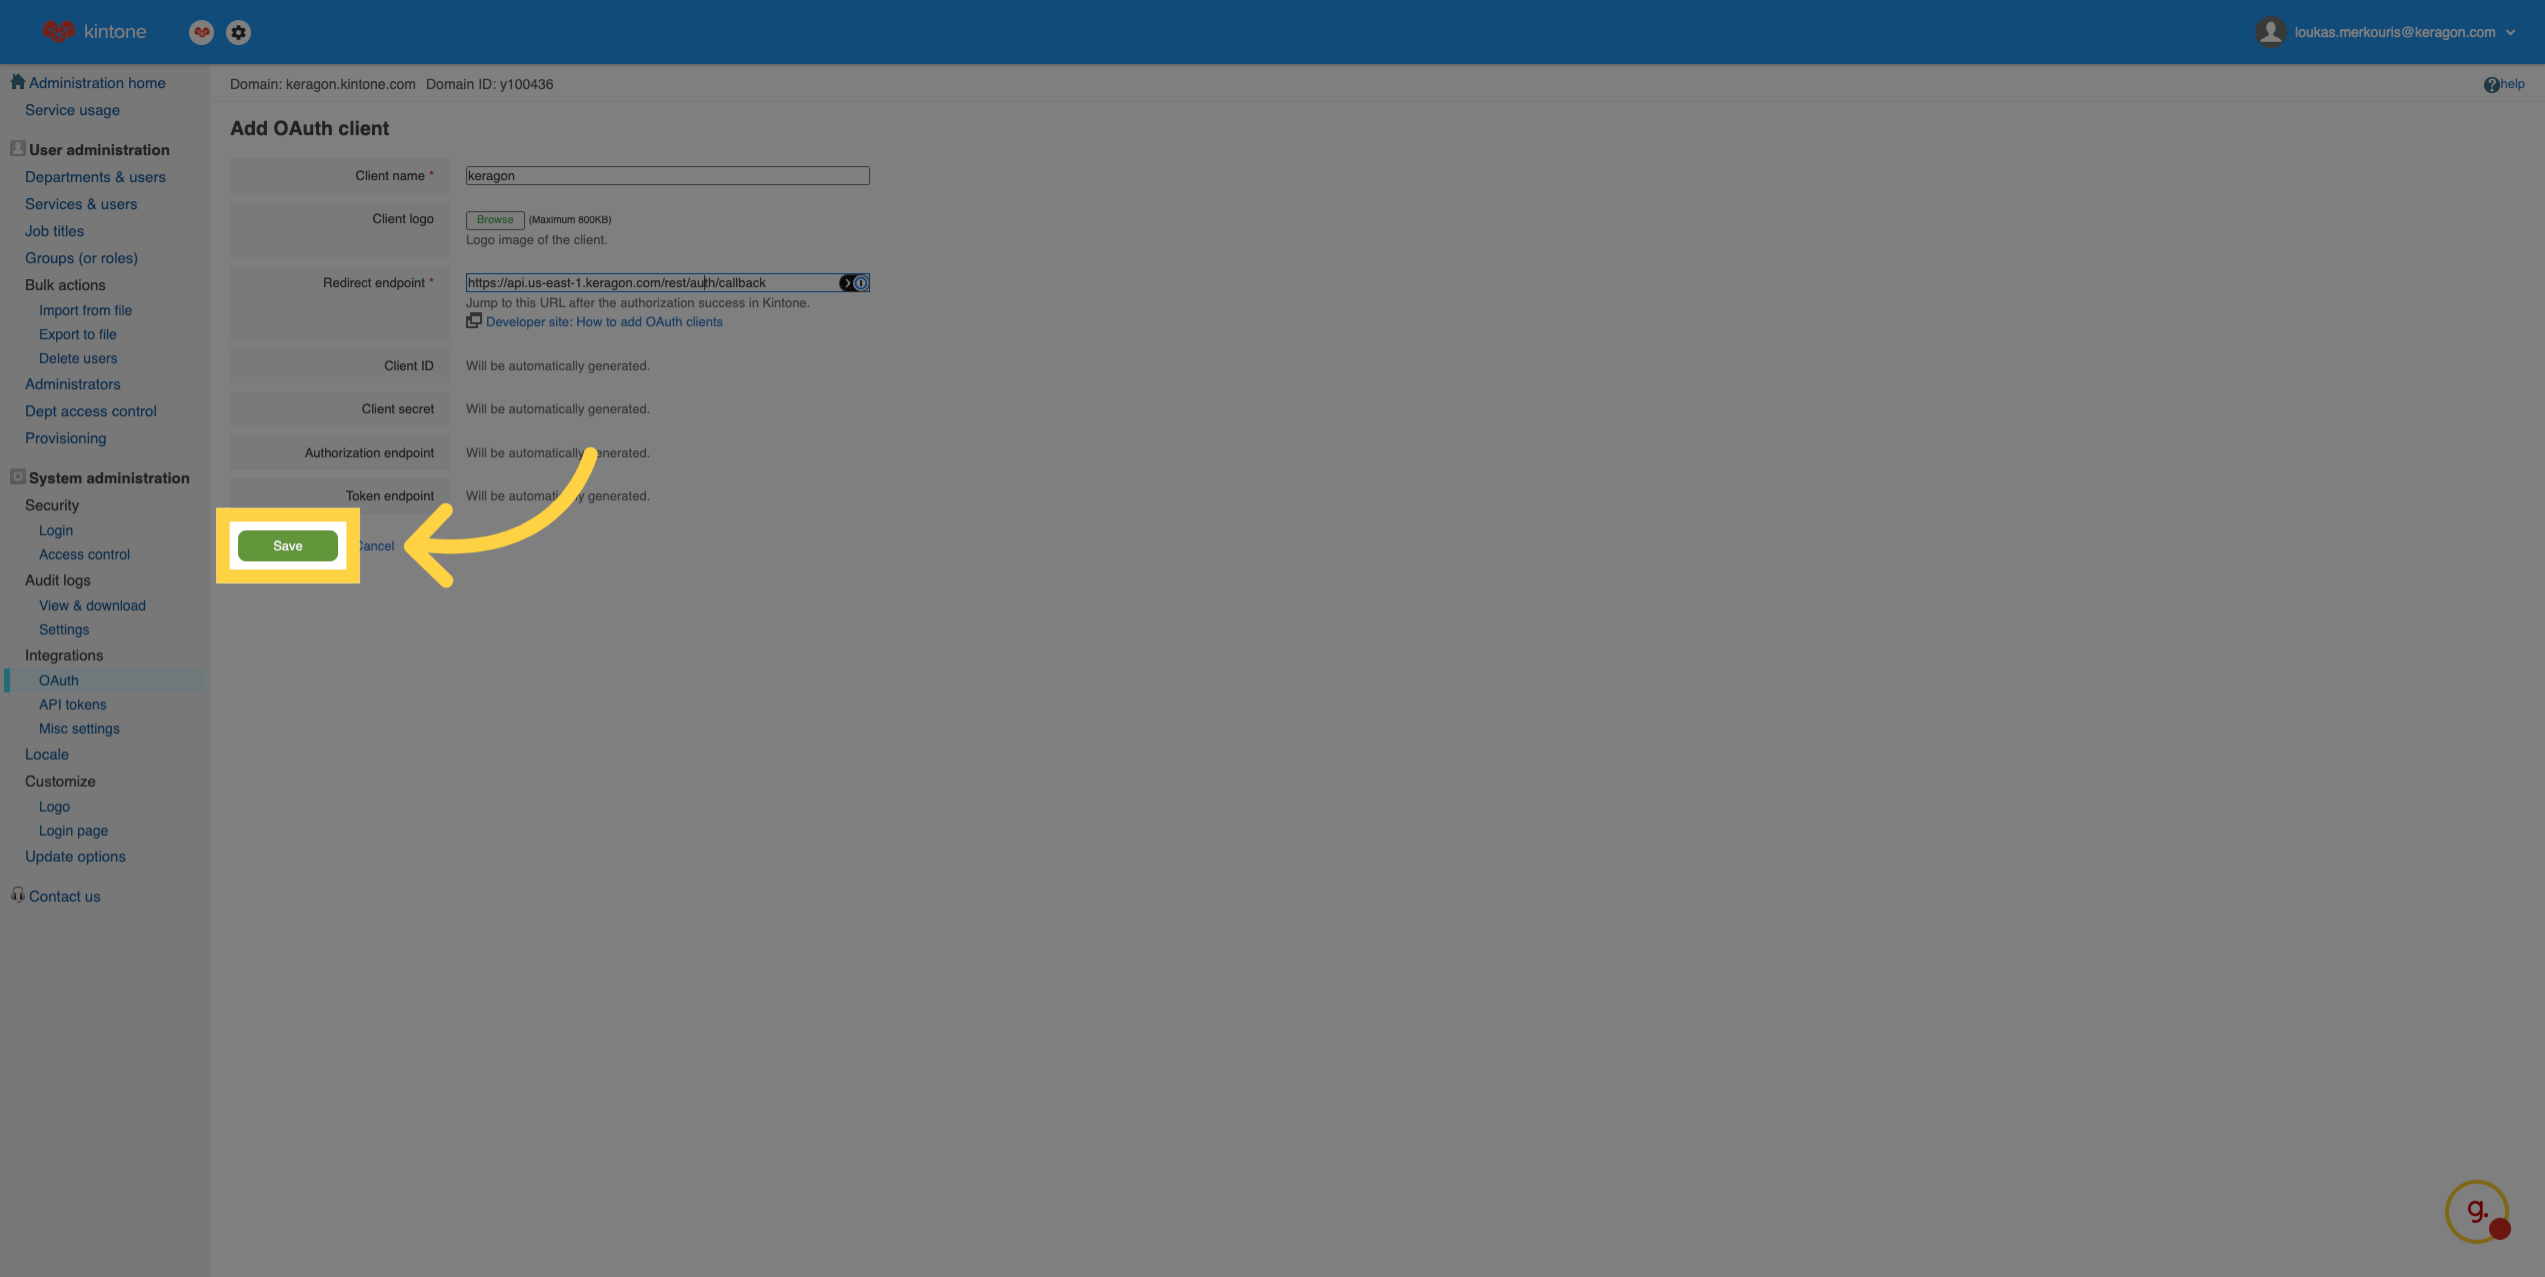
6. Enter Client Name
Enter a distinctive name for your OAuth client to identify it within your Kintone environment.
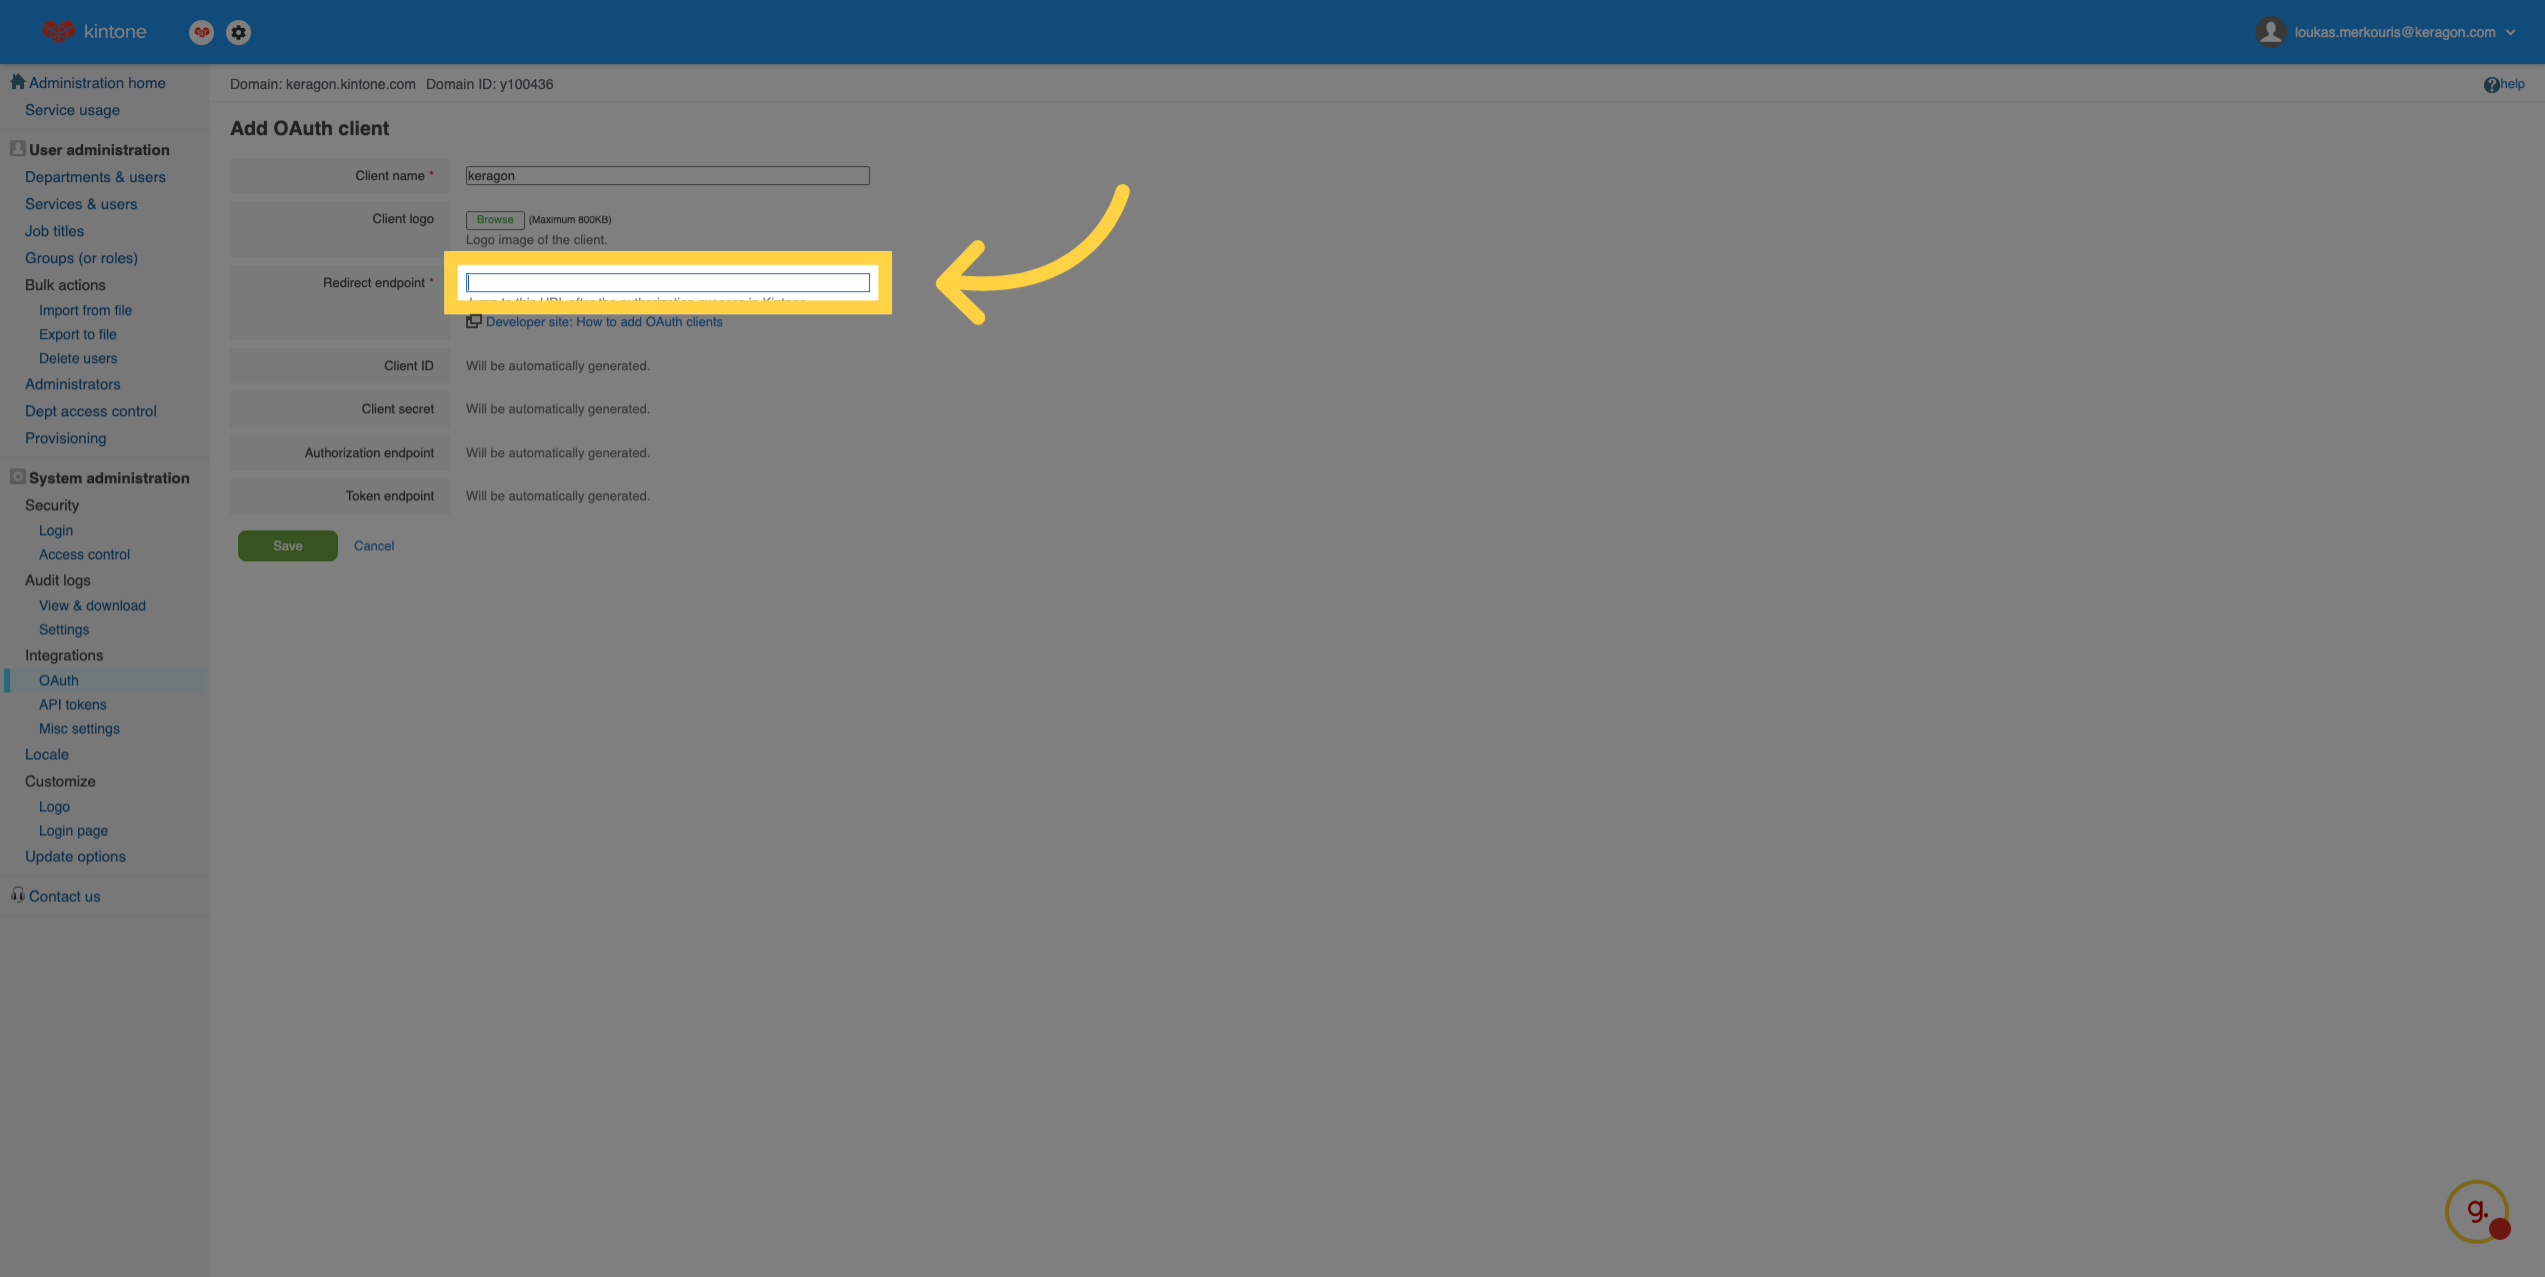
7. Select Redirect Endpoint Field
Choose the redirect endpoint field and add to specify where authentication responses will be sent.
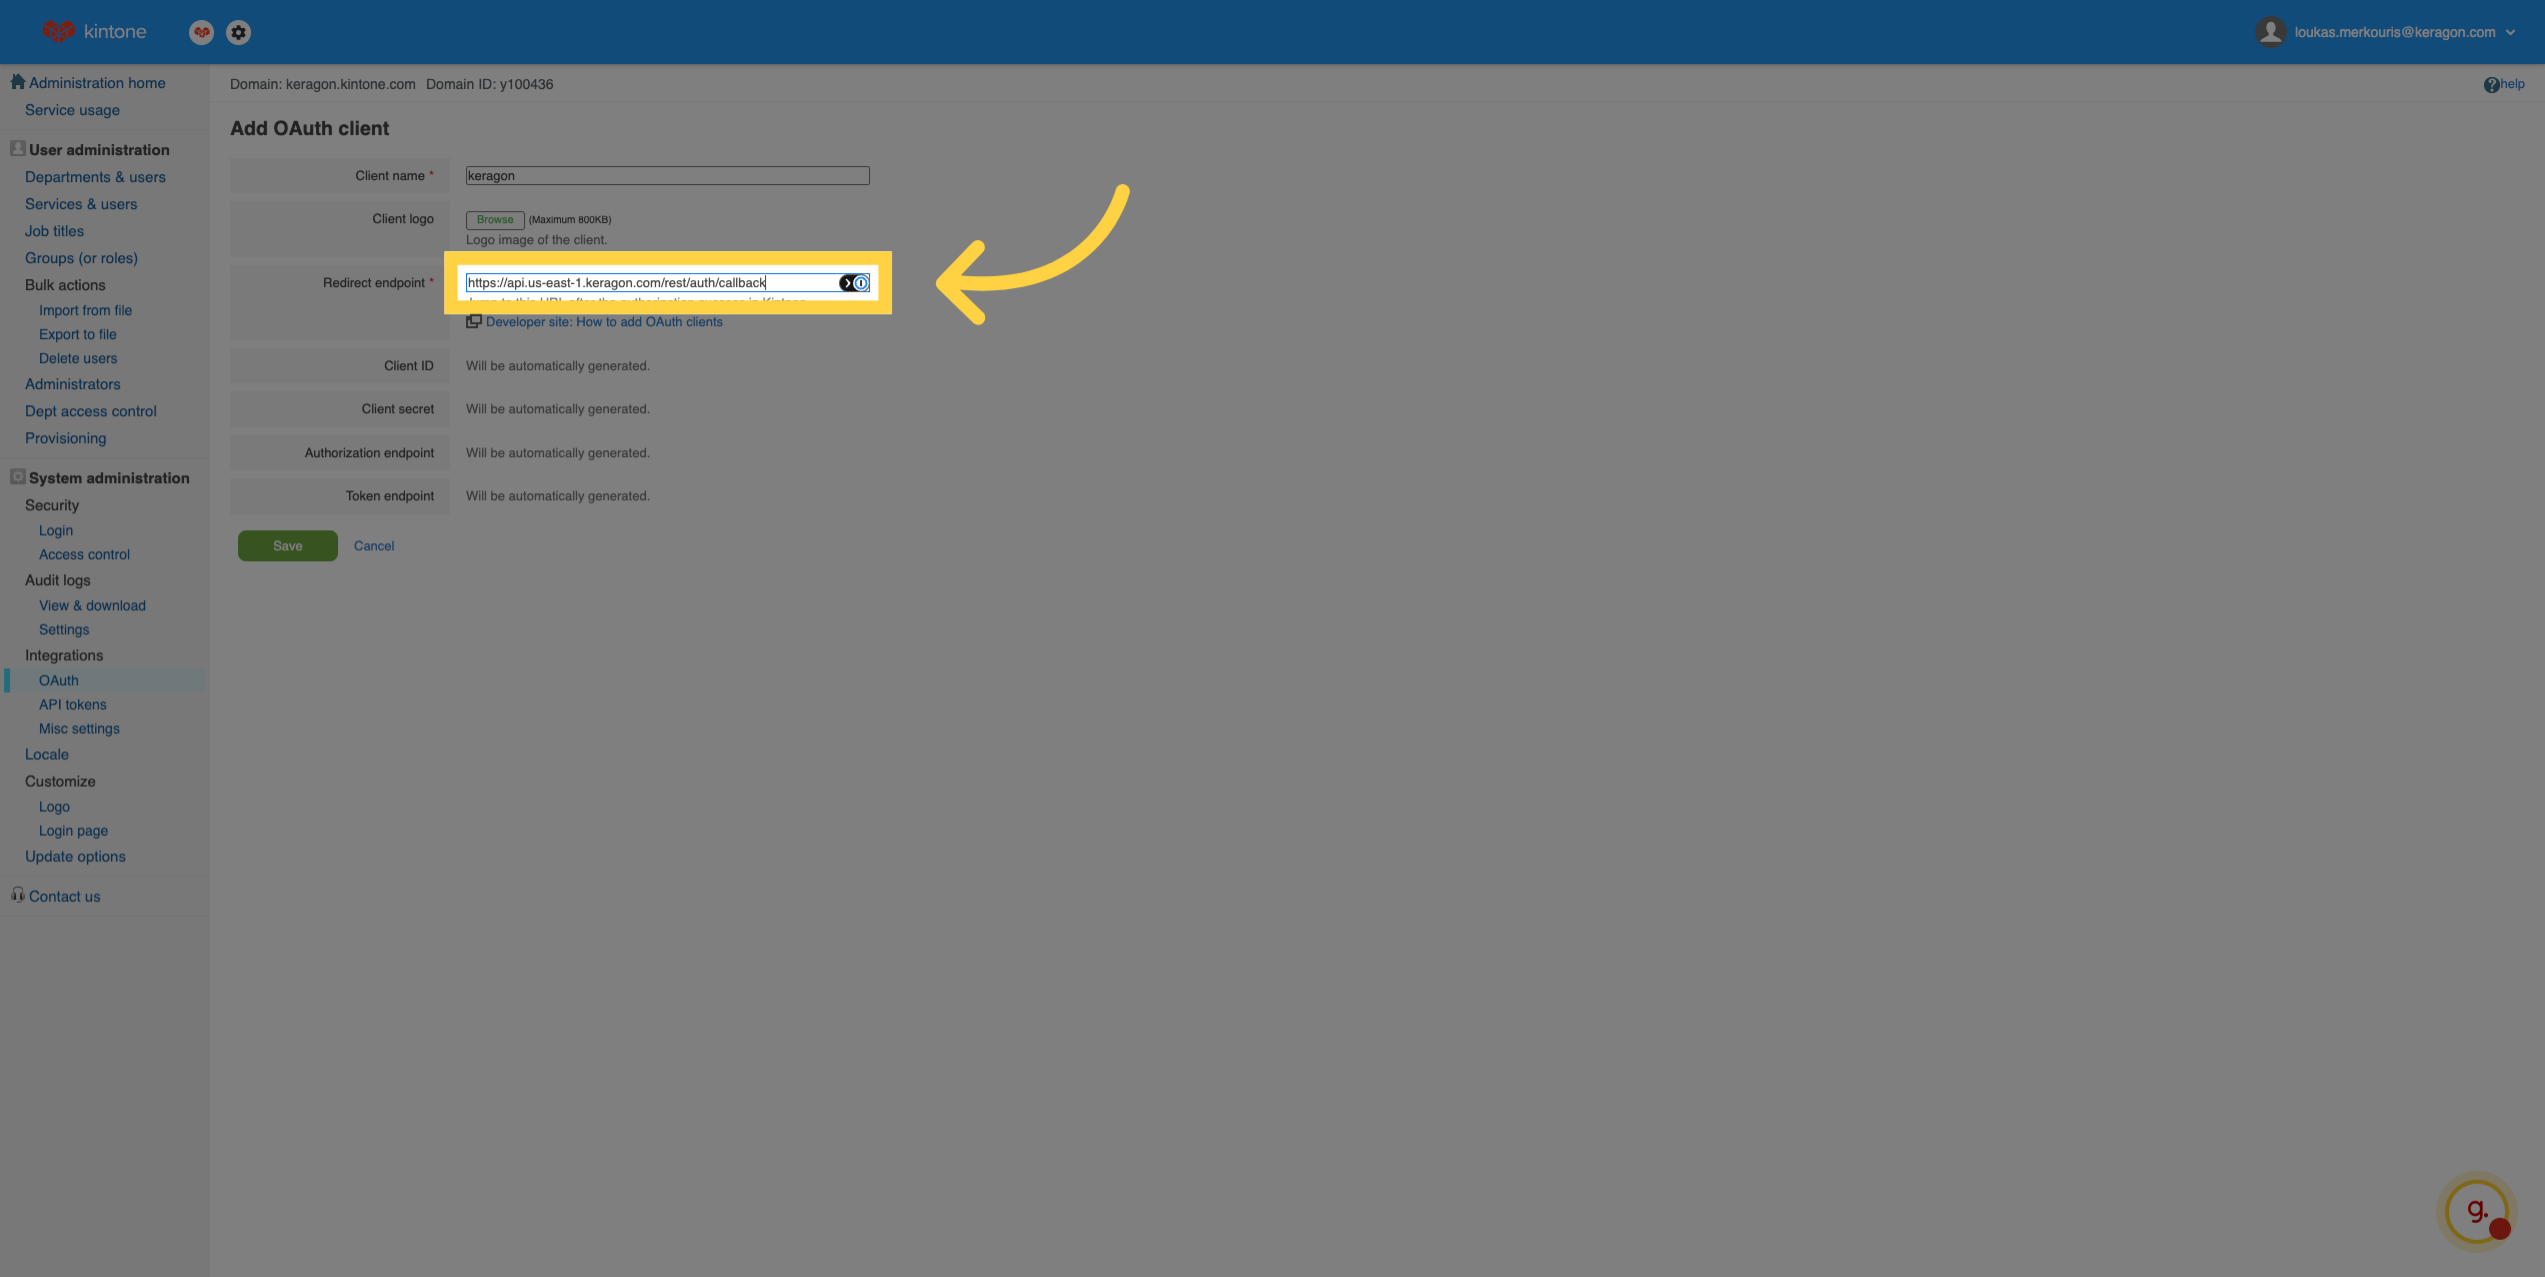
8. Input Redirect Endpoint URL
Add the Keragon redirect endpoint https://api.us-east-1.keragon.com/rest/auth/callback
9. Save OAuth Client Settings
Save the new OAuth client configuration to apply your settings and enable authentication.
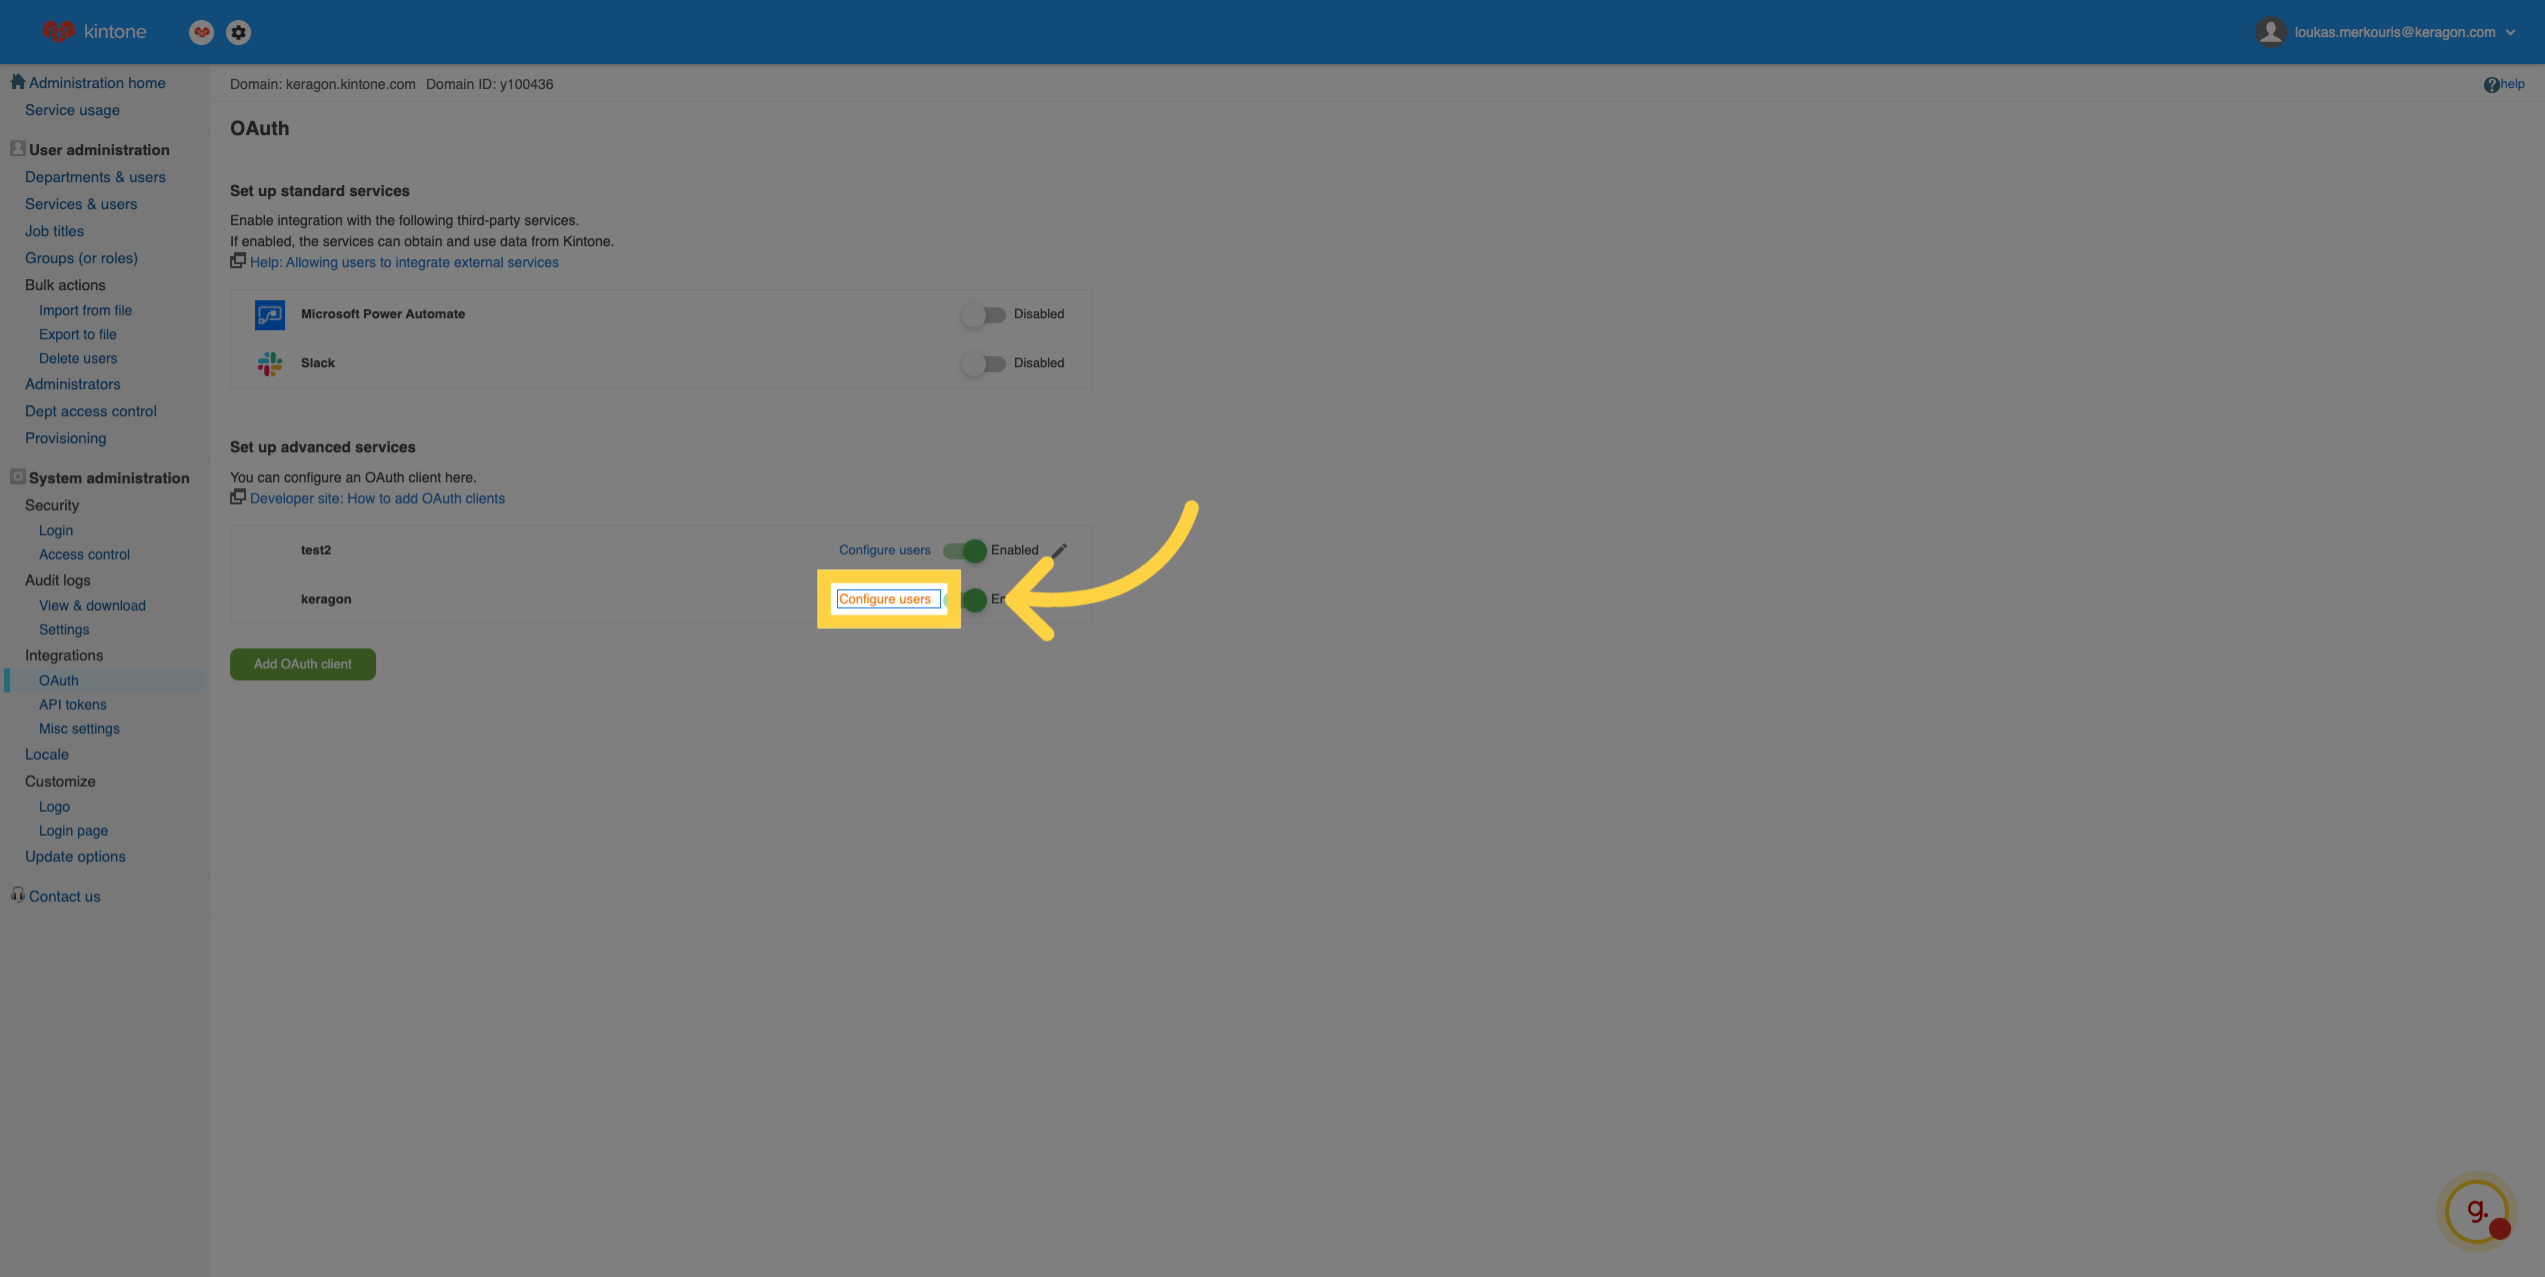
10. Configure User Access
Proceed to configure which users will have access to the OAuth client and associated applications.
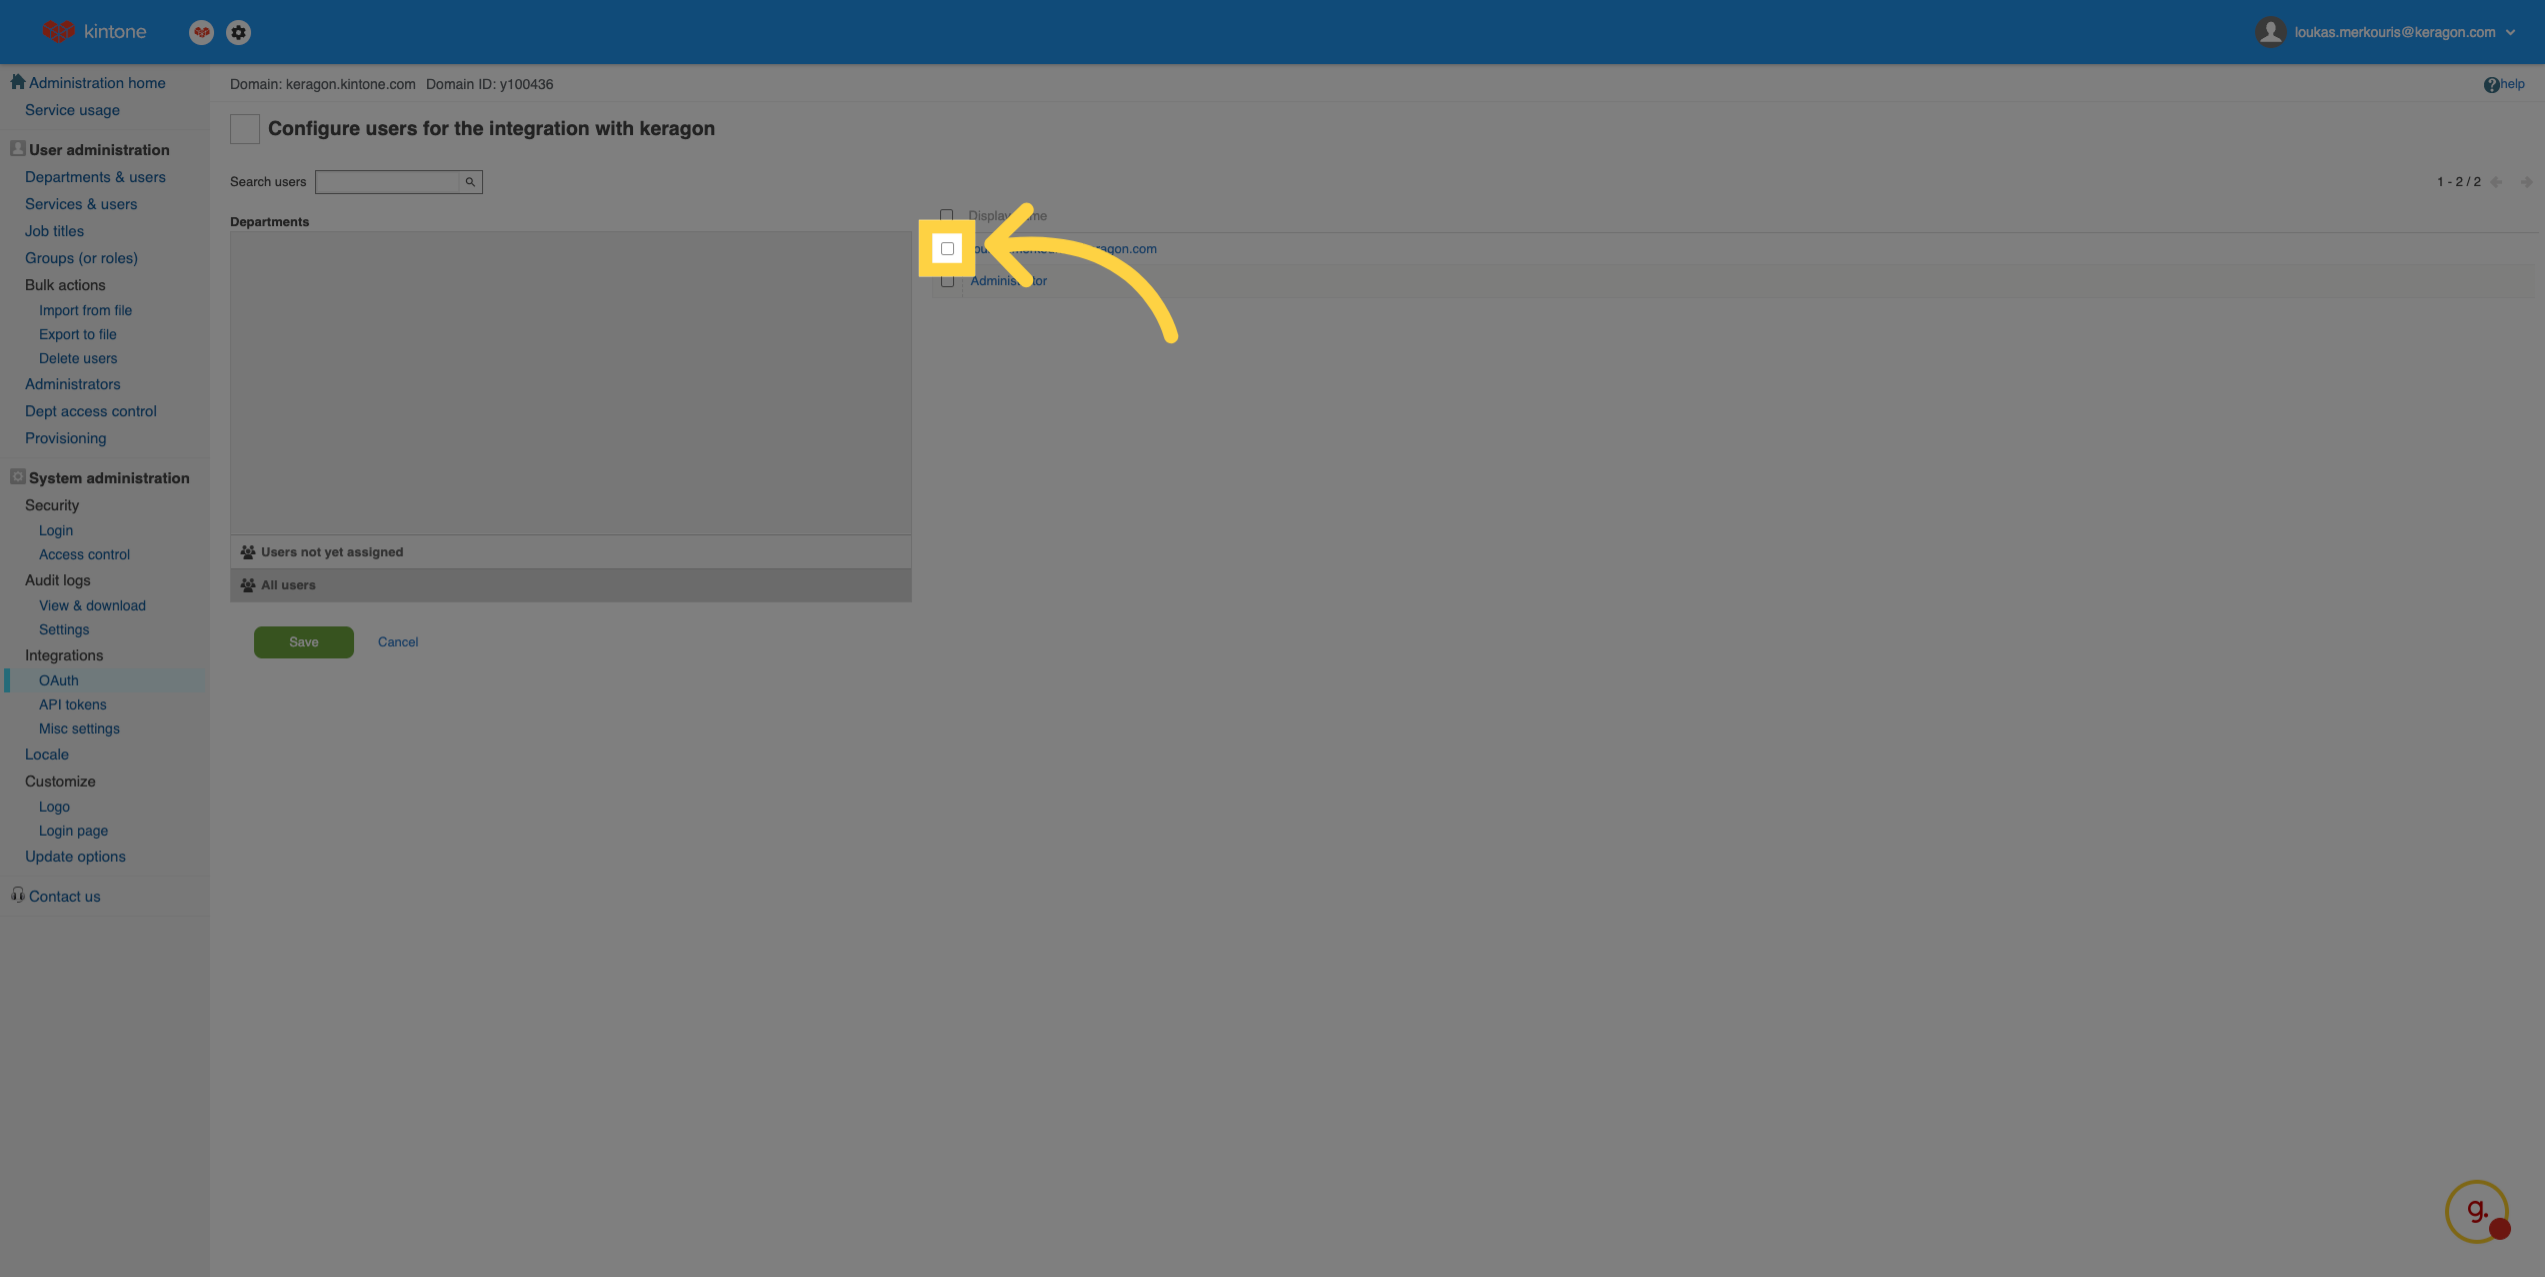
11. Enable User Access
Enable access for selected users to allow them to authenticate using the OAuth client.
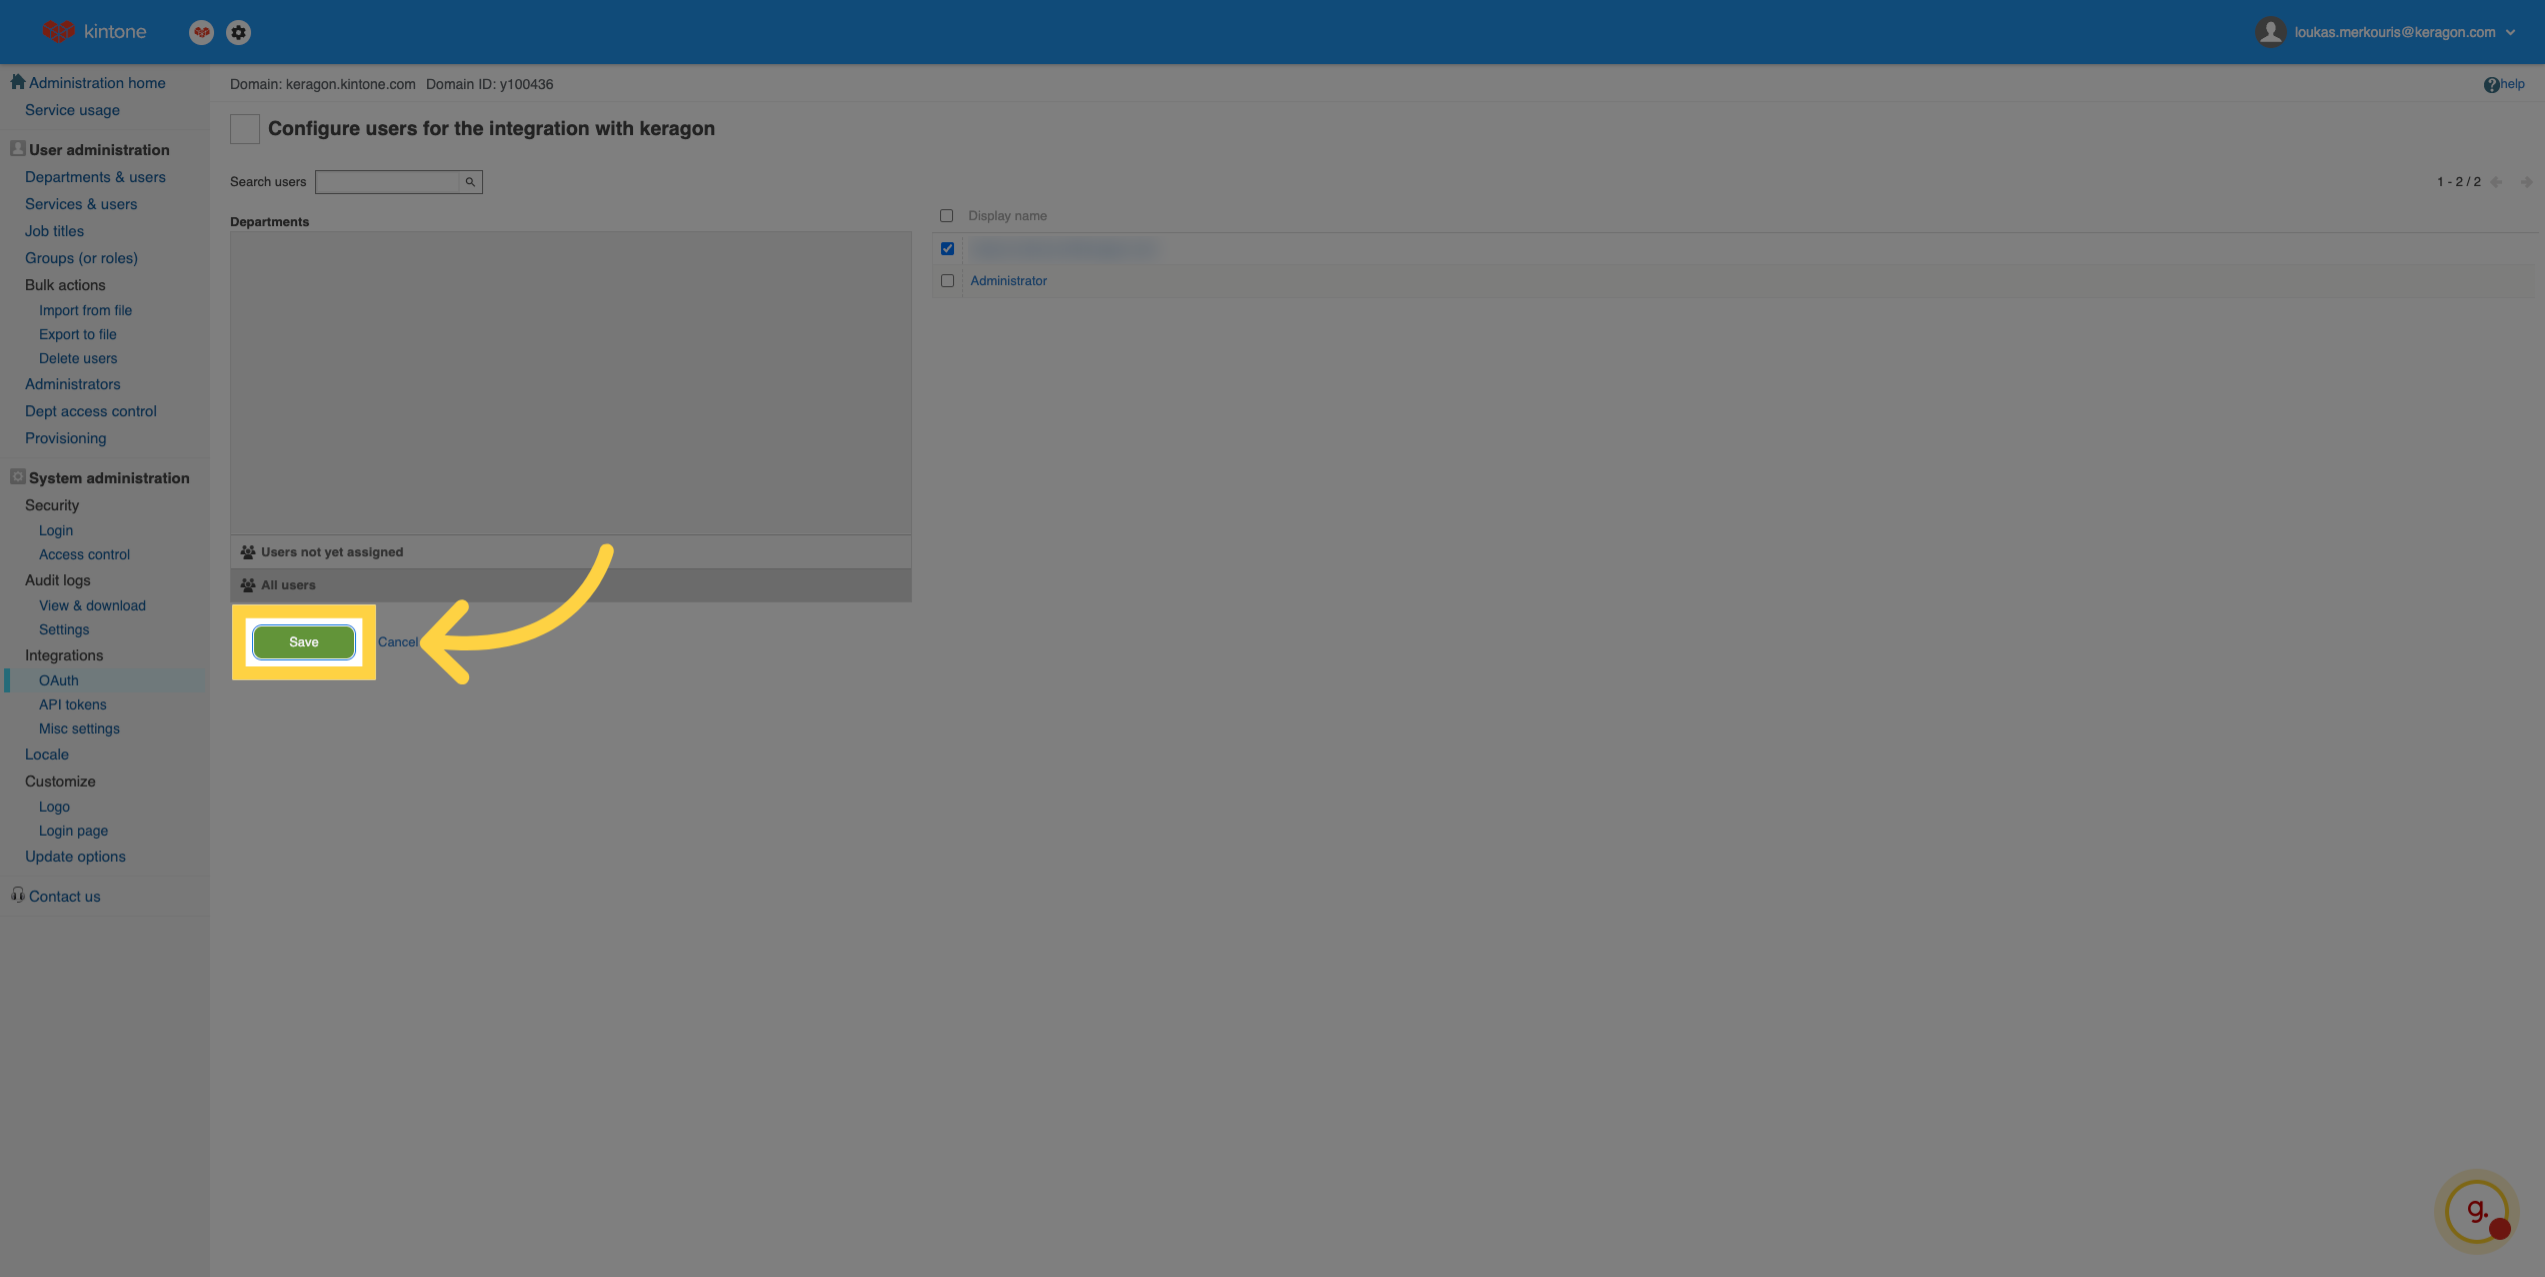
12. Save User Configuration
Save the user configuration to apply access permissions for your OAuth client.
13. Return to OAuth Overview
Return to the OAuth overview page to review your client settings and access details.
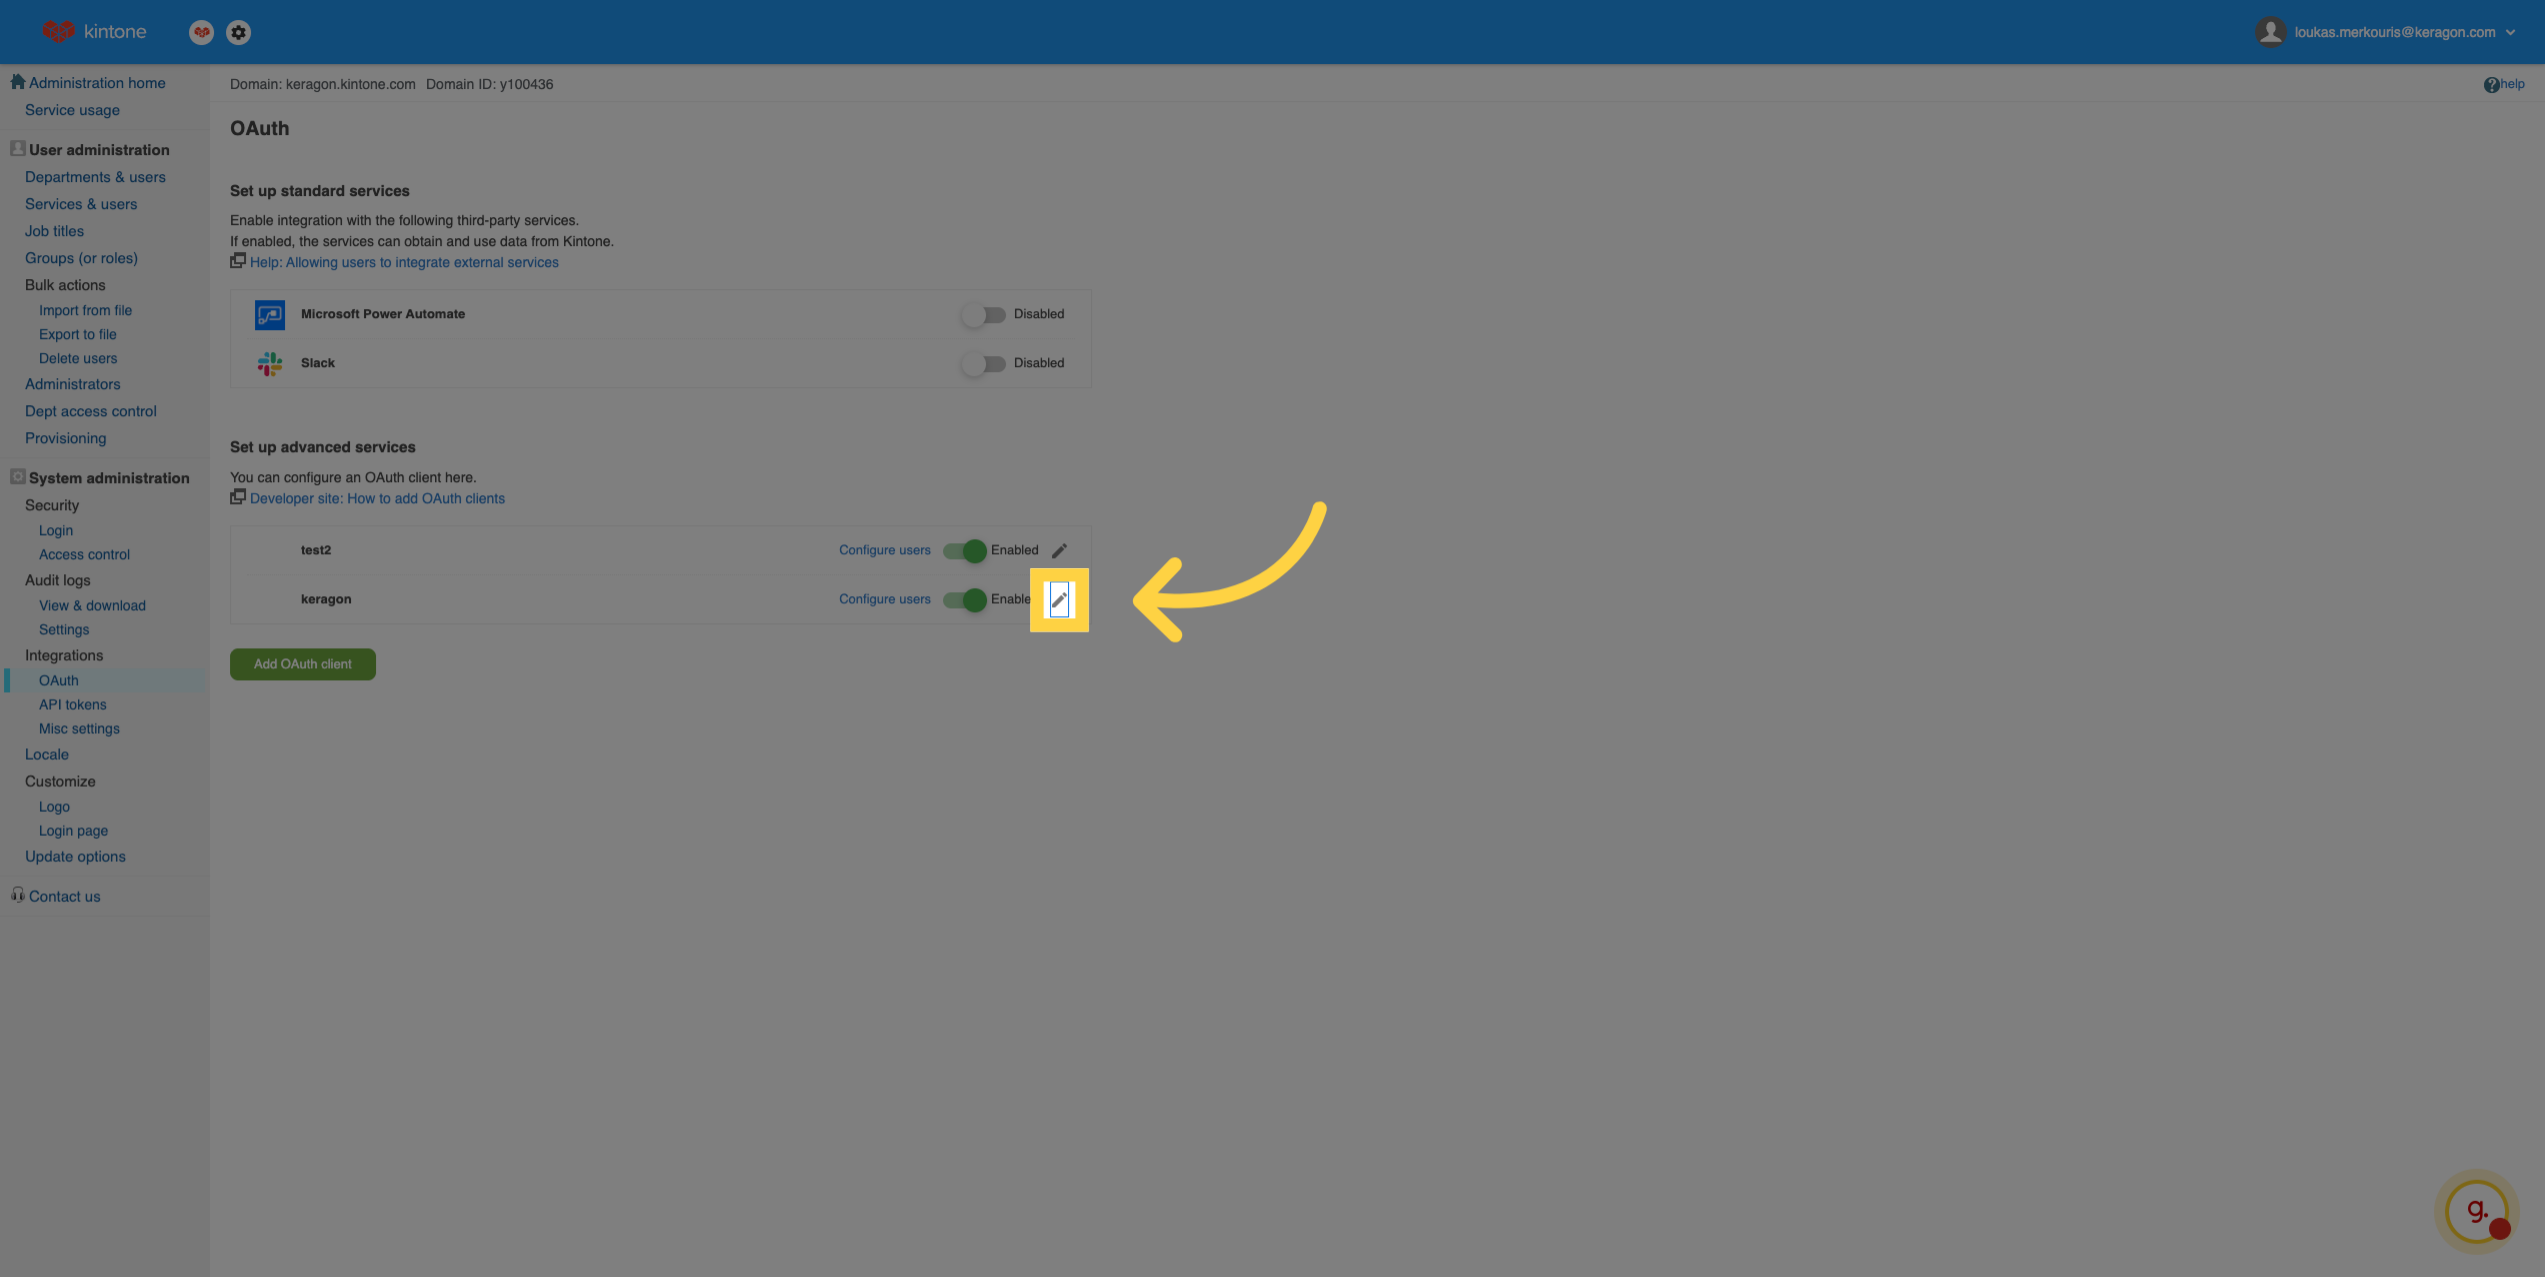
14. Open OAuth Client Details
Open the details of your OAuth client to view your client id and client secret
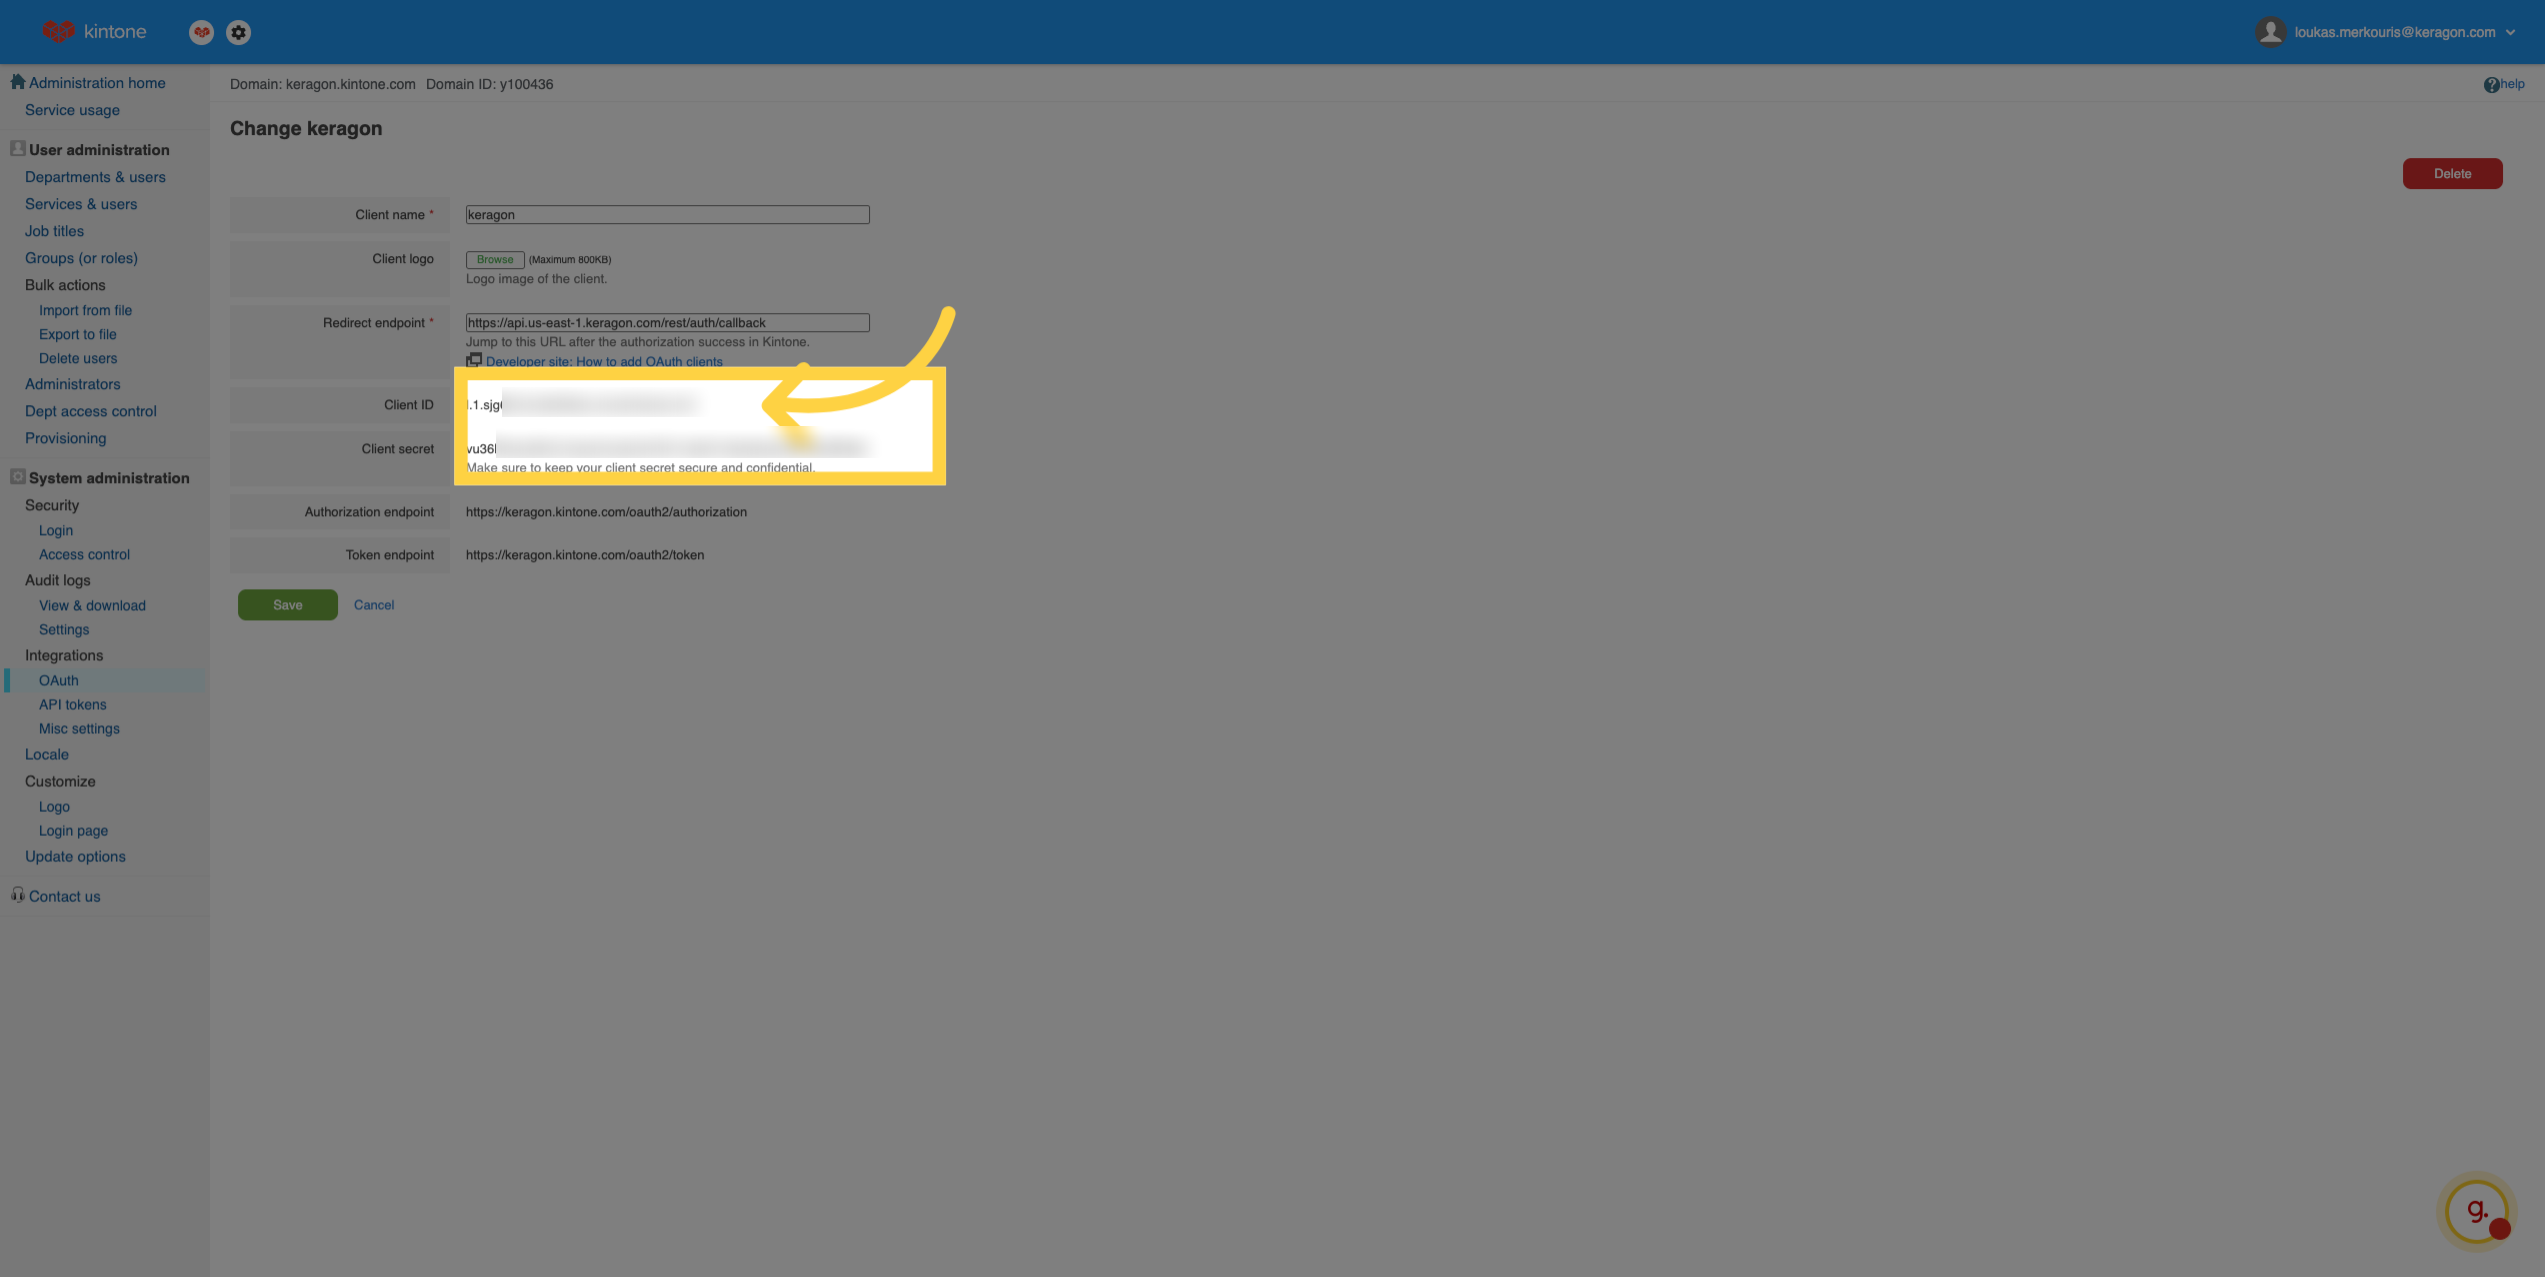
You have successfully configured an OAuth client in Kintone, including setting up client details and user access. Use the provided credentials to authenticate your Keragon connector securely.