This tutorial guides you through creating a generic webhook in Zendesk.
Go to zendesk.com
1. Introduction
Login to your zendesk account
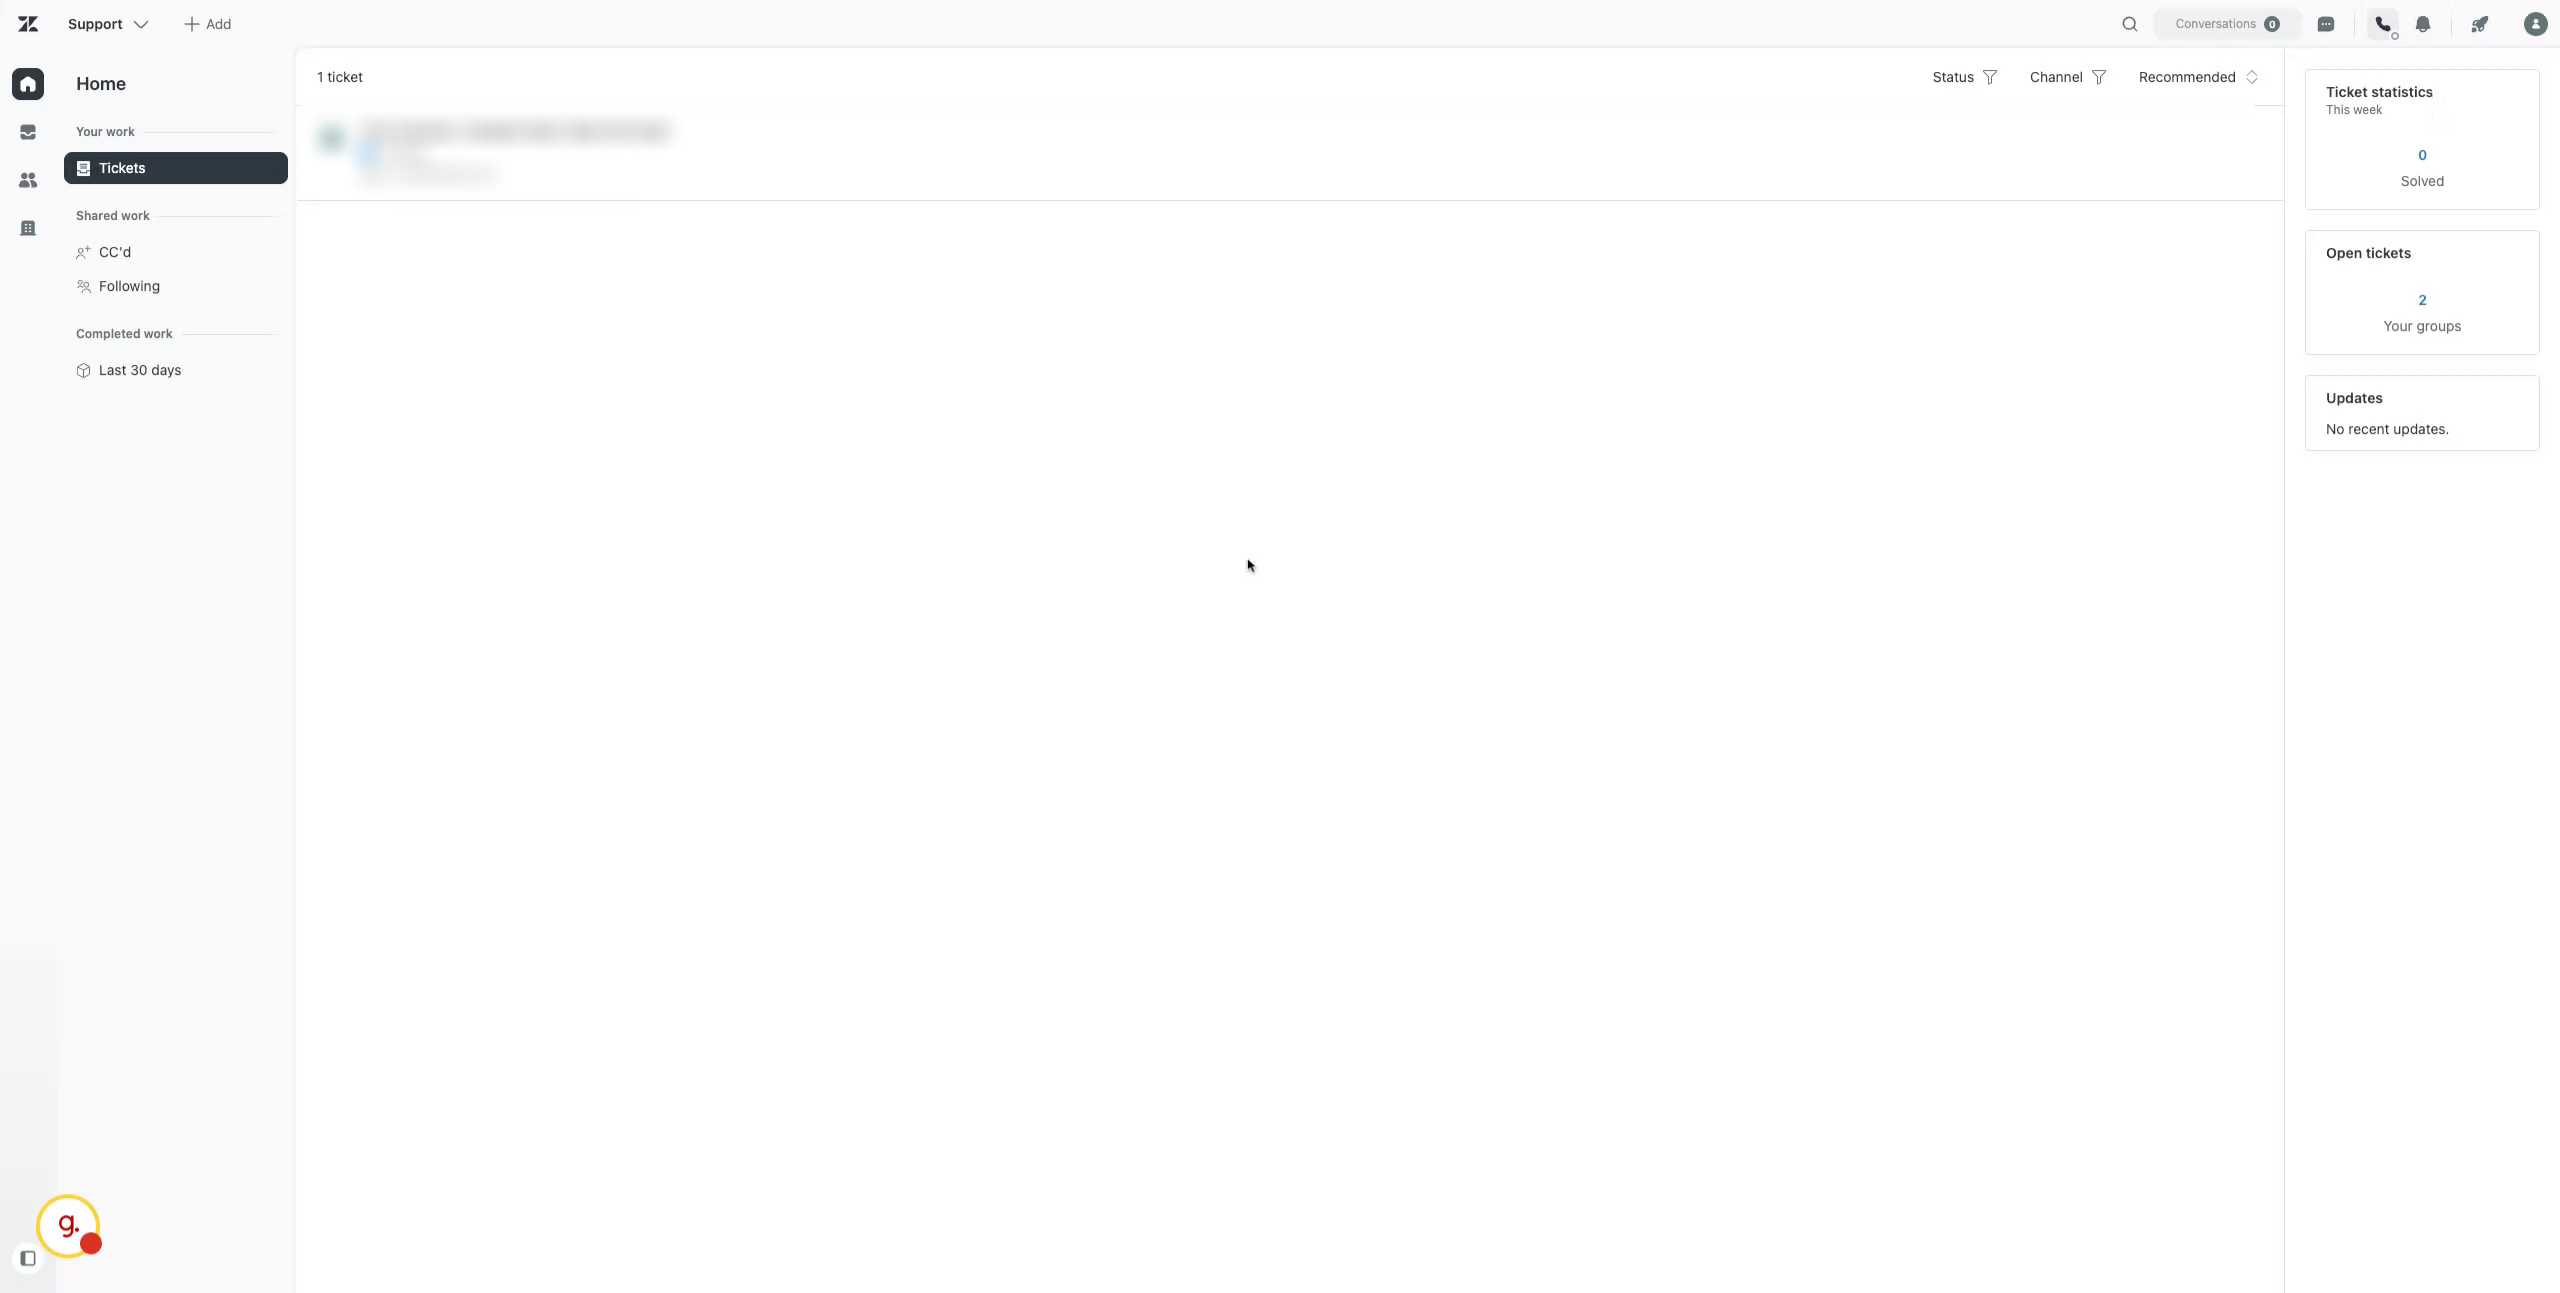
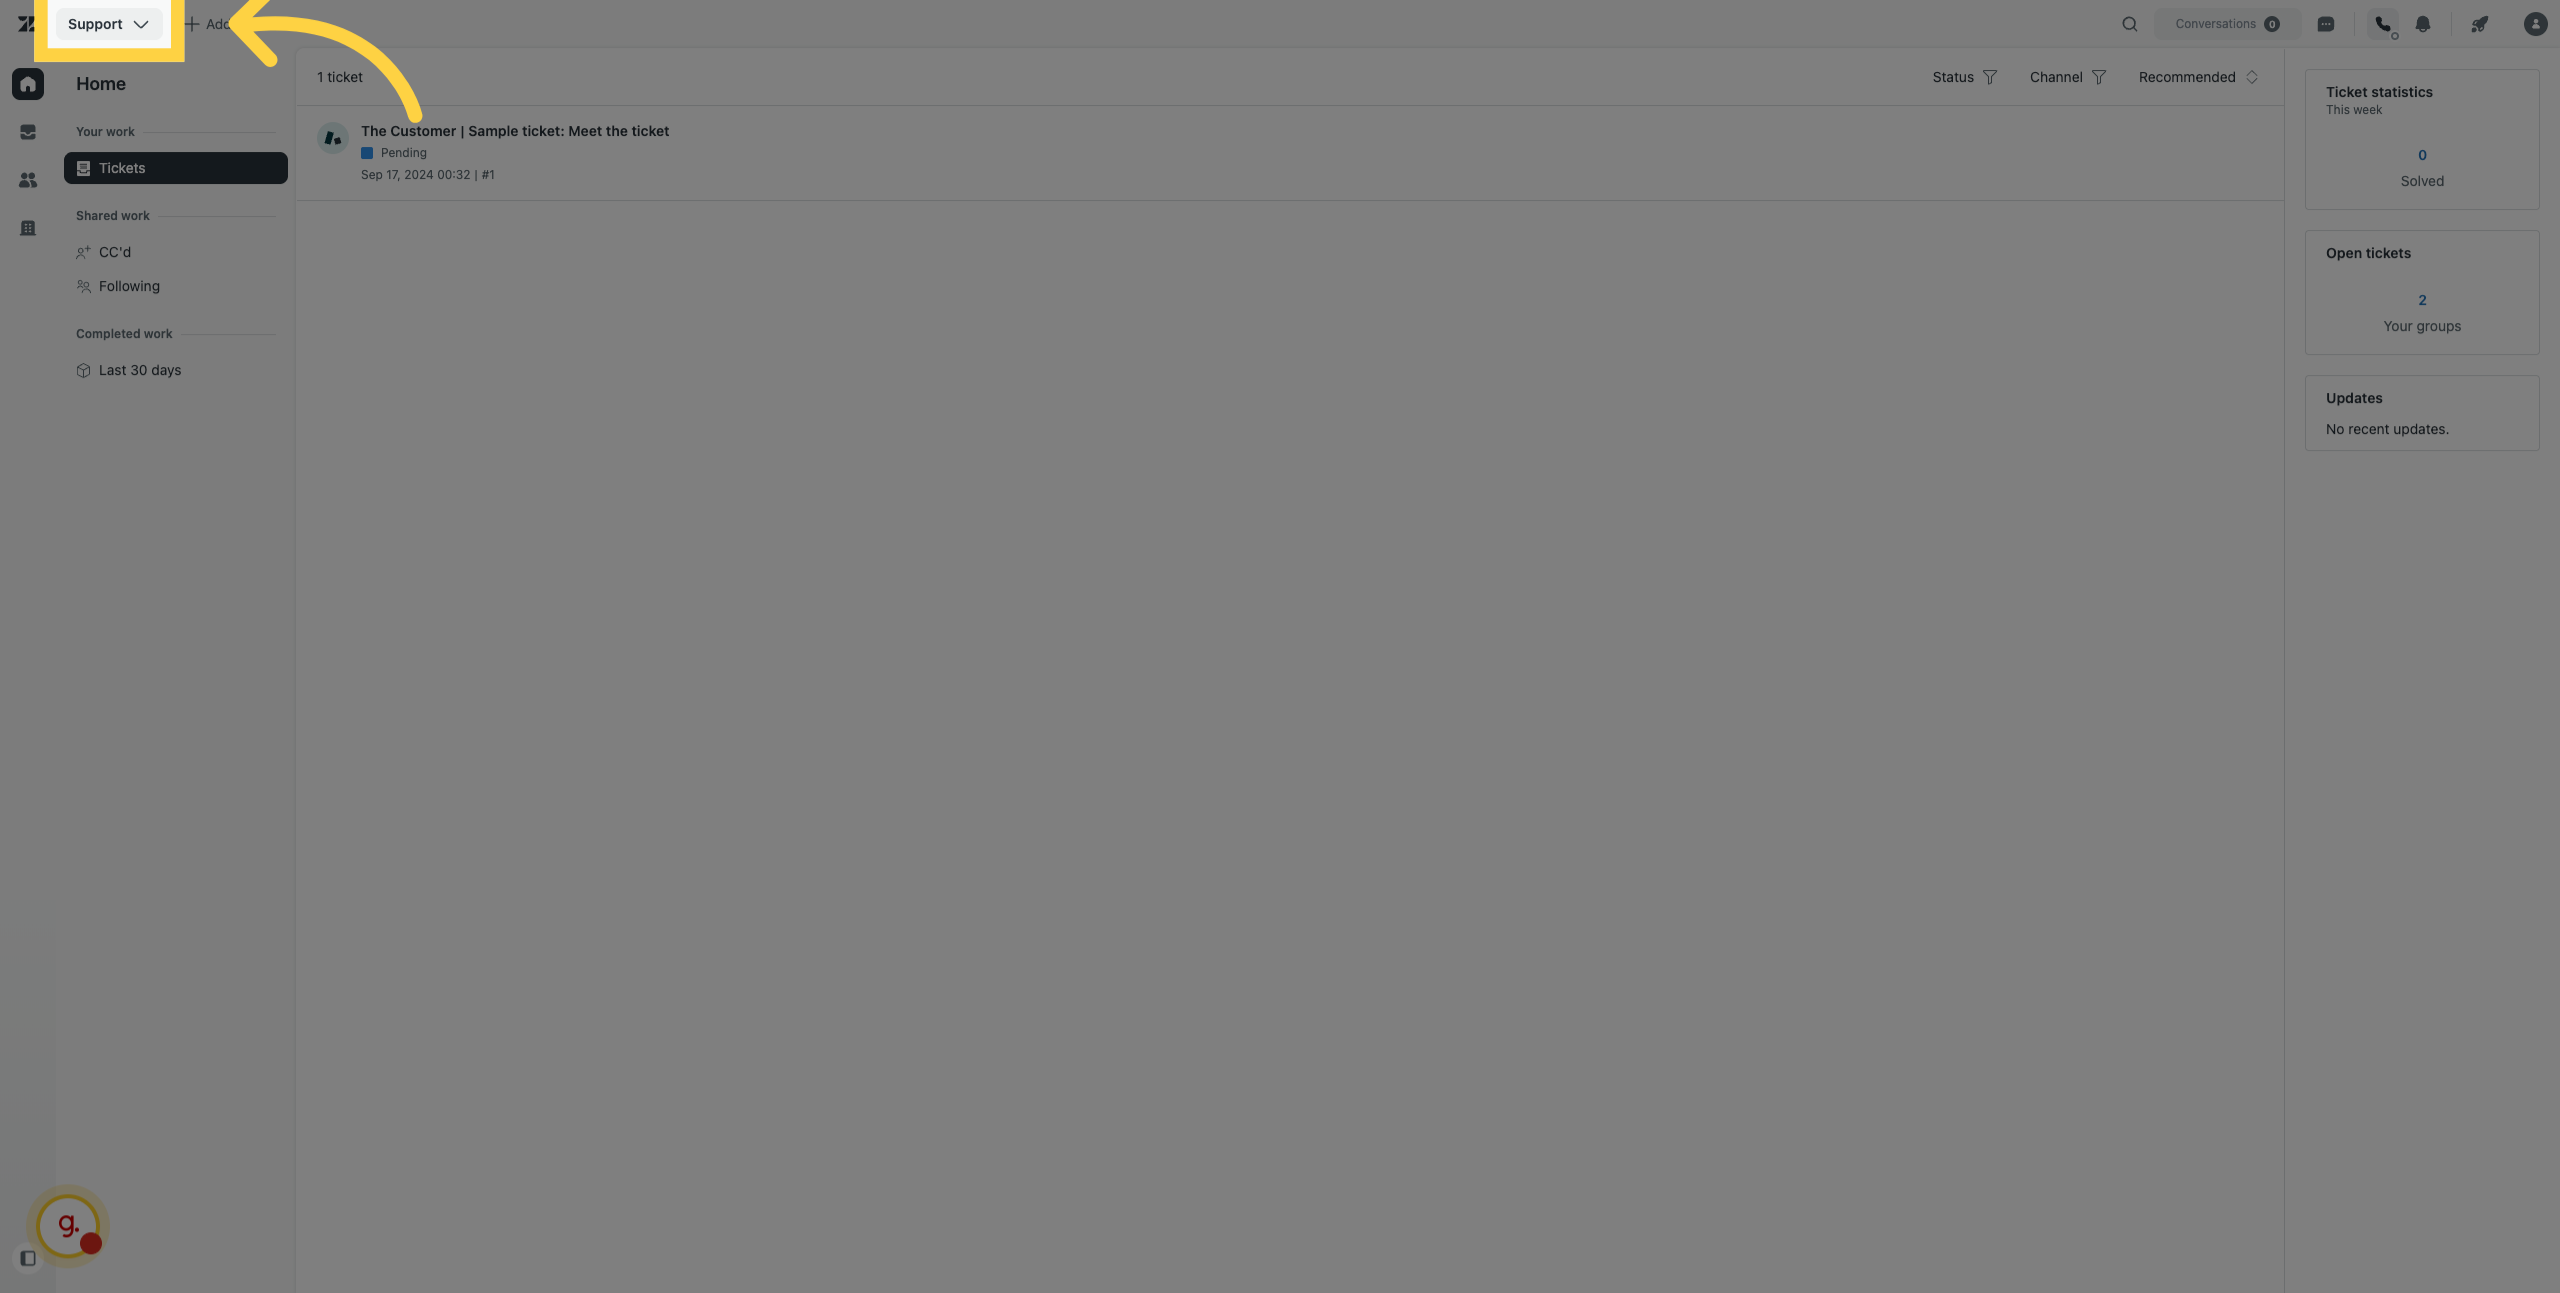
2. Access Support Section
From the top left select the dropdown menu.
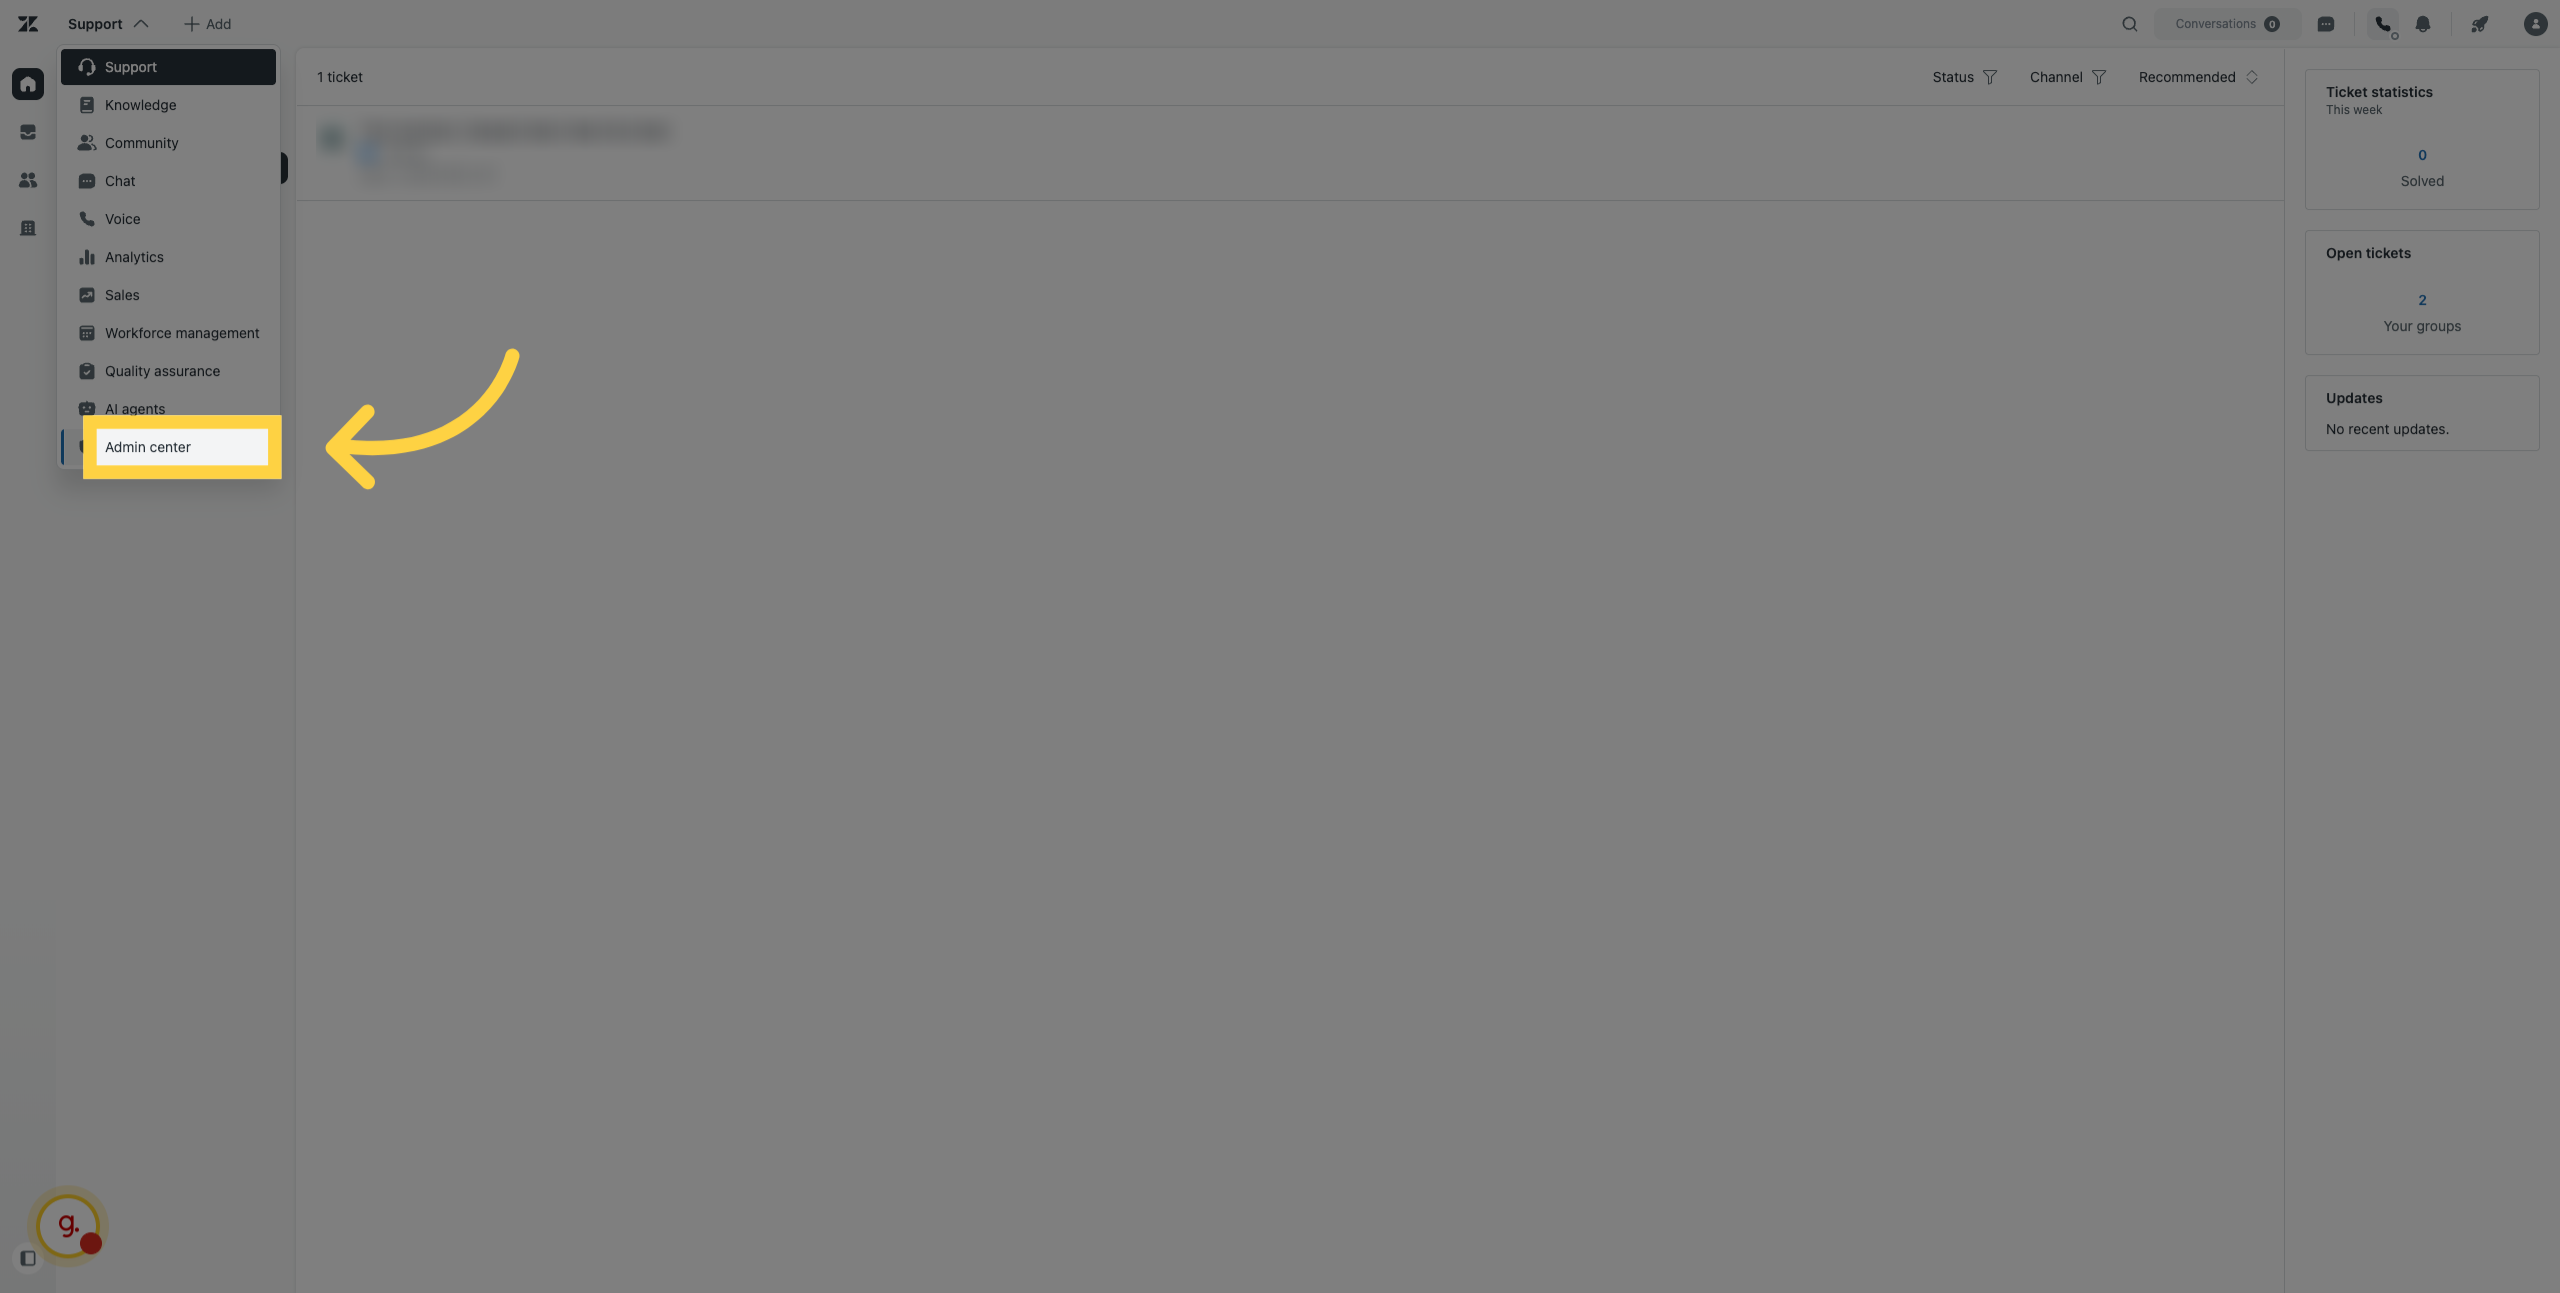
3. Open Admin Center
Go to the Admin Center to manage your Zendesk account settings and integrations.
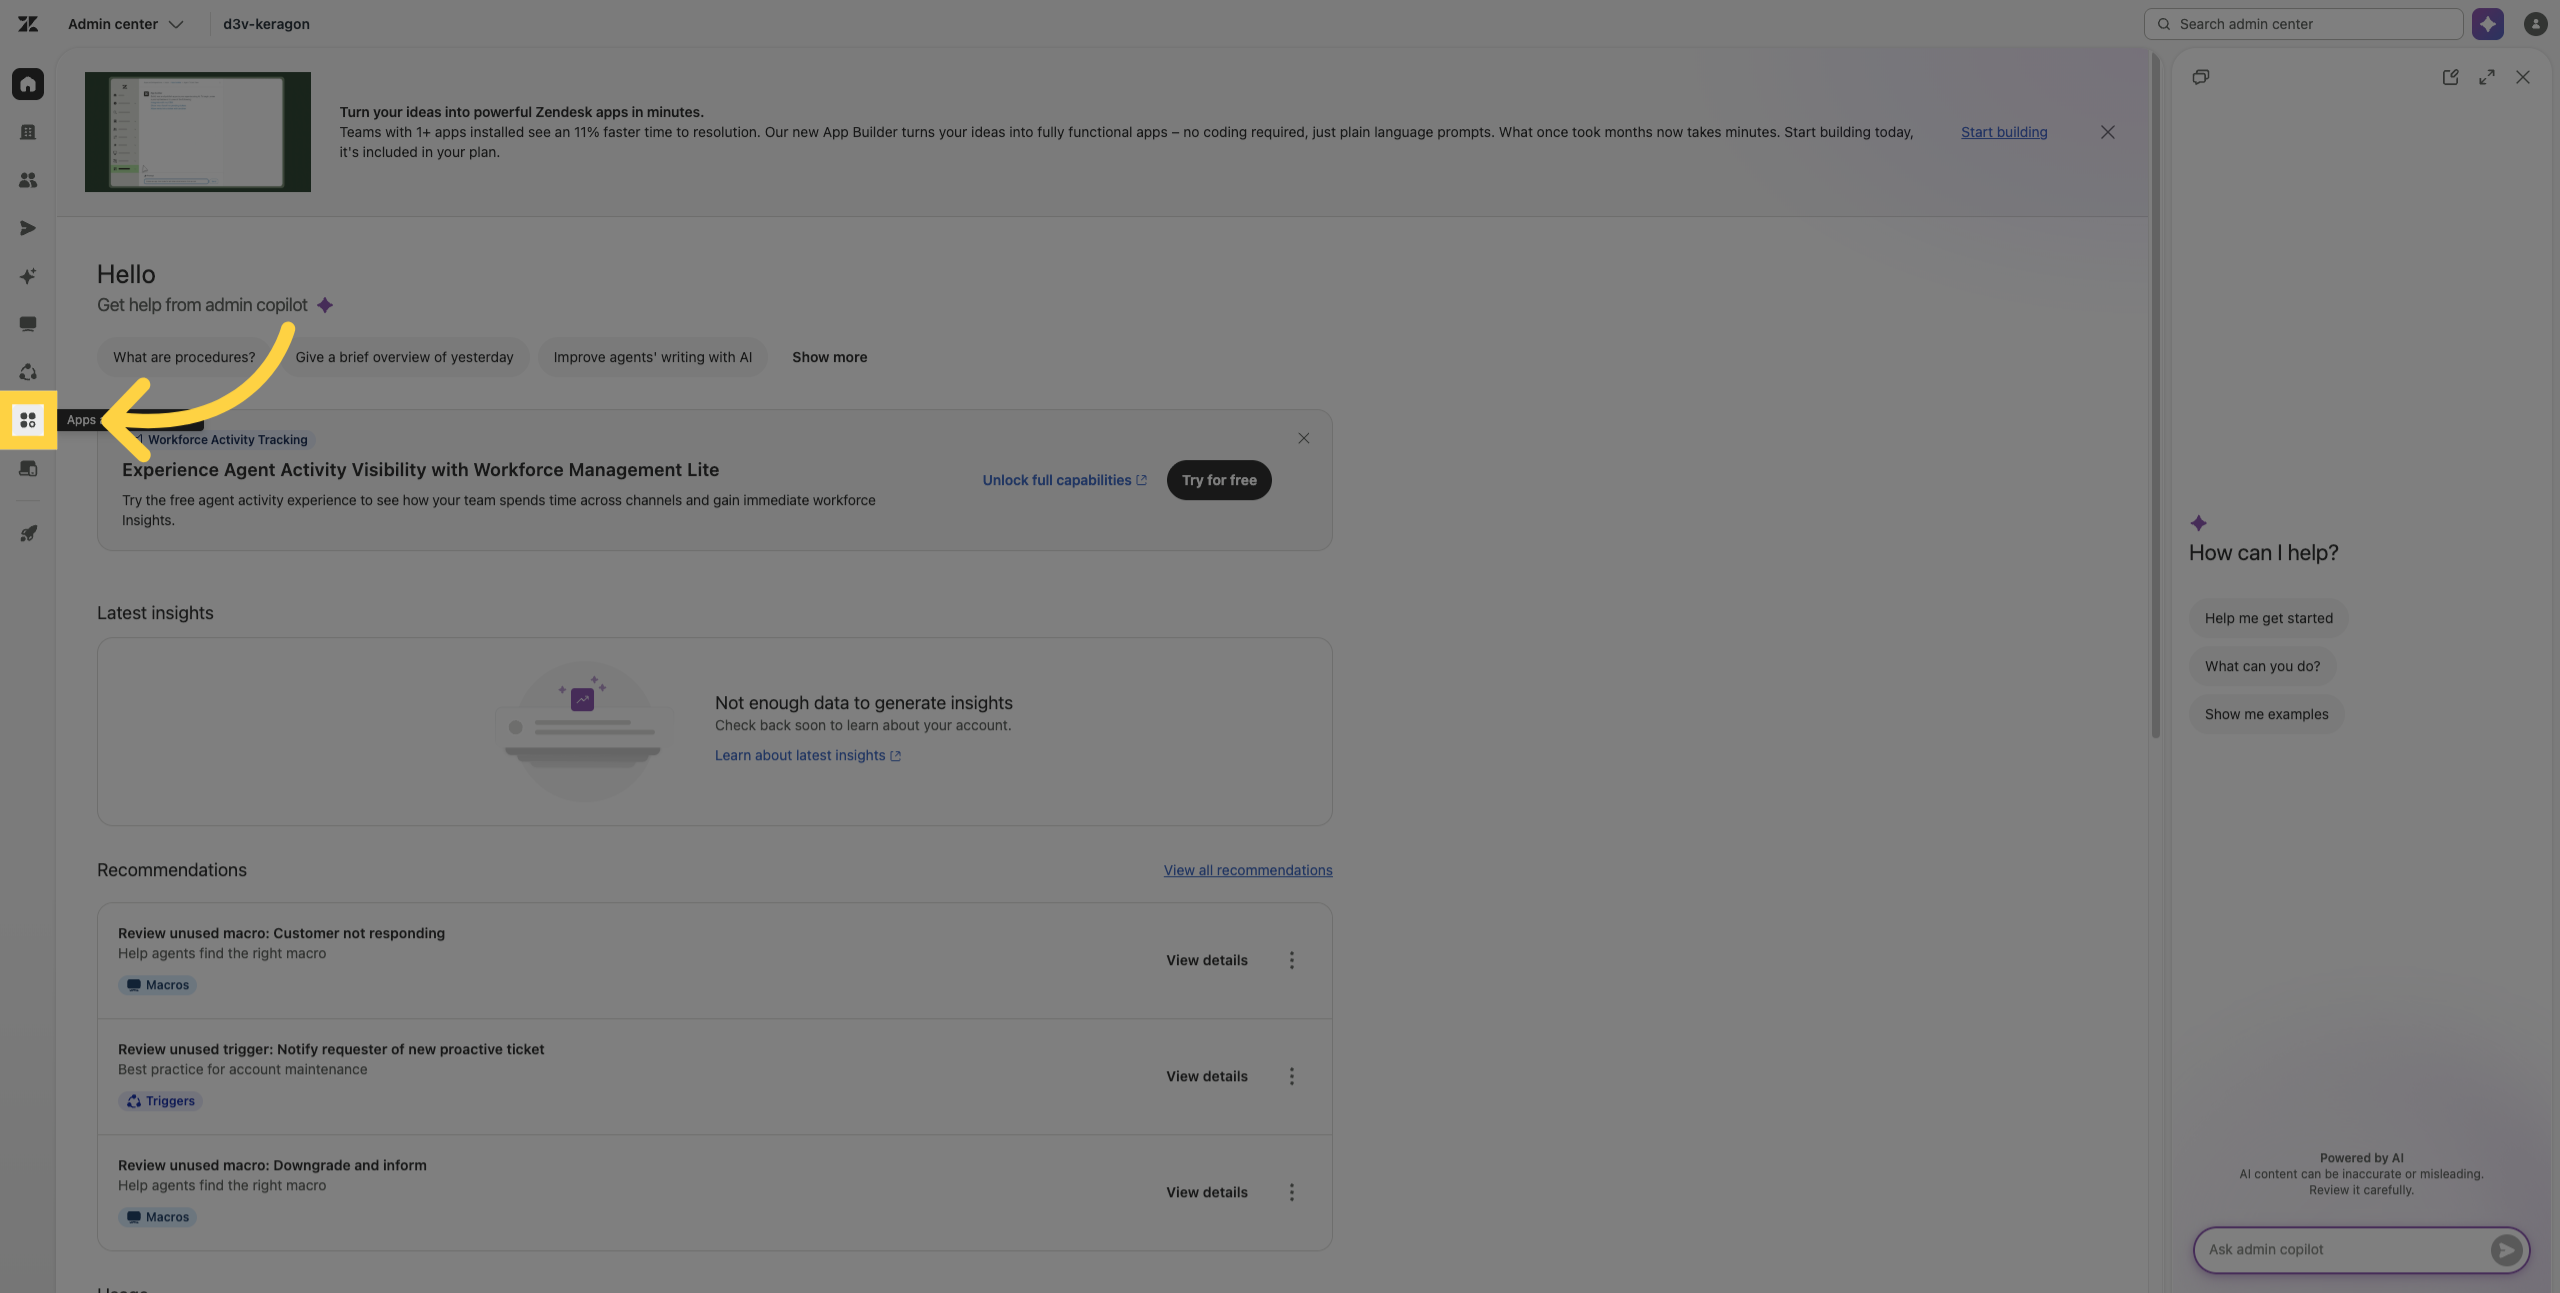
4. Navigate to Apps and Integrations
From the left sidebar, open the Apps and Integrations area to manage connected applications.
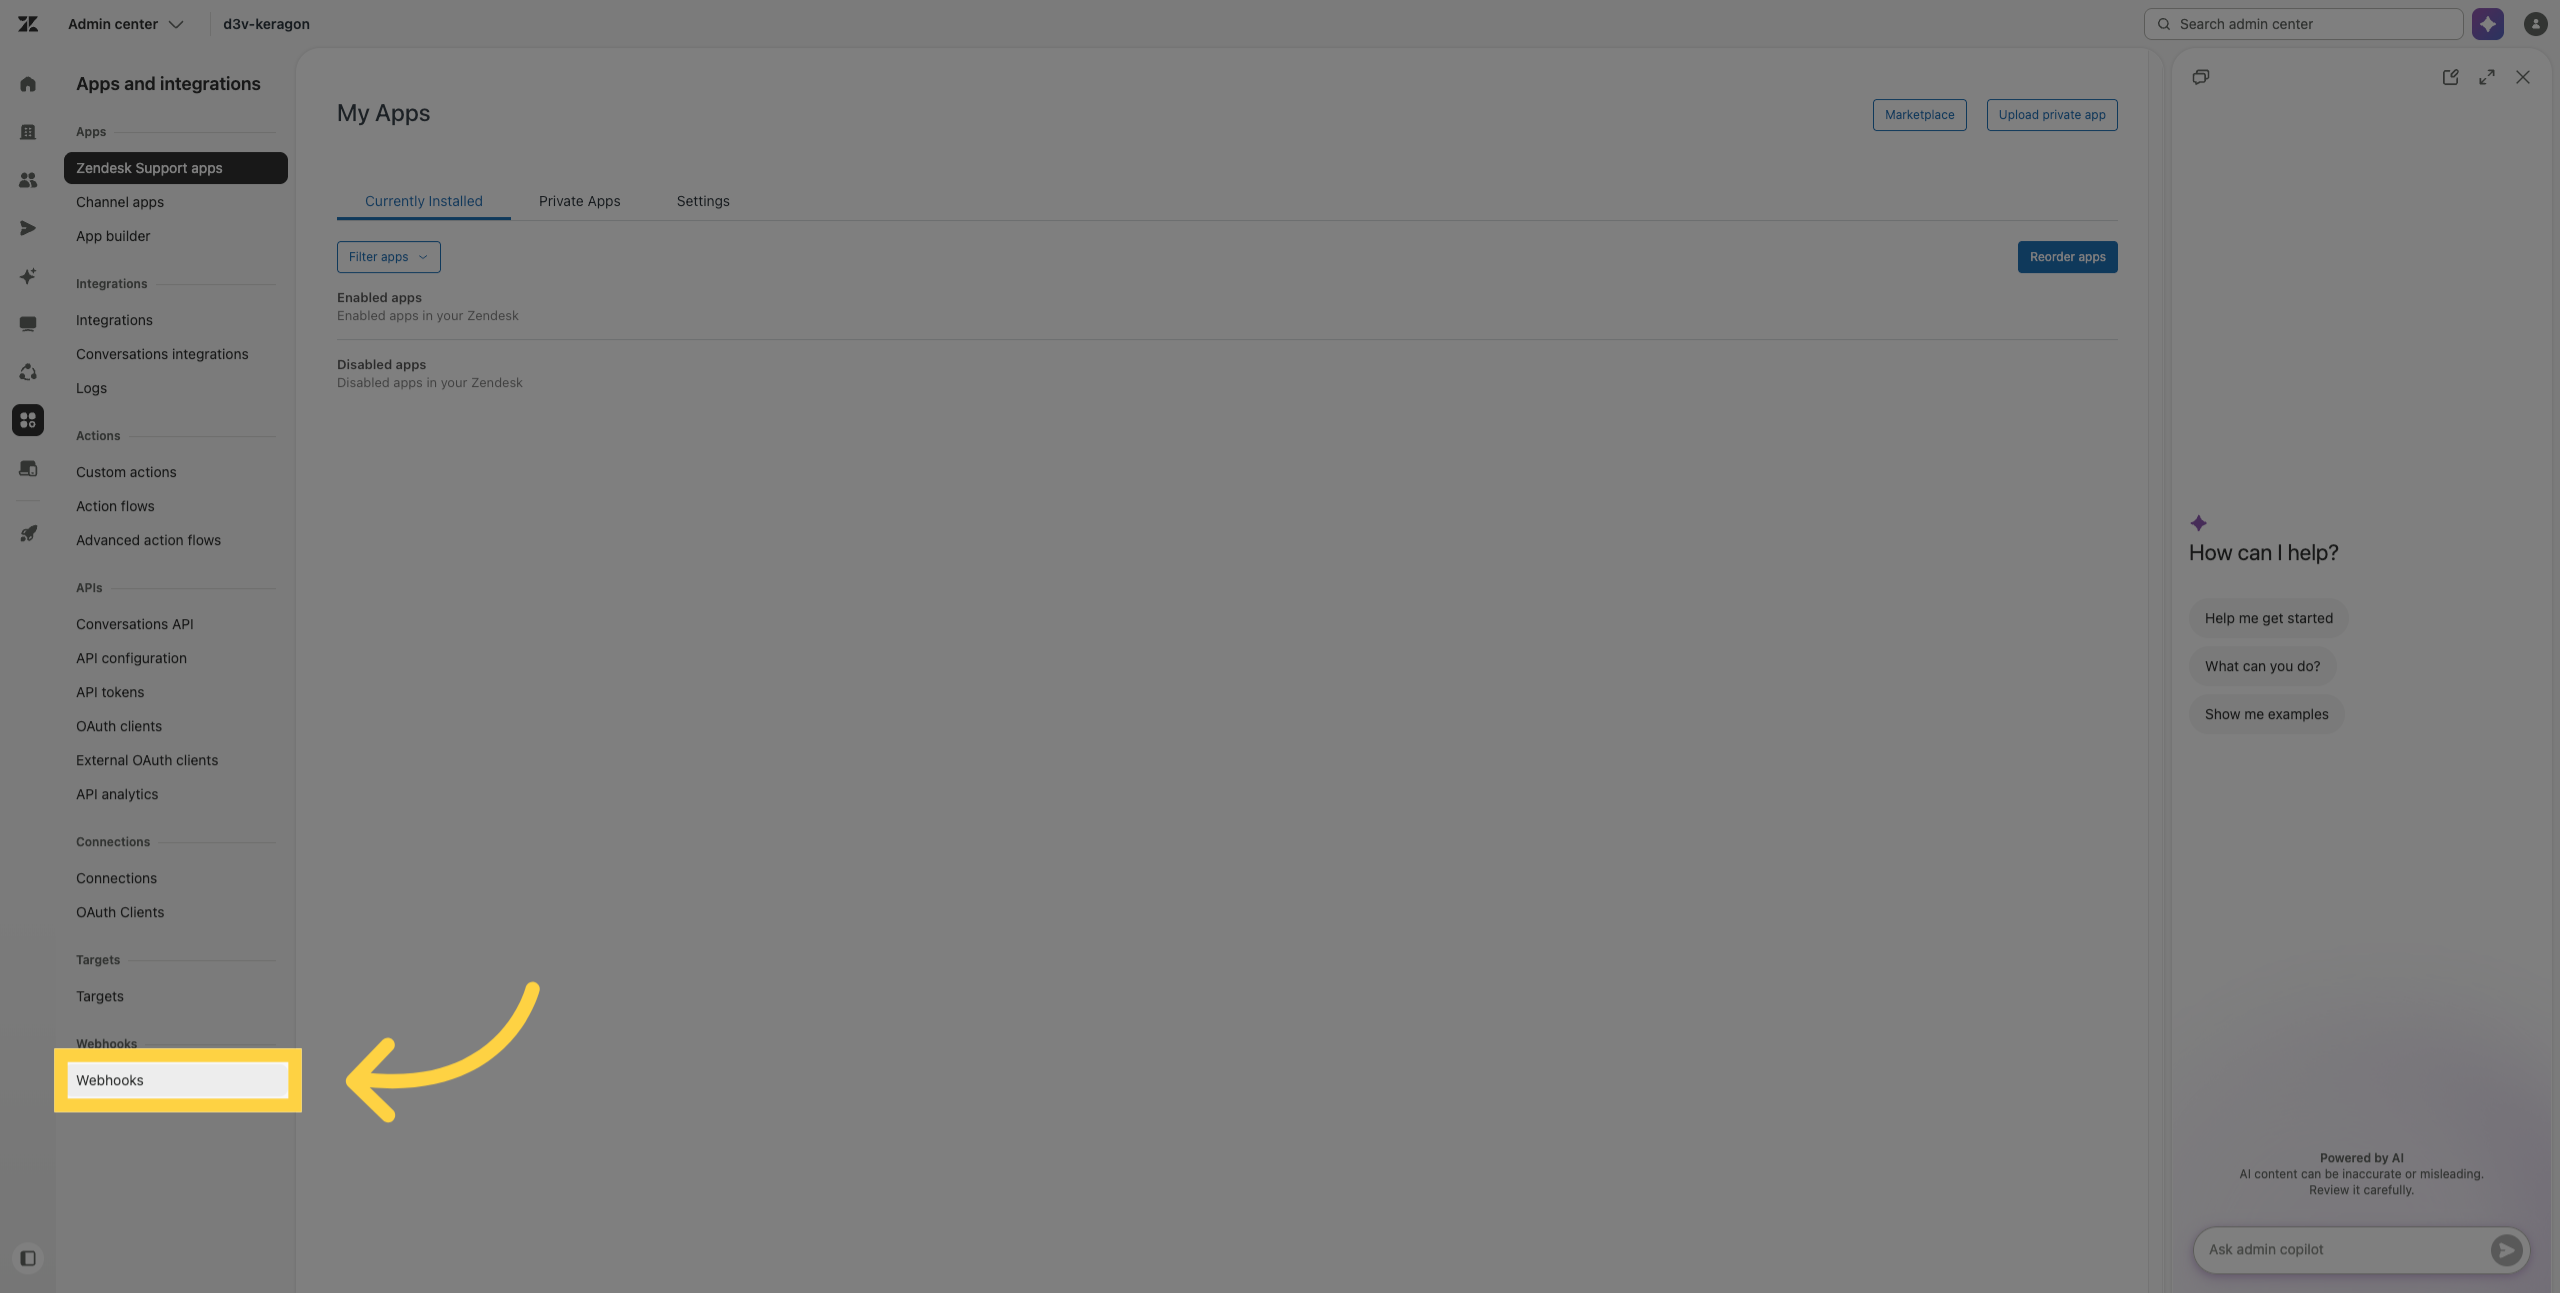
5. Access Webhooks Settings
Select the Webhooks option to view and manage webhook configurations.
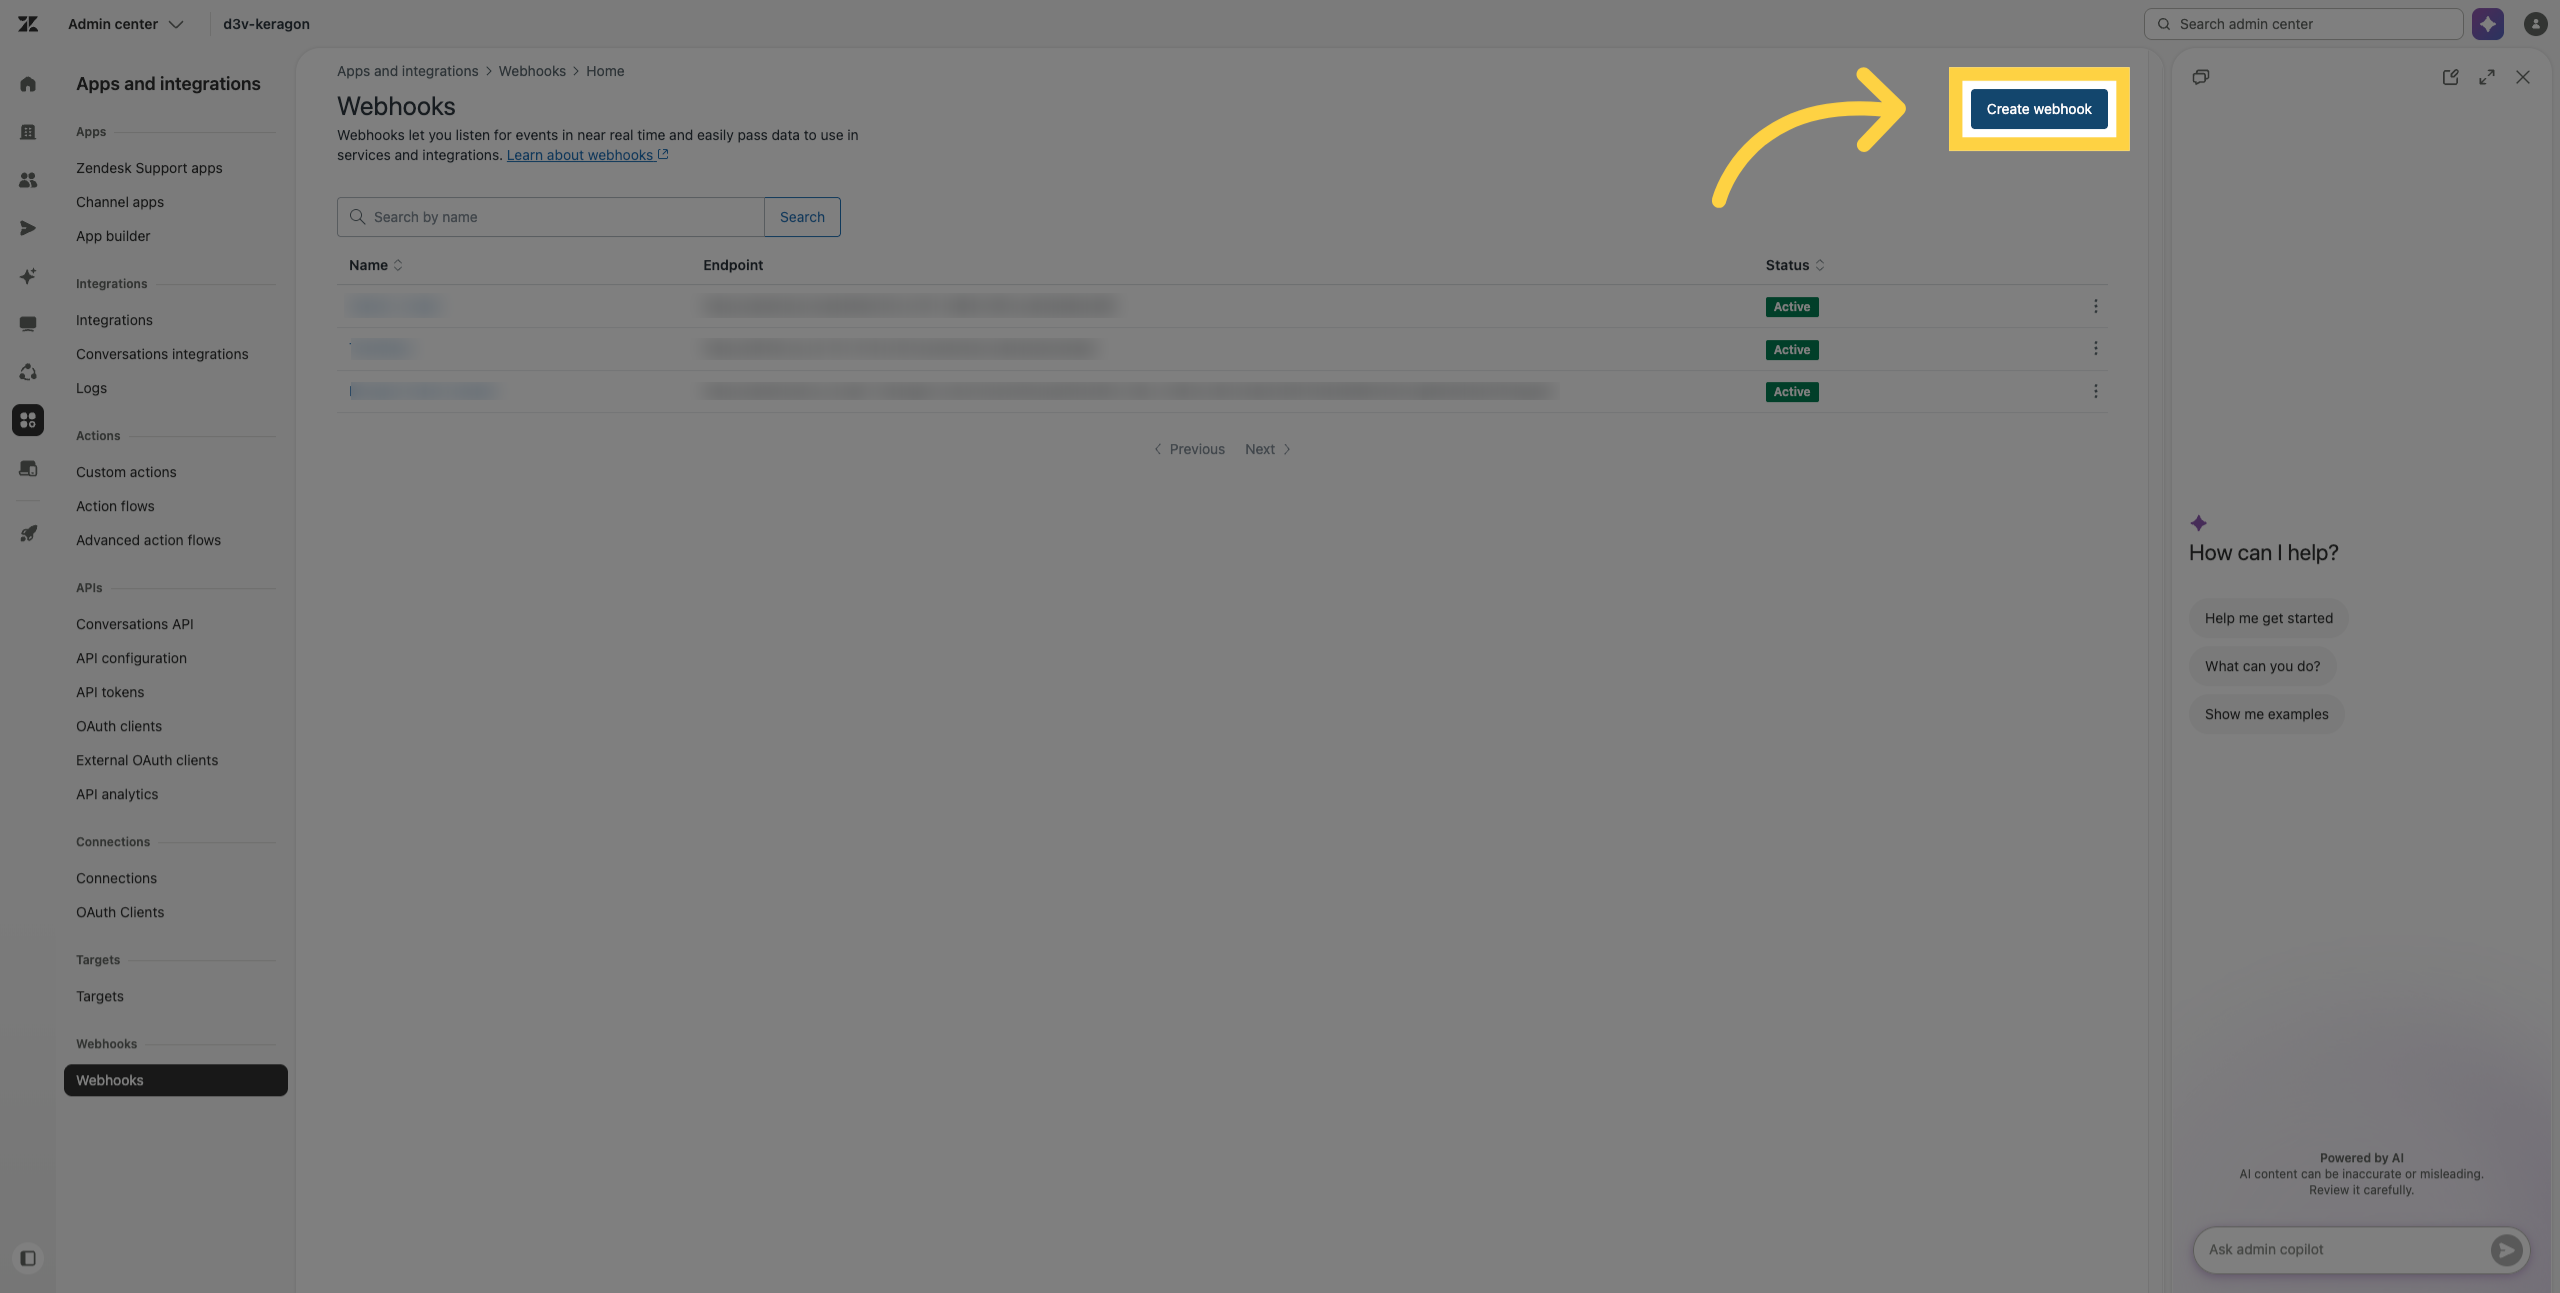
6. Initiate Webhook Creation
Click Create webhook.
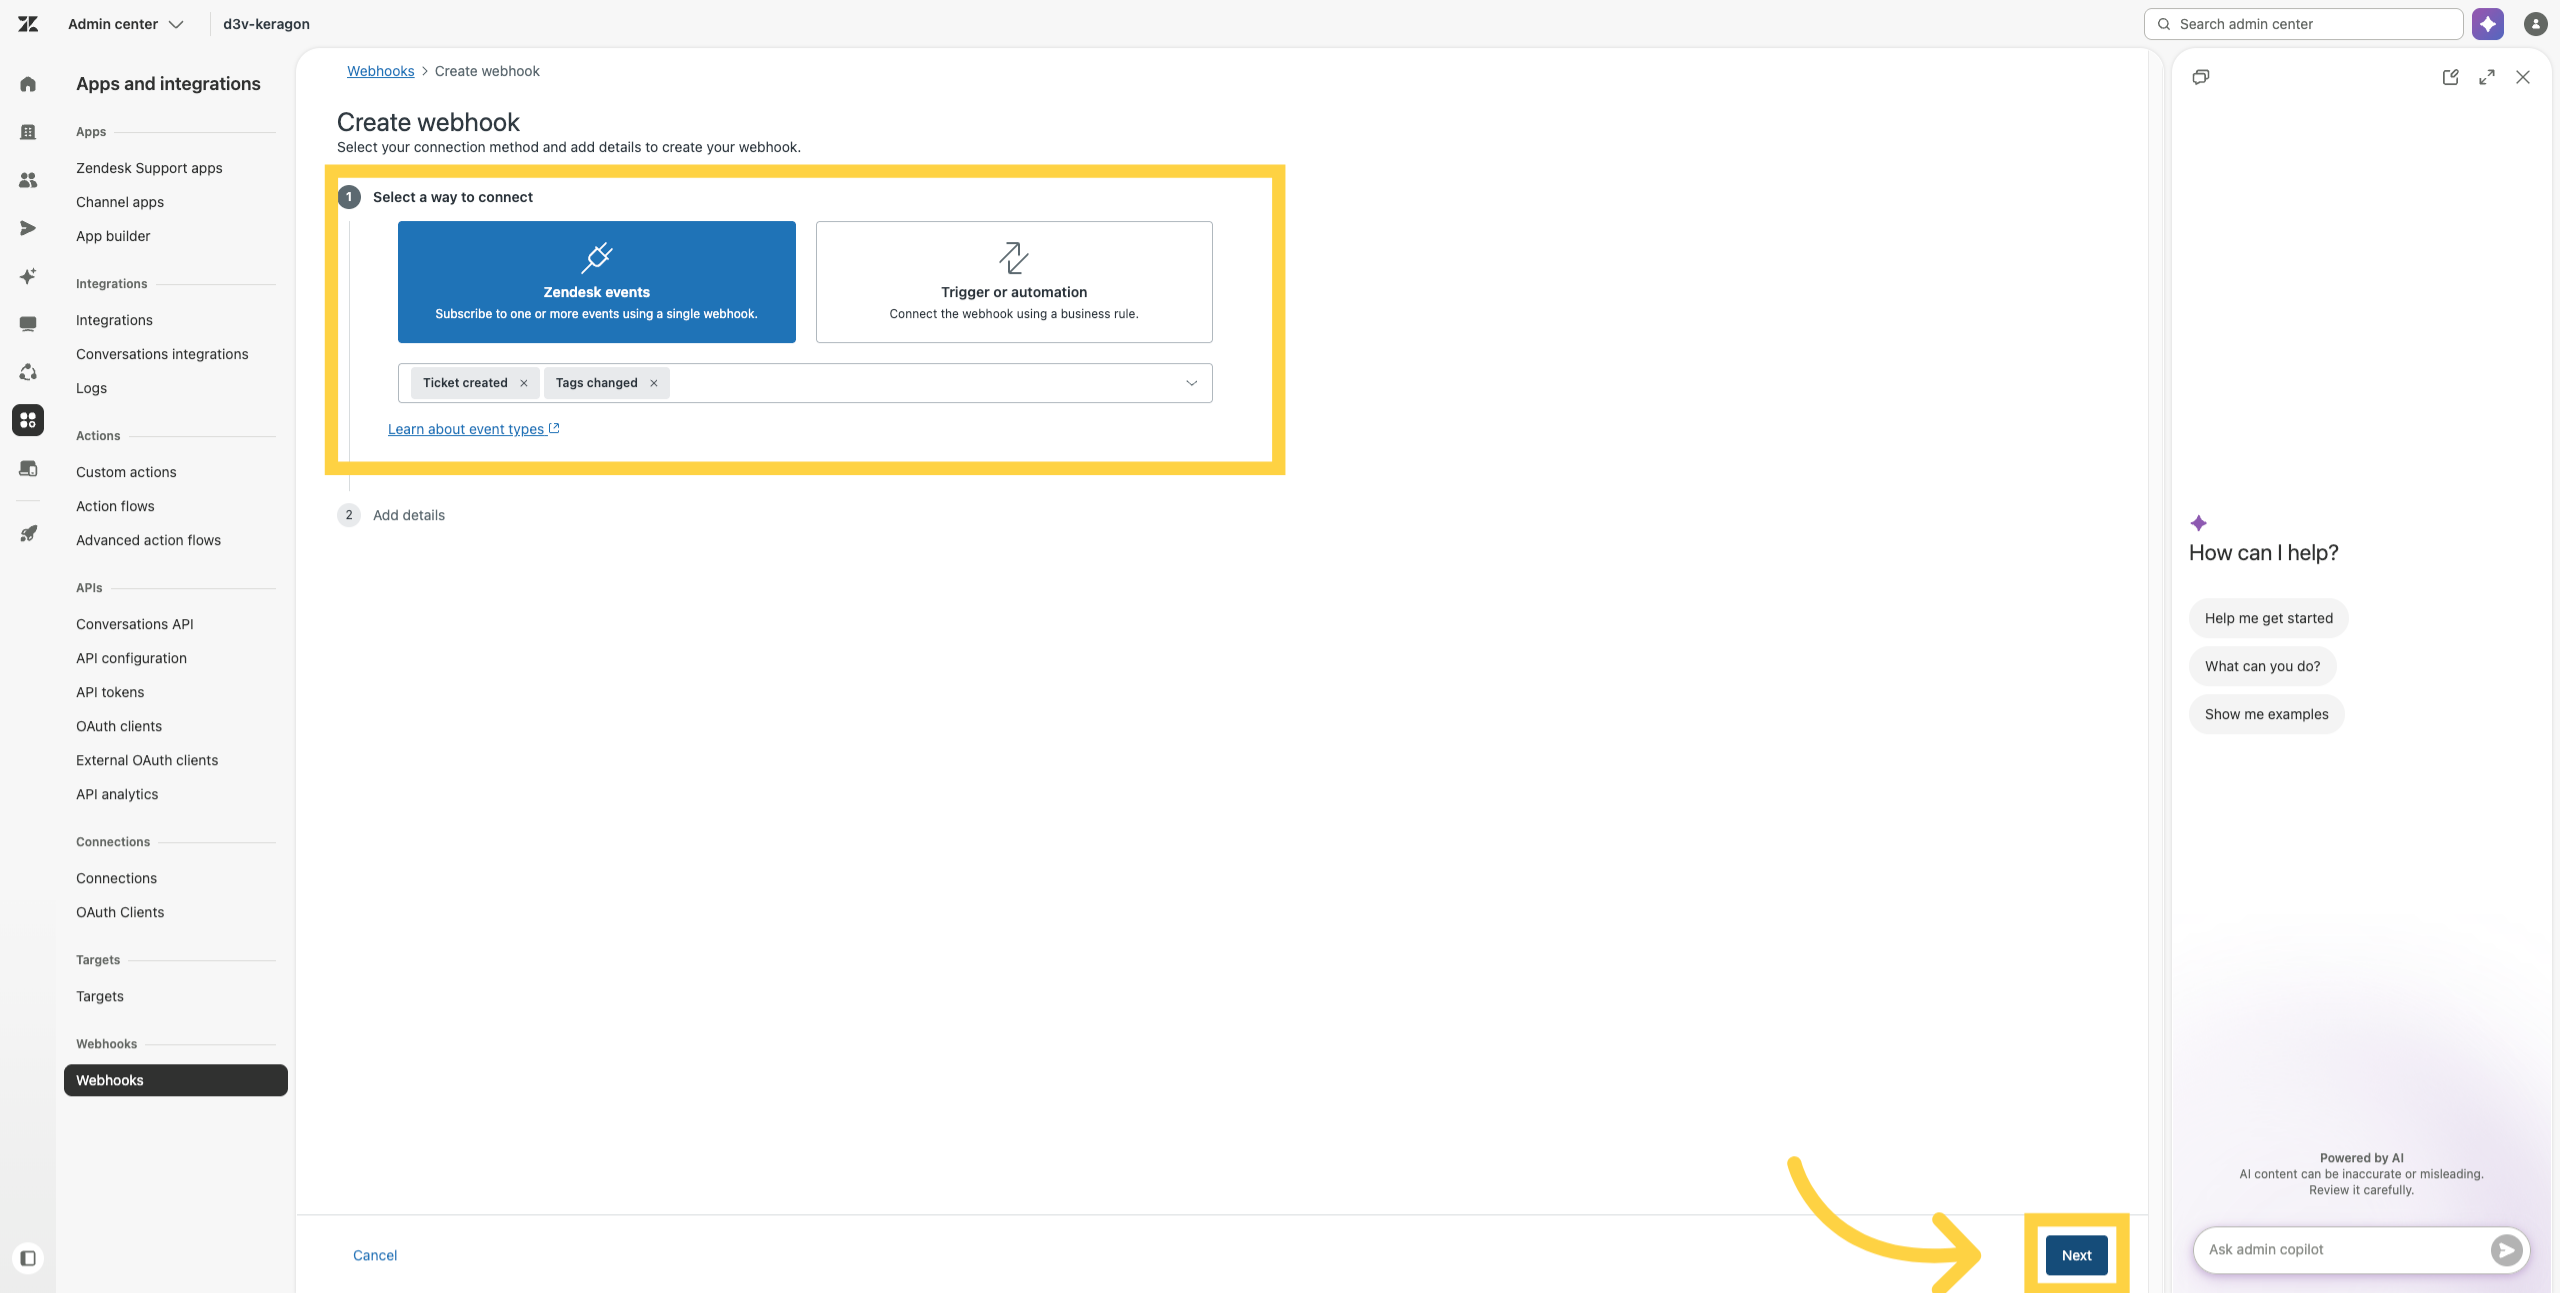
7. Select Your Trigger Events
Select your events and click next.
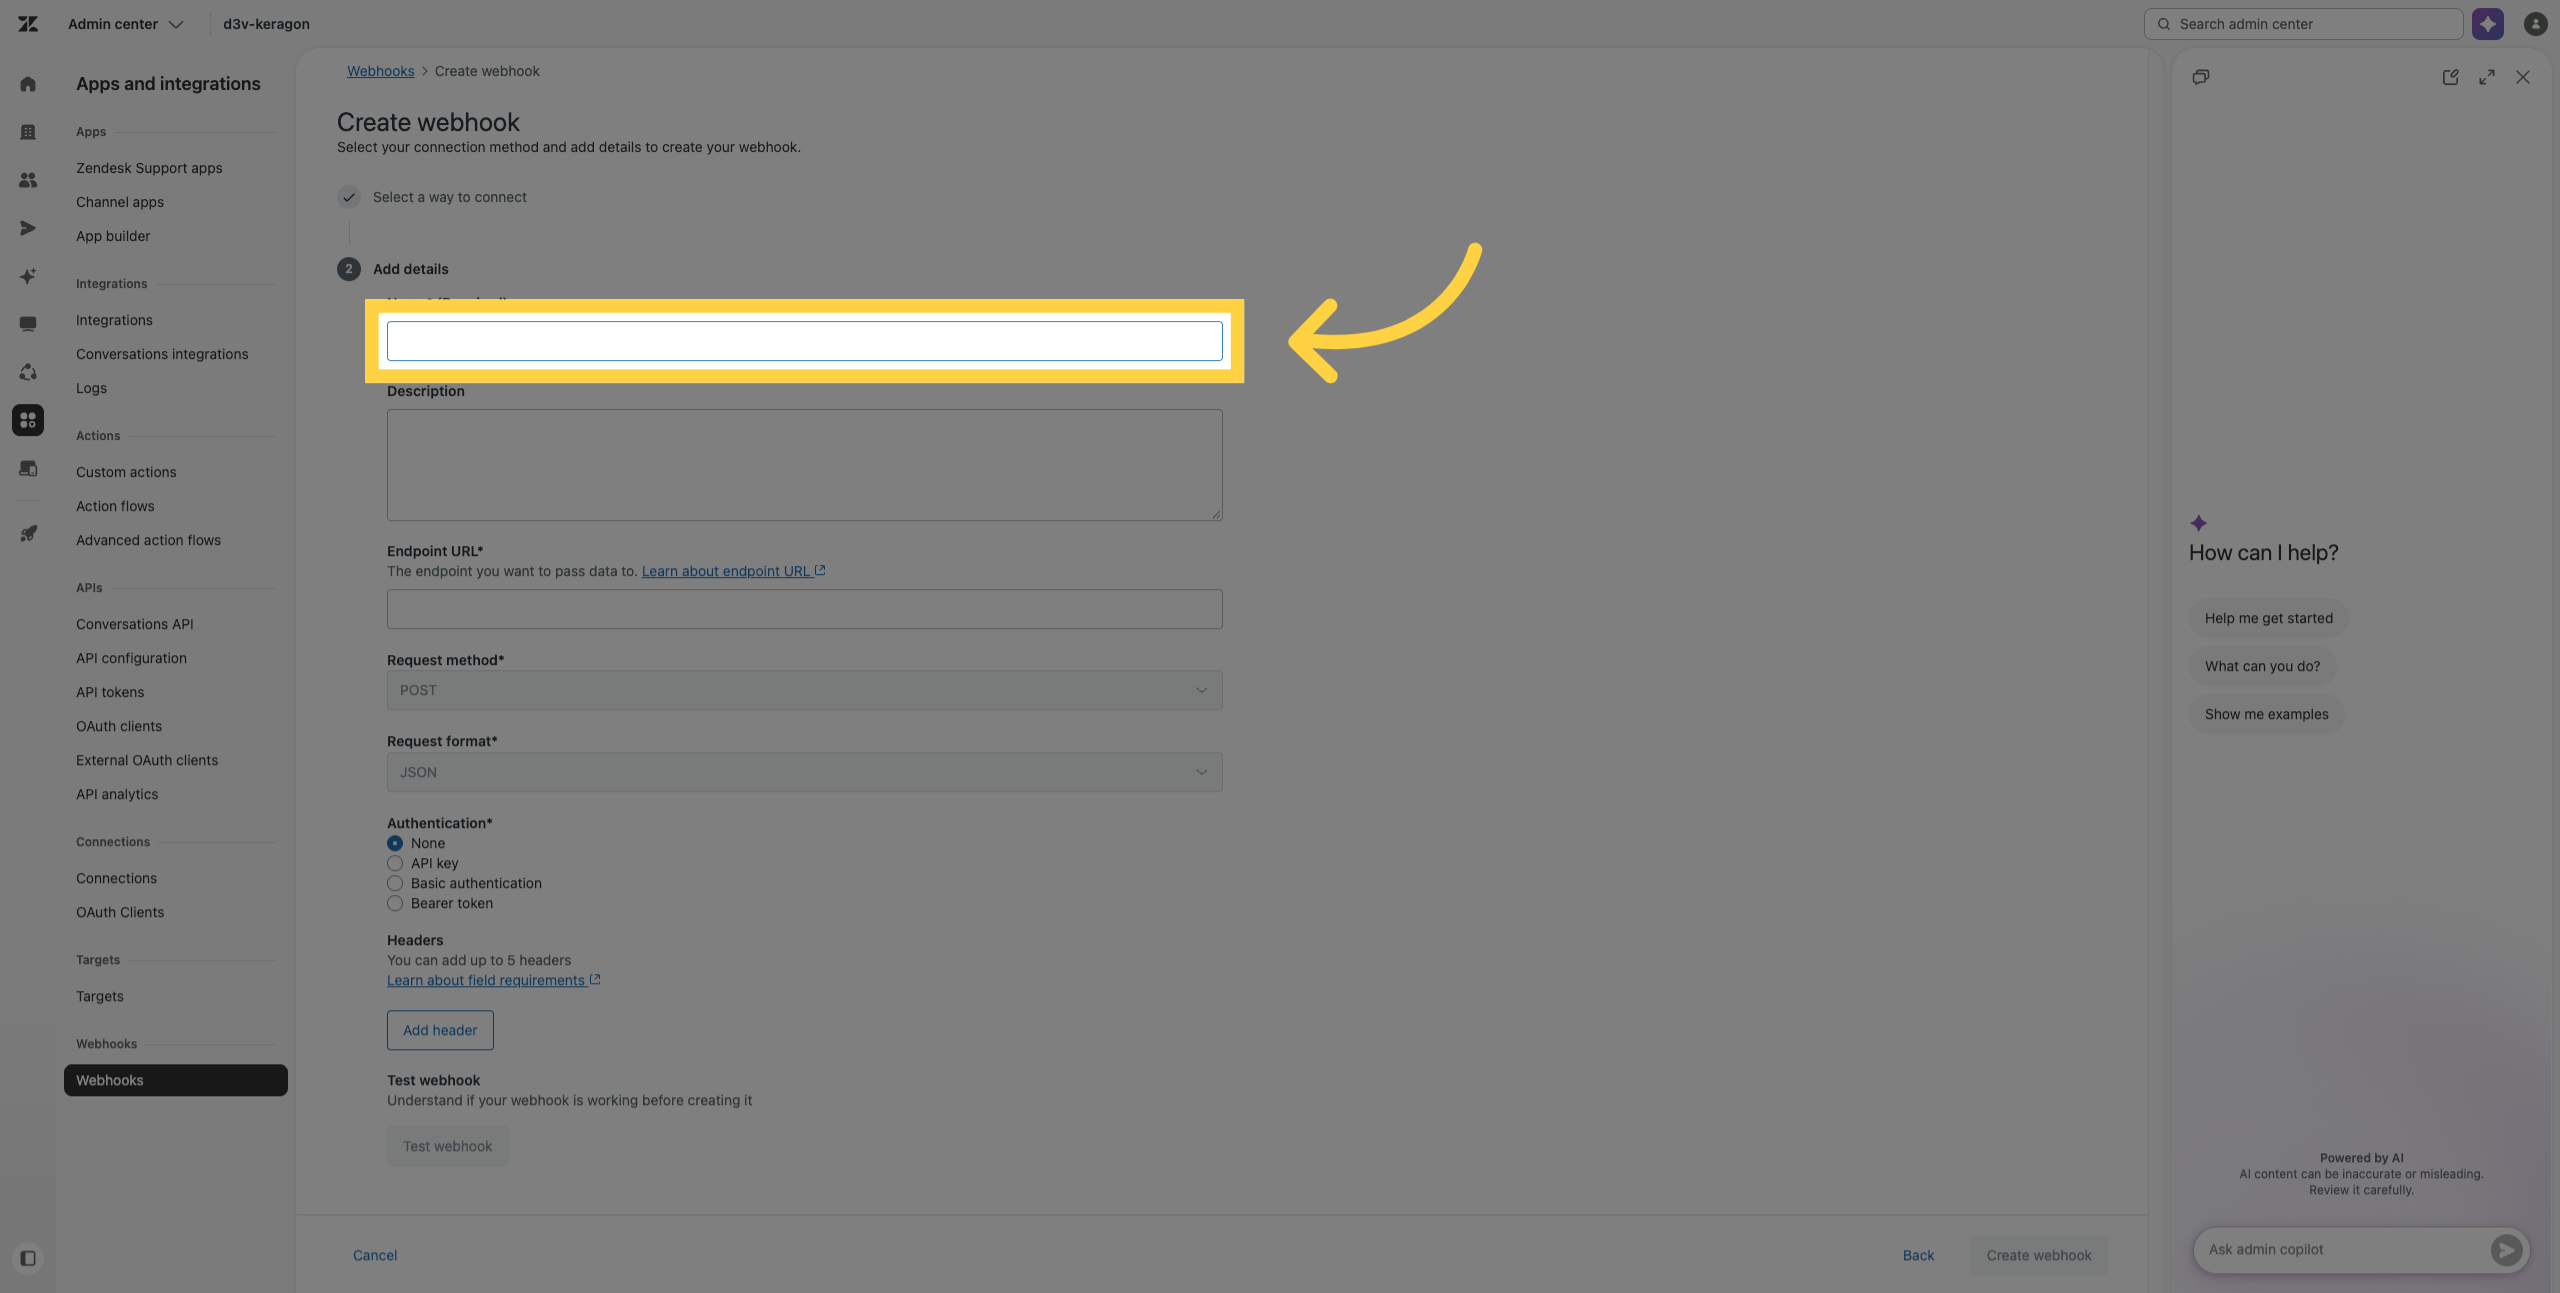
8. Add Webhook Name
Add a name for your webhook.
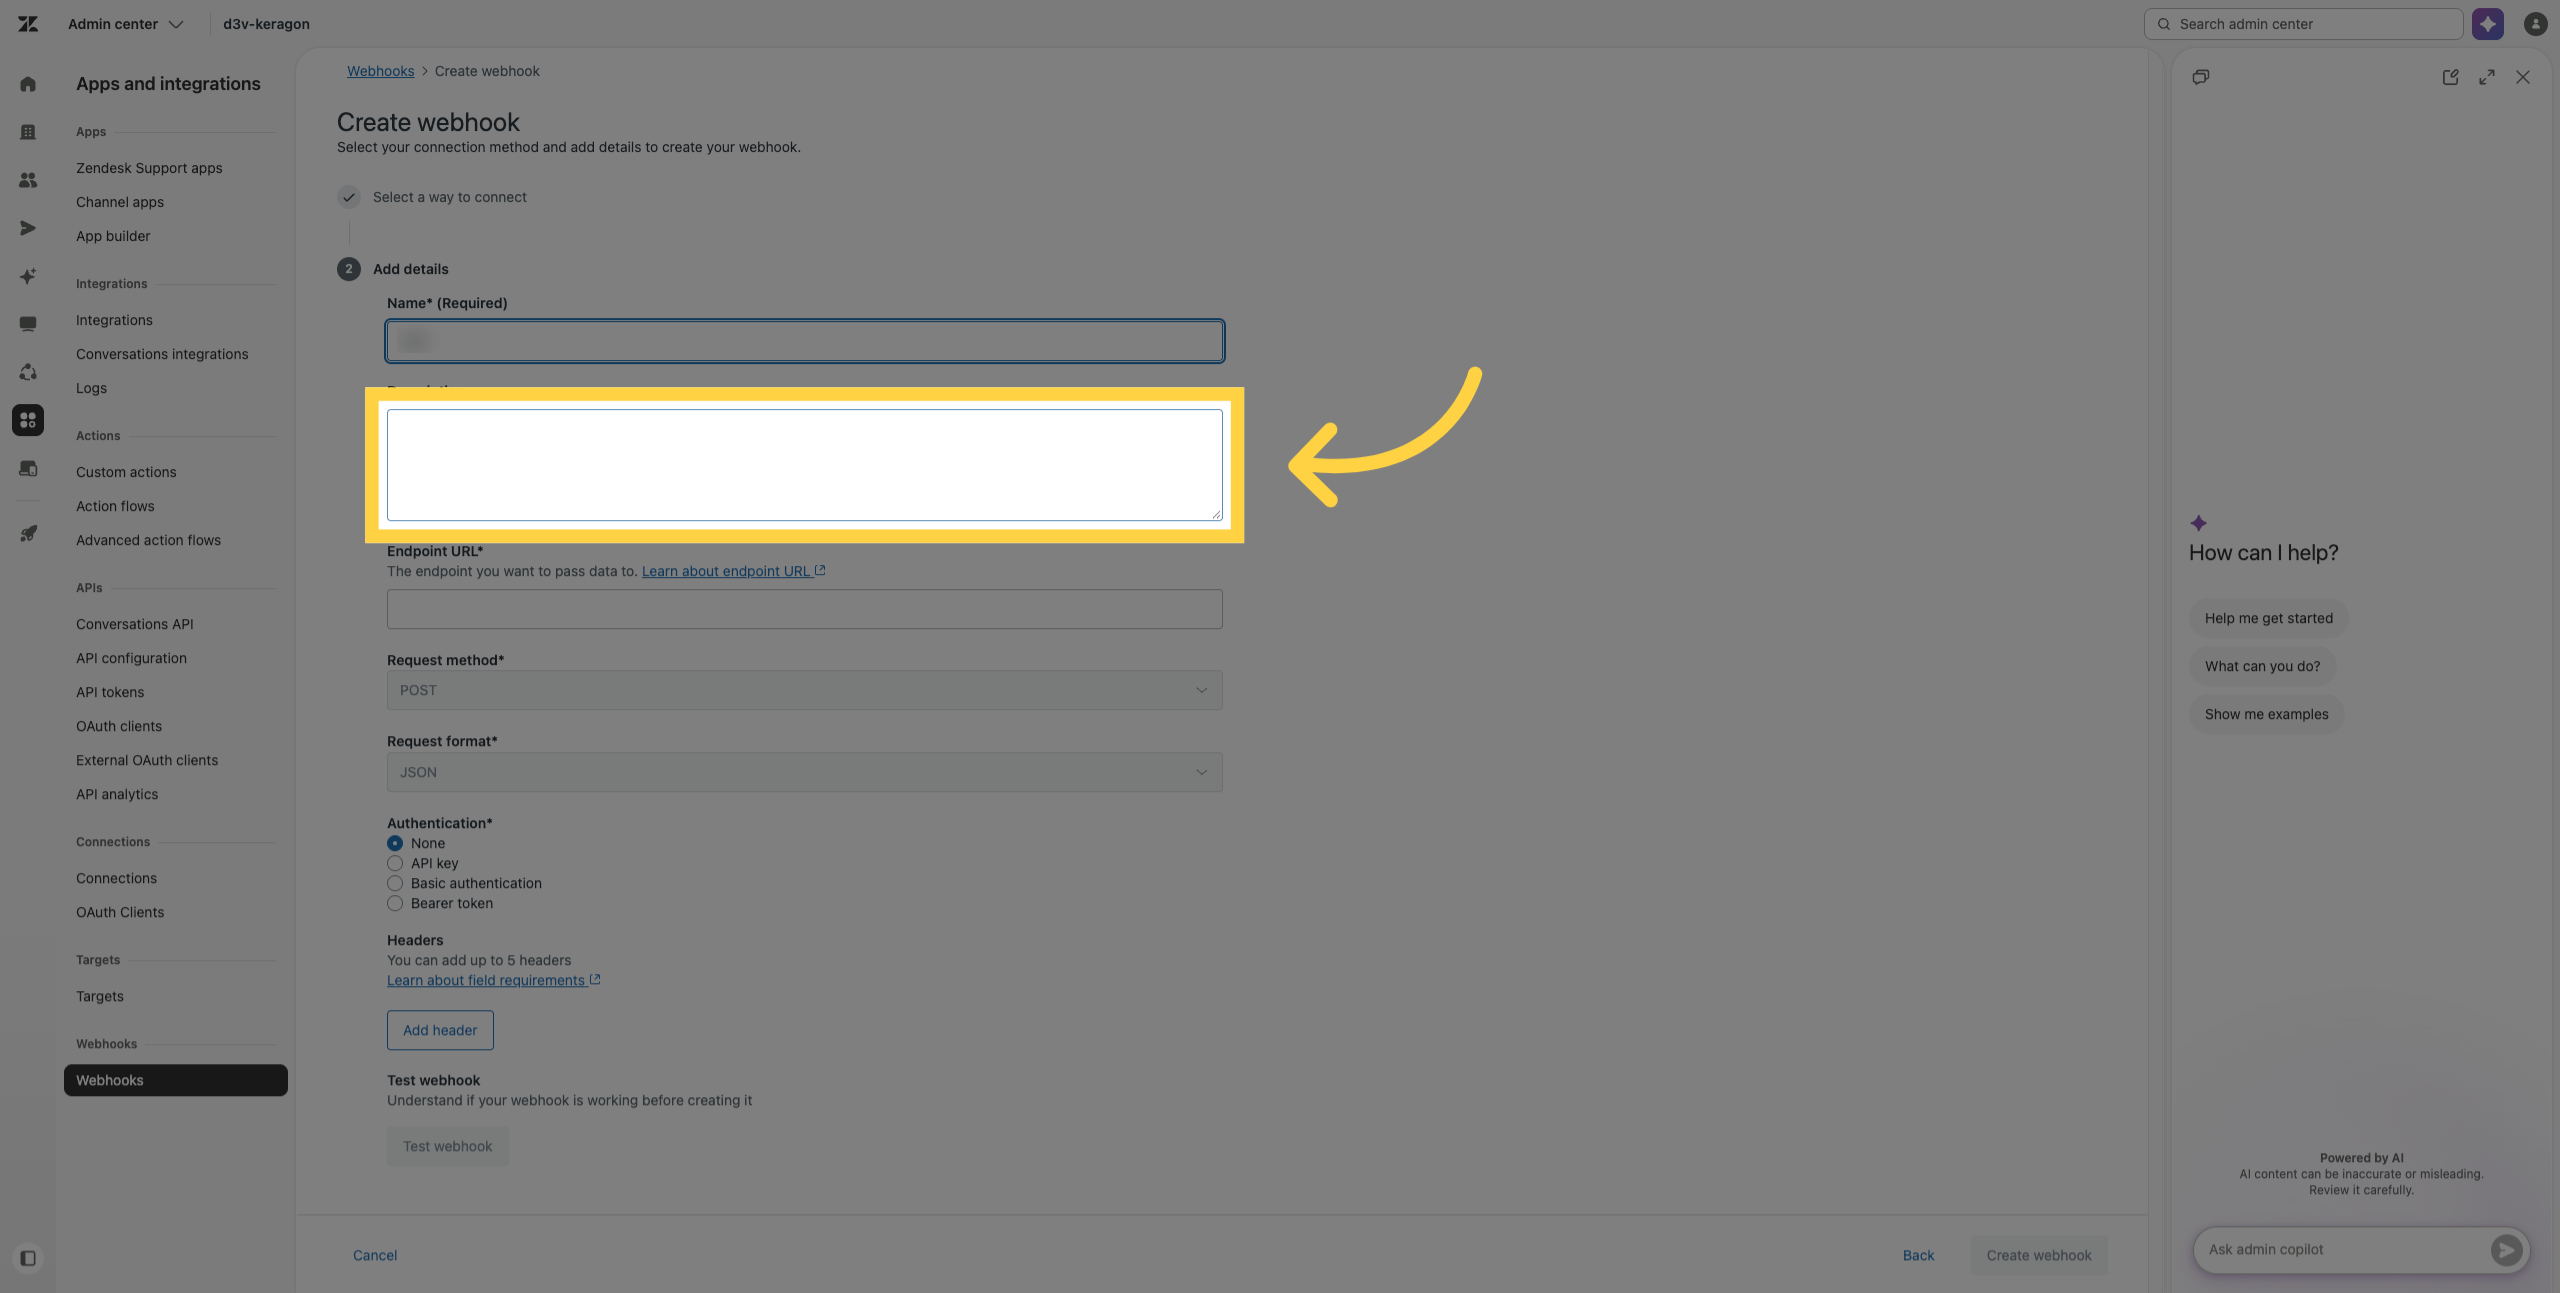
9. Add Description
Add a description for your webhook
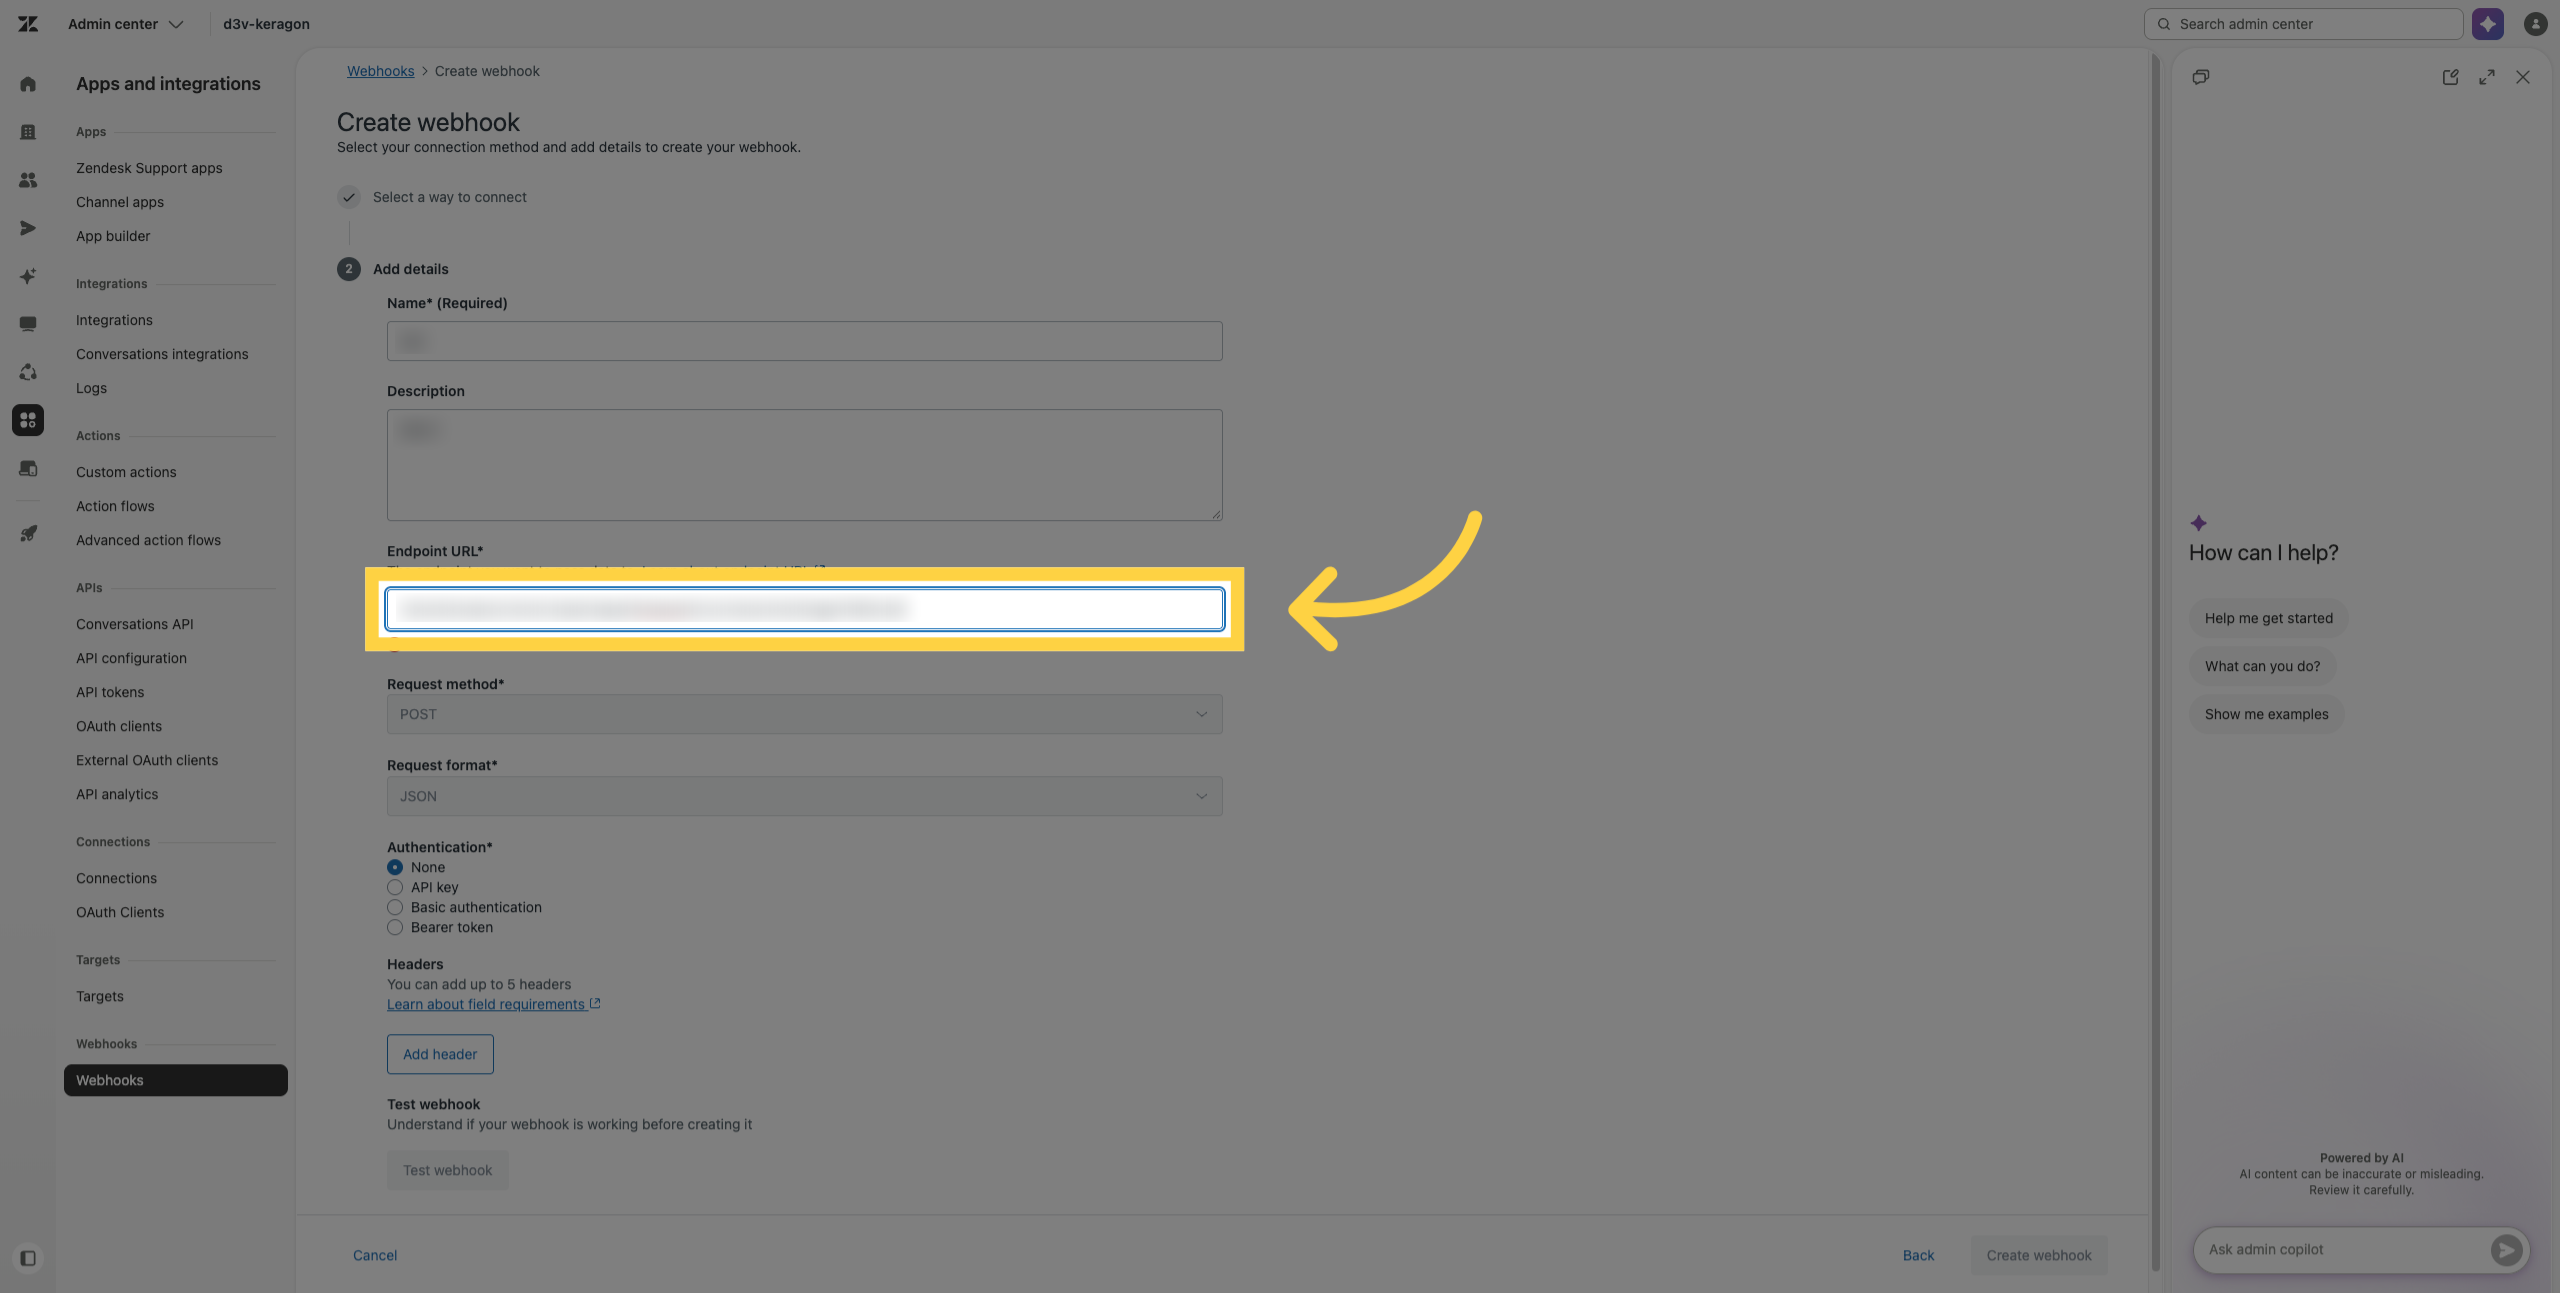
10. Edit The Endpoint URL Field
Add your Keragon webhook URL, provided after publishing in the platform.
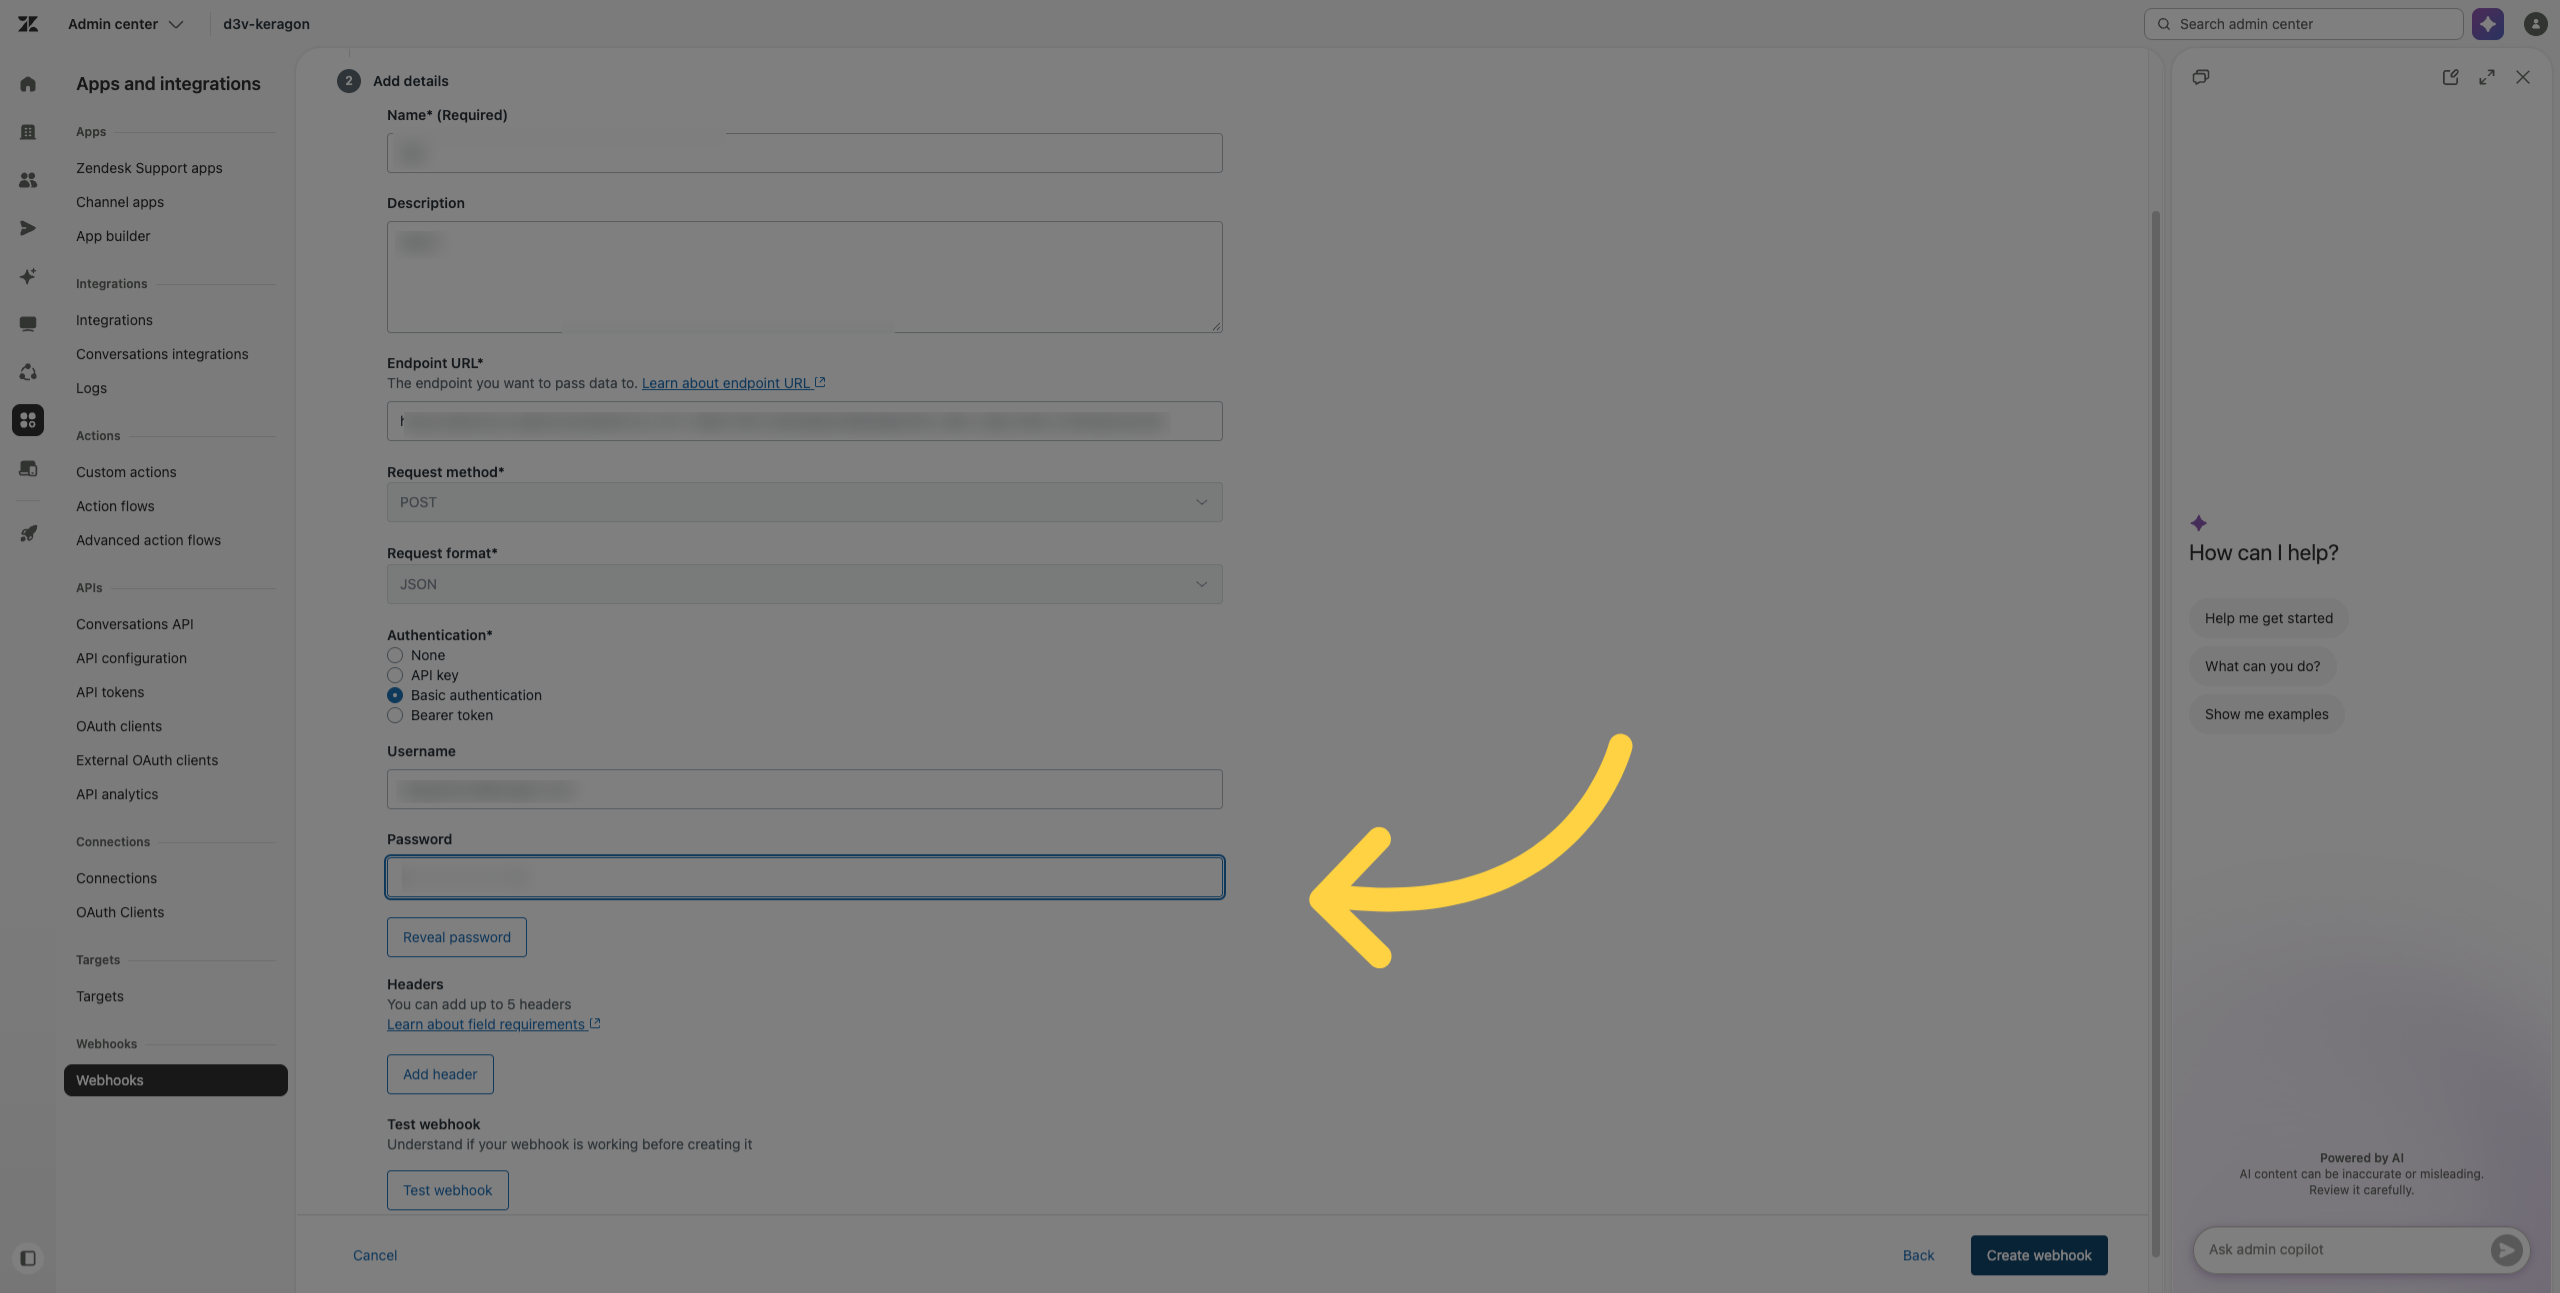
11. Edit Authentication
Select basic authentication and provide your Zendesk username and password
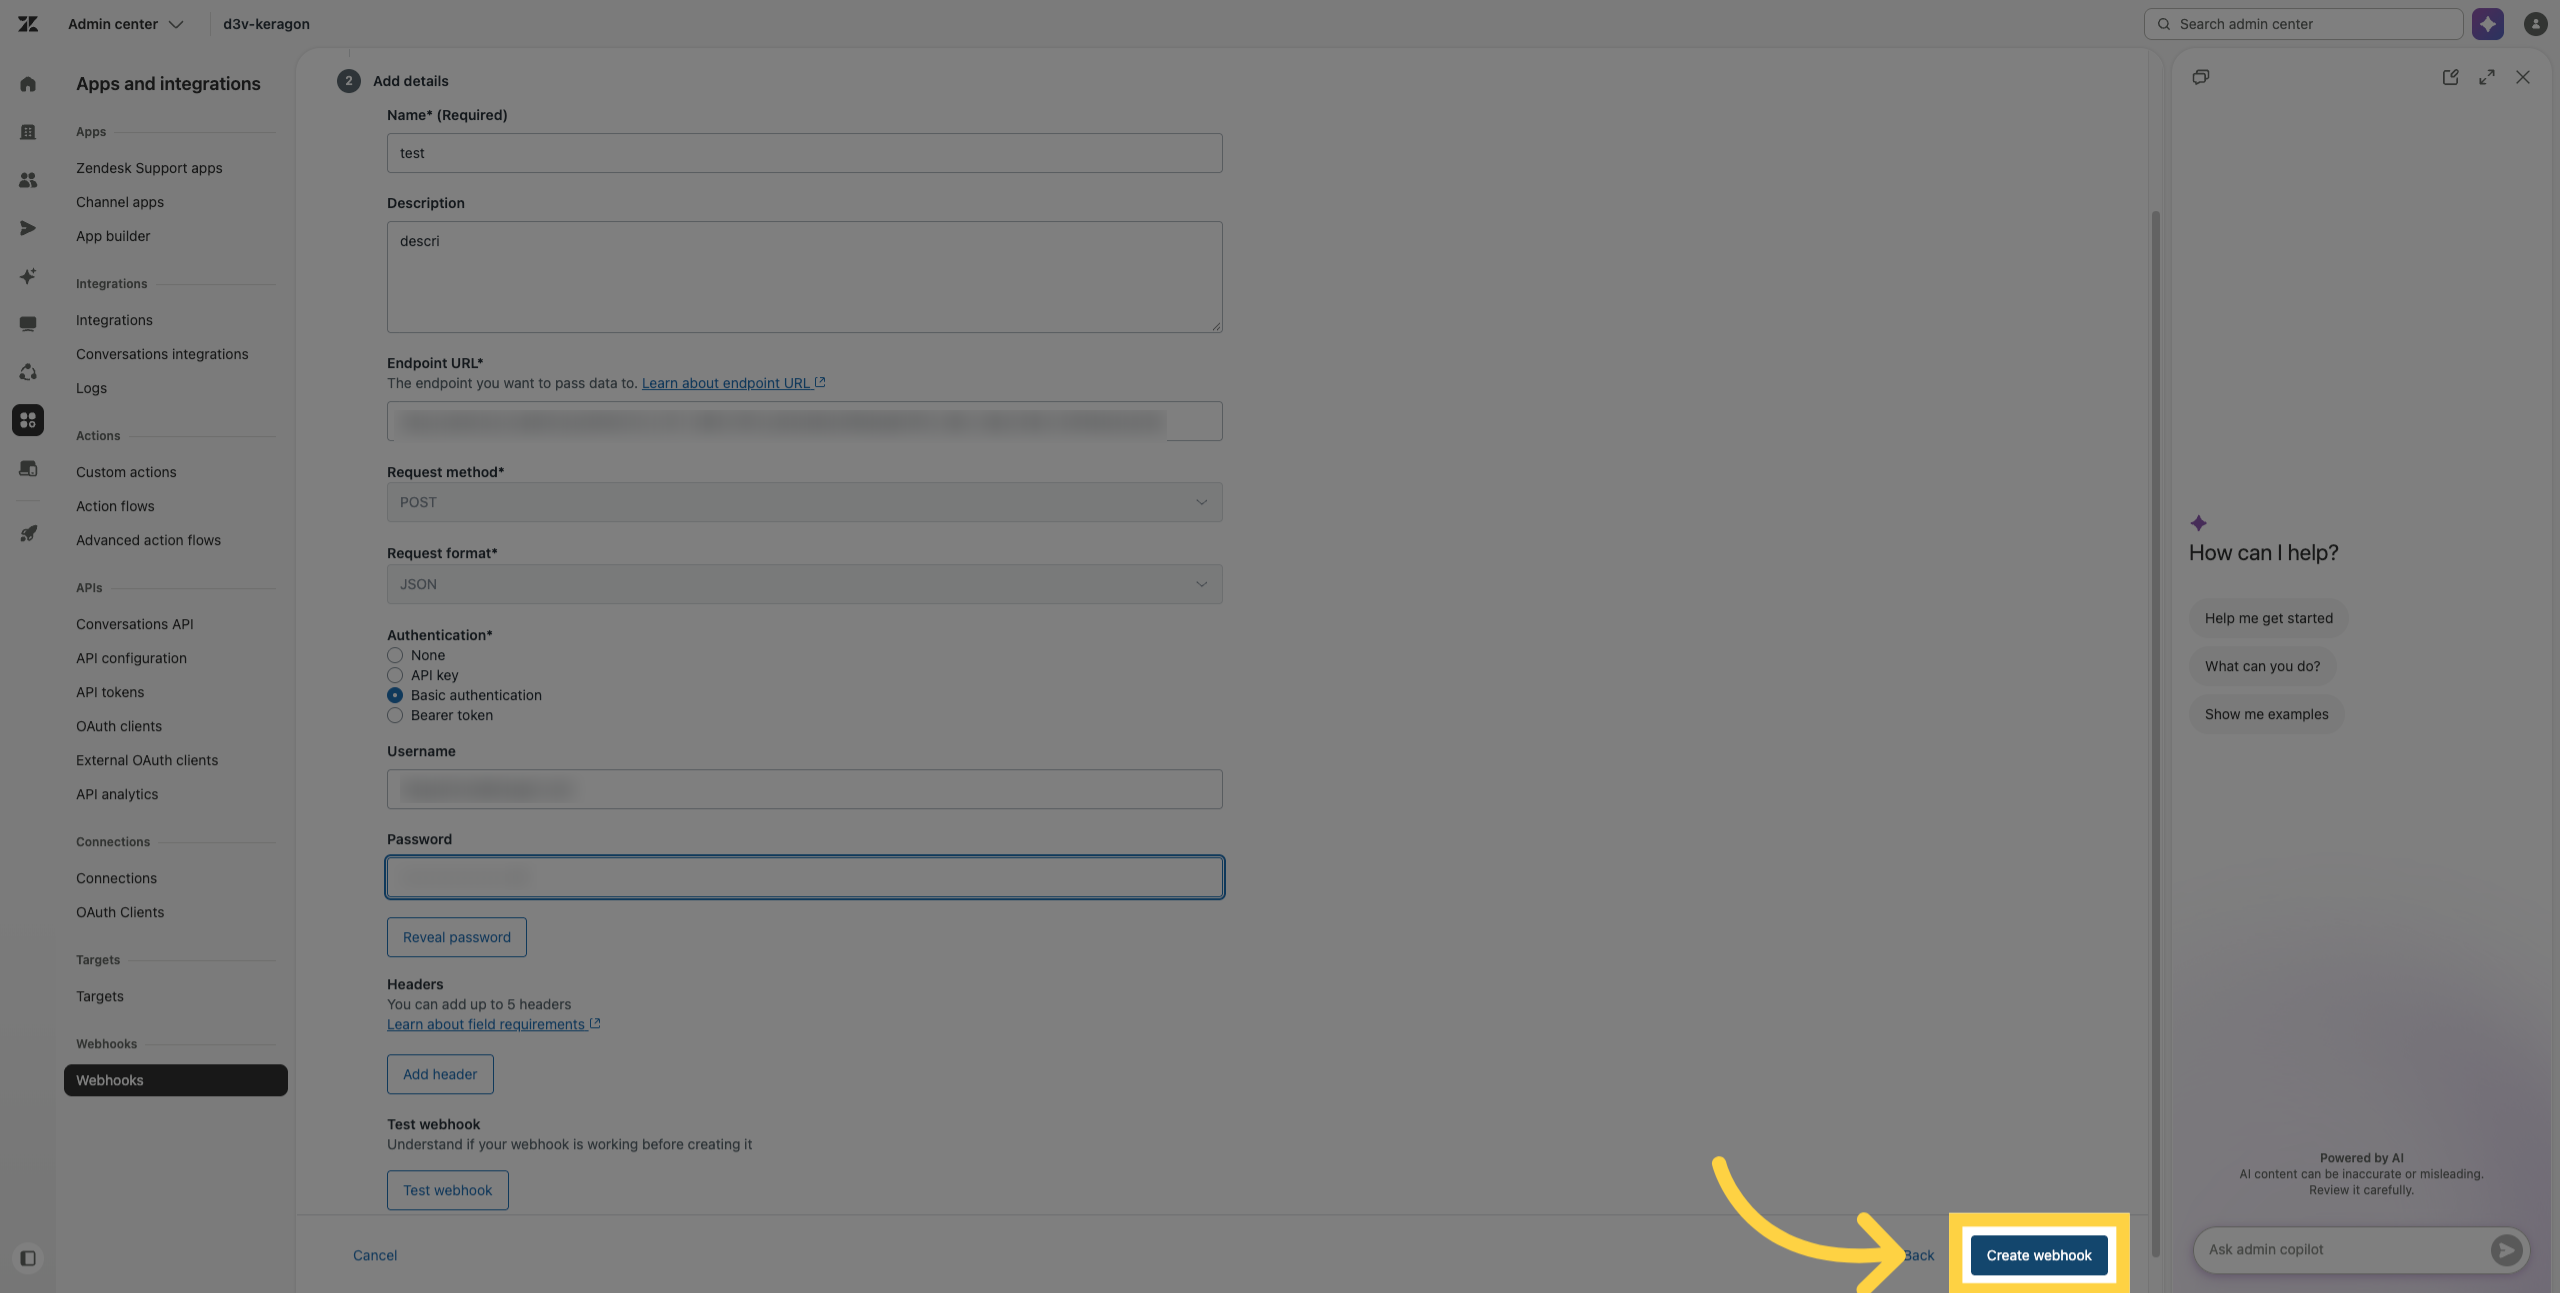
12. Finalize Webhook Creation
Complete the setup by creating the webhook
You have successfully configured a webhook in Zendesk to trigger on specific ticket events.