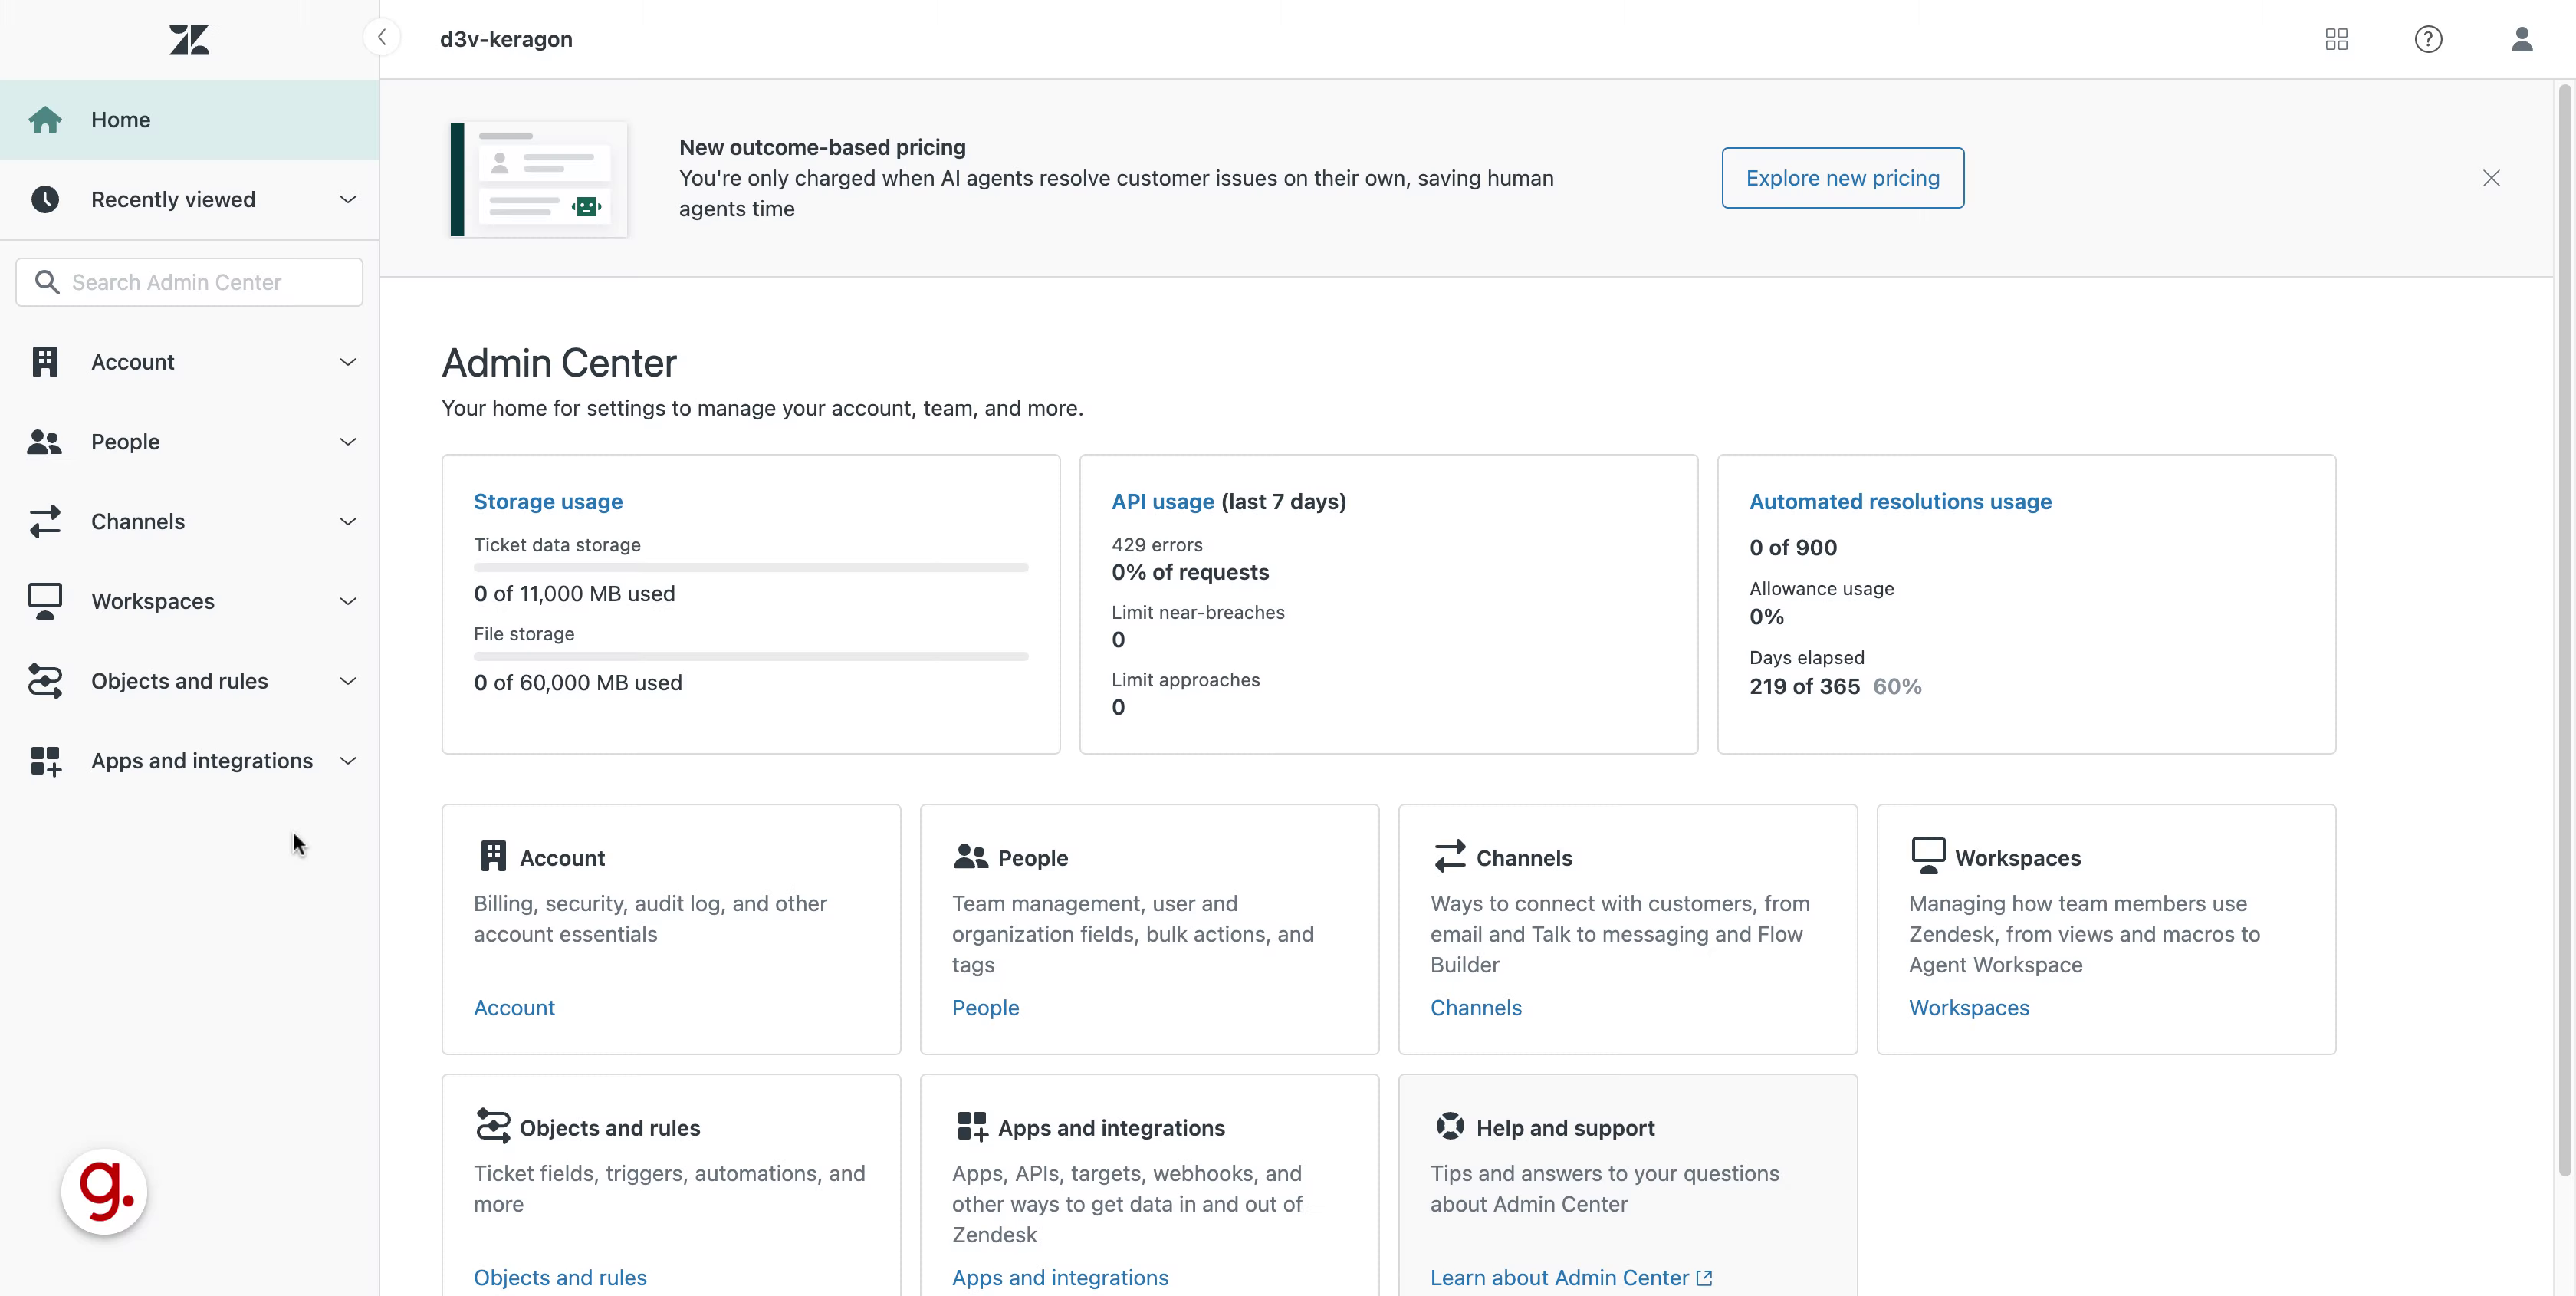
1. Introduction
Login to Zendesk admin center
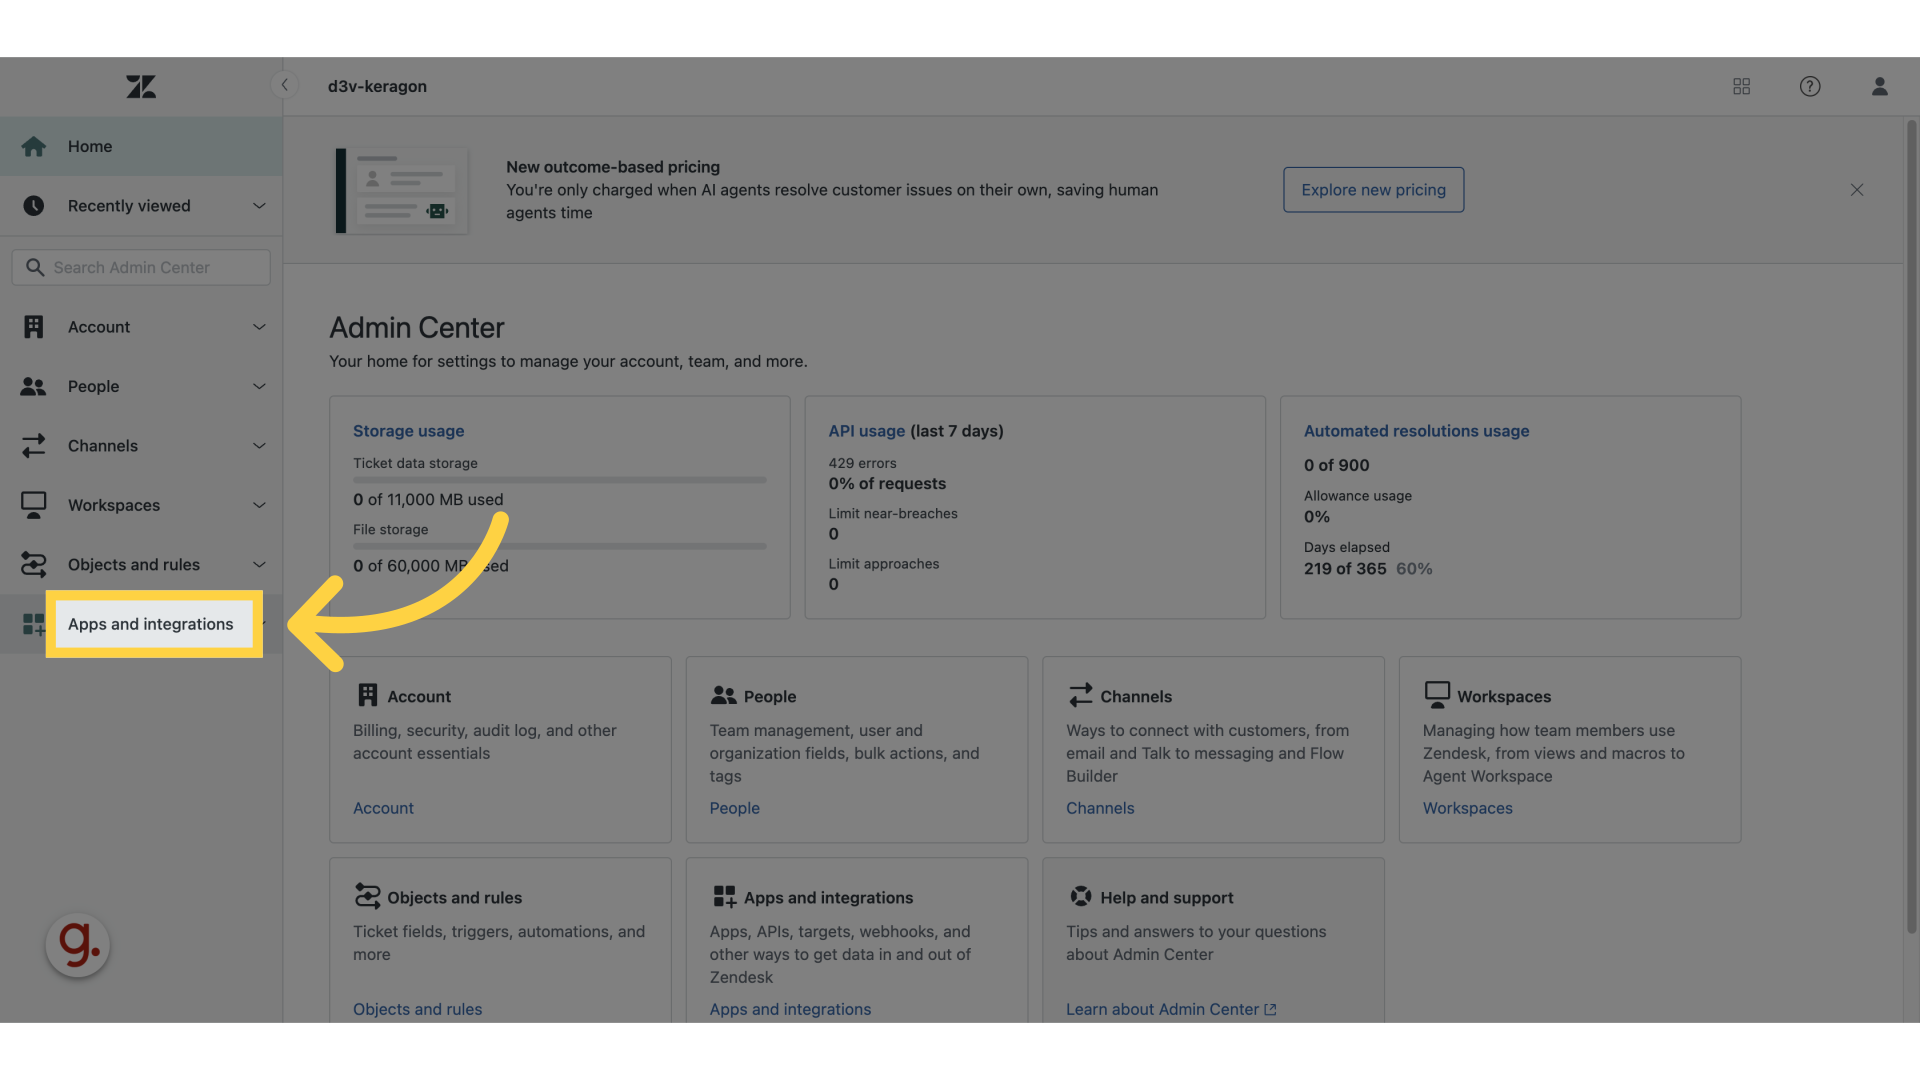
2. Click "Apps and integrations"
Go to apps and integrations.
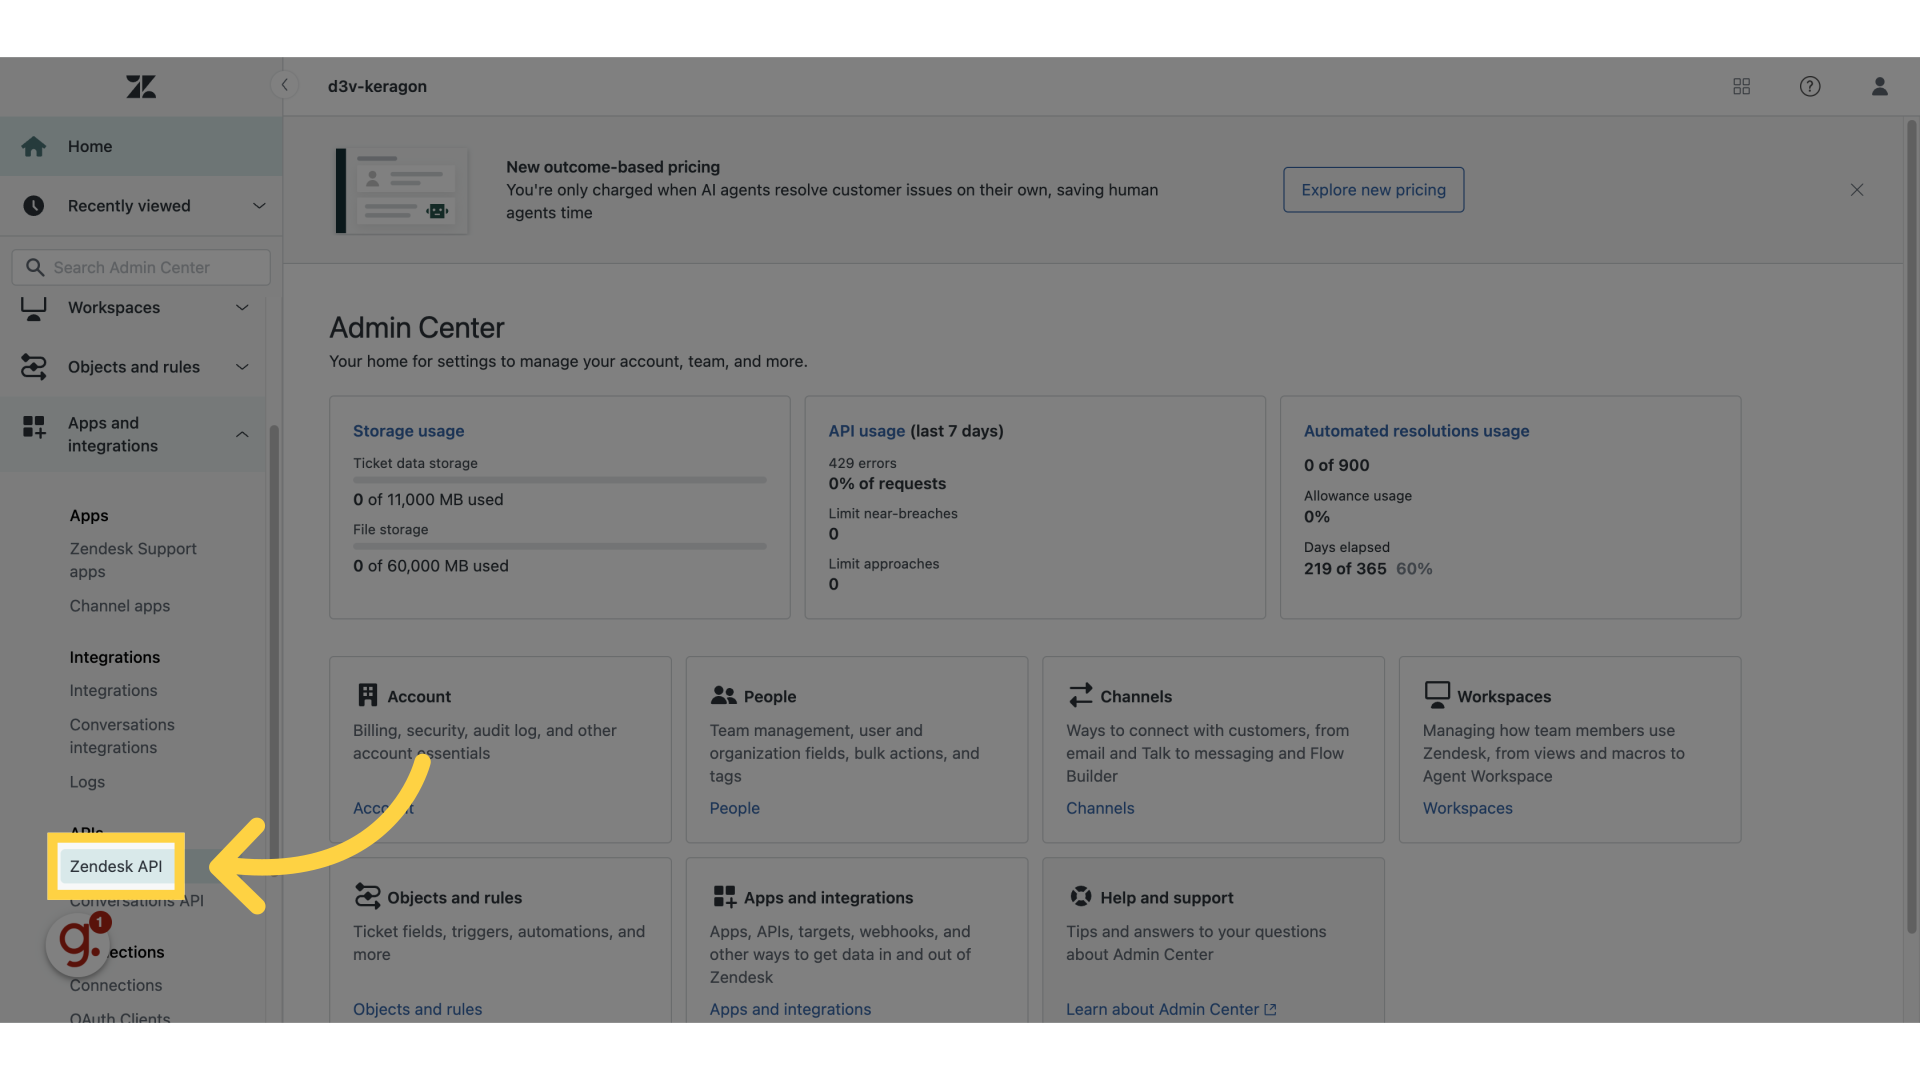
3. Click "Zendesk API"
Navigate to "Zendesk API"
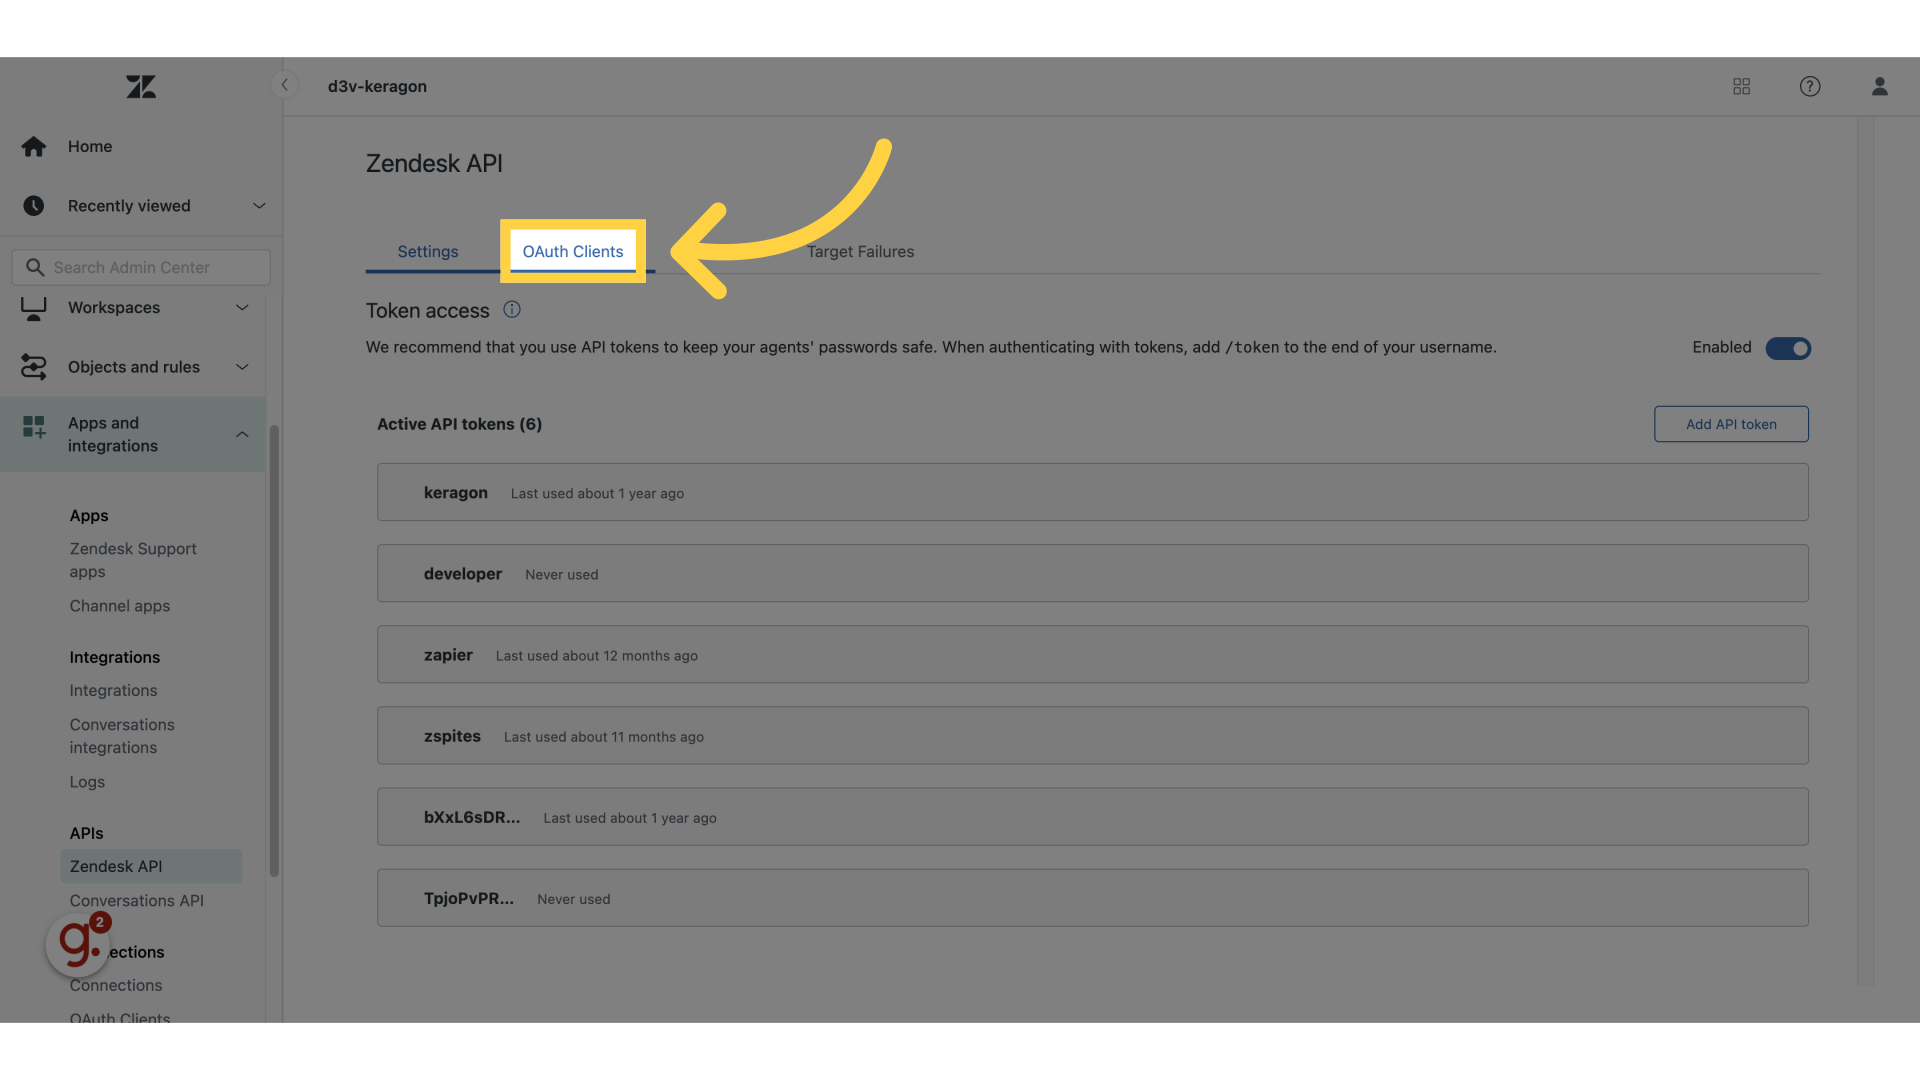
4. Click "OAuth Clients"
Manage OAuth clients for secure access.
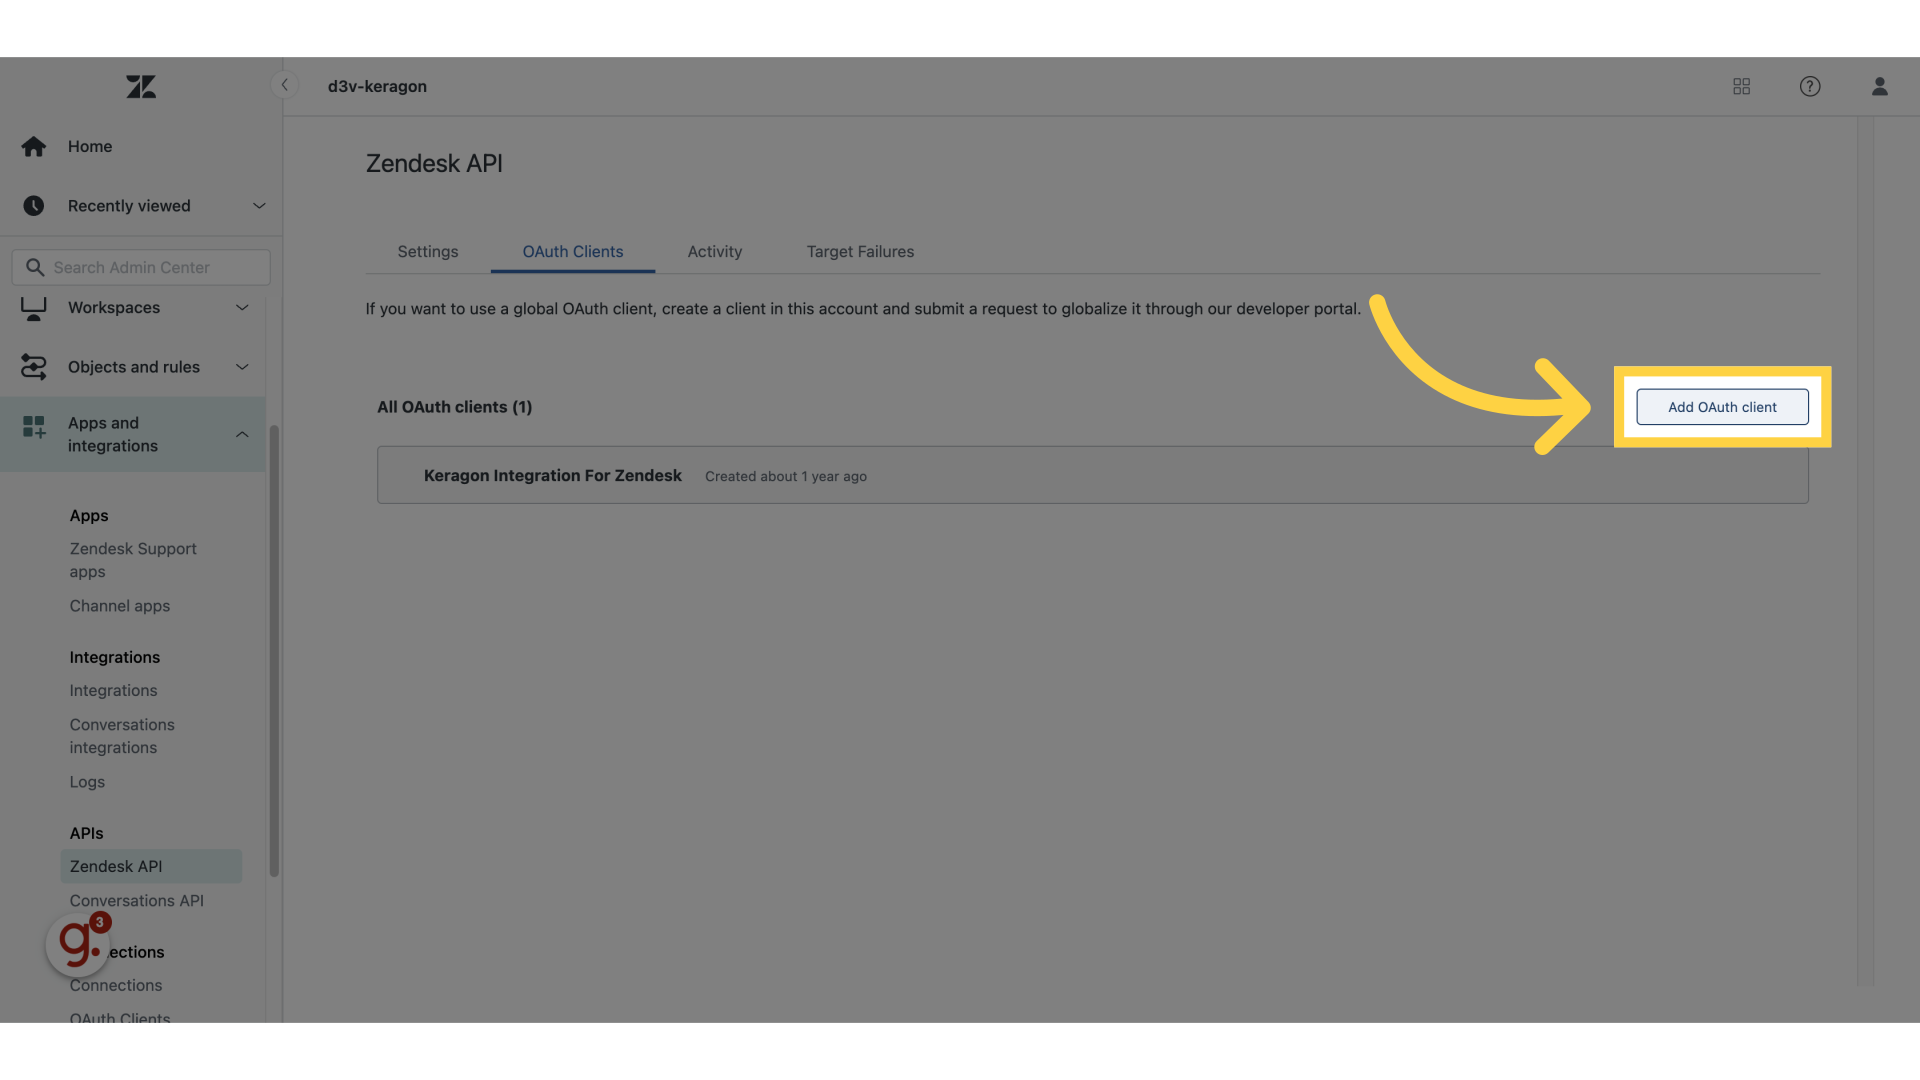
5. Click "Add OAuth client"
Create a new OAuth client.
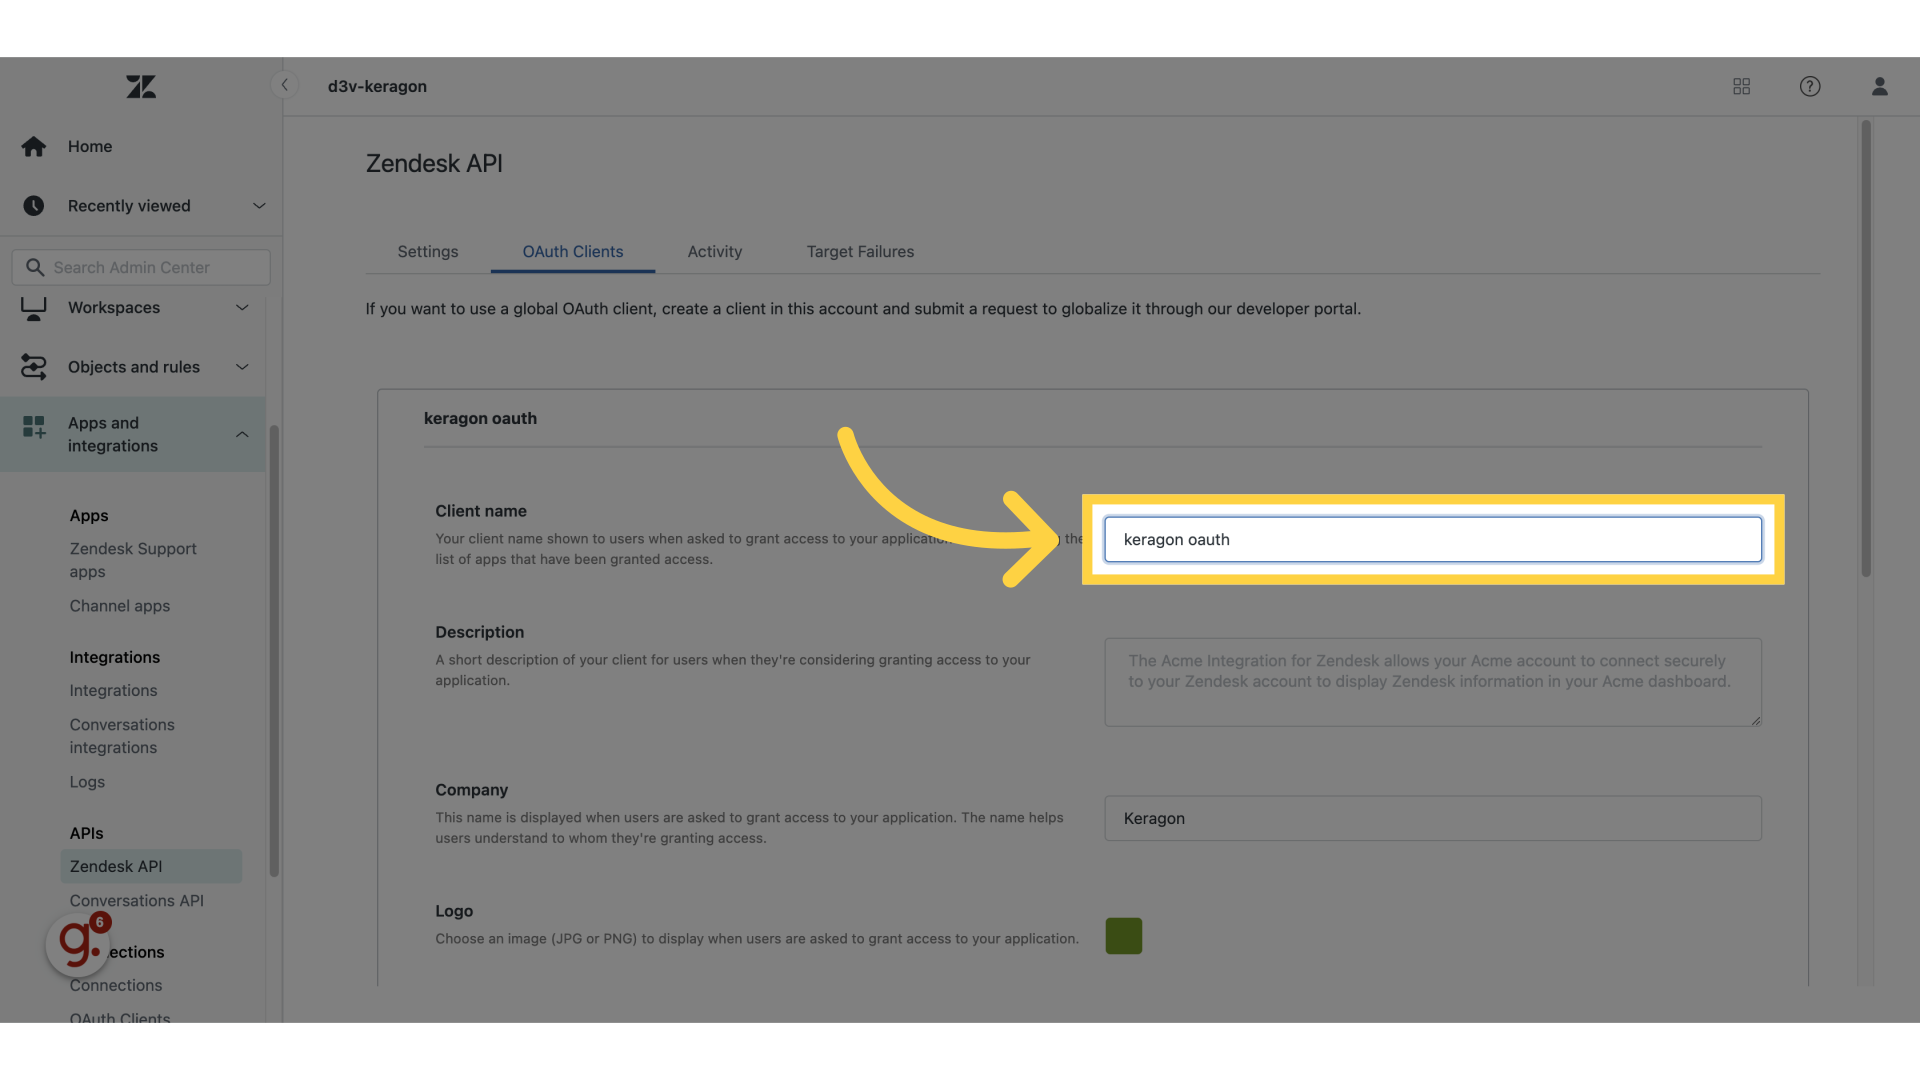
6. Click to fill the "Client name"
Define the client name.
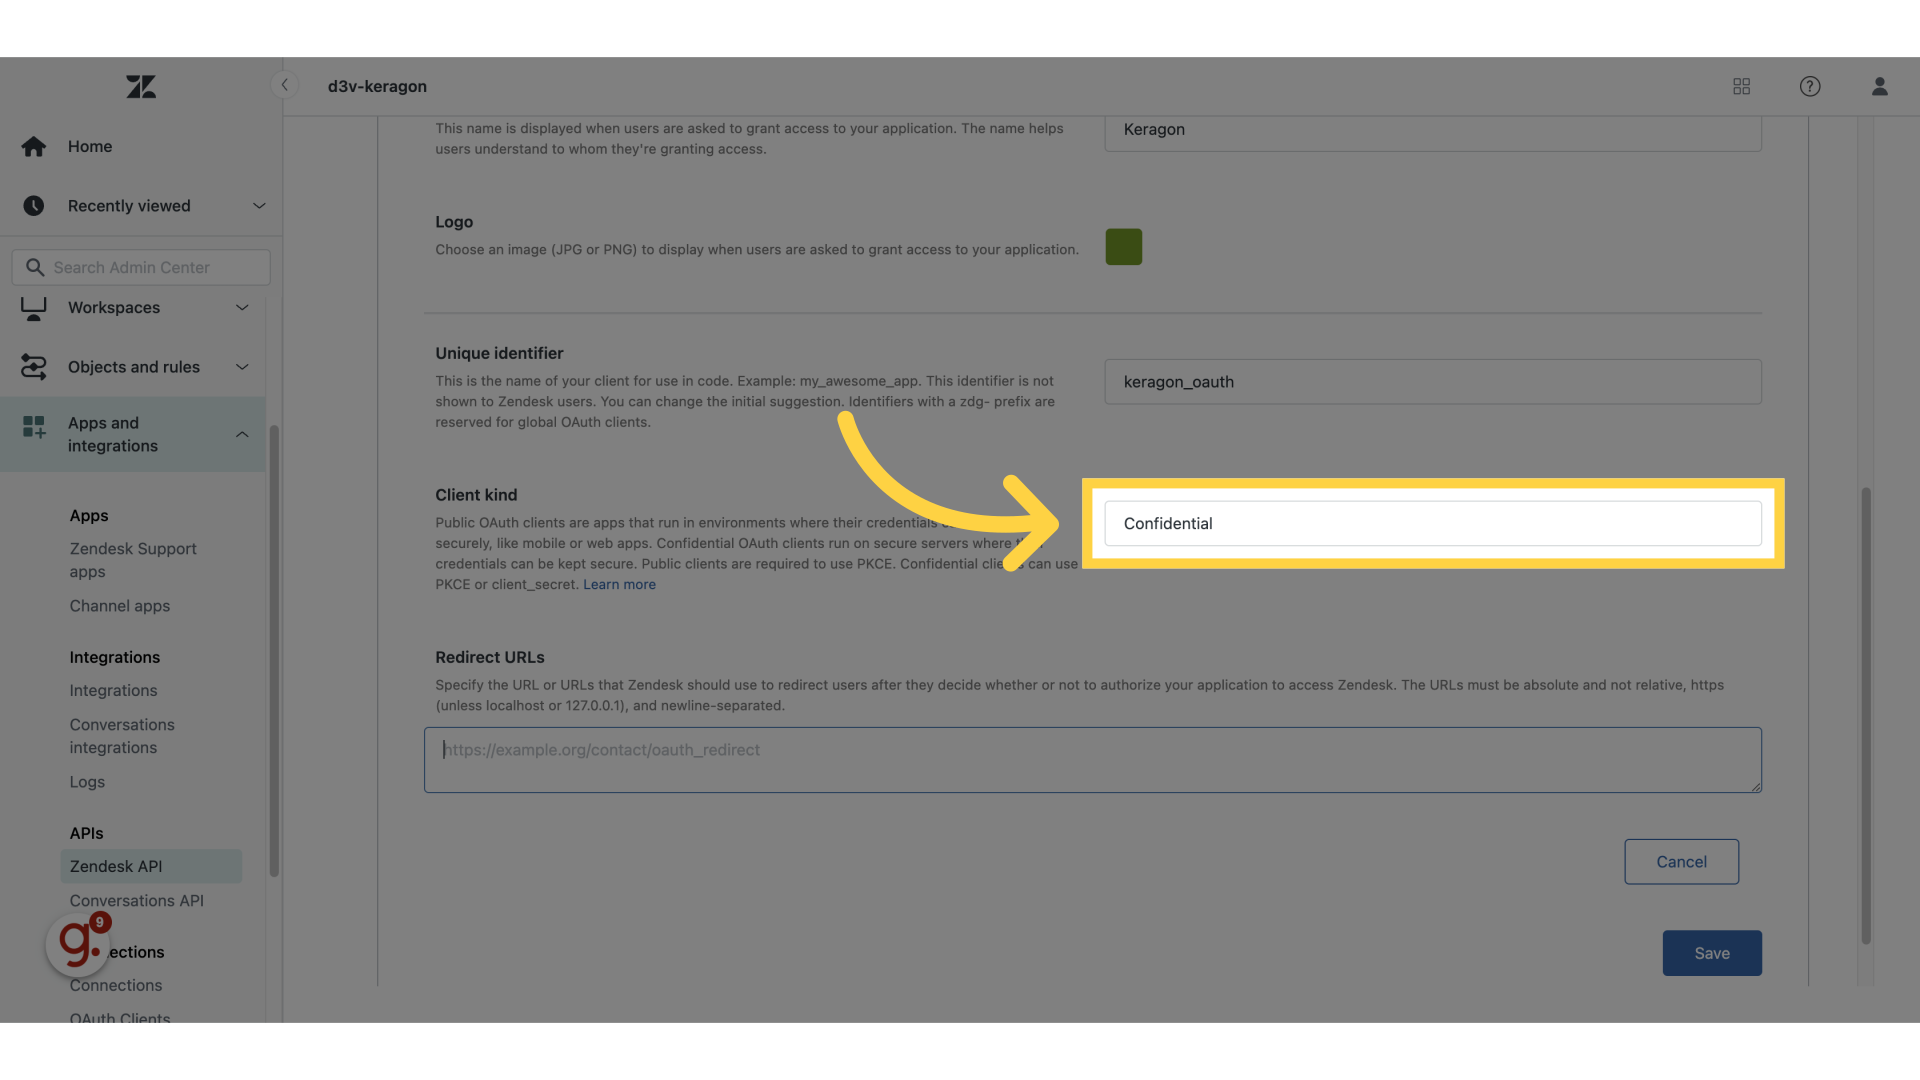
7. Select the Client kind to be "Confidential"
Select the Client kind to be "Confidential"
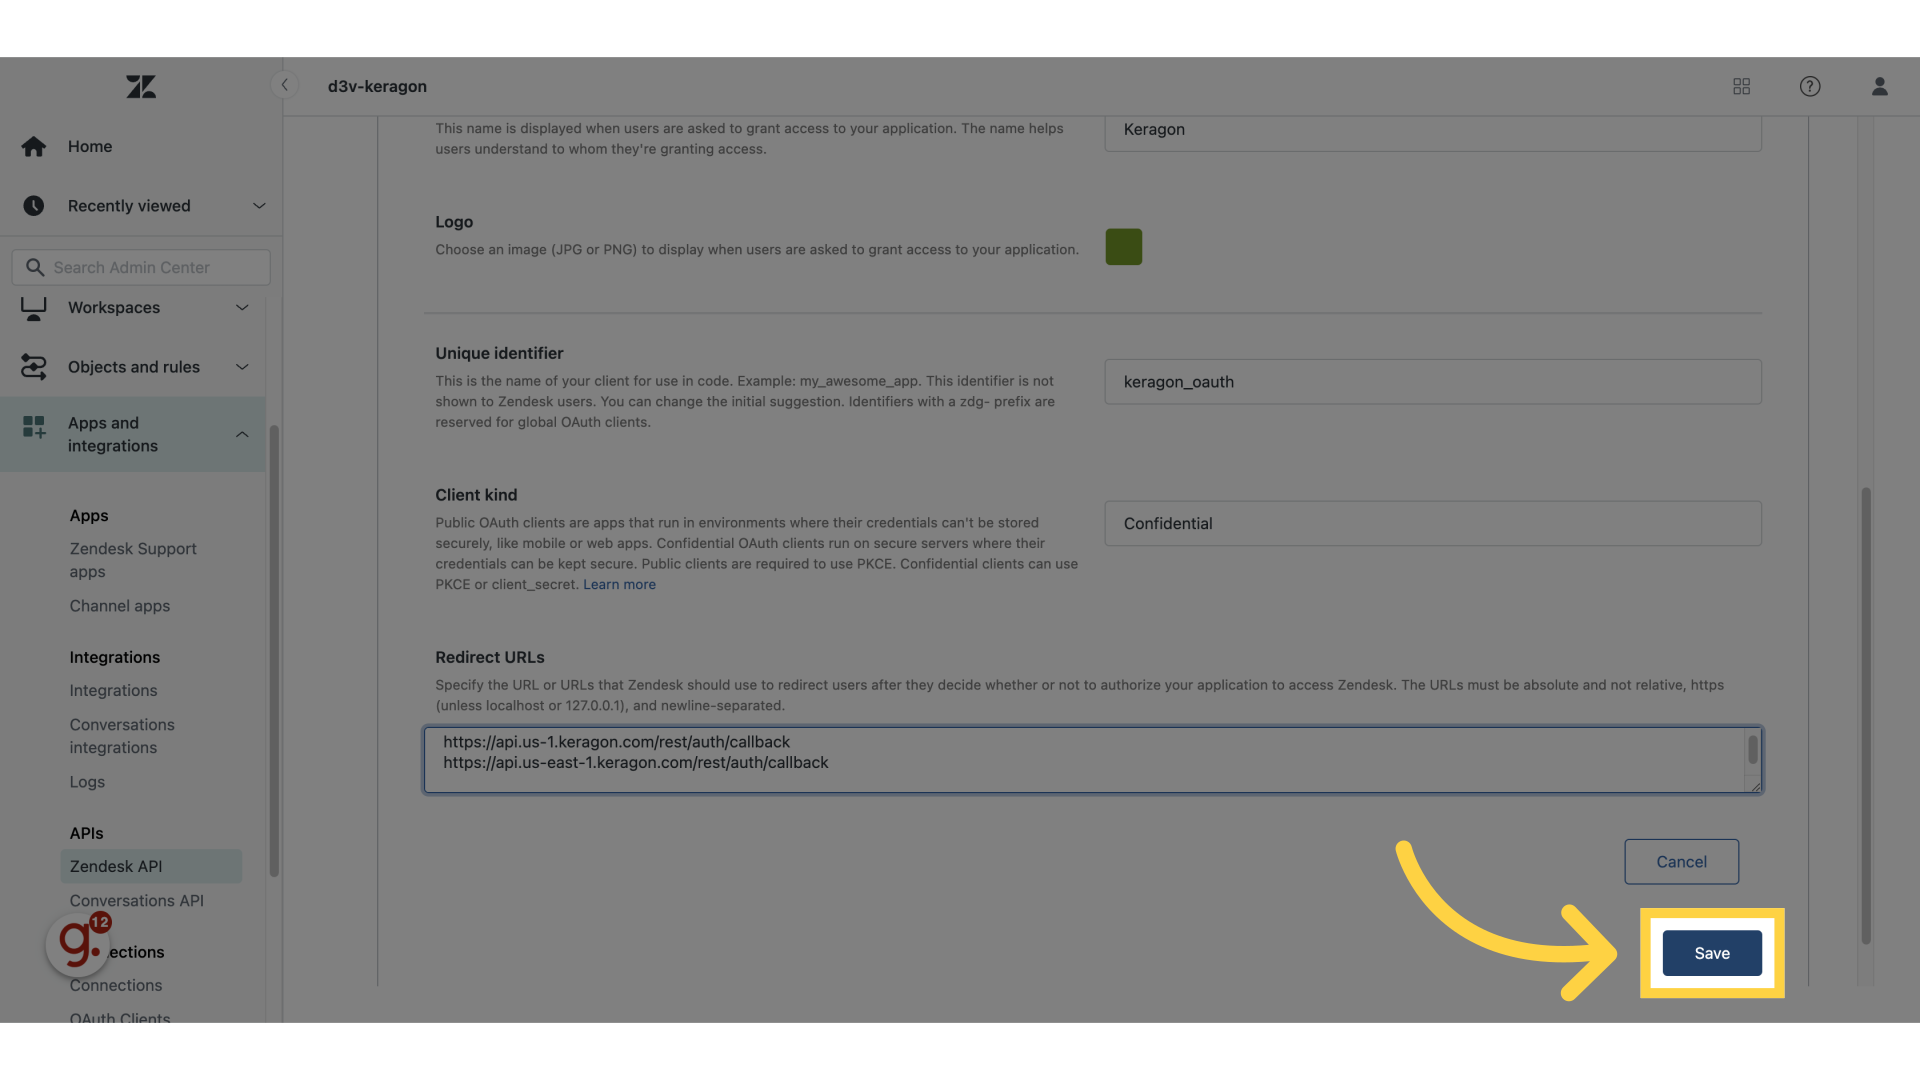
8. Enter the redirect URLs
Enter the redirect URLs of:
- https://api.us-1.keragon.com/rest/auth/callback
- https://api.us-east-1.keragon.com/rest/auth/callback
9. Click "Save"
Save the OAuth client settings.
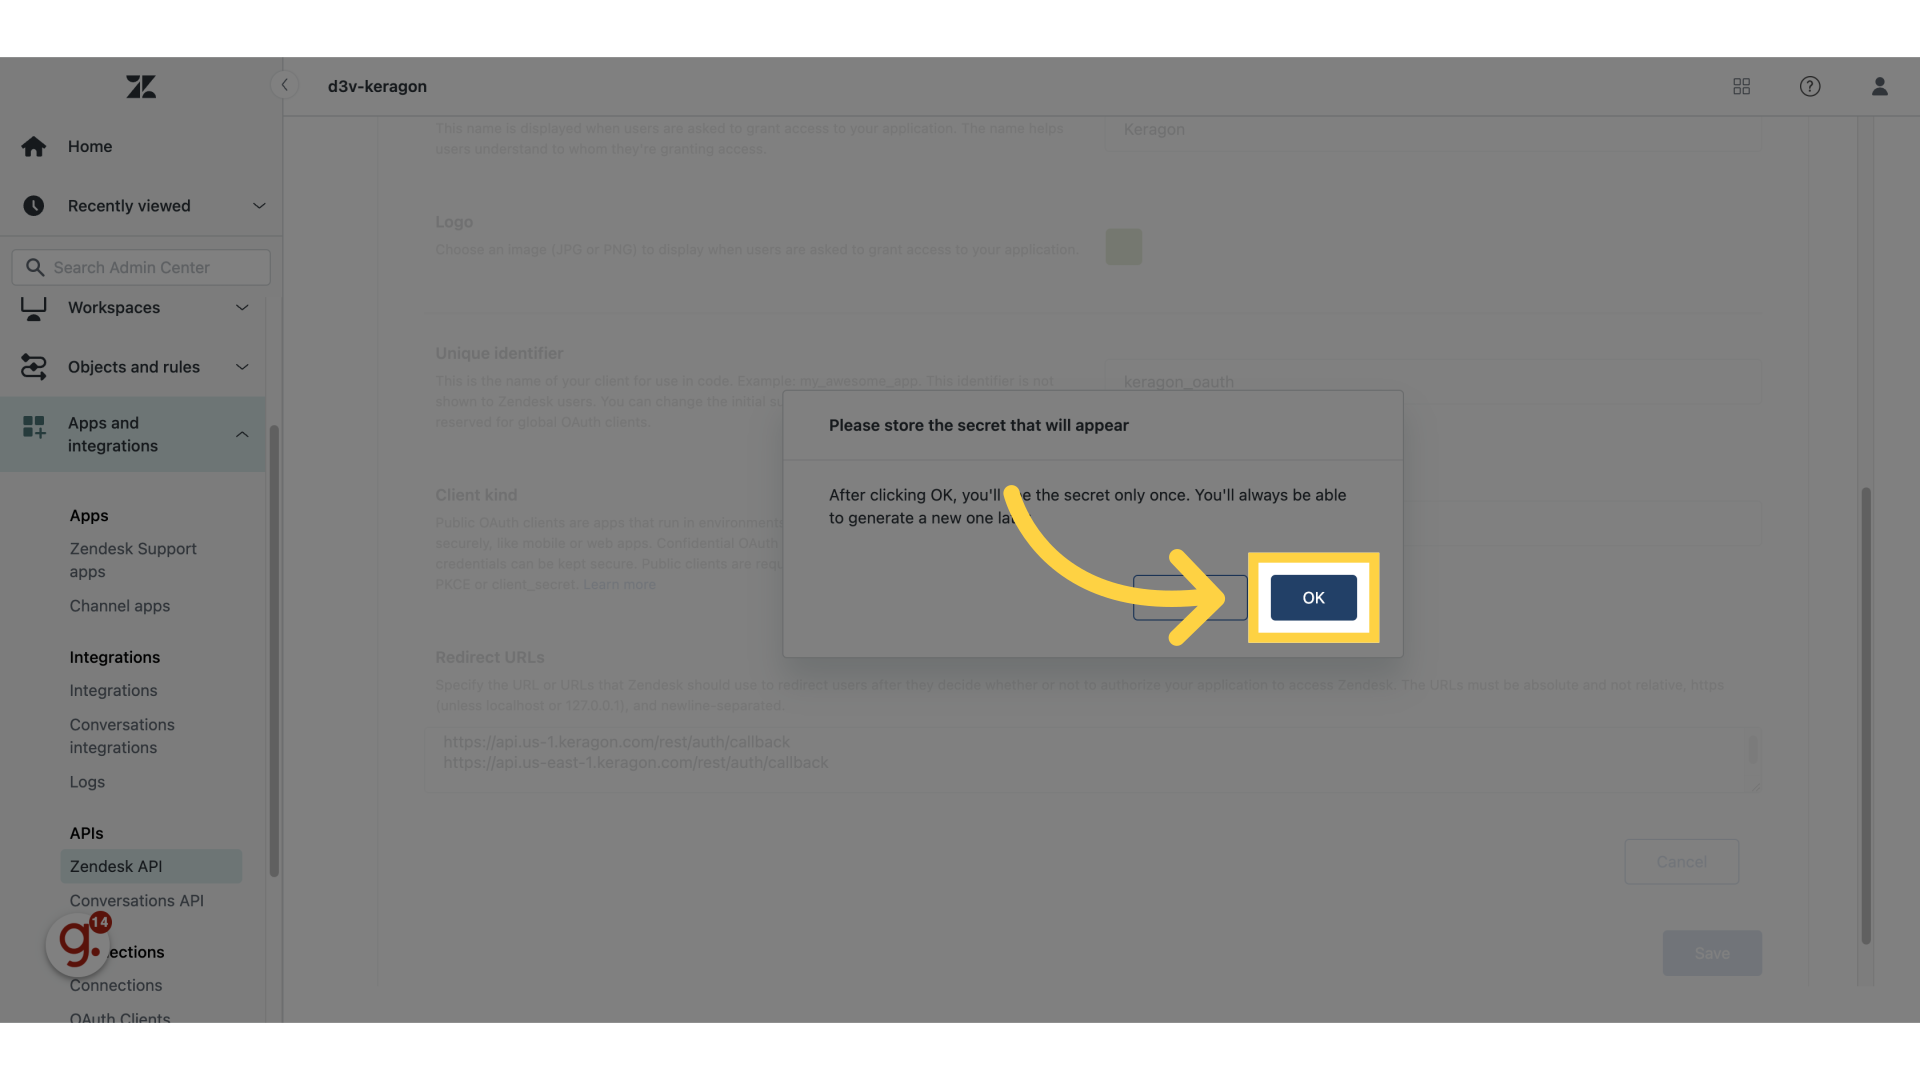
10. Click "OK"
Confirm the action.
11. Switch to "app.keragon.com"
Switch to "app.keragon.com"
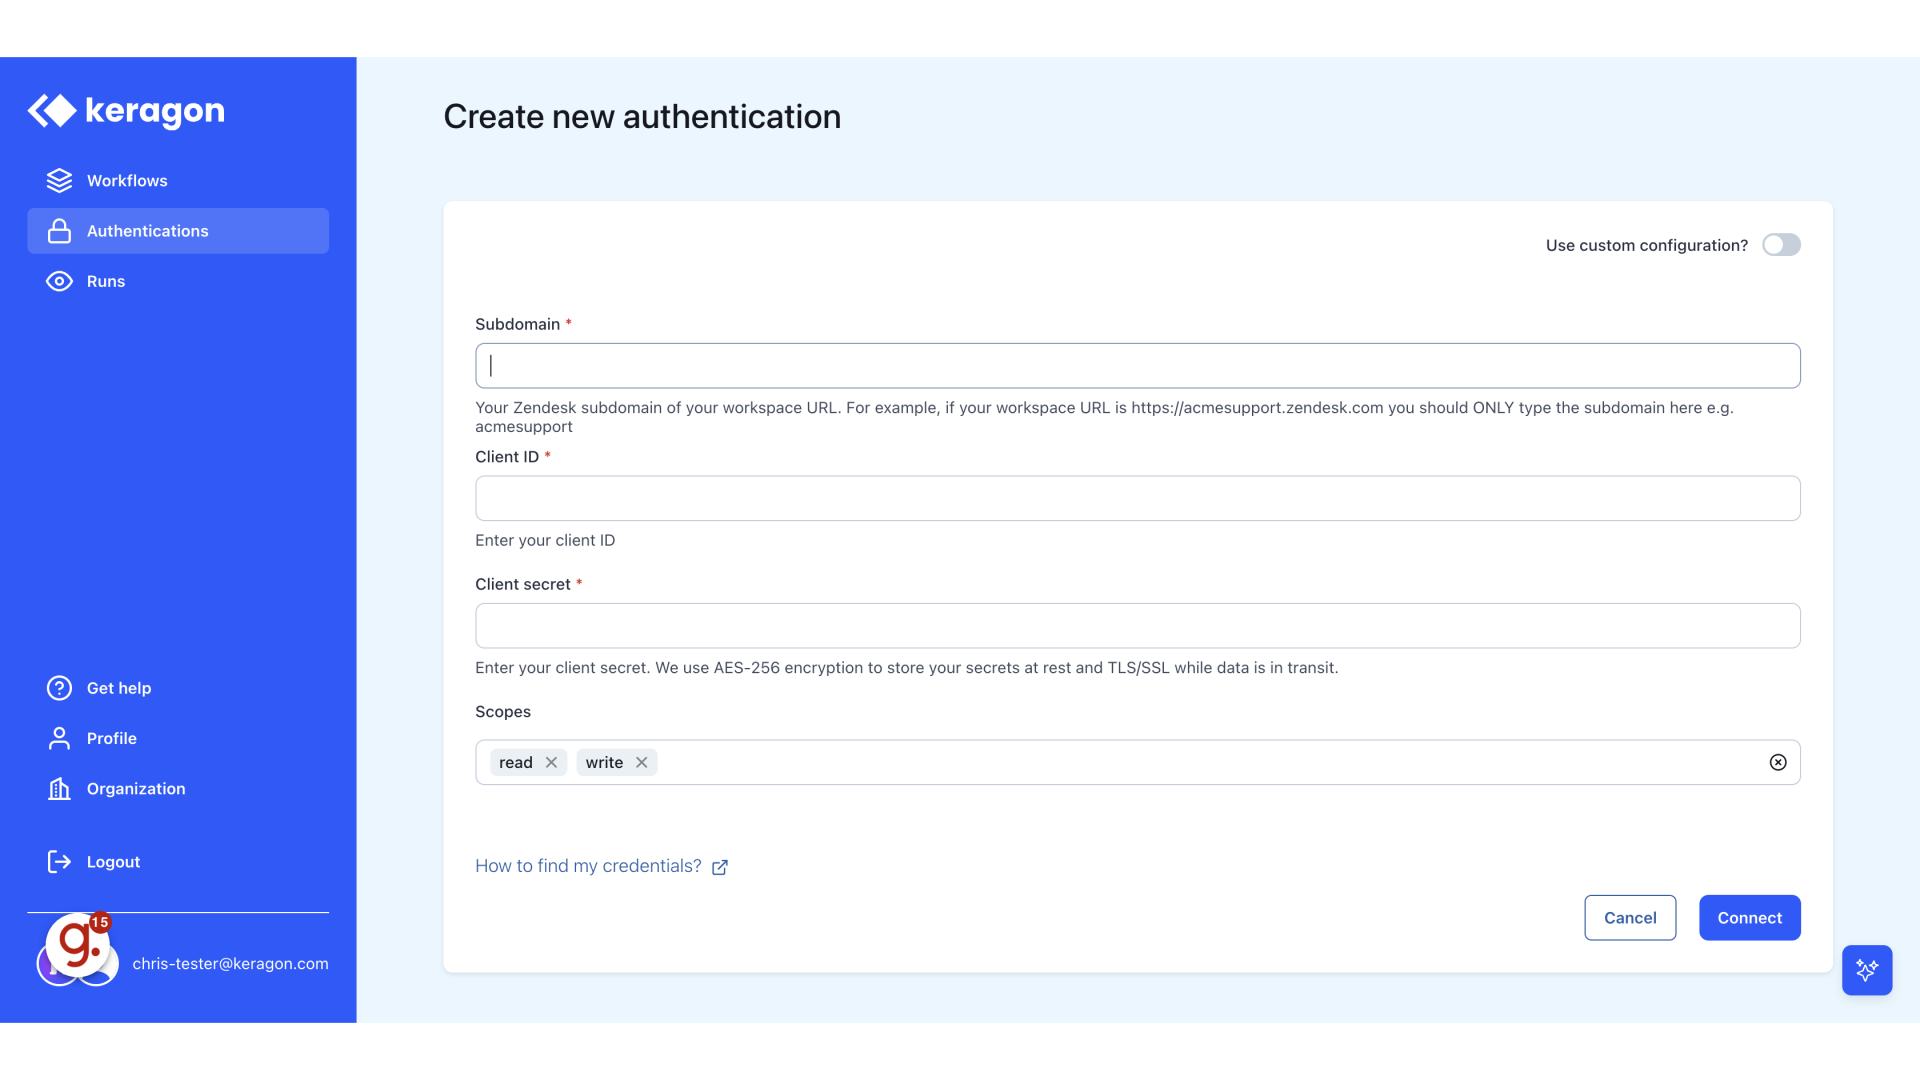
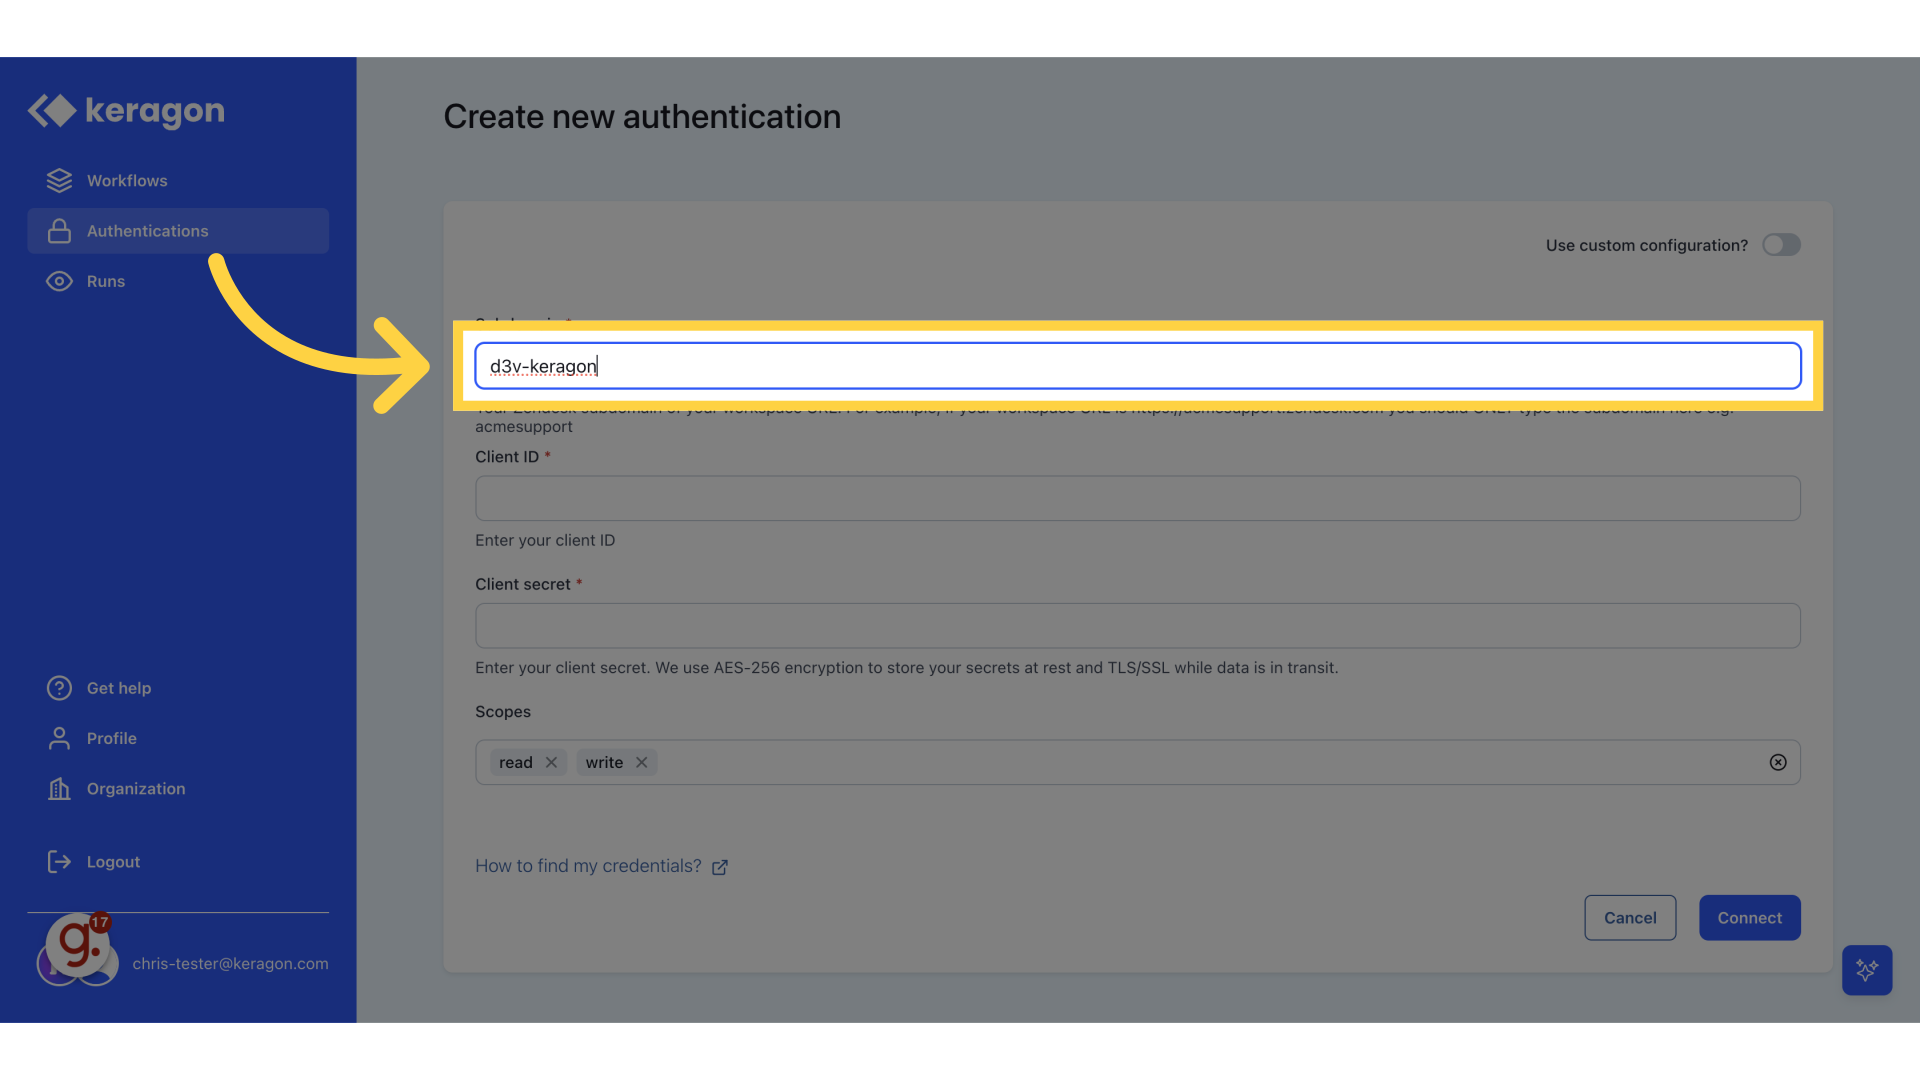
12. Fill your subdomain
Enter the subdomain information.
13. Copy the "Unique identifier"
Copy the "Unique identifier" from Zendesk
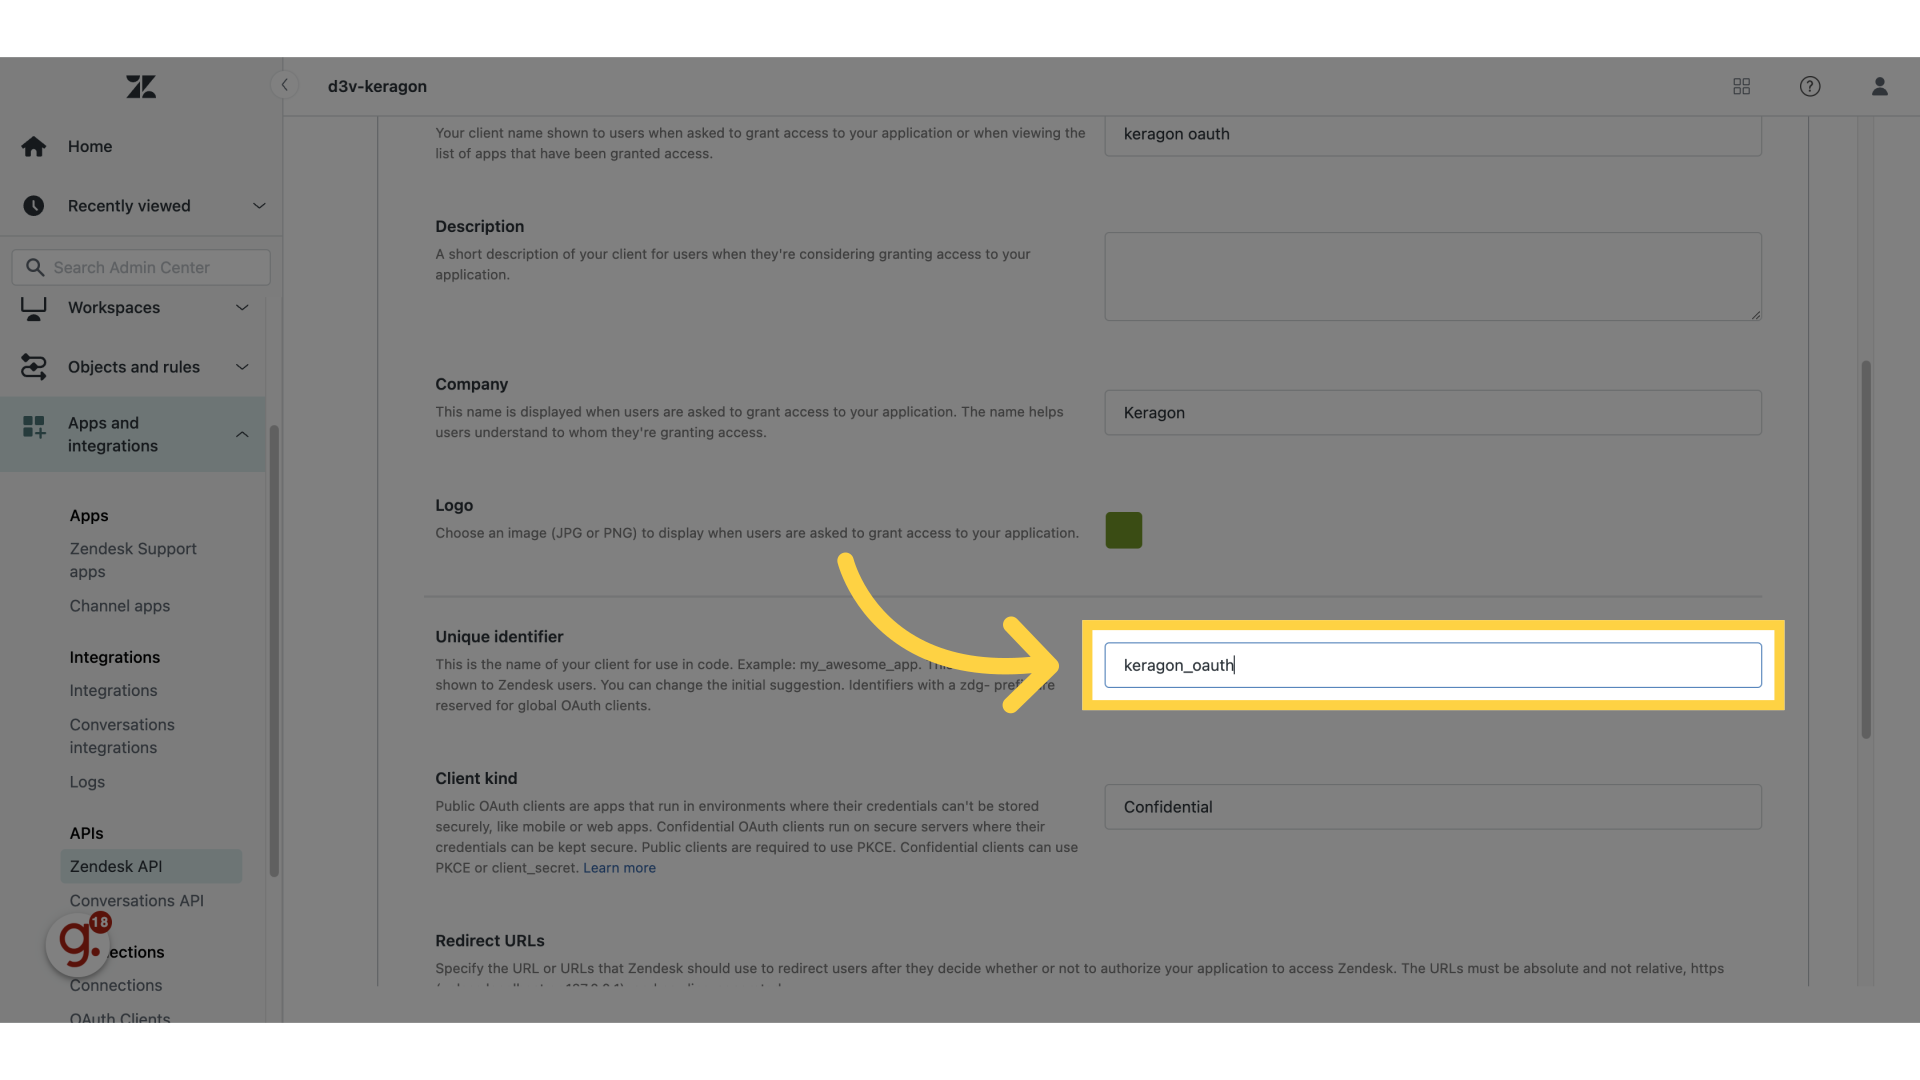
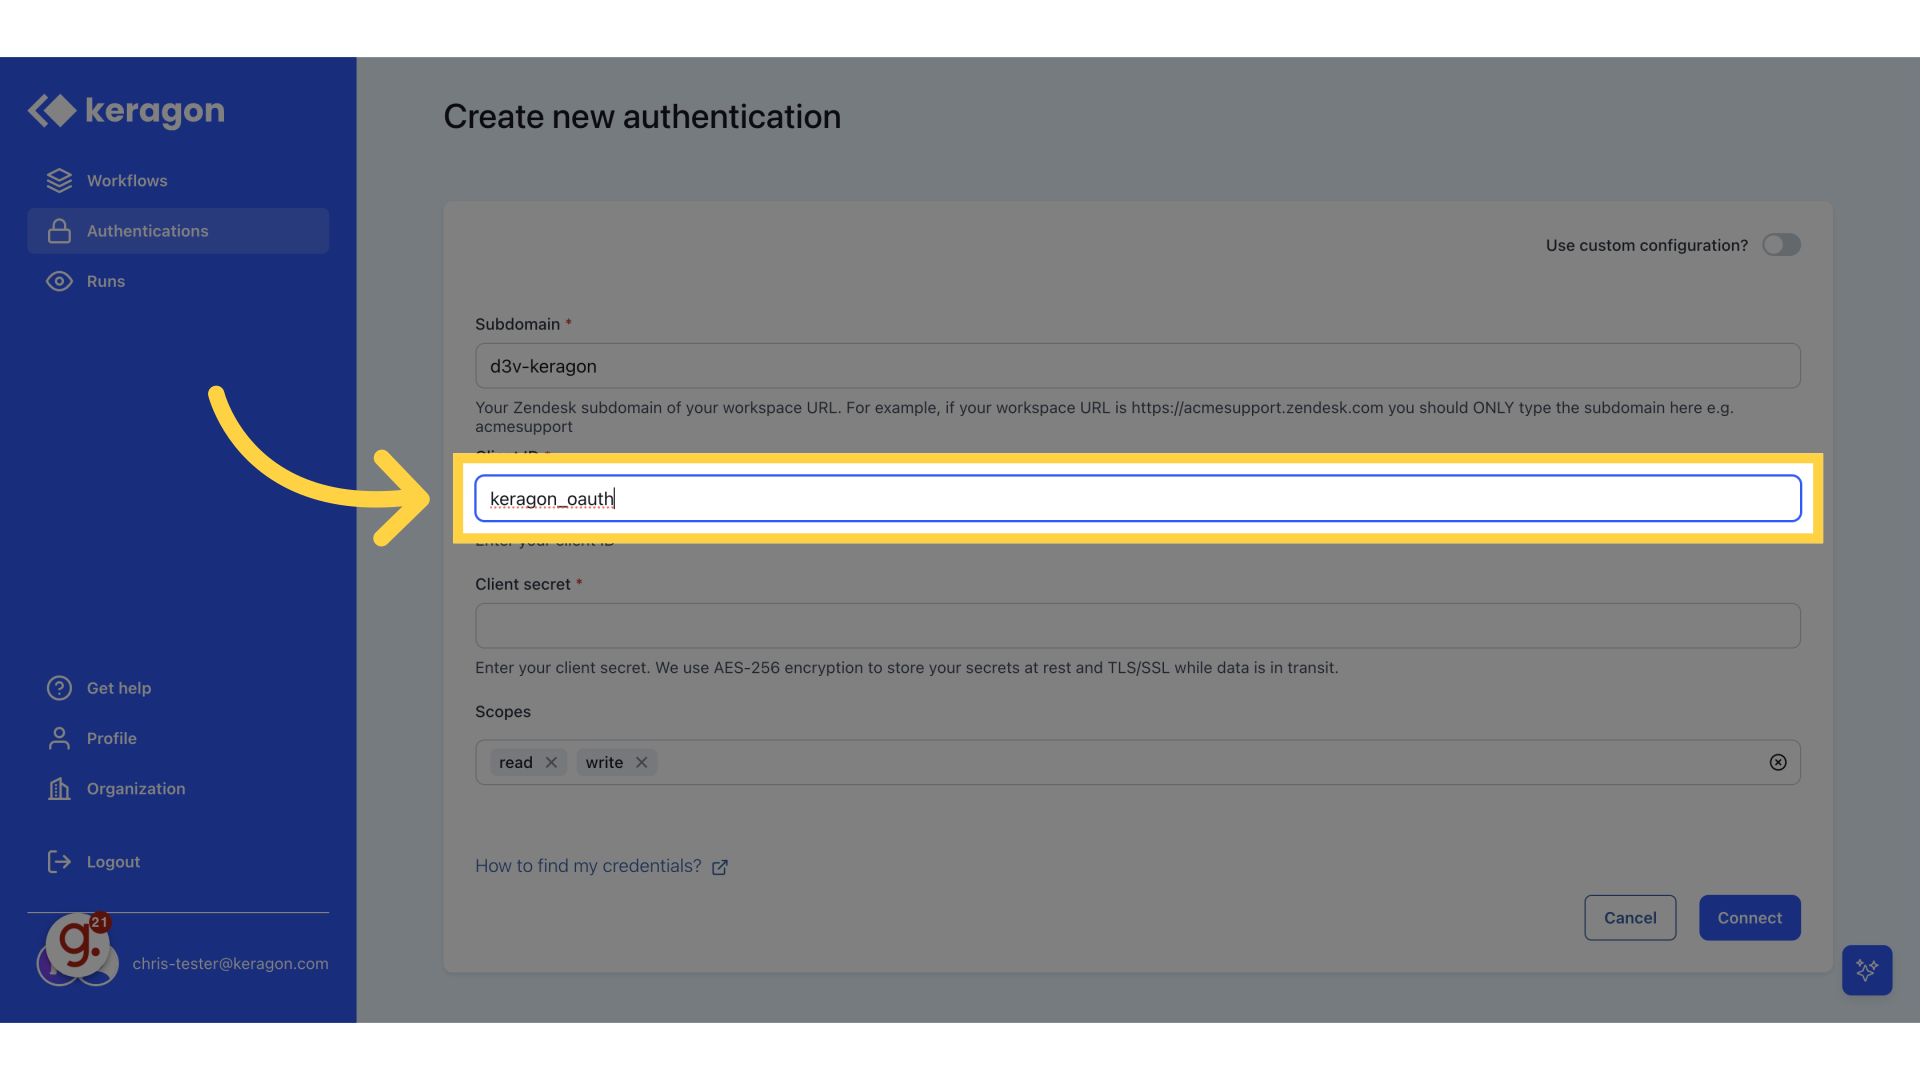
14. Paste it as "Client ID"
Paste it in the "Client ID" field in Keragon
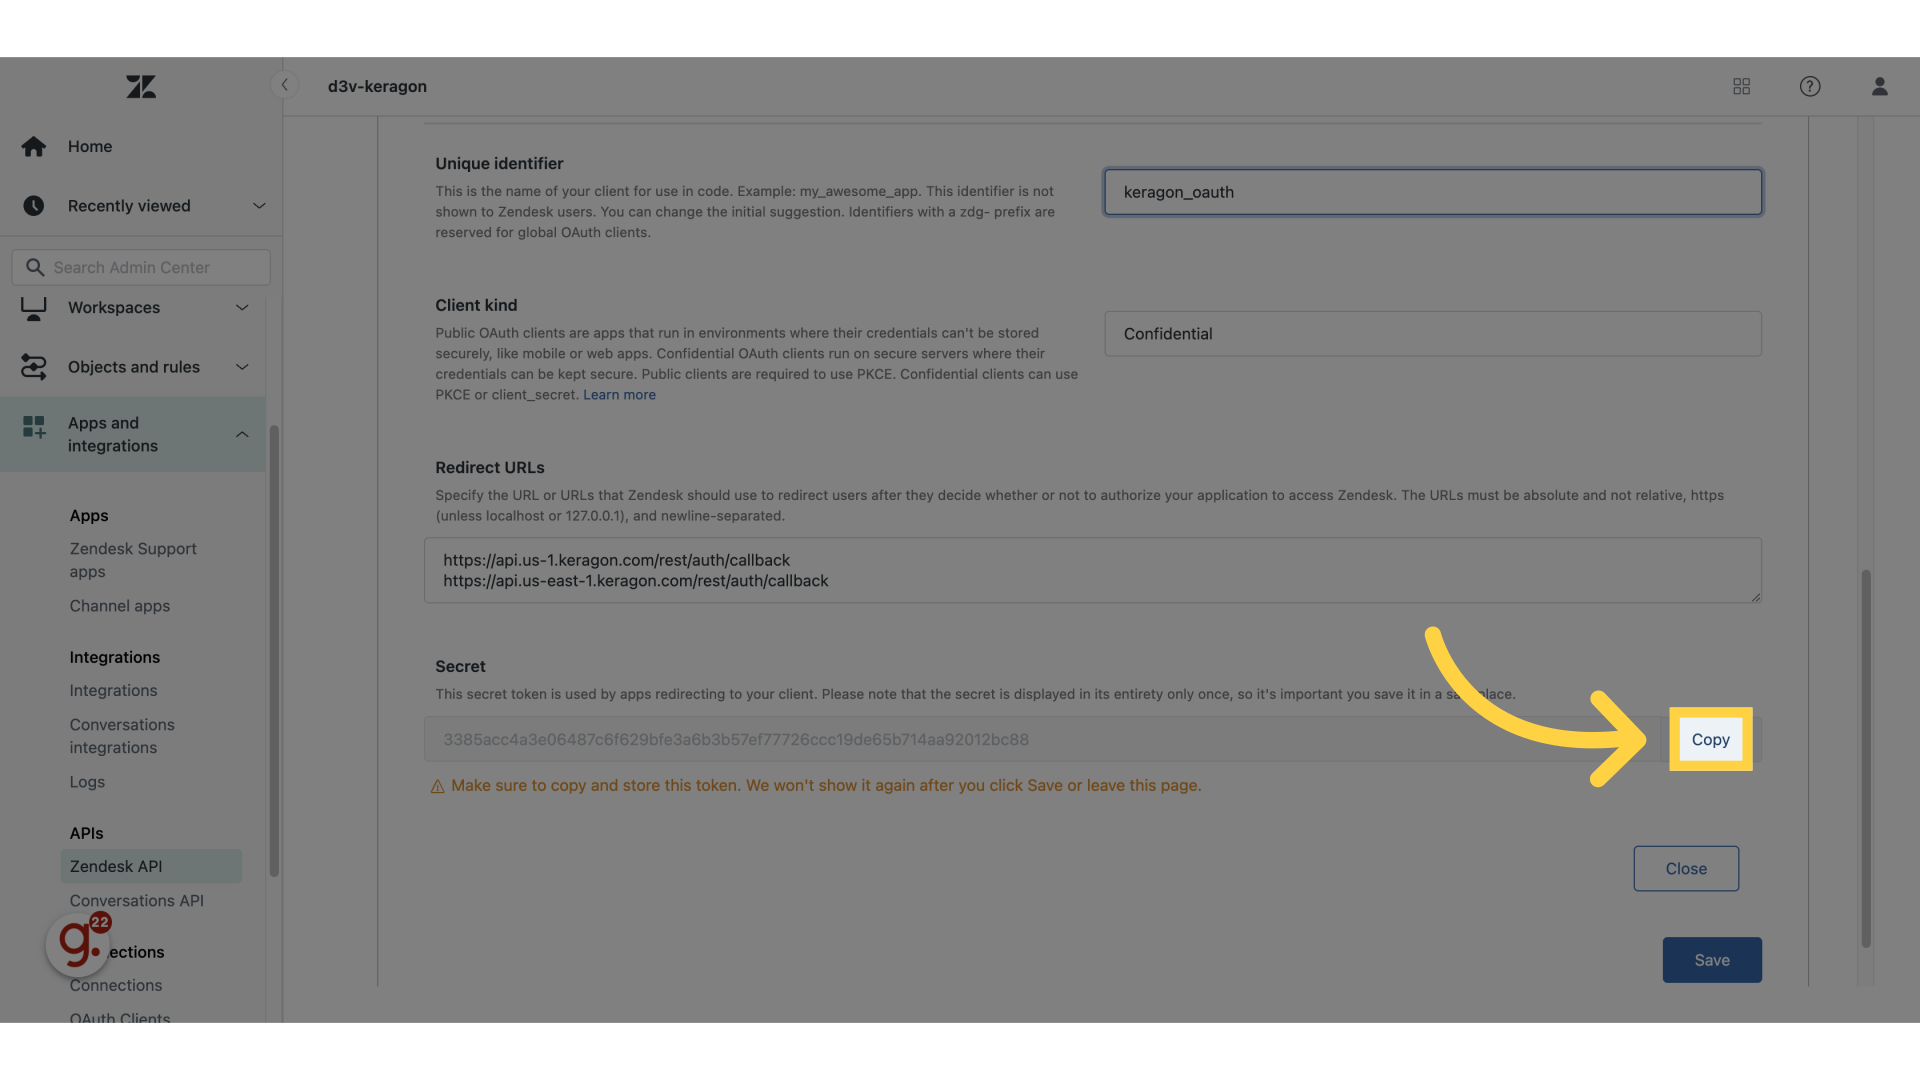
15. Click "Copy"
Copy the secret key form Zendesk.
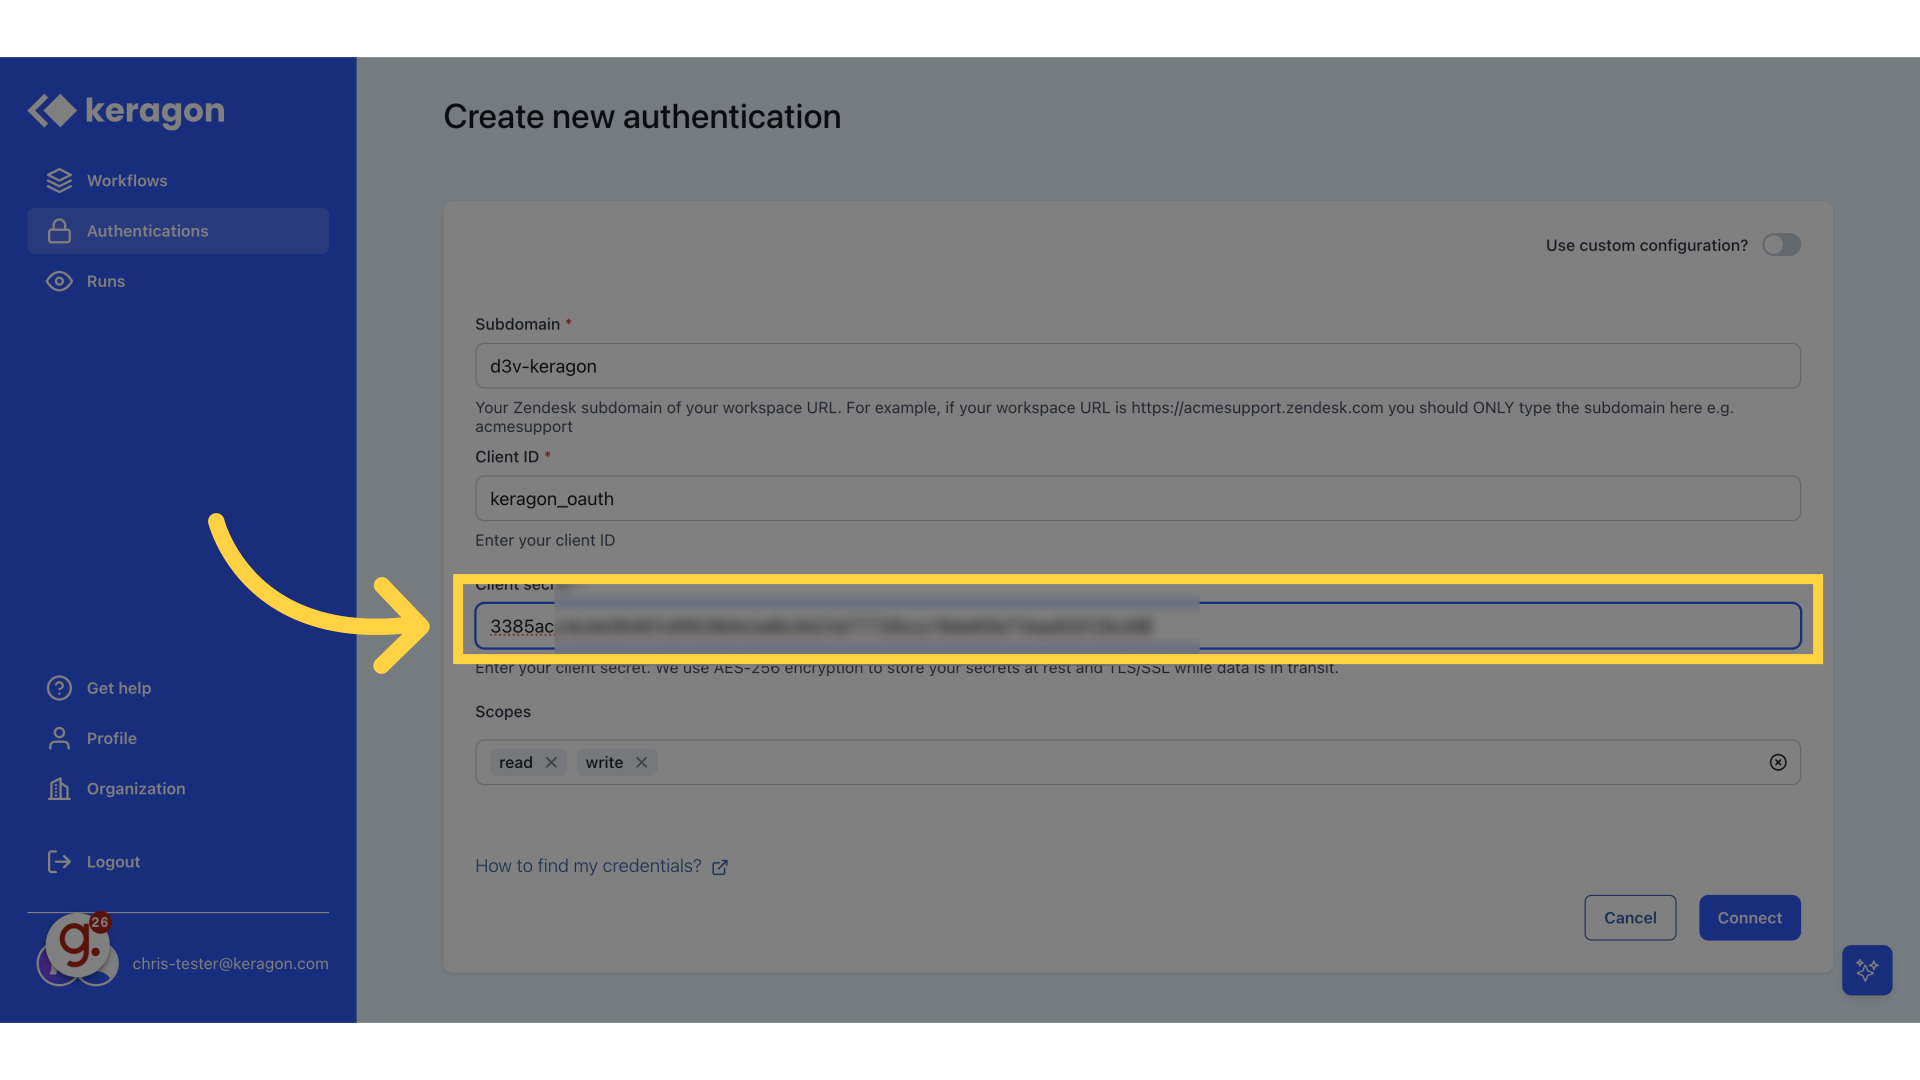
16. Paste the secret key as "Client secret"
Paste the secret key in the "Client secret" field in Keragon.
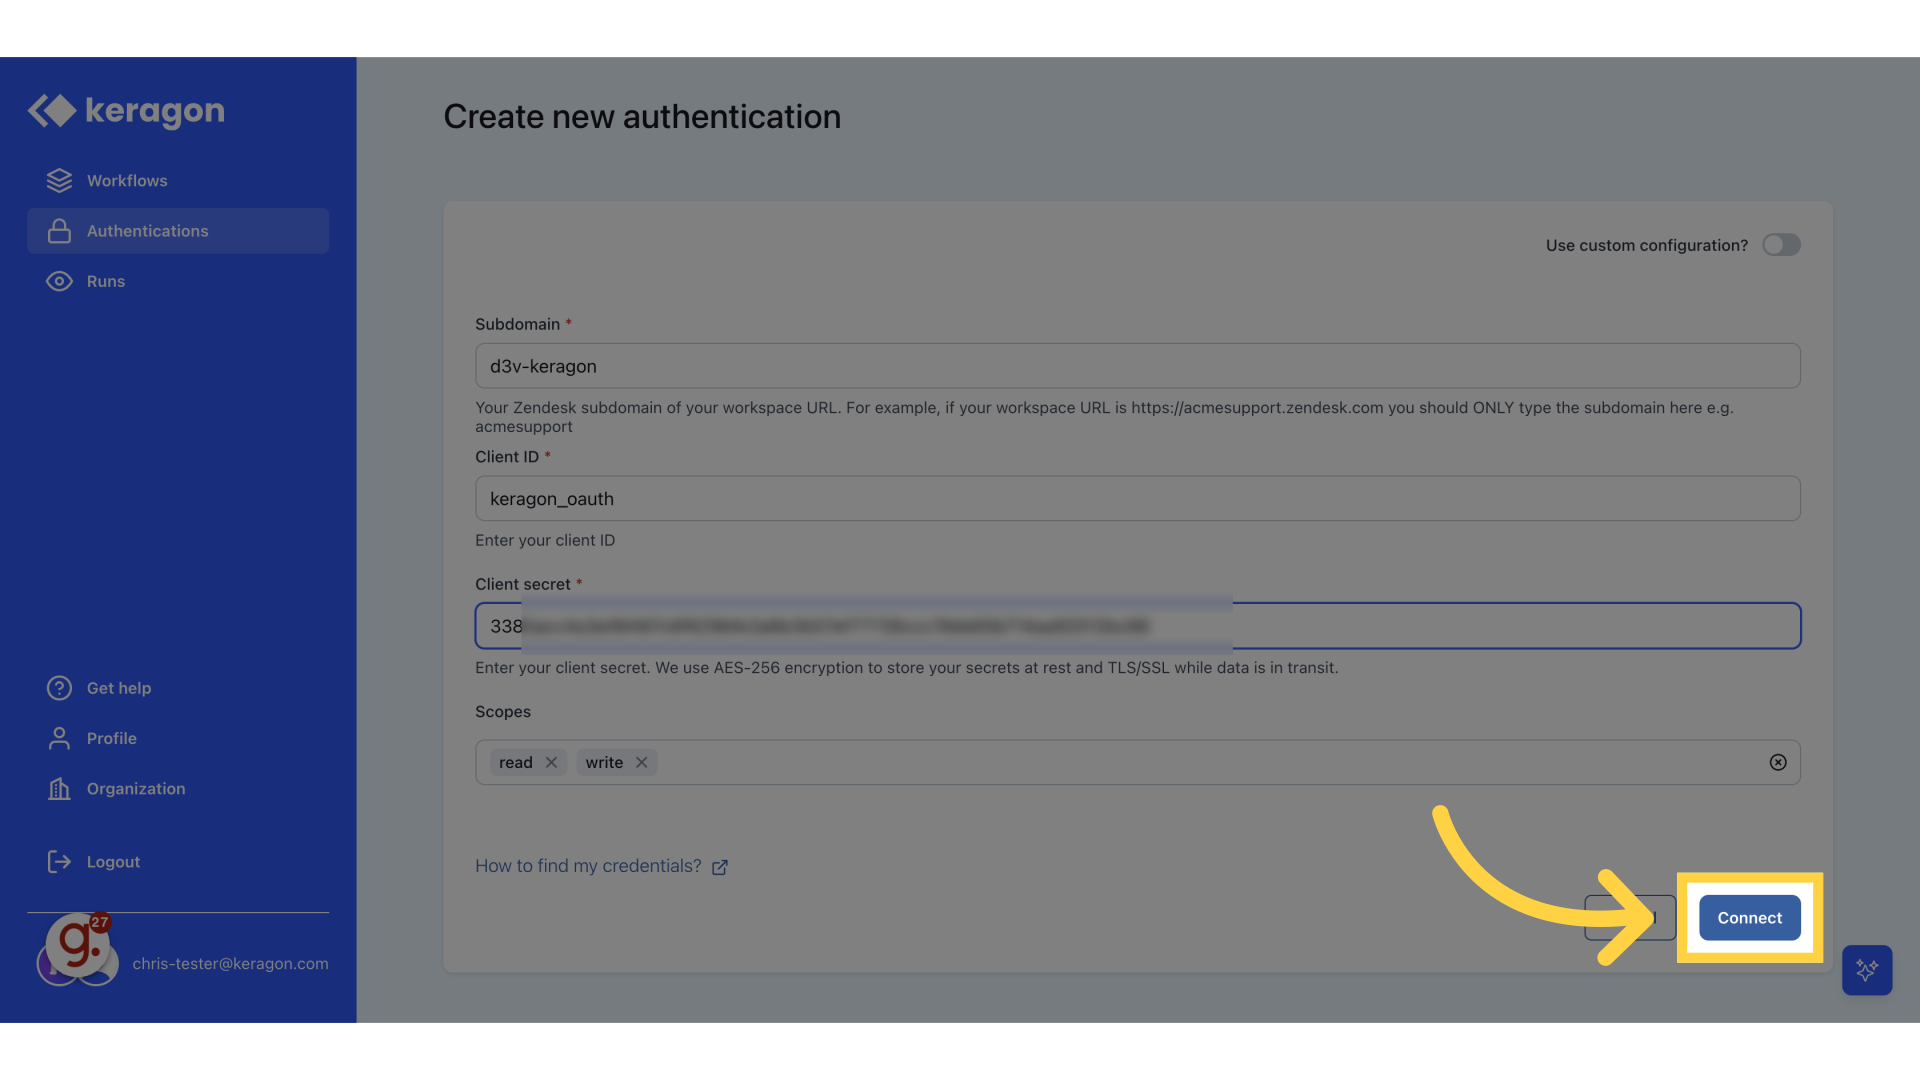
17. Click "Connect"
Establish the connection.
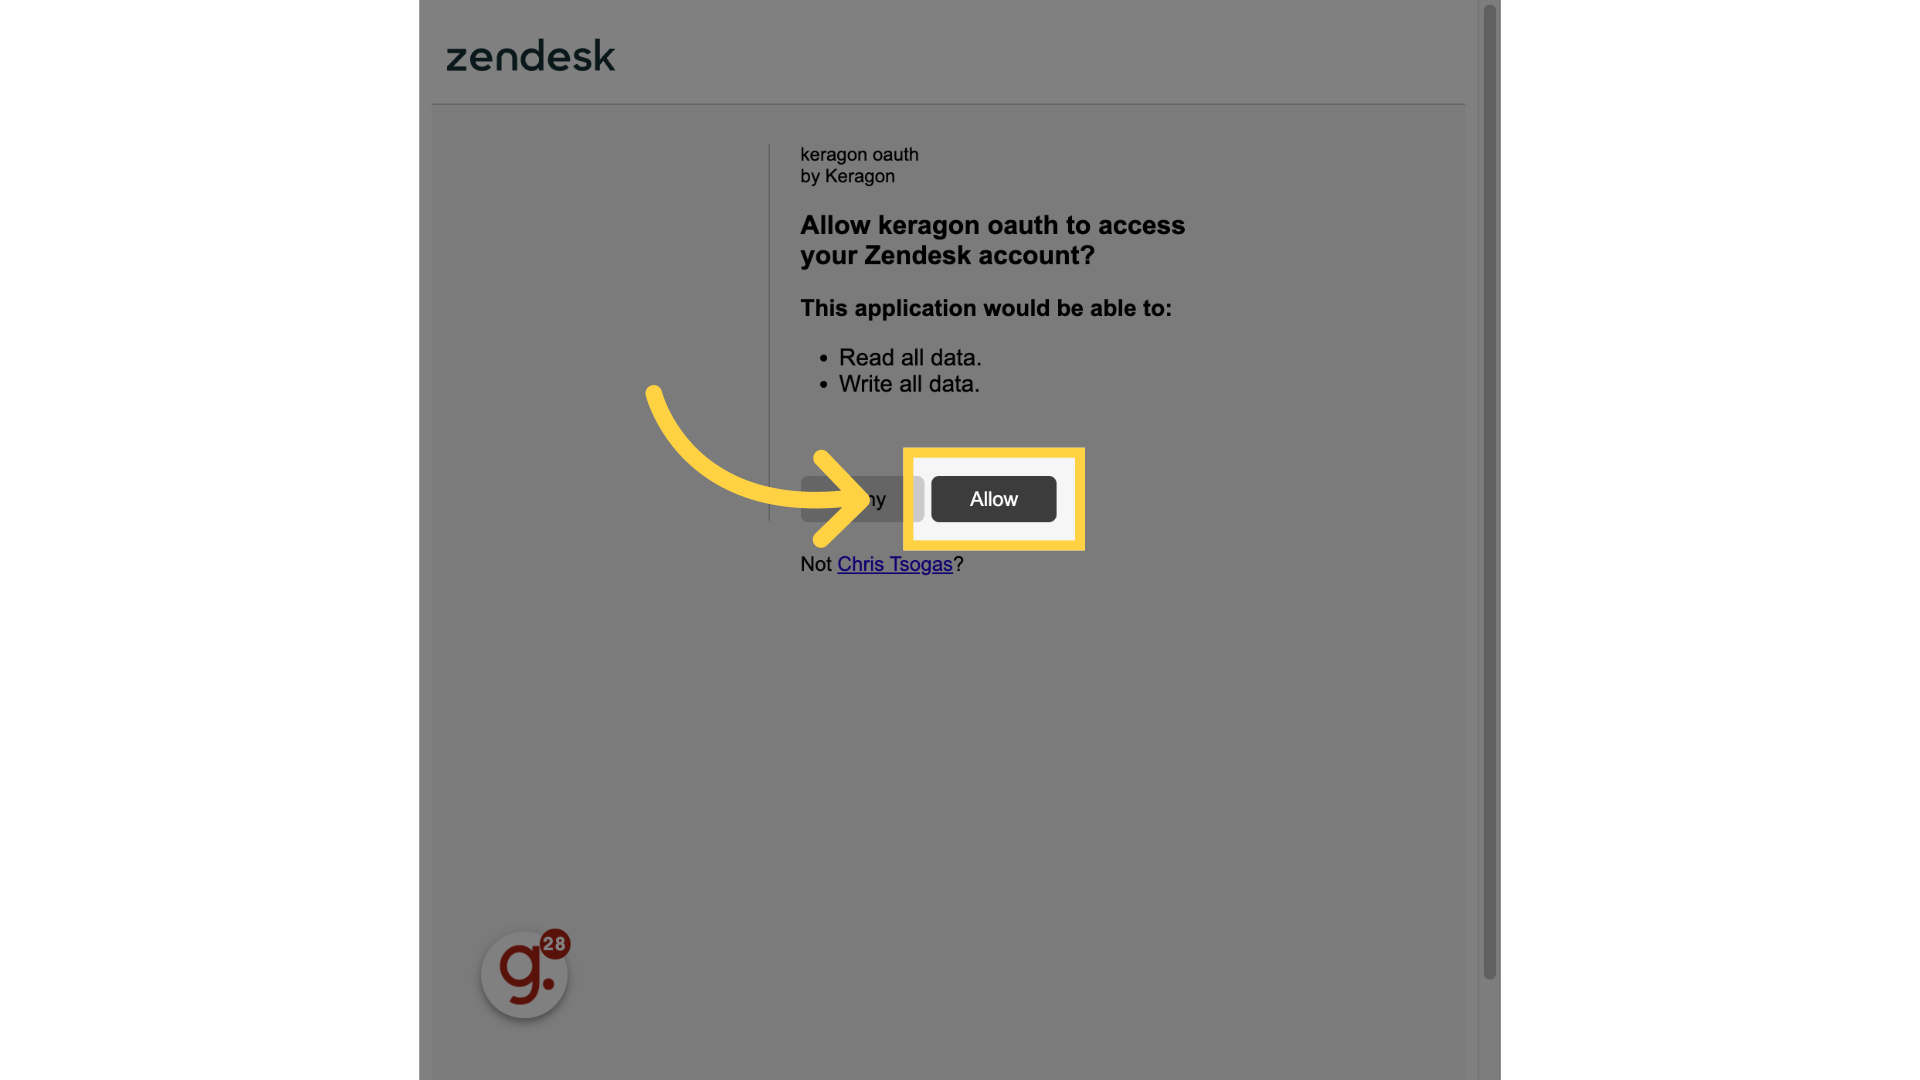
18. Click "Allow"
In the pop up that opens click "Allow"
This guide covered locating and configuring Zendesk OAuth 2 in Keragon.