This guide explains how to obtain your API Login ID and generate a new transaction key in Authorize.net .
Go to demo.authorize.net
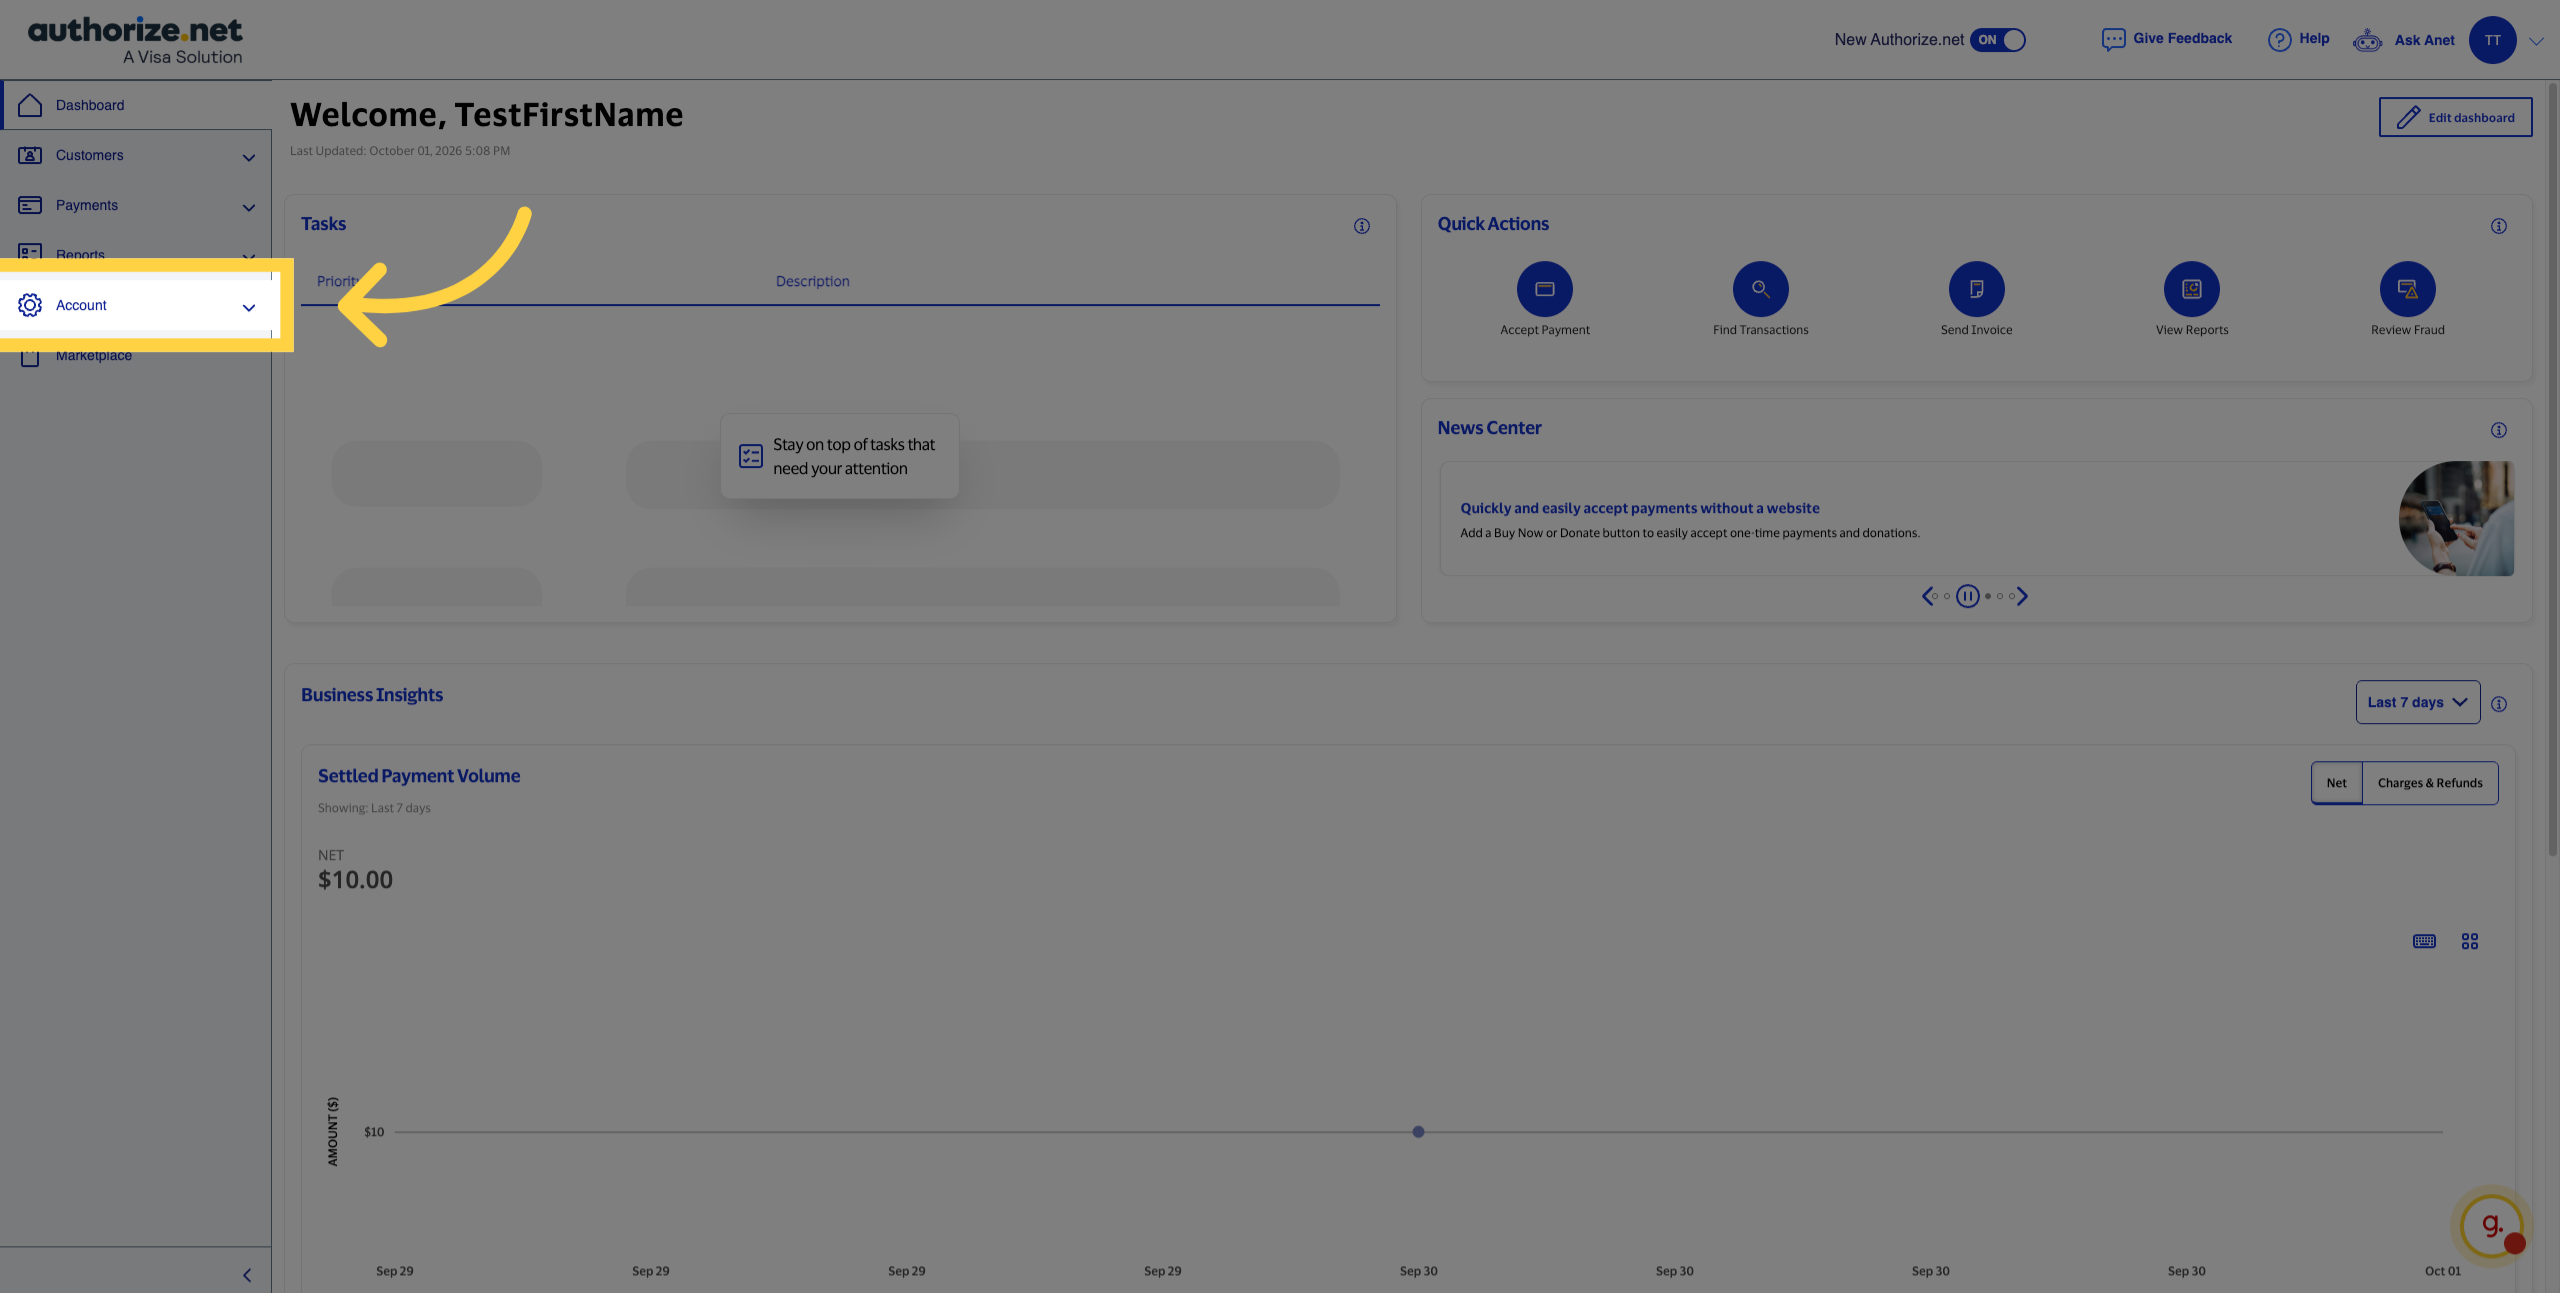
1. Access Account Settings
Navigate to the Account section in the left panel to begin managing your Authorize.net settings.
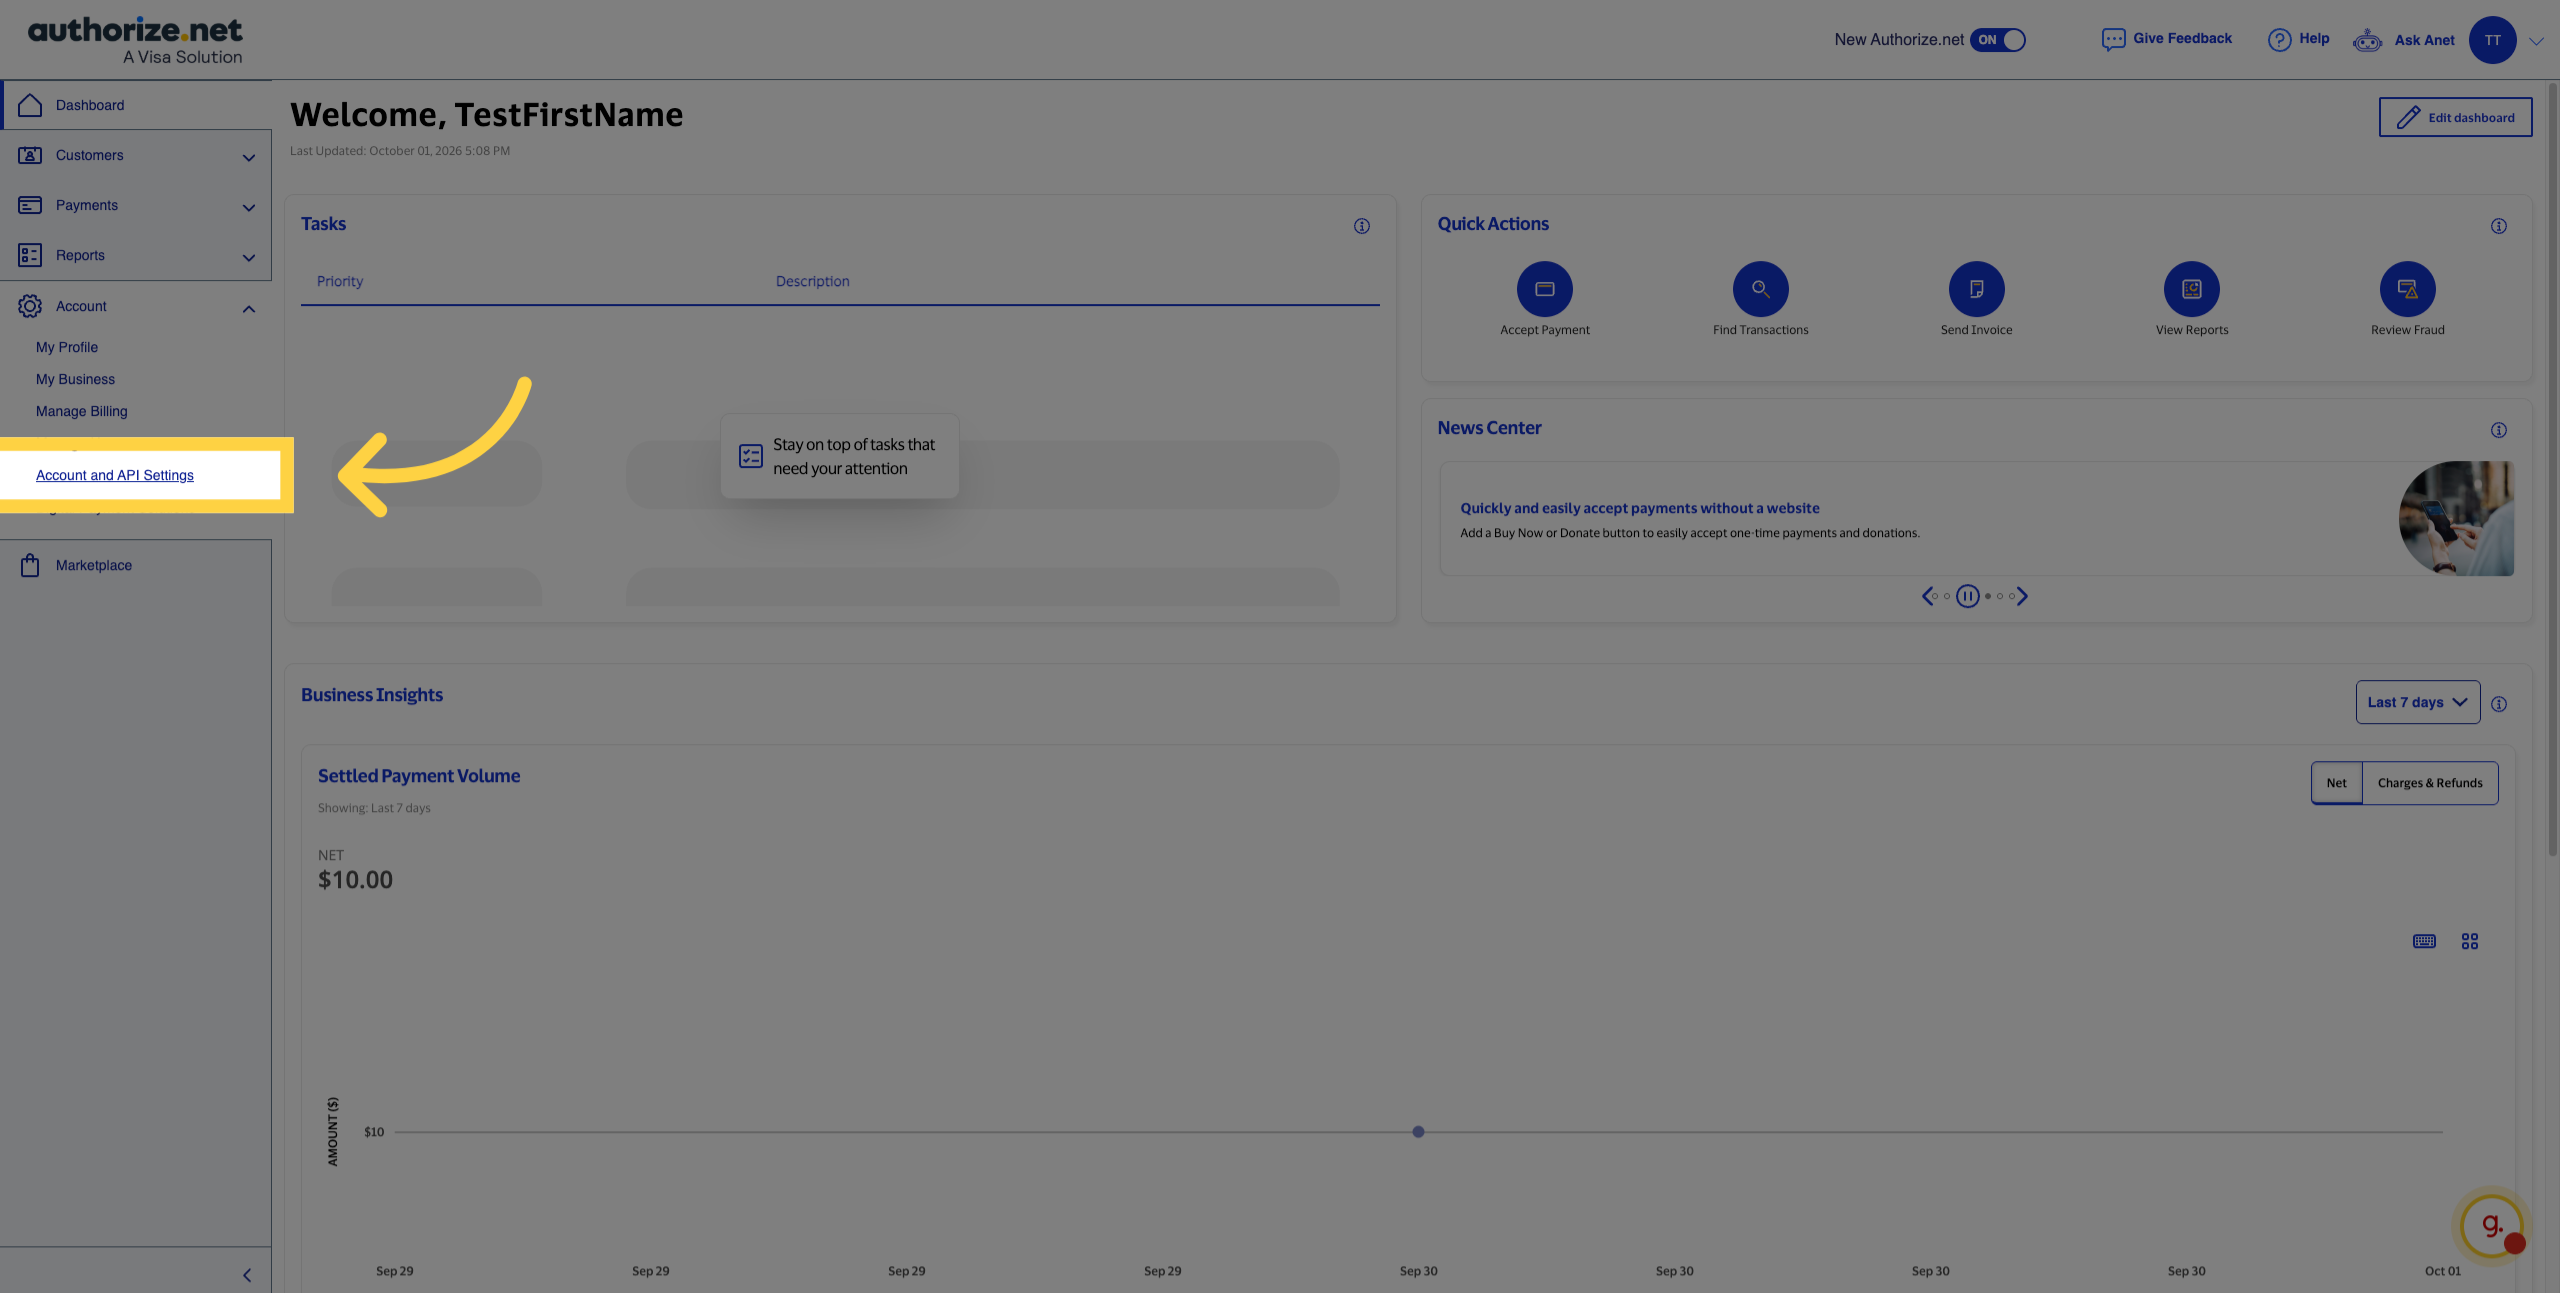
2. Open Account and API Settings
Open the Account and API Settings to configure your API credentials and related options.
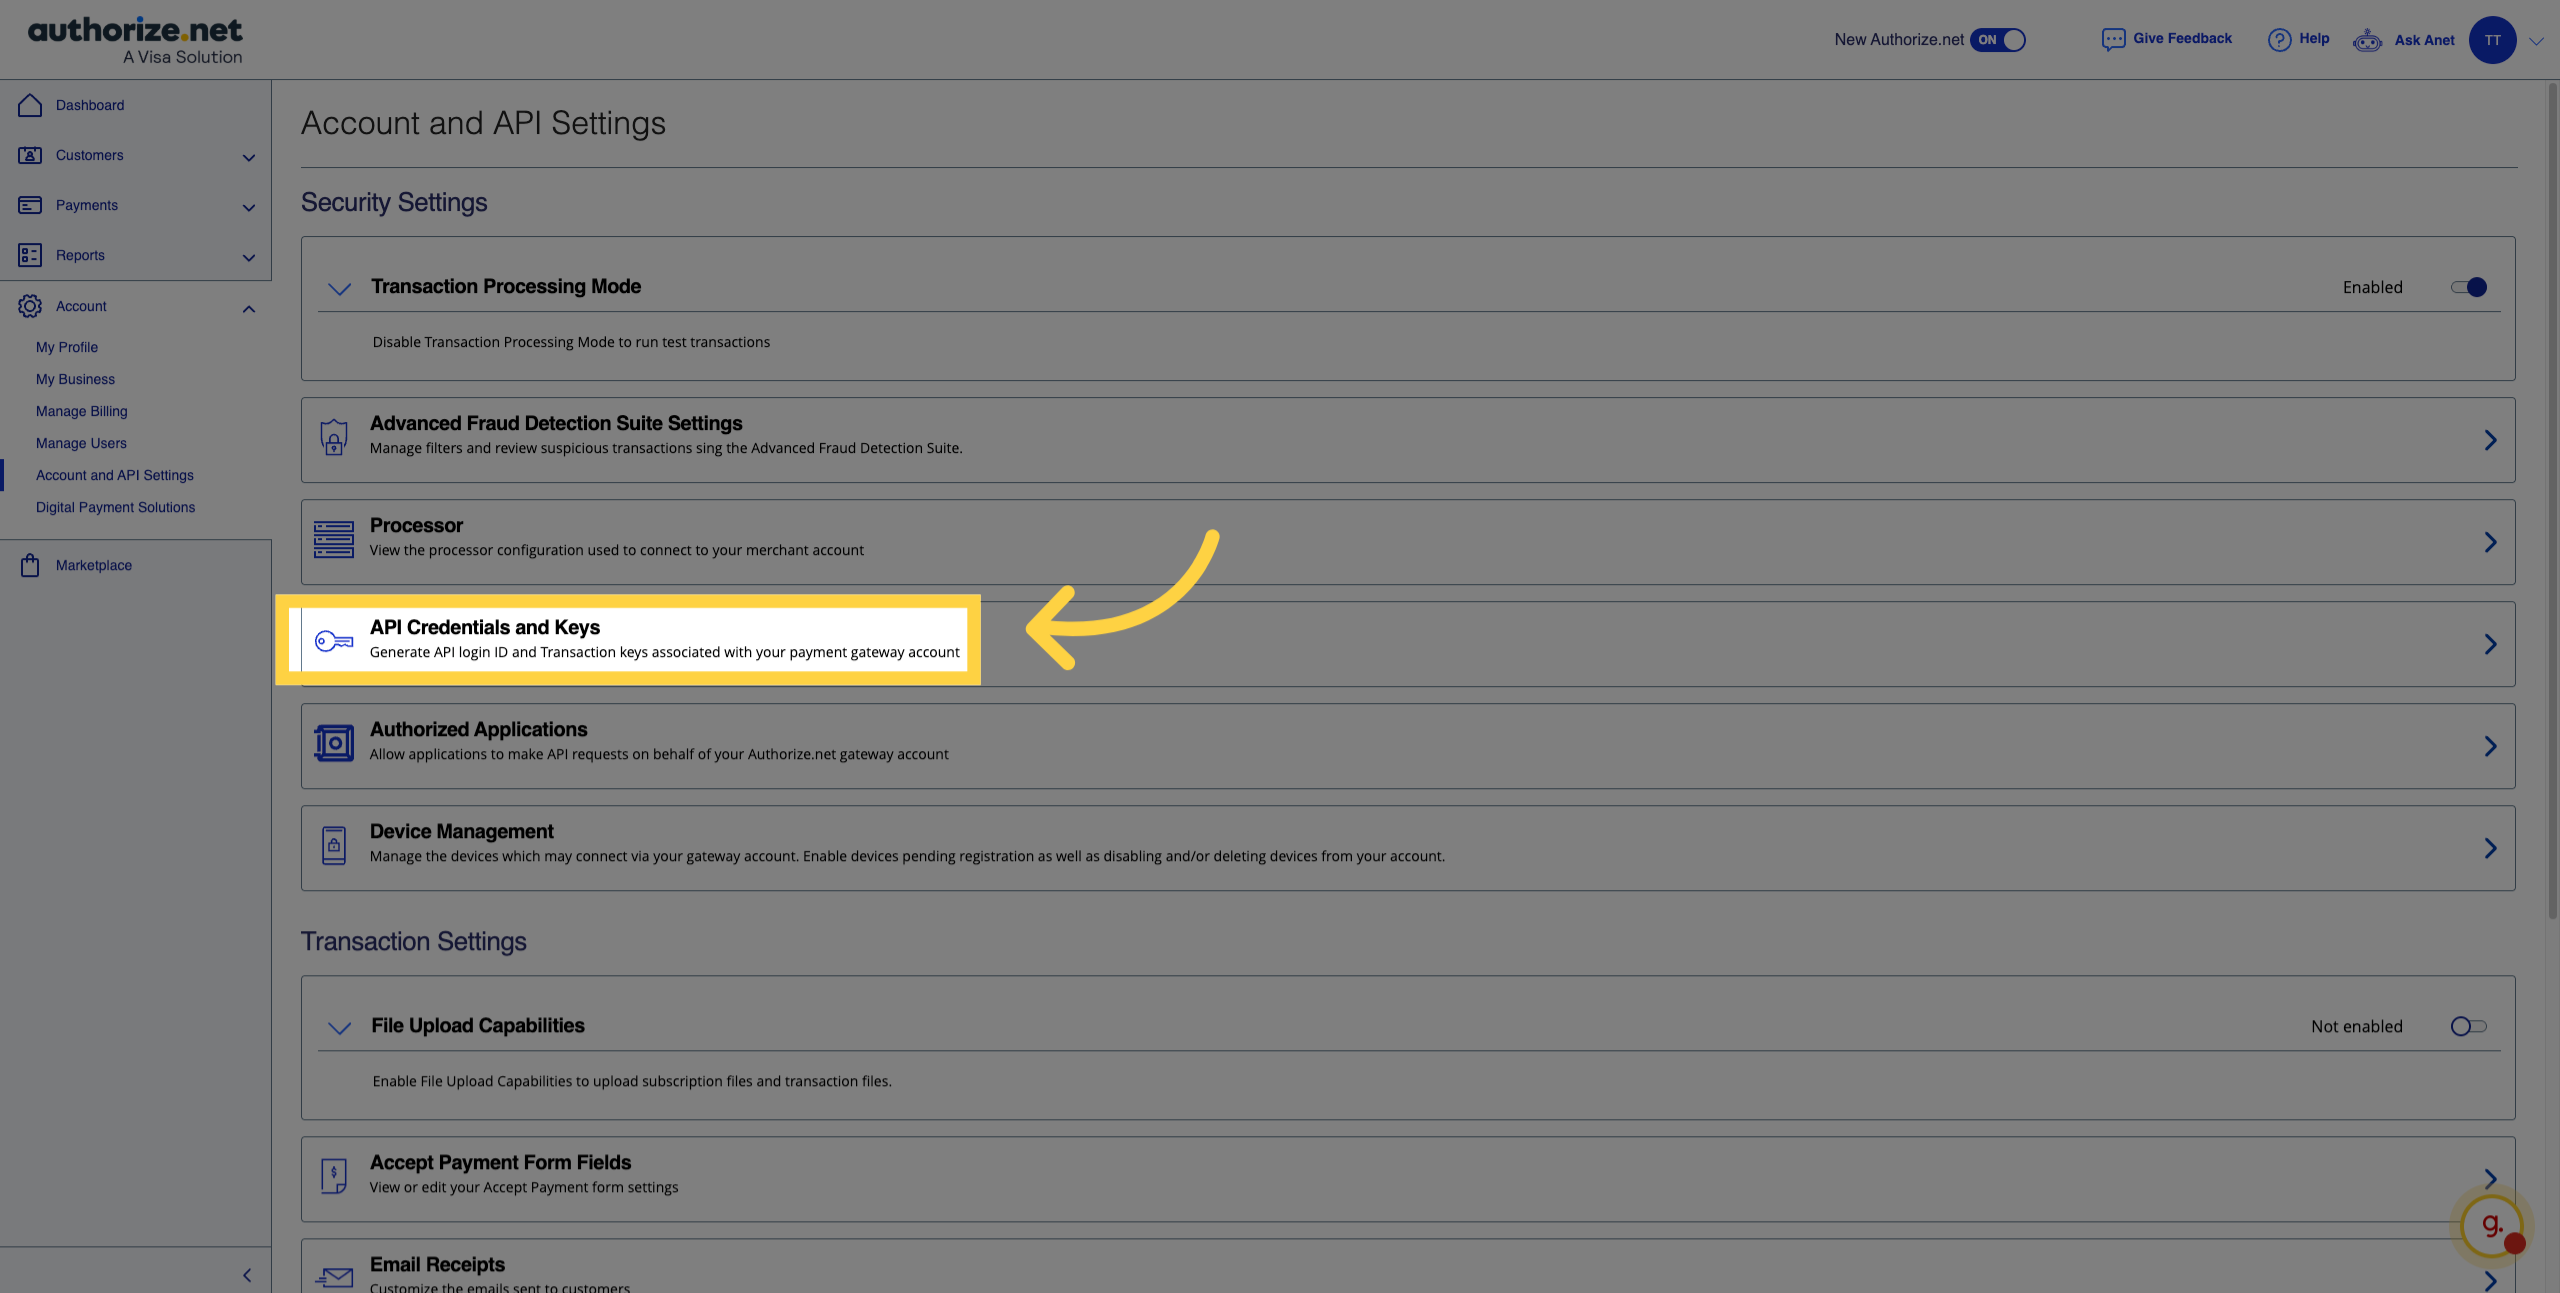
3. Access API Credentials and Keys
Select API Credentials and Keys to view and manage your API login ID and transaction keys.
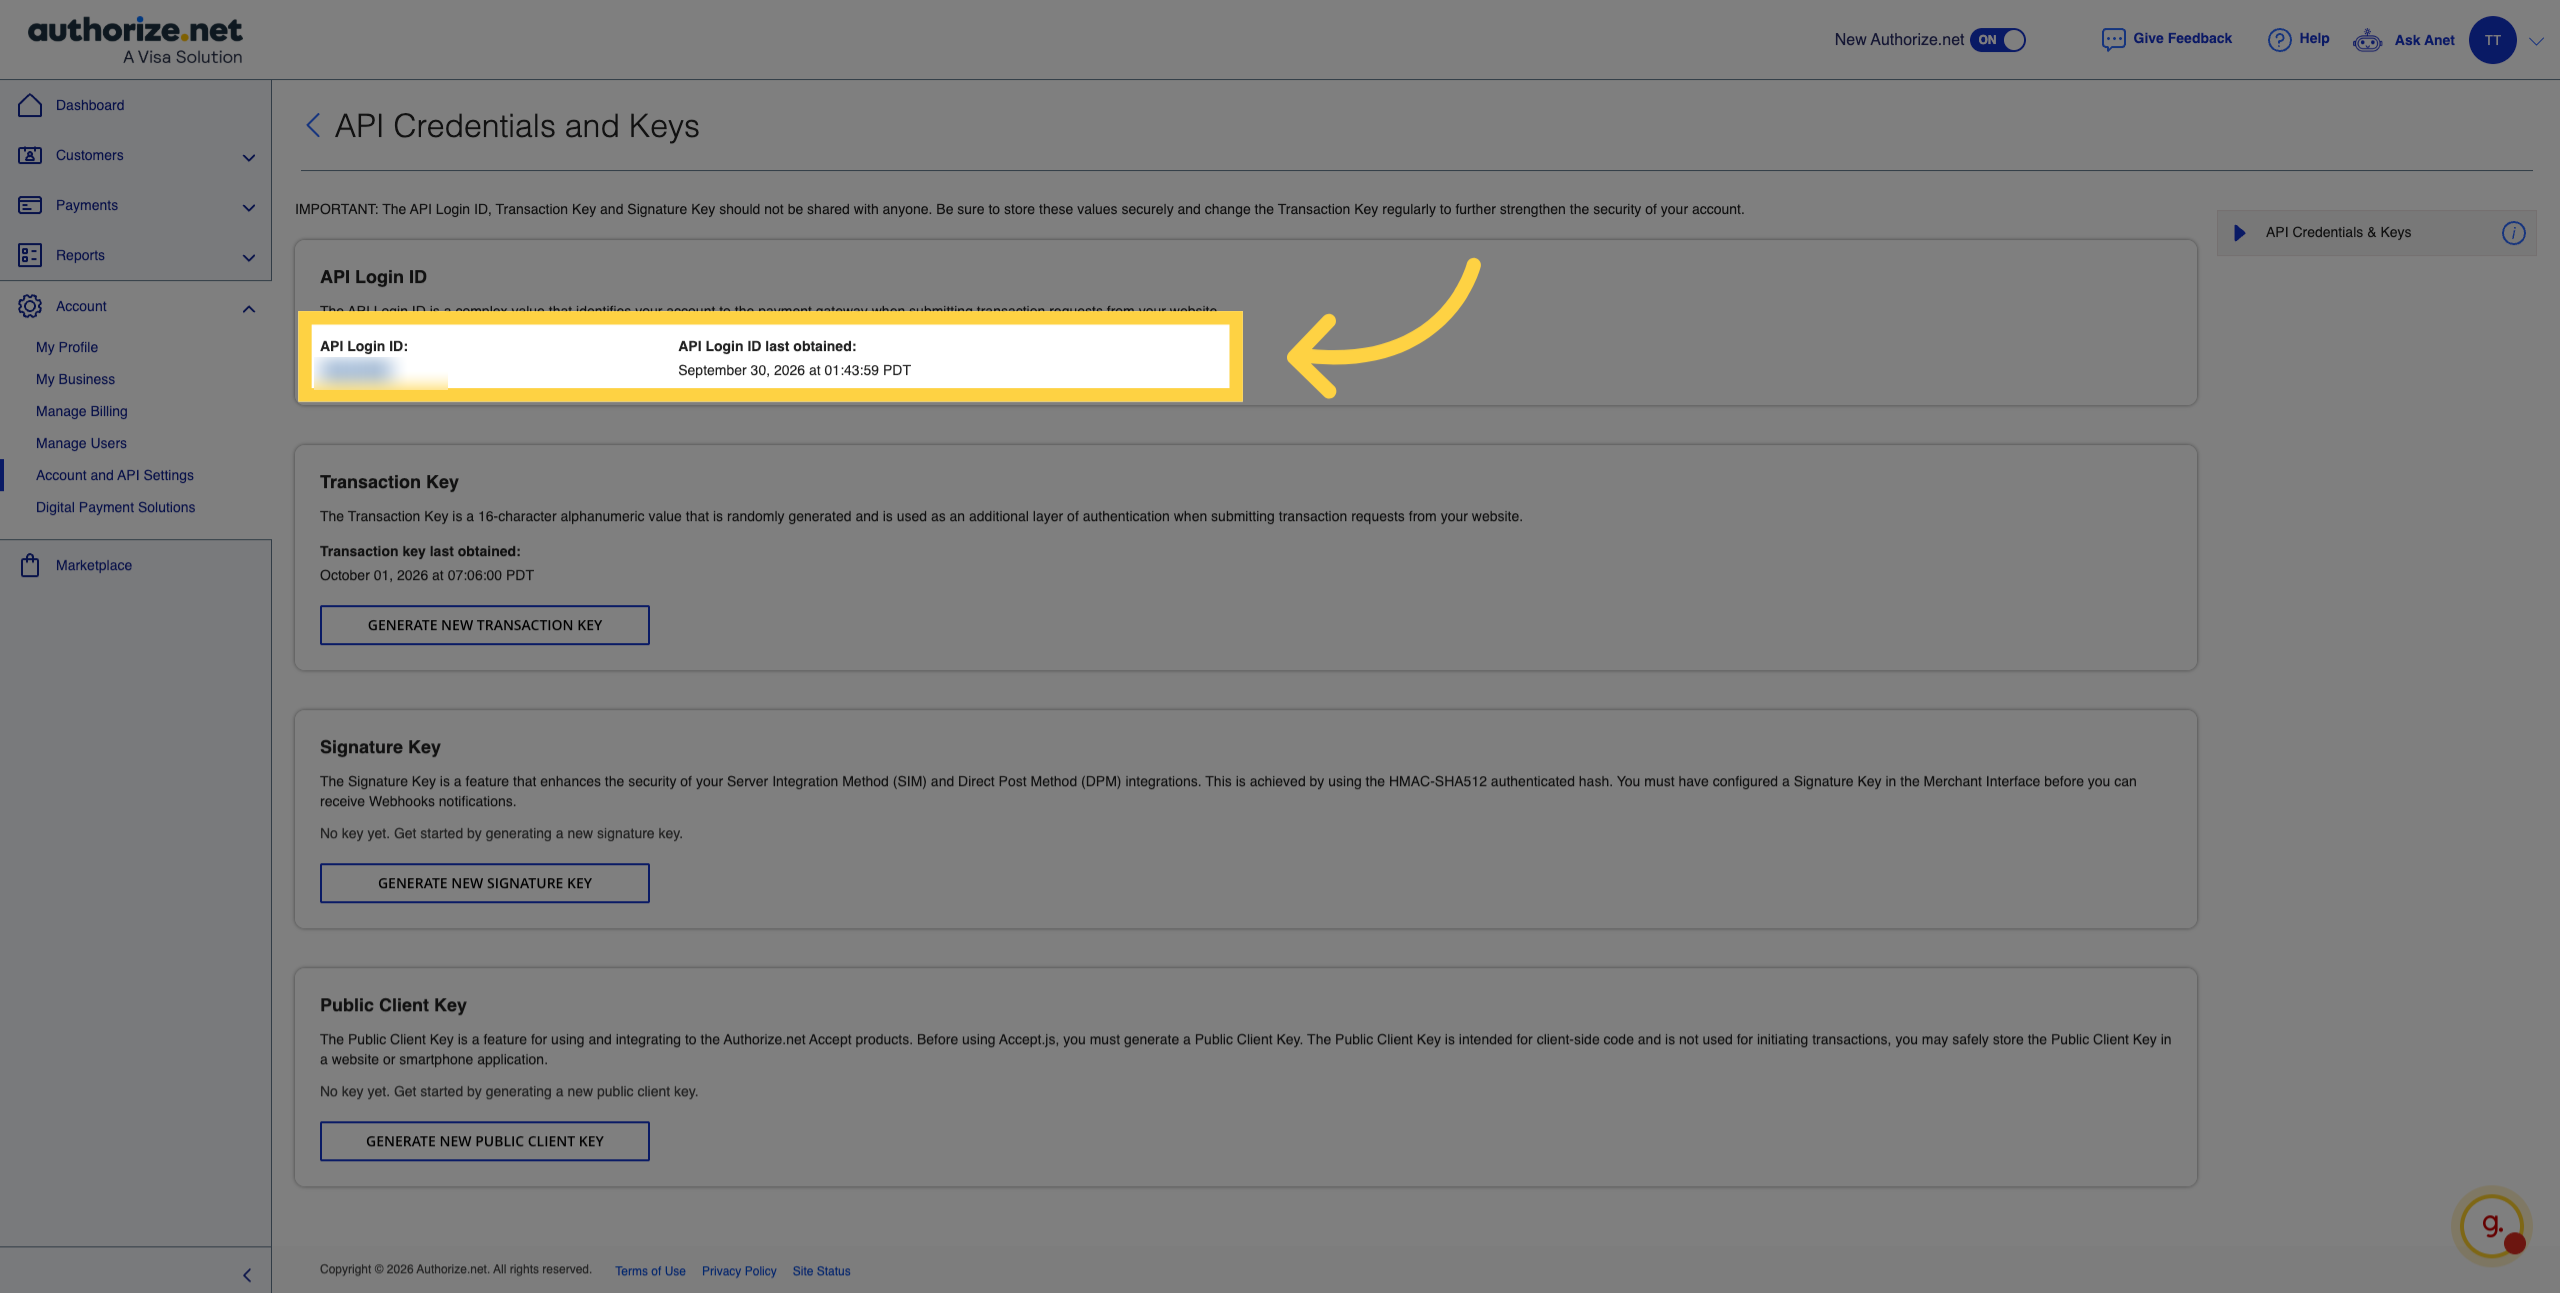
4. Select API Login ID Entry
Select the API Login ID entry to proceed with generating a new transaction key for your account.
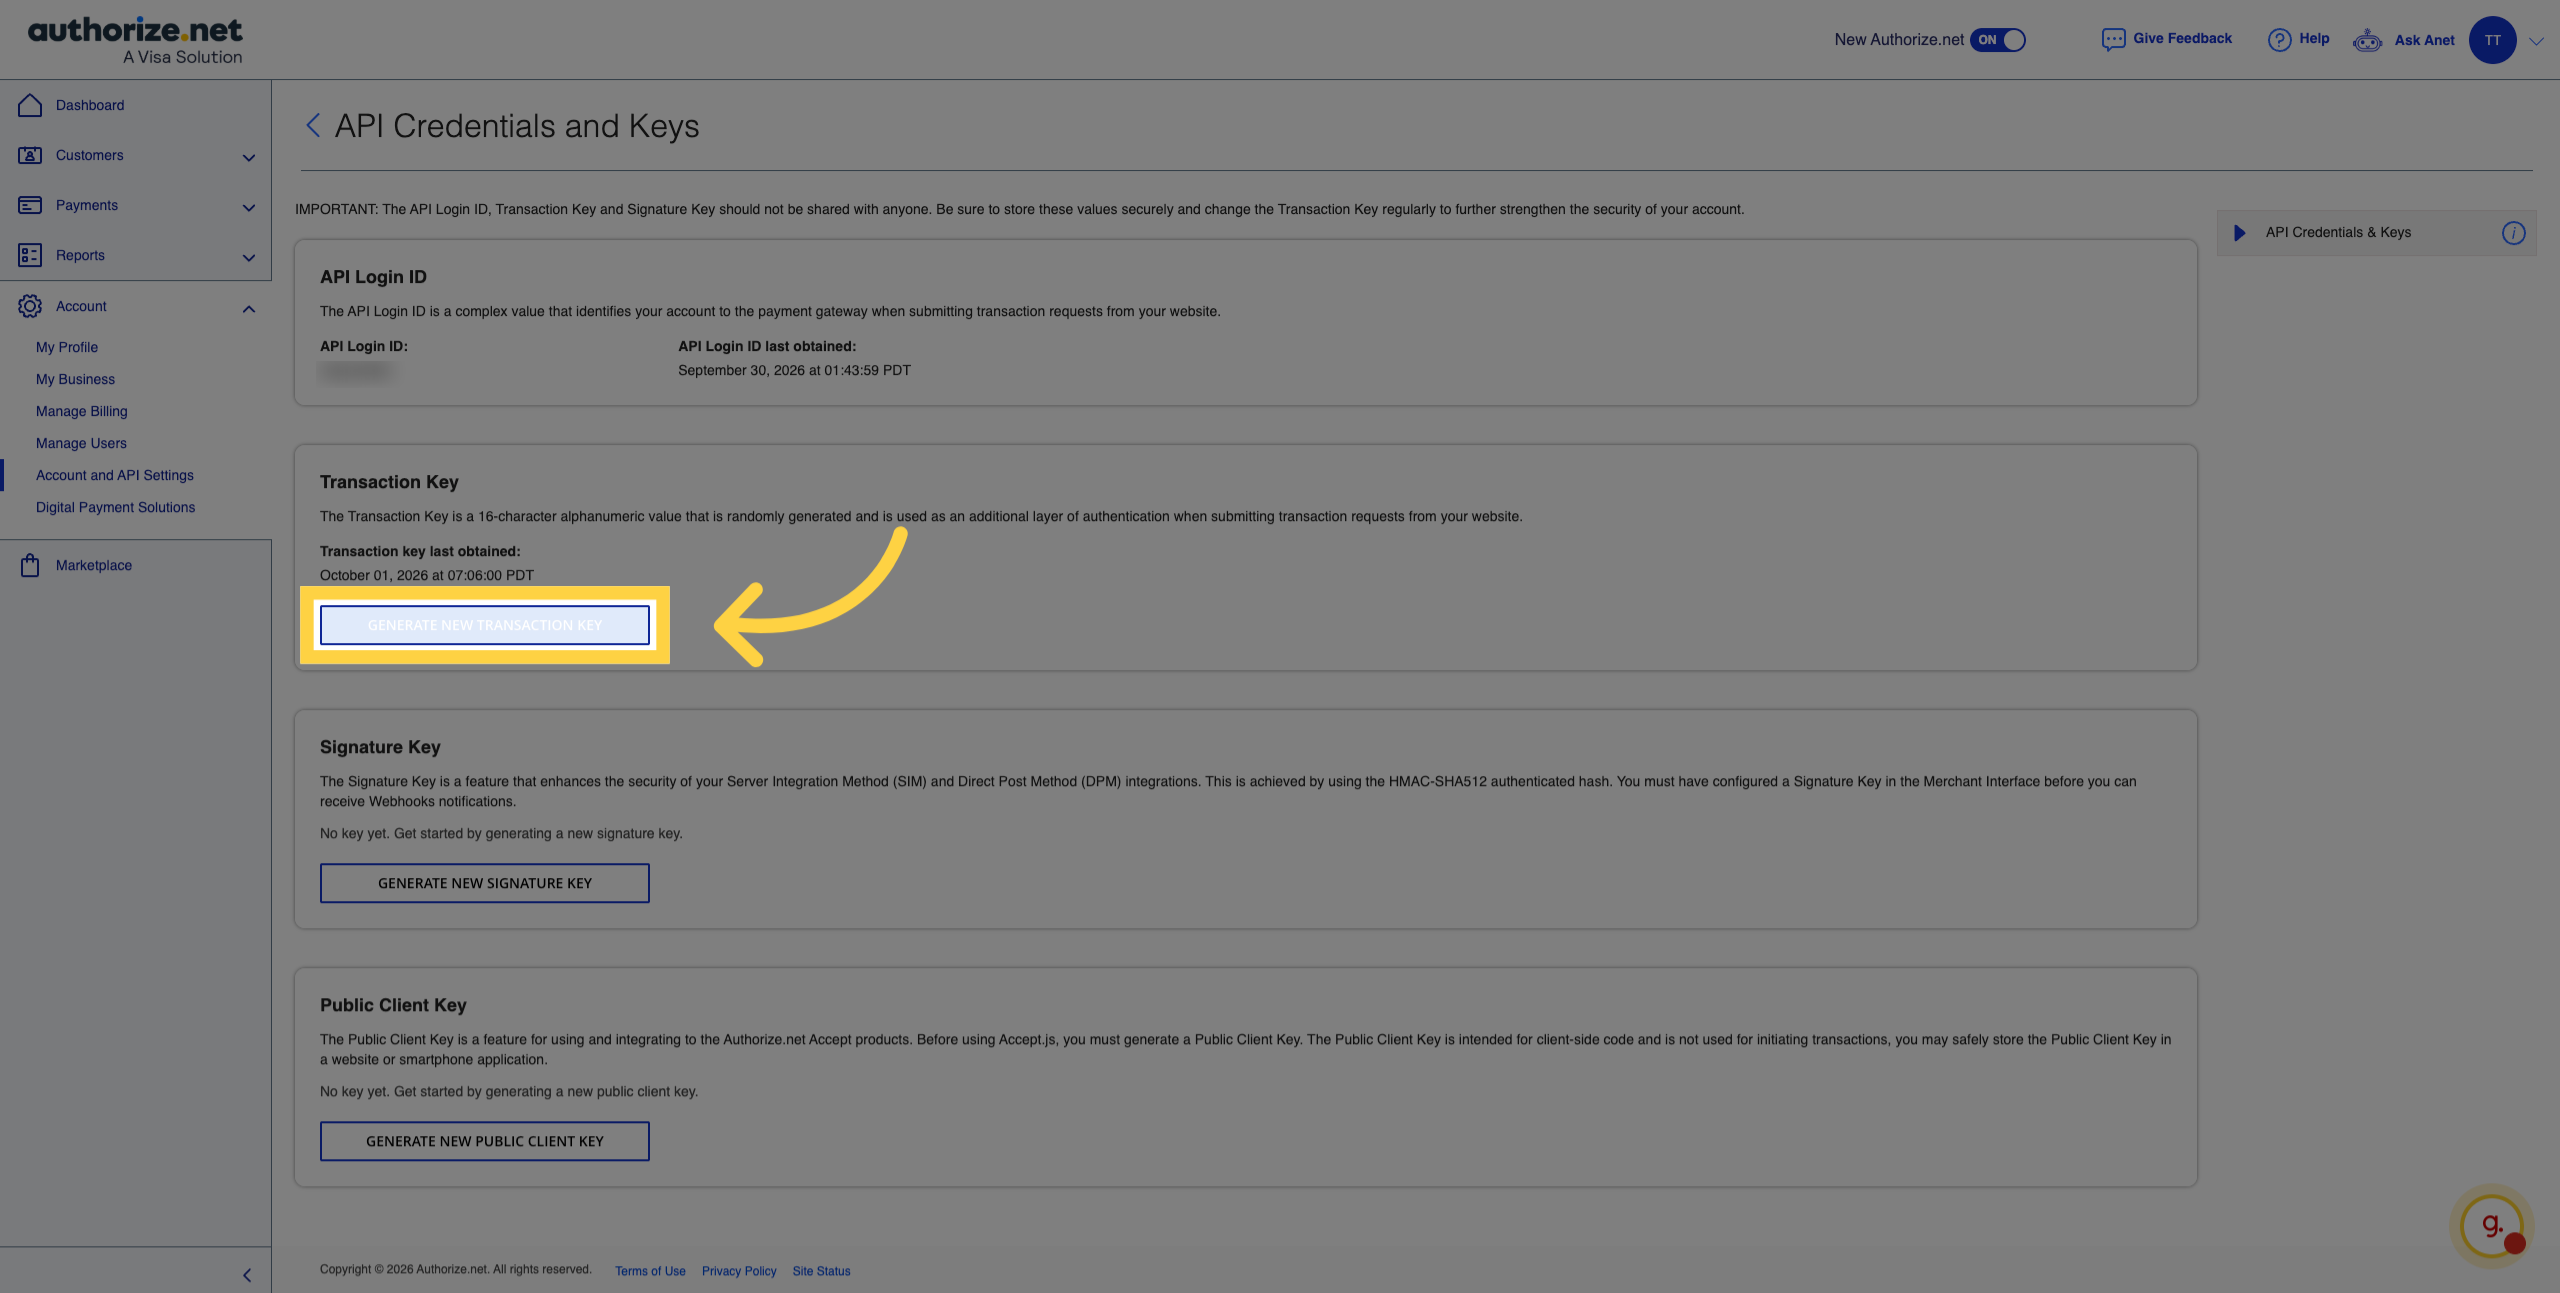
5. Generate New Transaction Key
Generate a new transaction key.
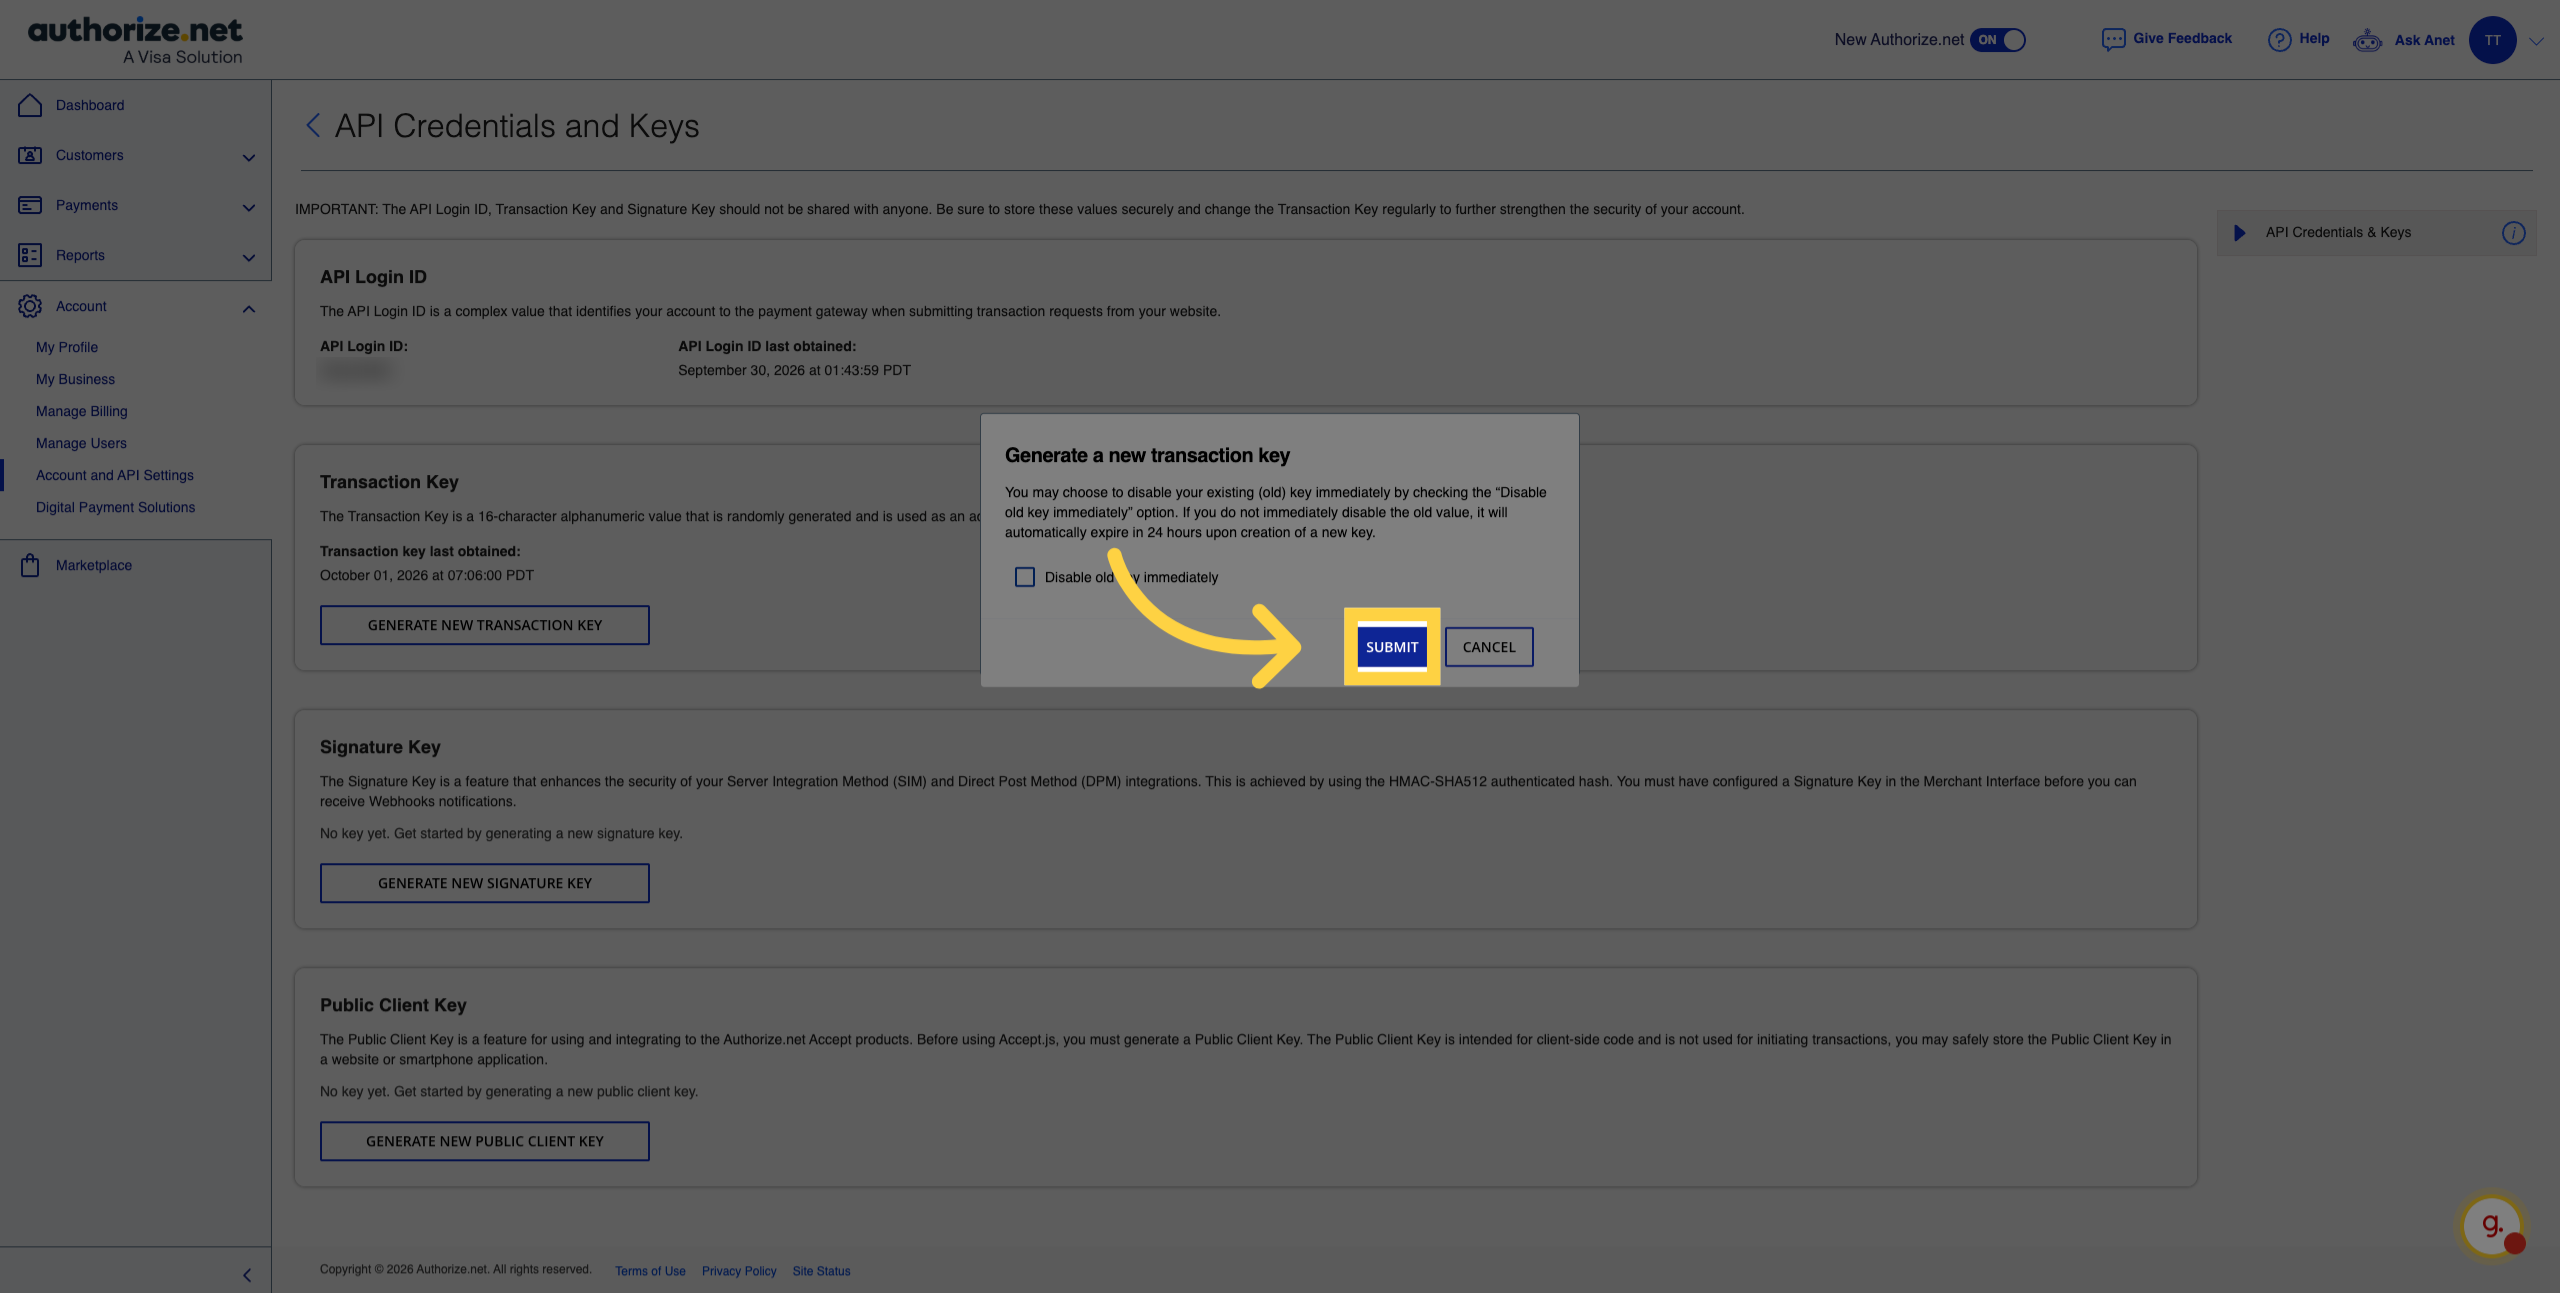
6. Submit Transaction Key Request
Click submit
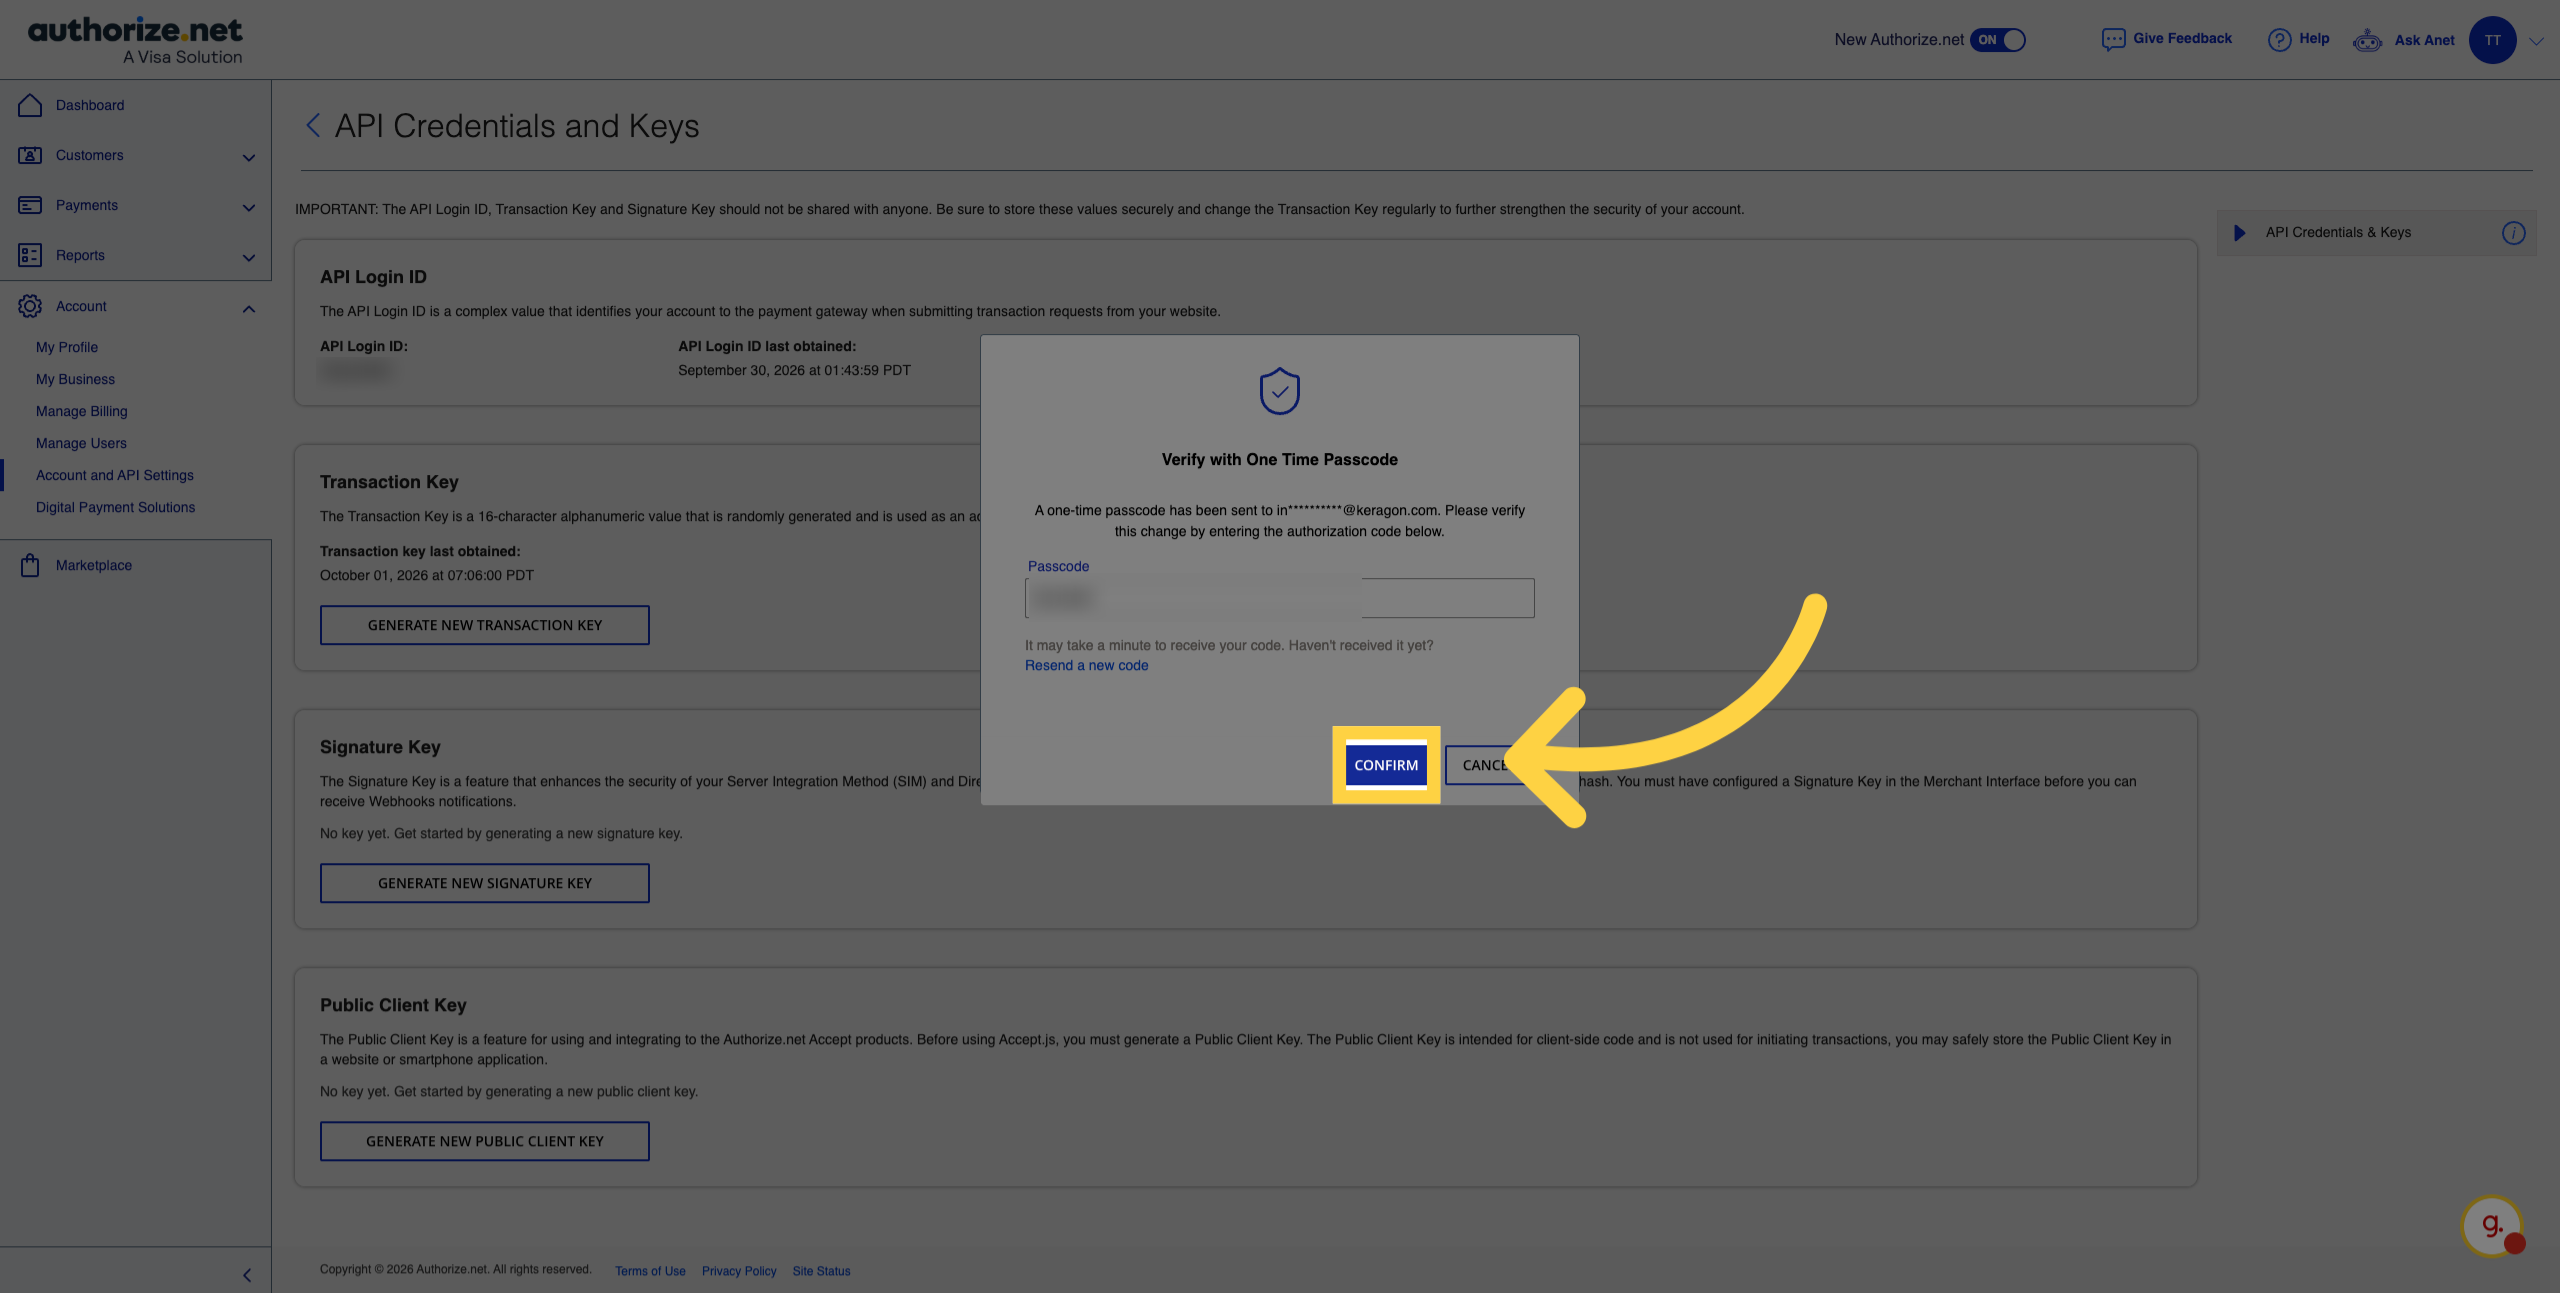
7. Confirm Verification PIN
Confirm the entered PIN to complete the verification process for your new transaction key.
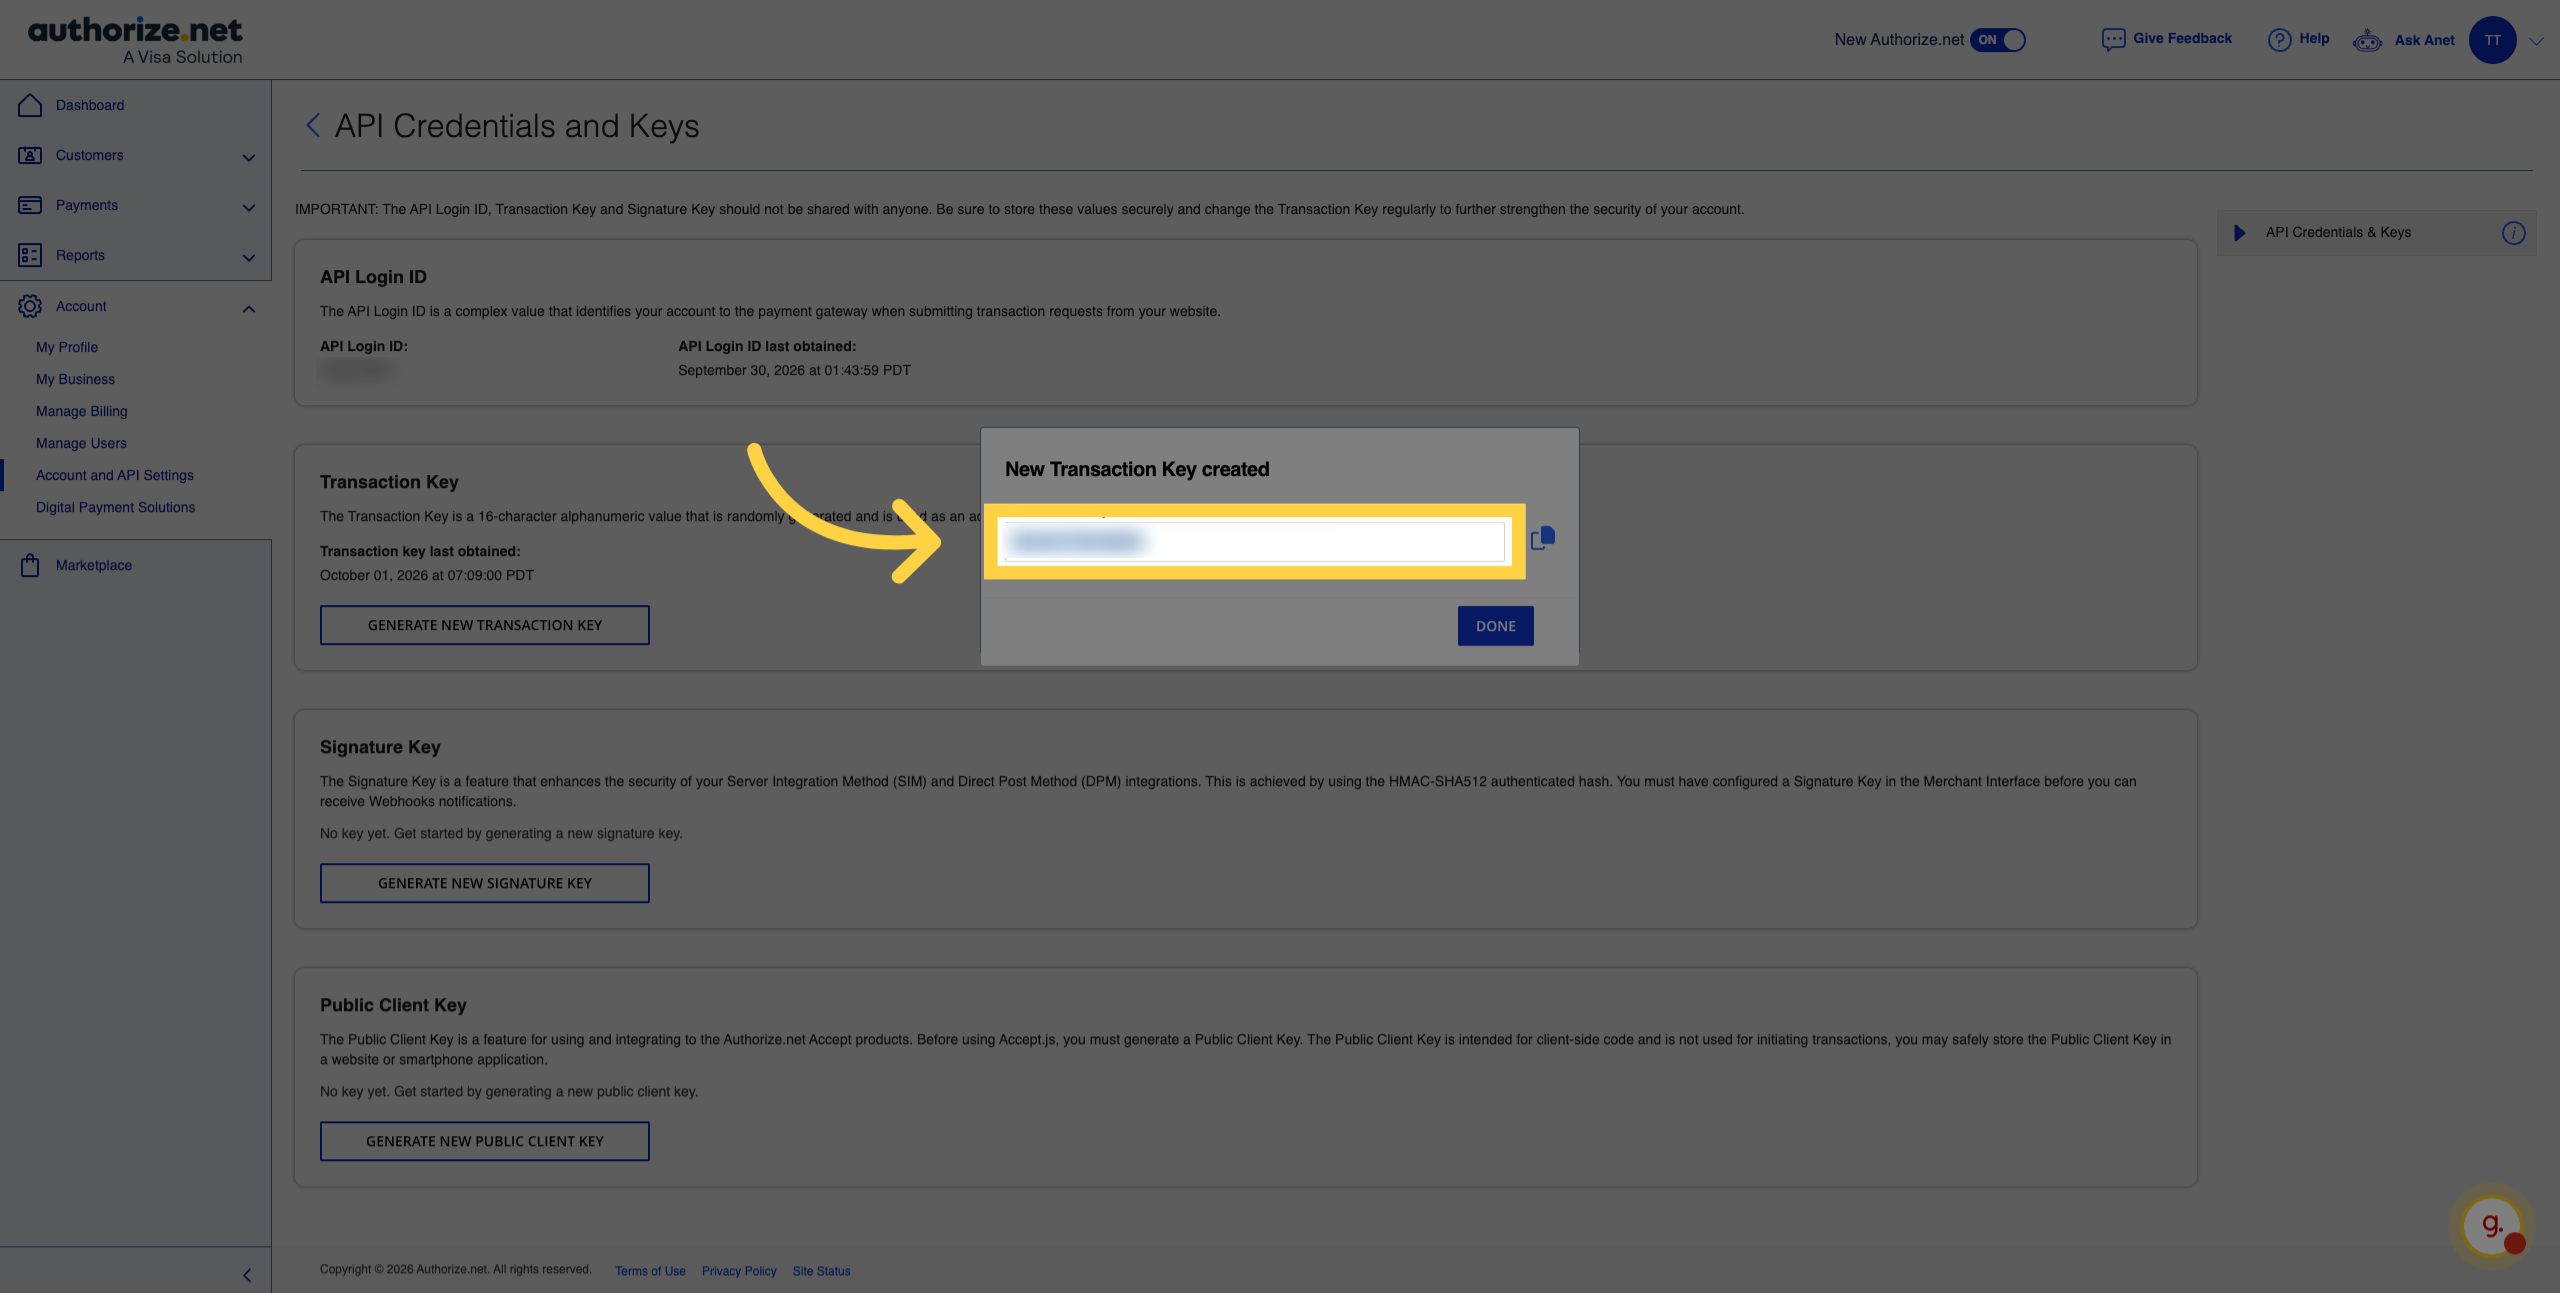
8. Save Transaction Key Securely
Save your new transaction key carefully, as this is the only time it will be displayed to you.
9. Complete API Credential Setup
Click Done to finalize the setup of your API credentials and complete the process successfully.
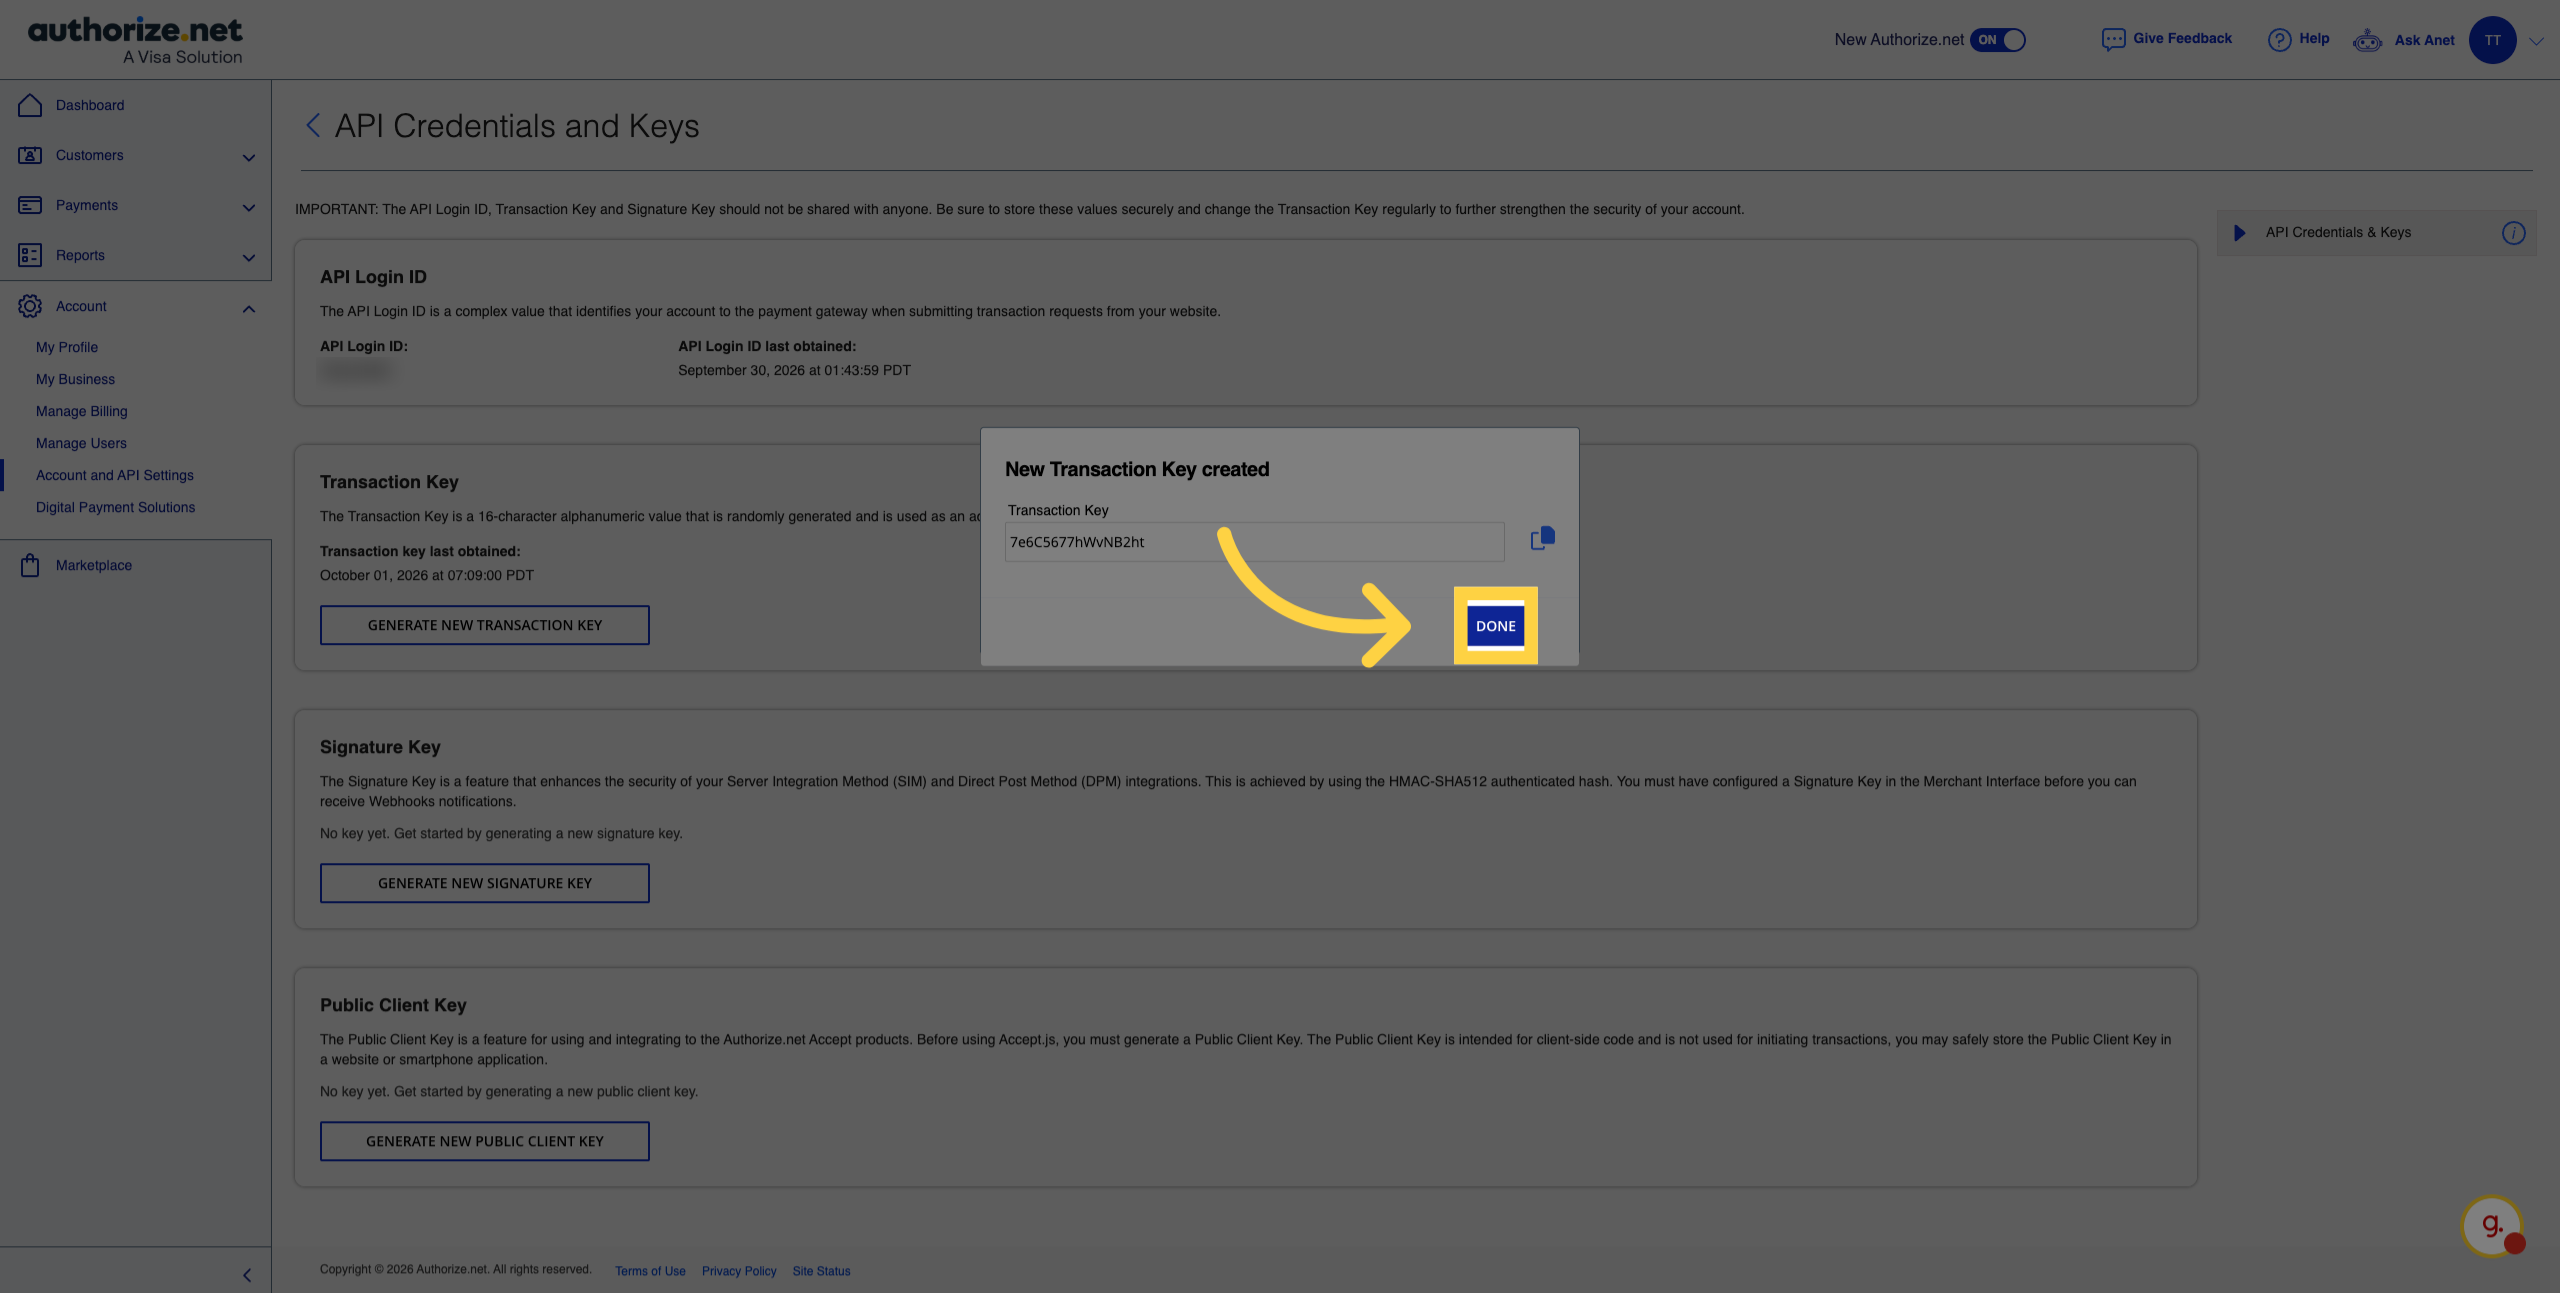
Verify your API credentials by saving the new transaction key securely after confirmation. This ensures your Authorize.net account is ready for transaction processing.