This article explains how to connect Qualiphy with Keragon to enable seamless data integration between the two platforms
Go to app.qualiphy.me
1. Introduction
You will learn the necessary steps to establish a secure connection using an API key.
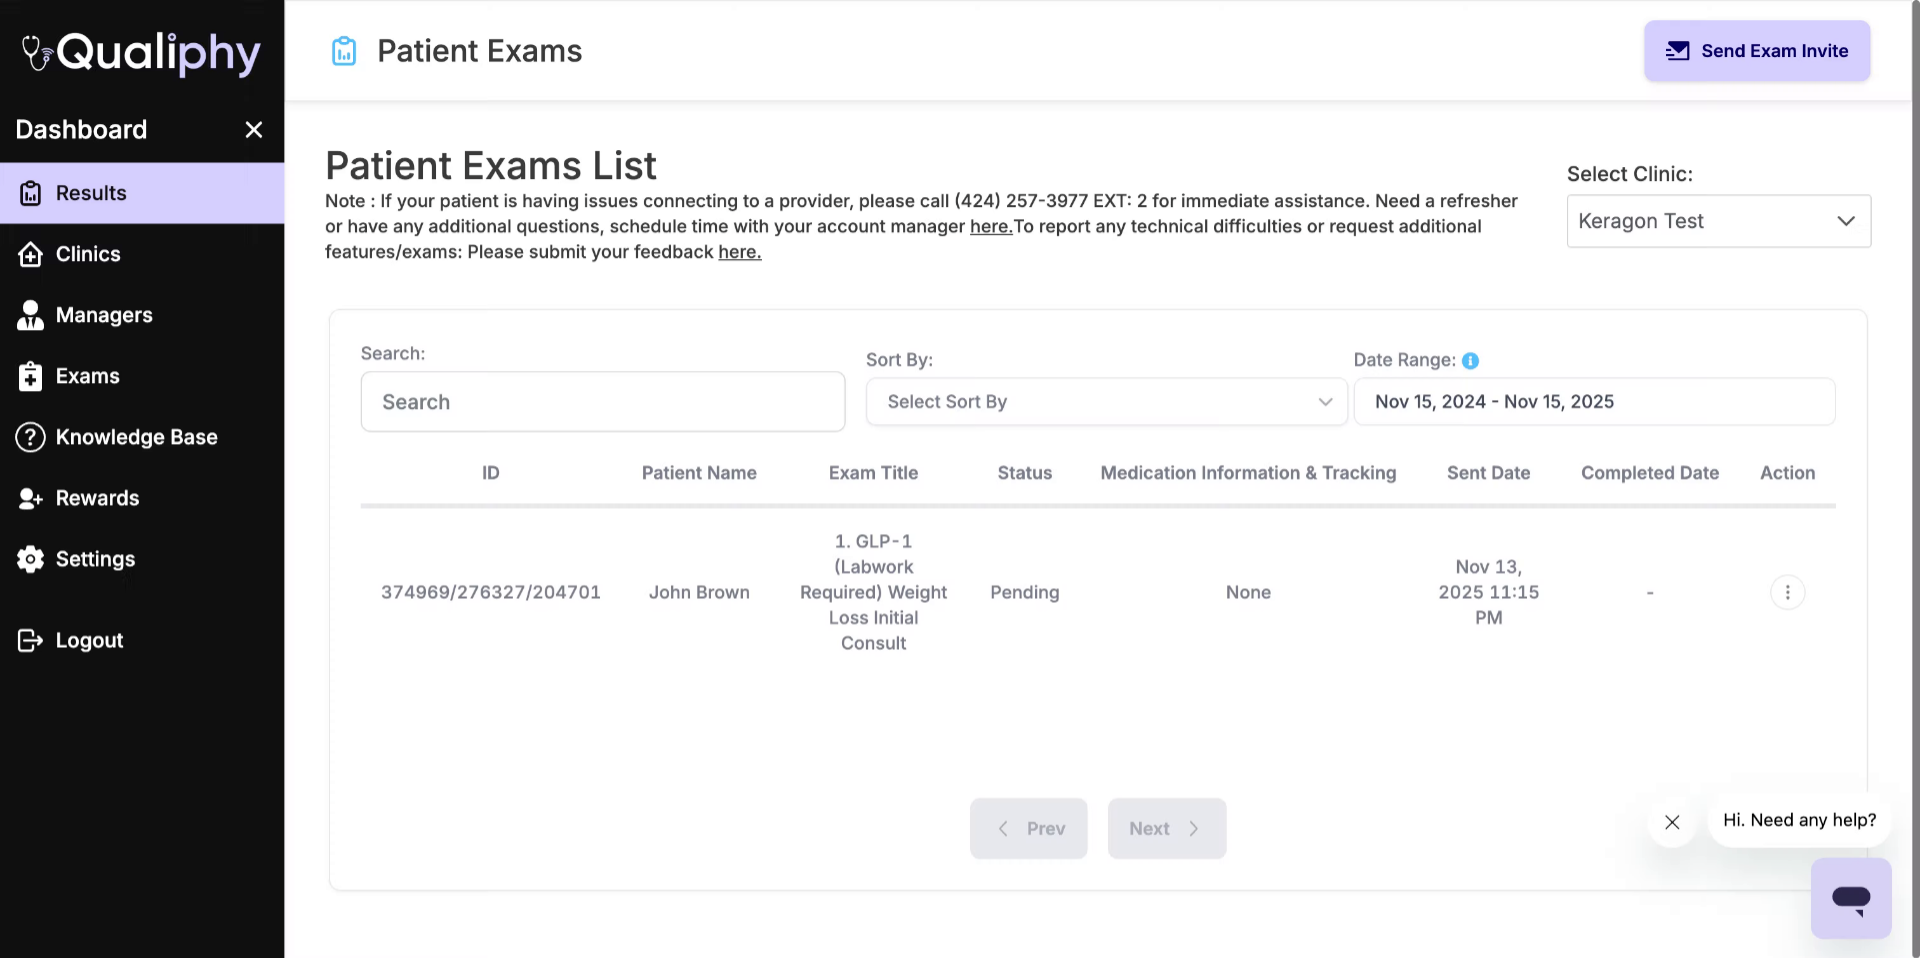
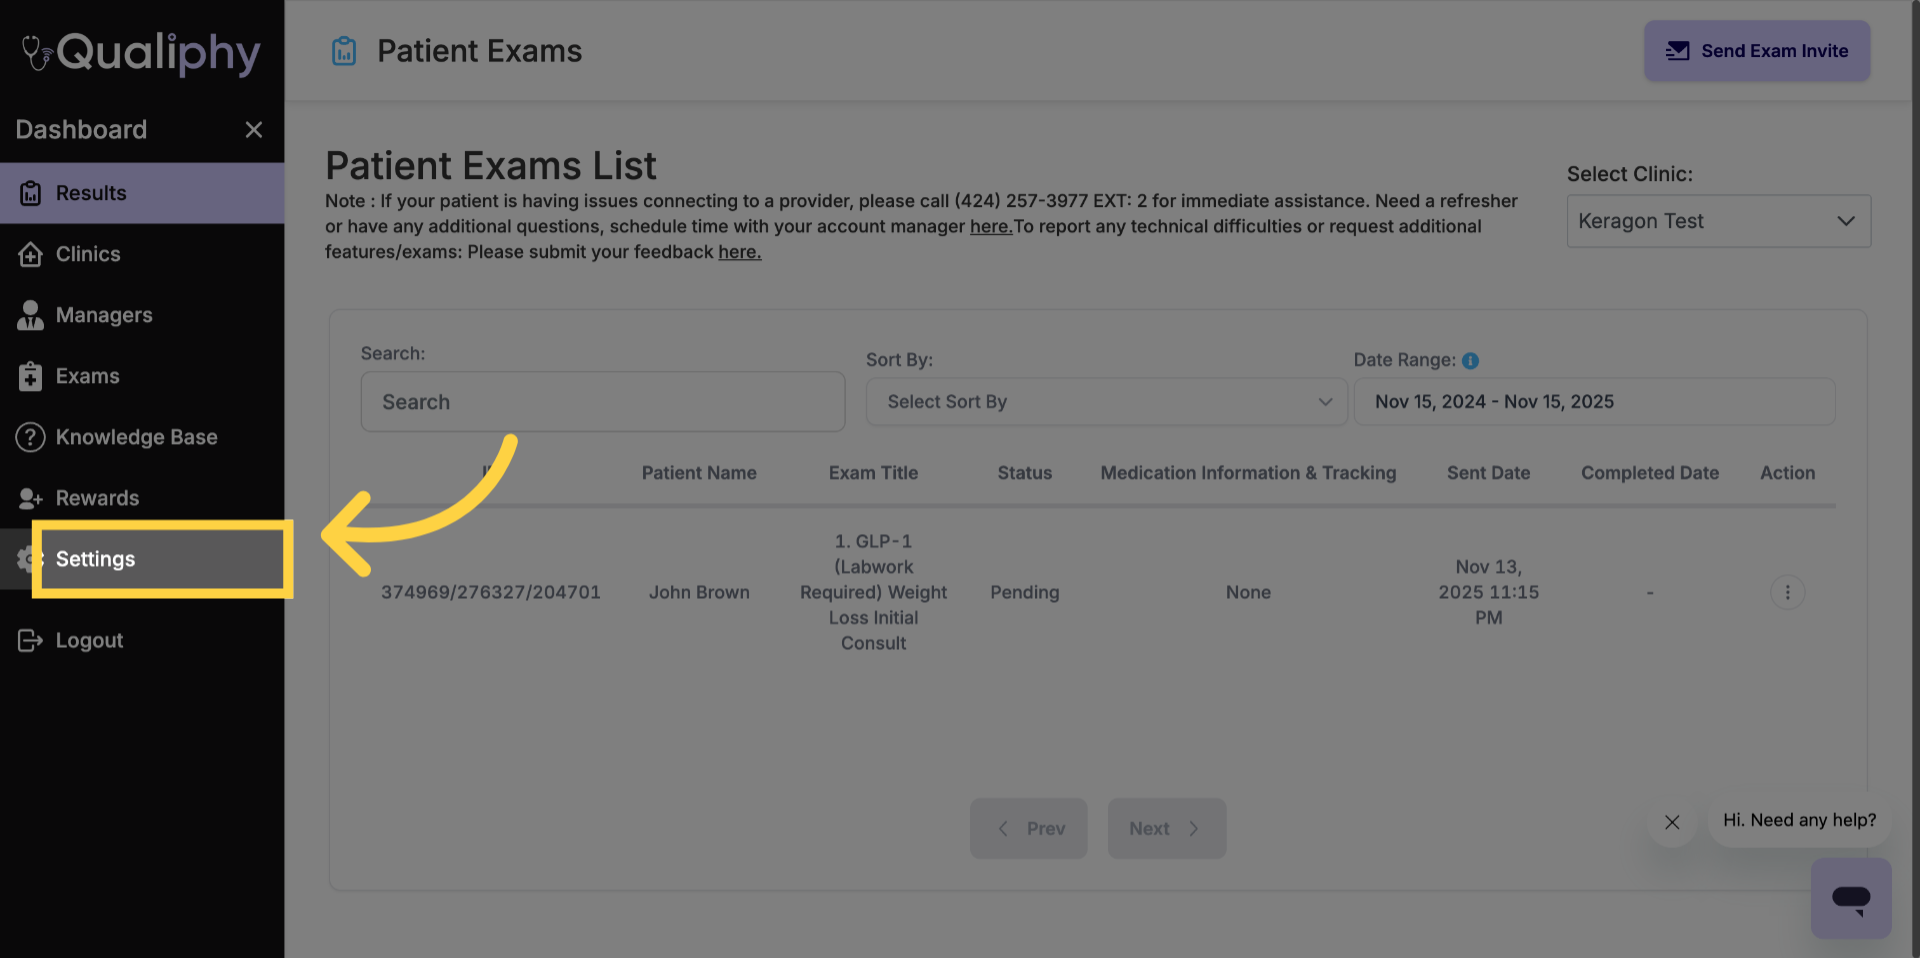
2. Open Qualiphy Settings
Click the Settings option in Qualiphy to access configuration options.
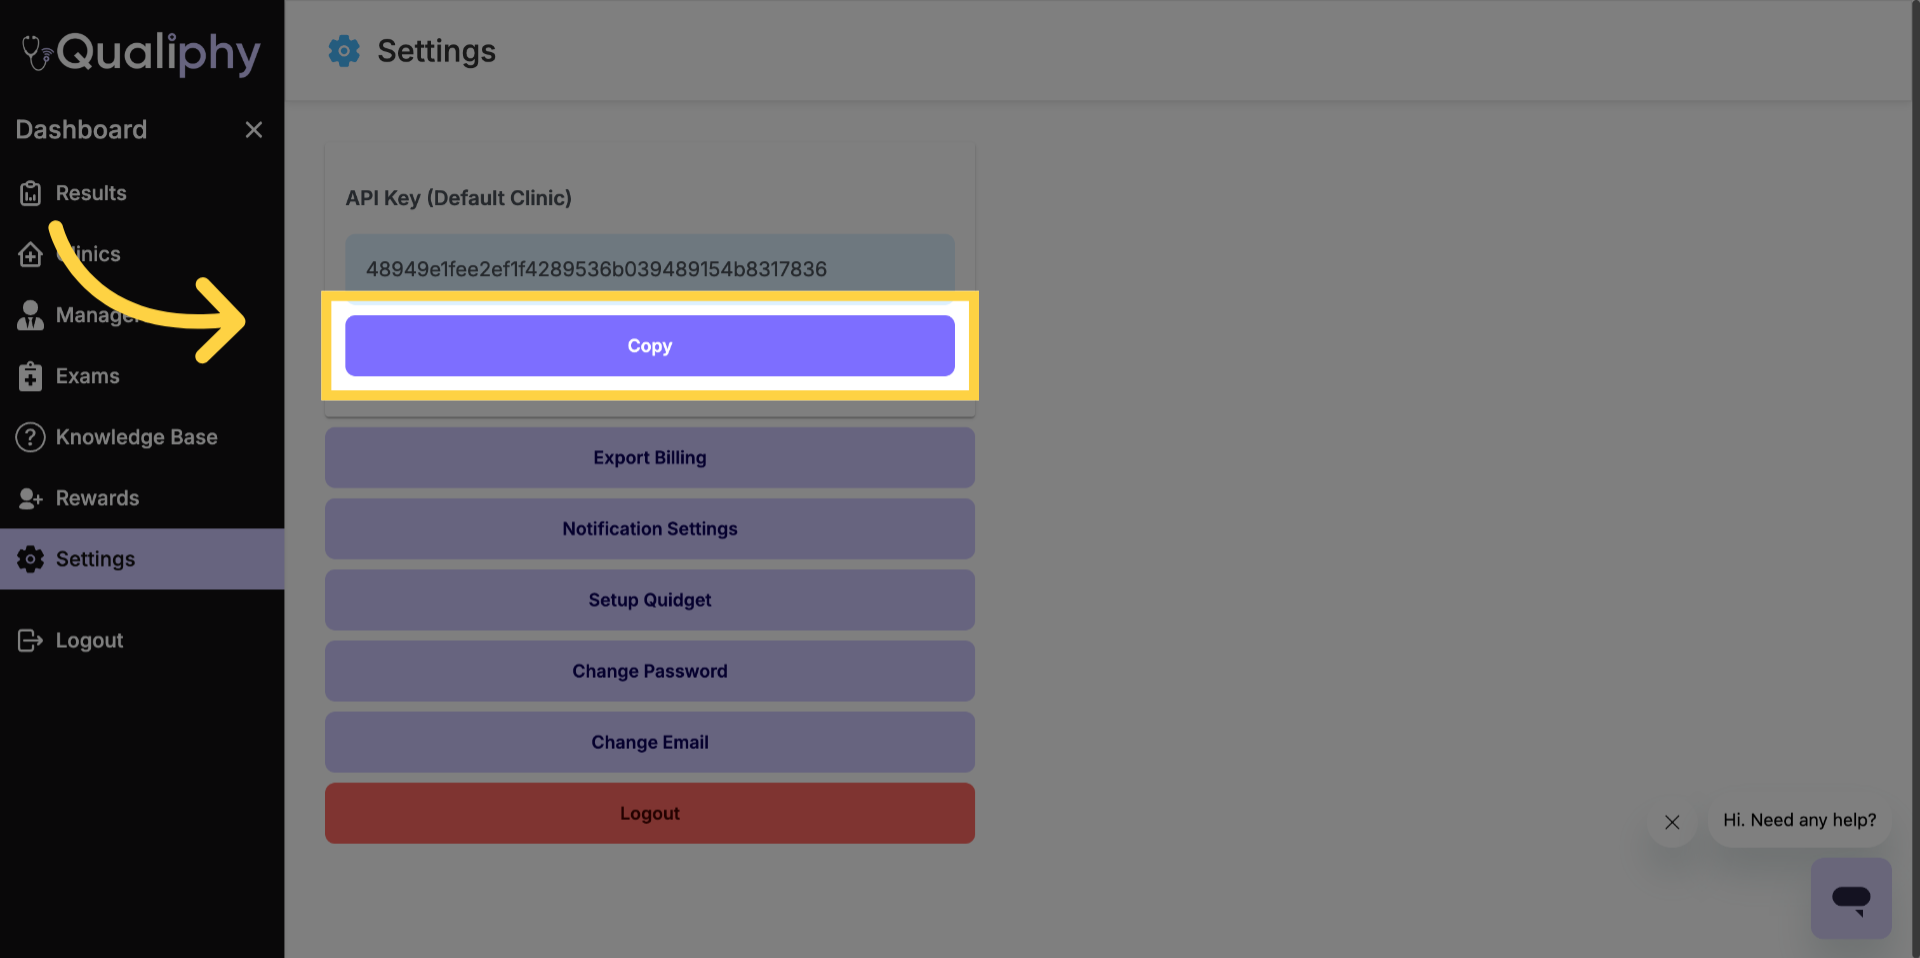
3. Copy API Key
Click the Copy button to copy the API key needed for integration.
4. Navigate to Keragon Website
Switch to the Keragon application by opening app.keragon.com in your browser.
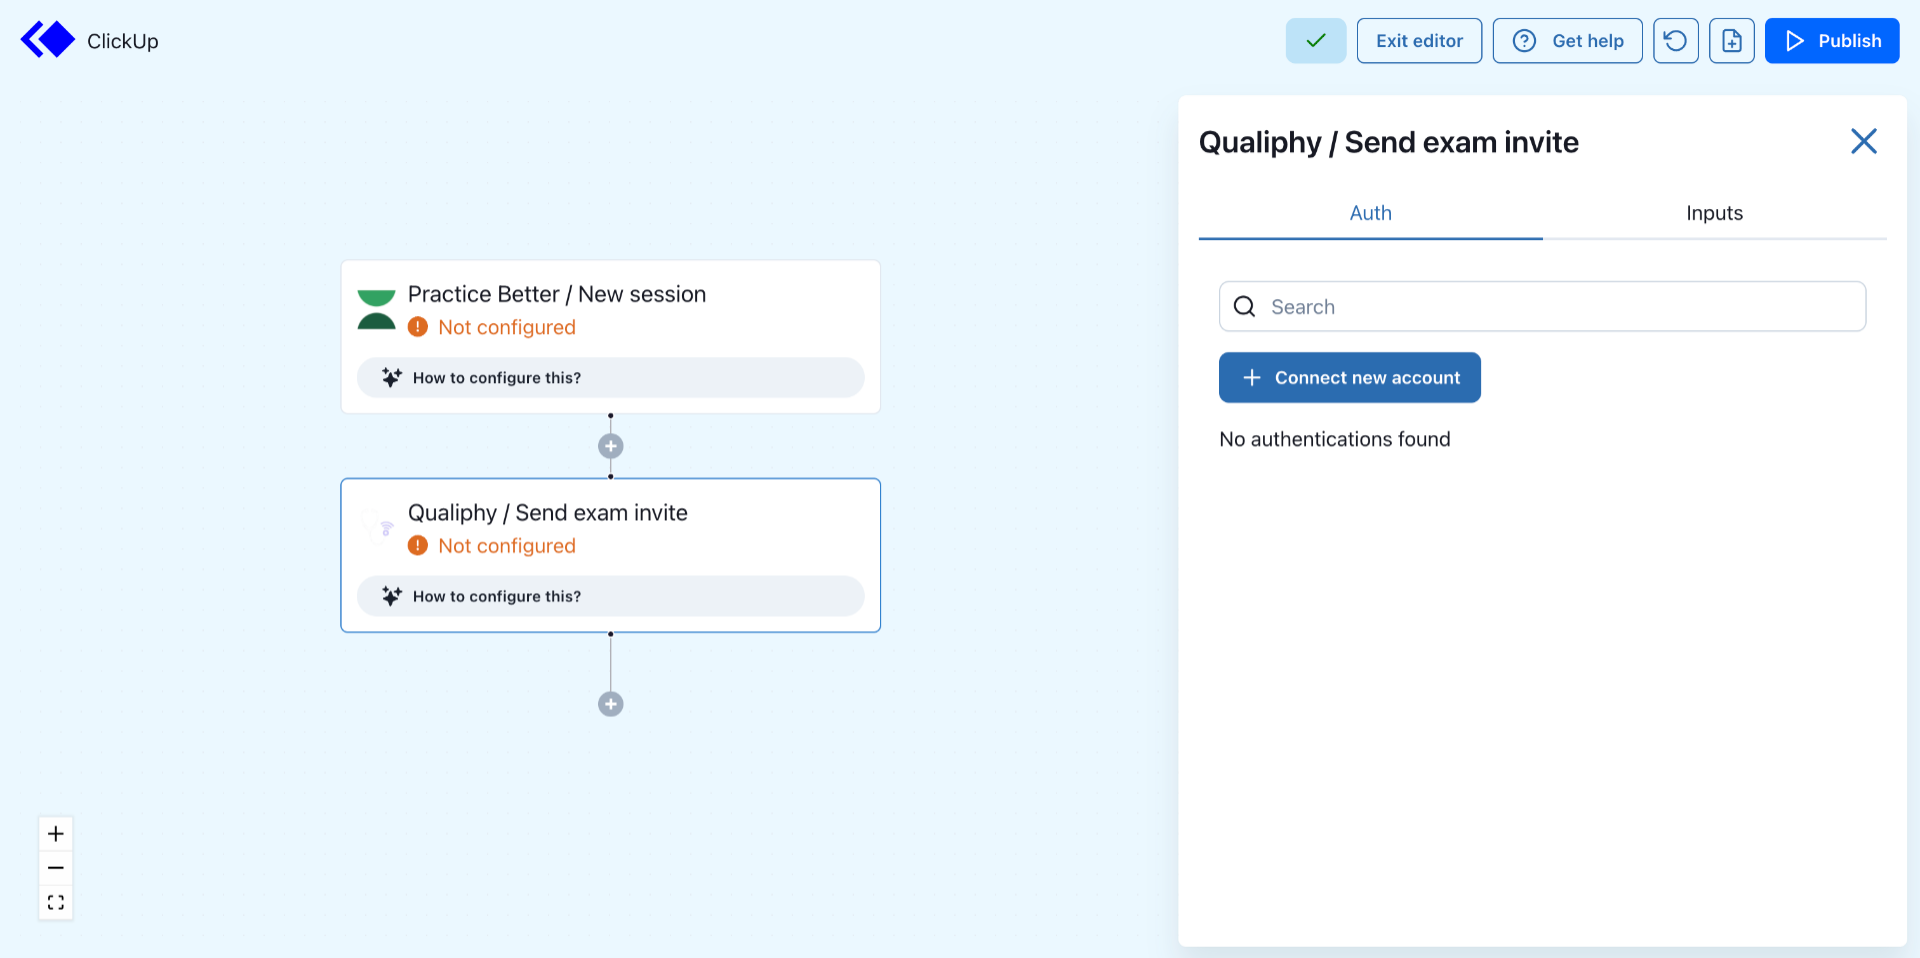
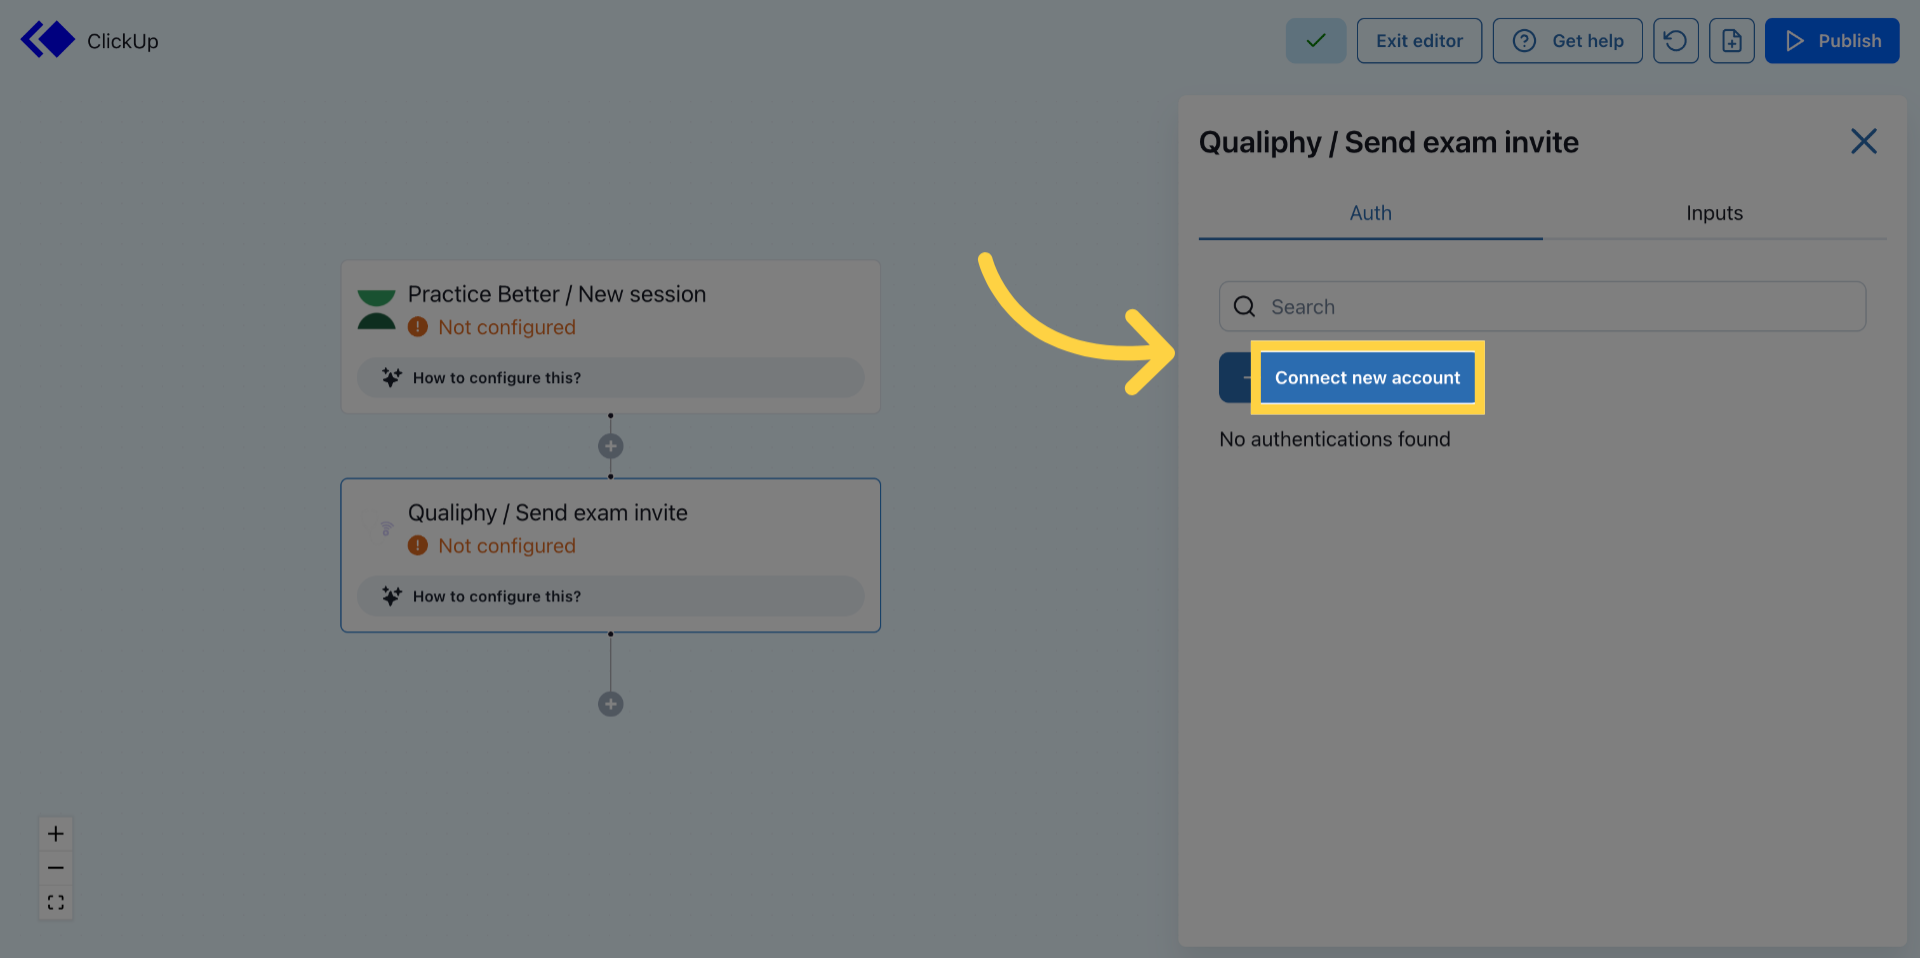
5. Initiate New Account Connection
Click Connect new account in Keragon to start linking your Qualiphy account.
6. Select API Key Authentication
Click the API Key option to choose this method for account connection.
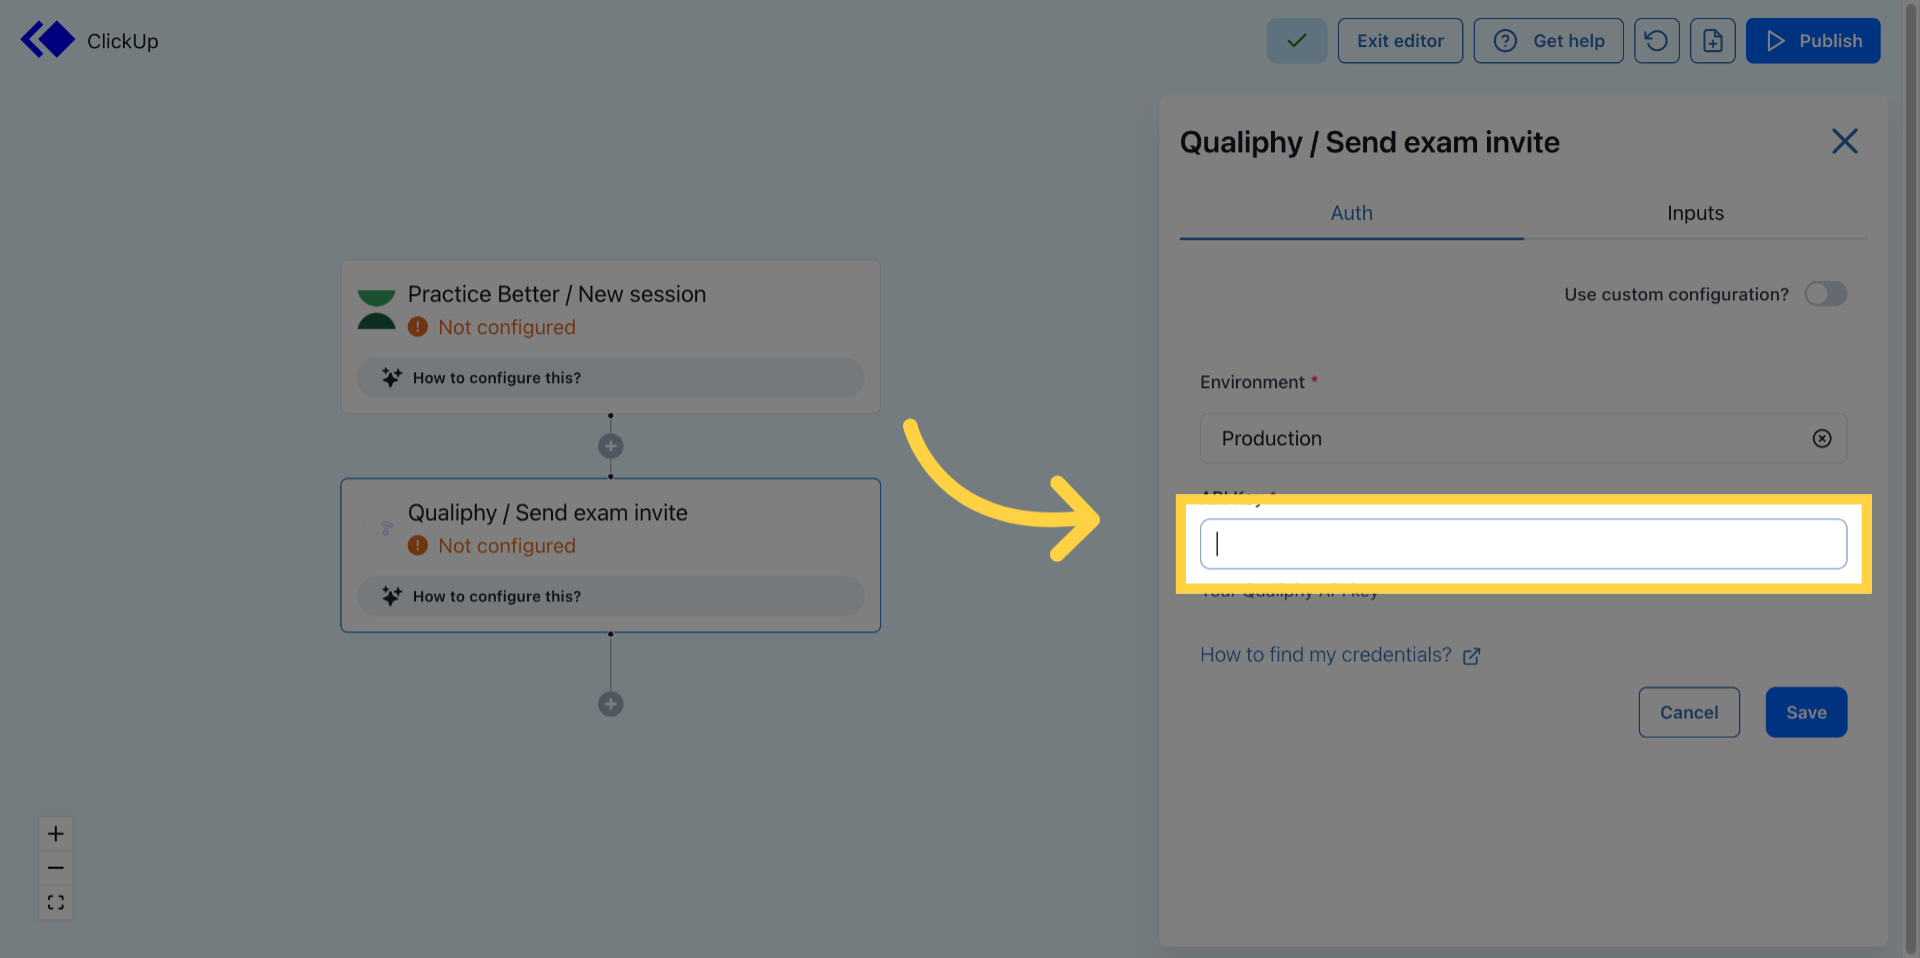
7. Enter Your API Key
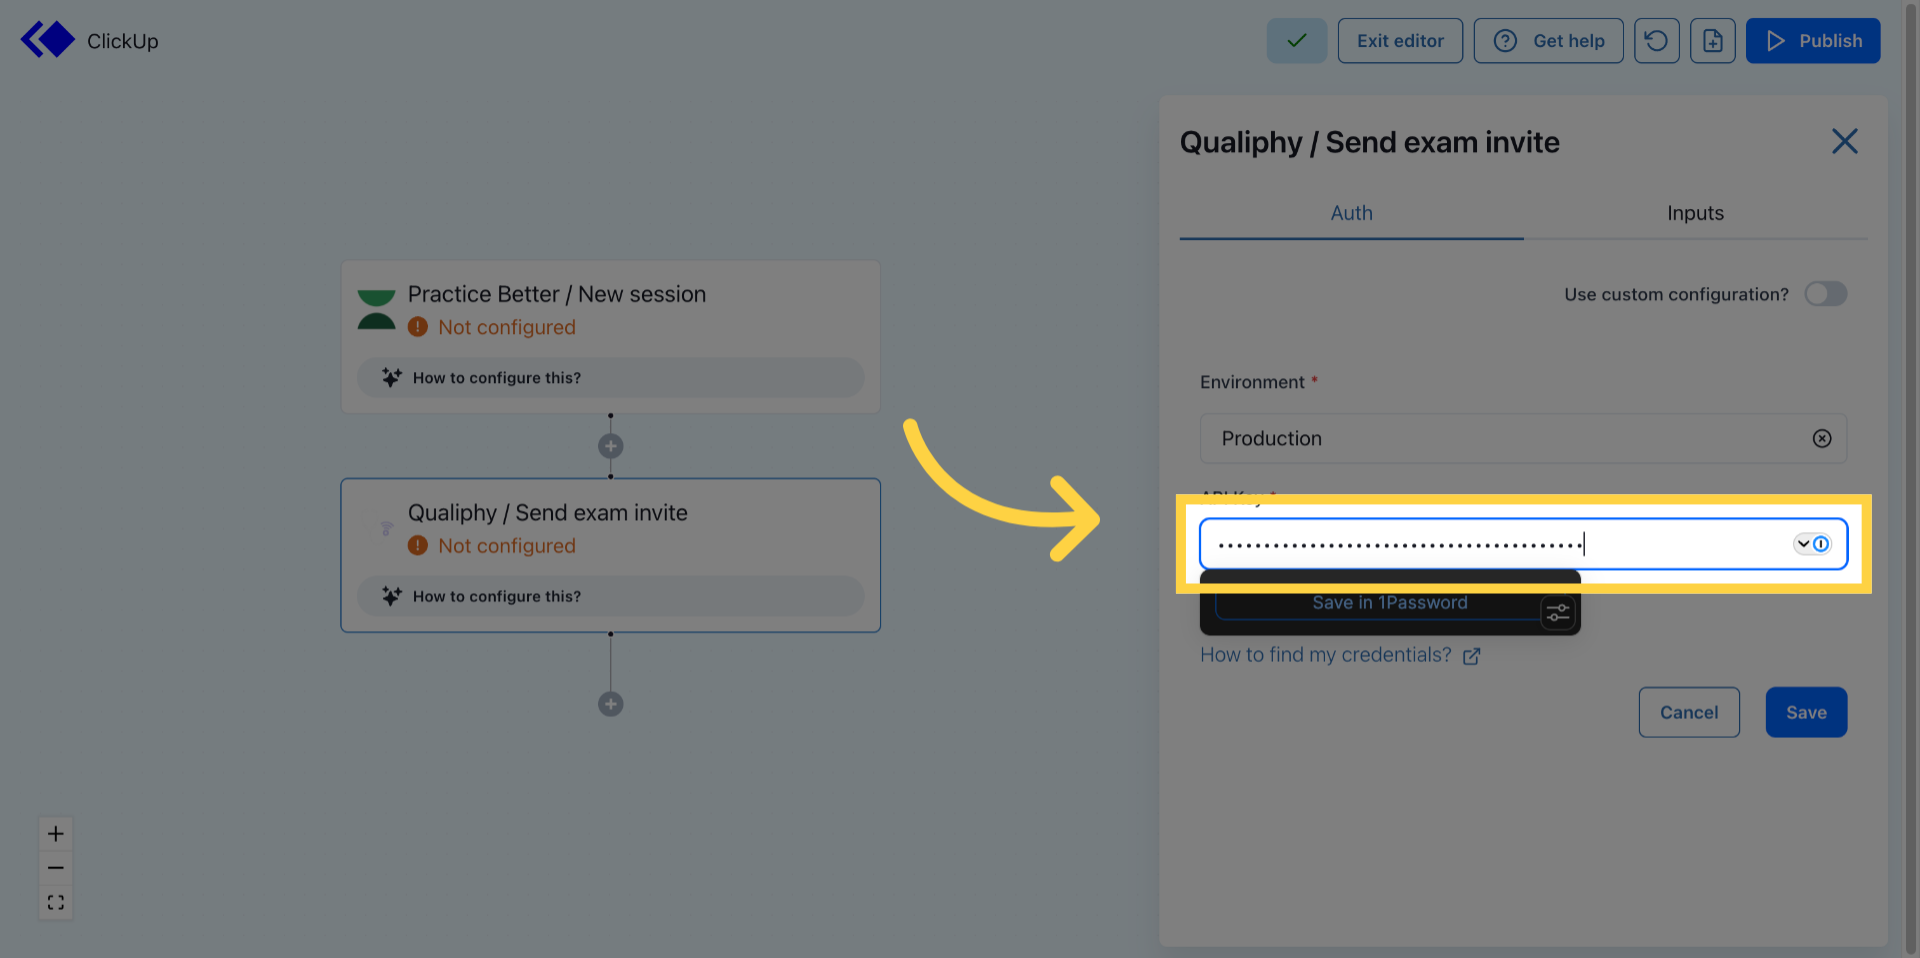
Fill in your API key in the provided field to authenticate the connection.
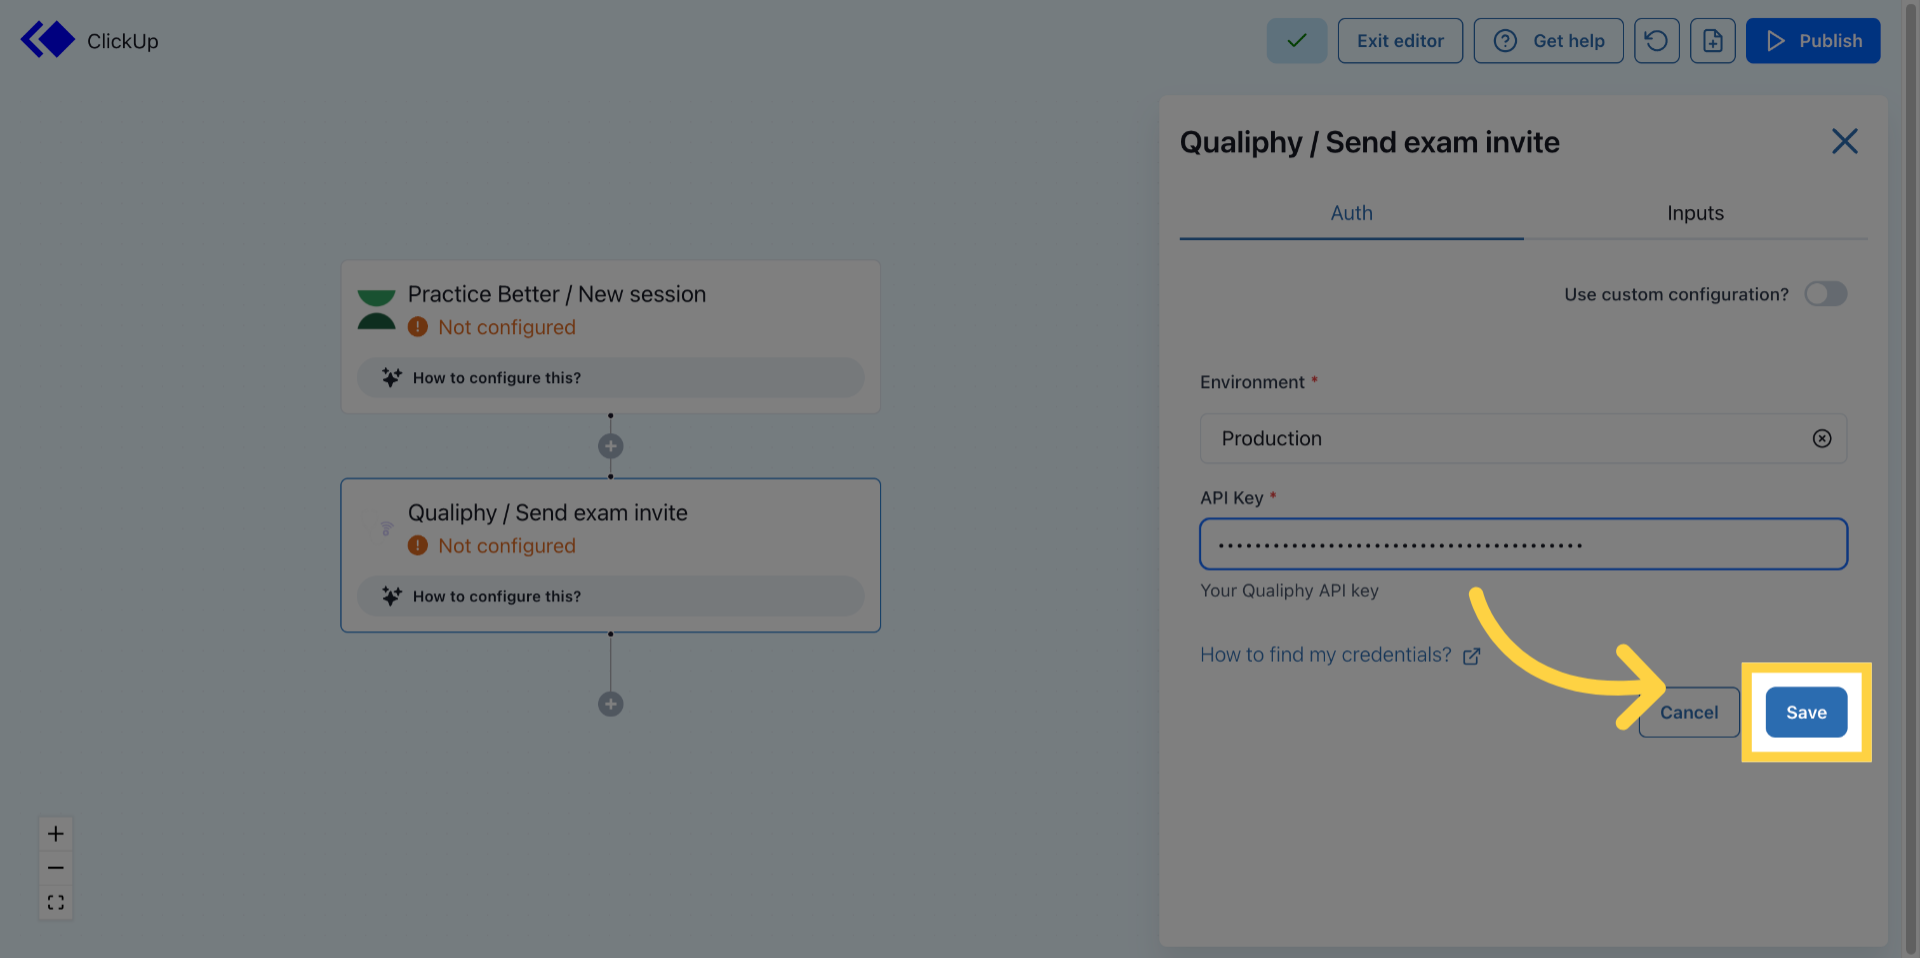
8. Save Connection Settings
Click the Save button to finalize and store the connection between Qualiphy and Keragon.
You have successfully connected Qualiphy with Keragon by copying the API key from Qualiphy and entering it into Keragon. This integration enables secure data exchange between the two platforms for streamlined workflows.