This guide will walk you through creating an OAuth2 app in Webflow
1. Introduction
Follow the steps to seamlessly configure your app. Start by logging in the Webflow dashboard.
2. Login to your Webflow dashboard and click "Apps & Integrations"
Login to your Webflow dashboard and click "Apps & Integrations"

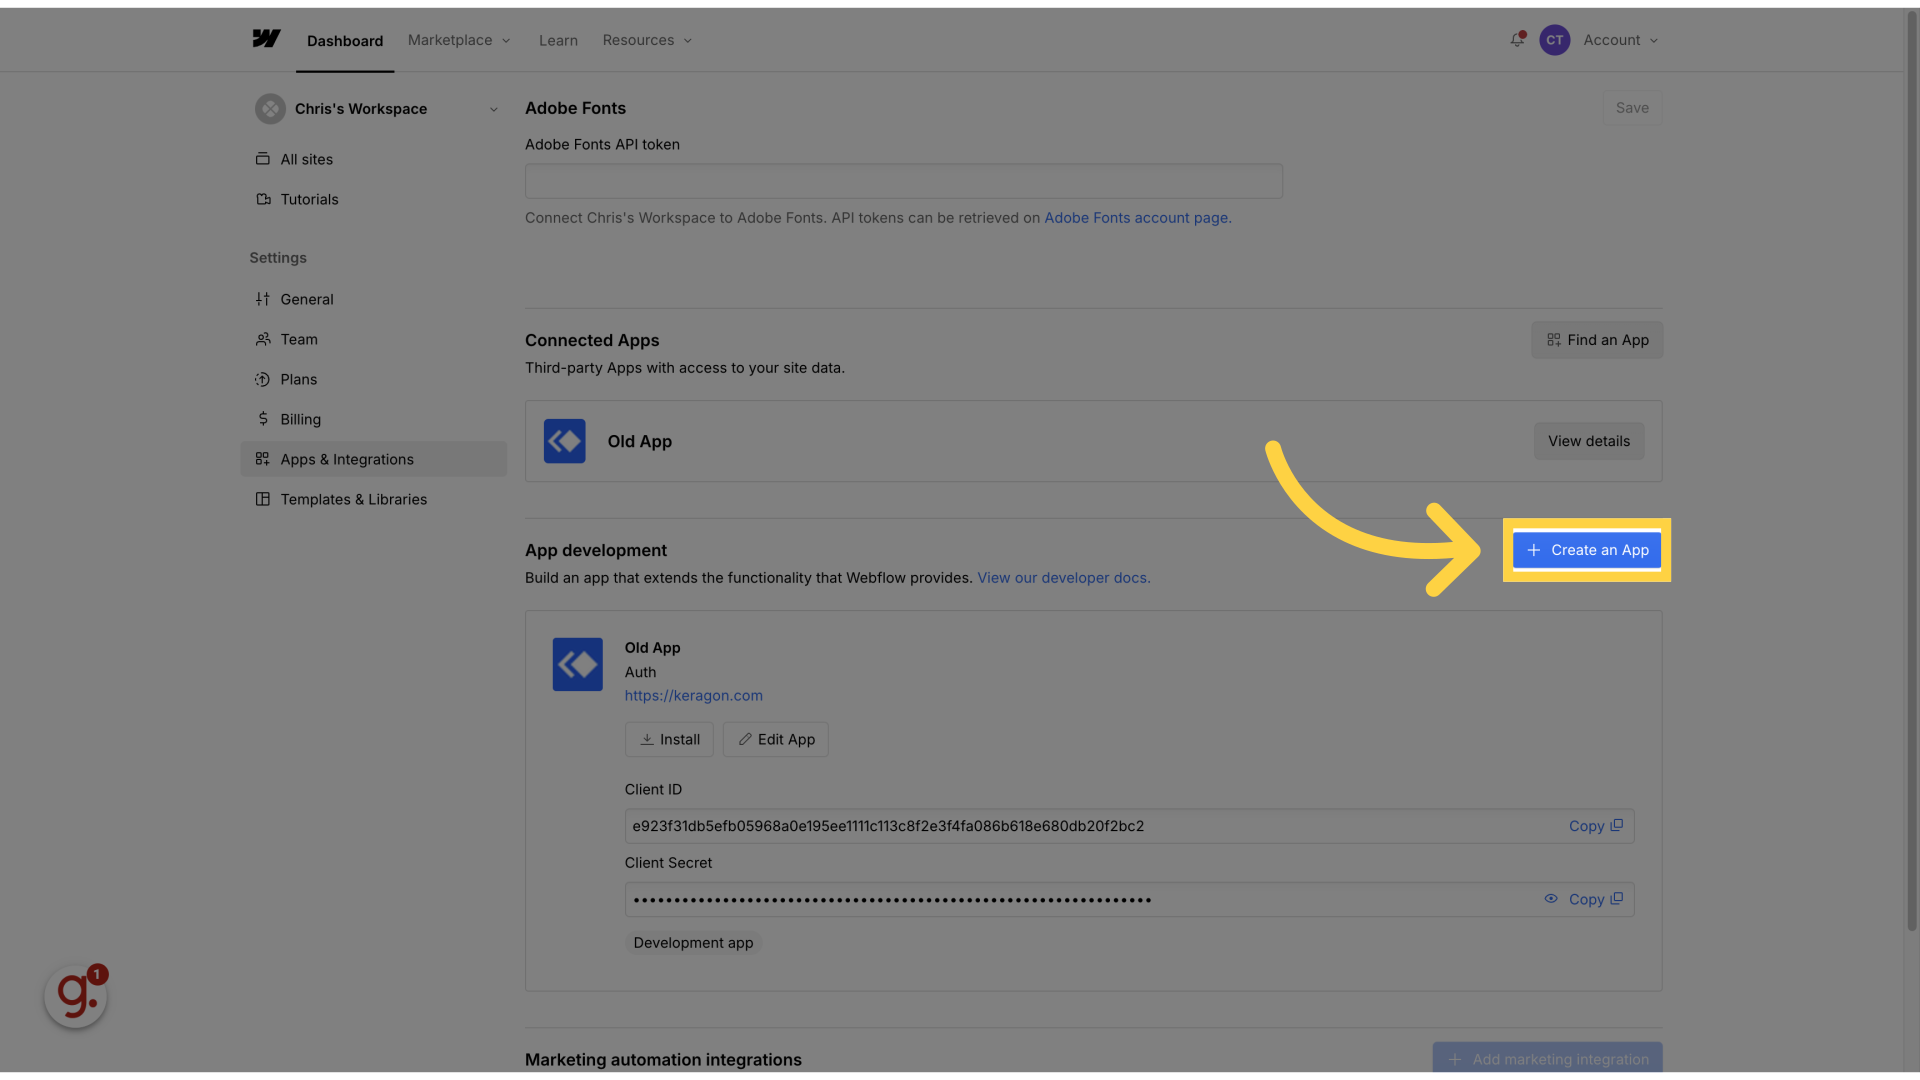
3. Click "Create an App"
Initiate the creation of a new app
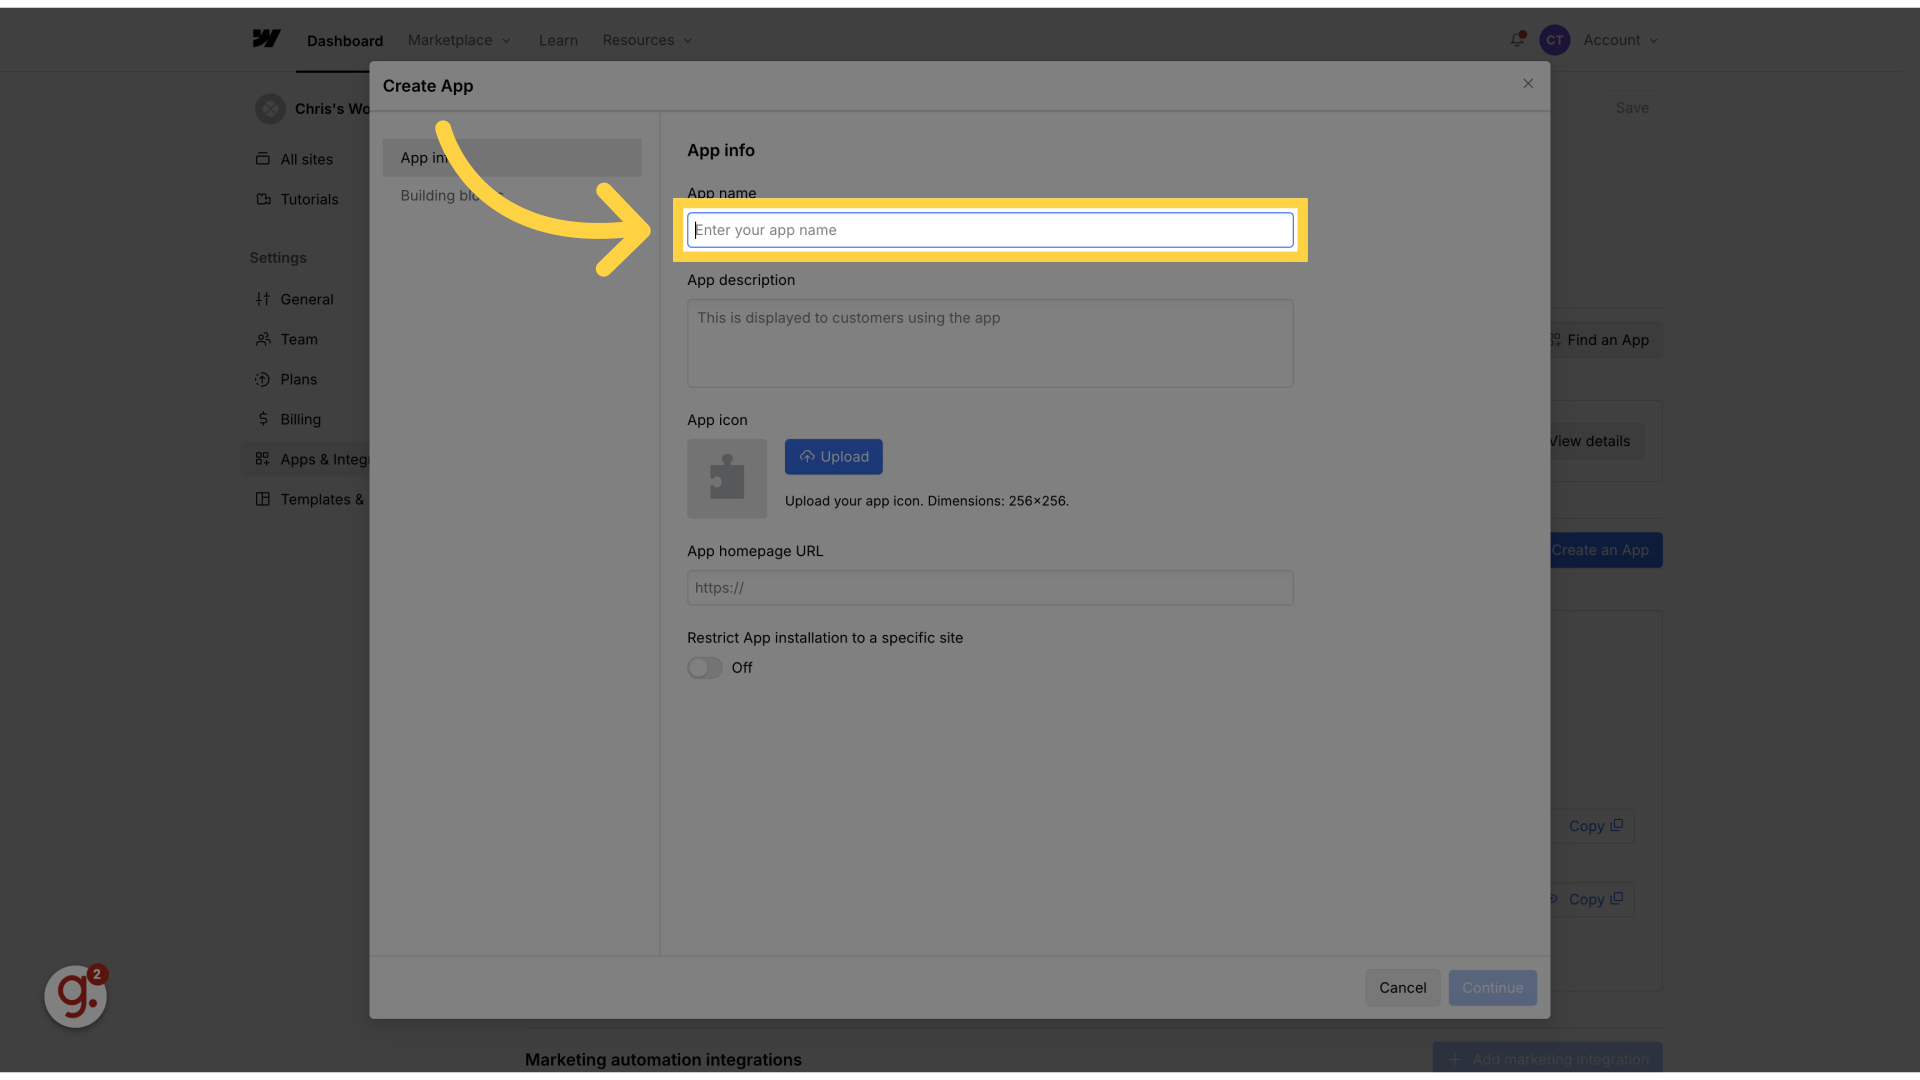
4. Click "App Name"
Input the desired name for your app
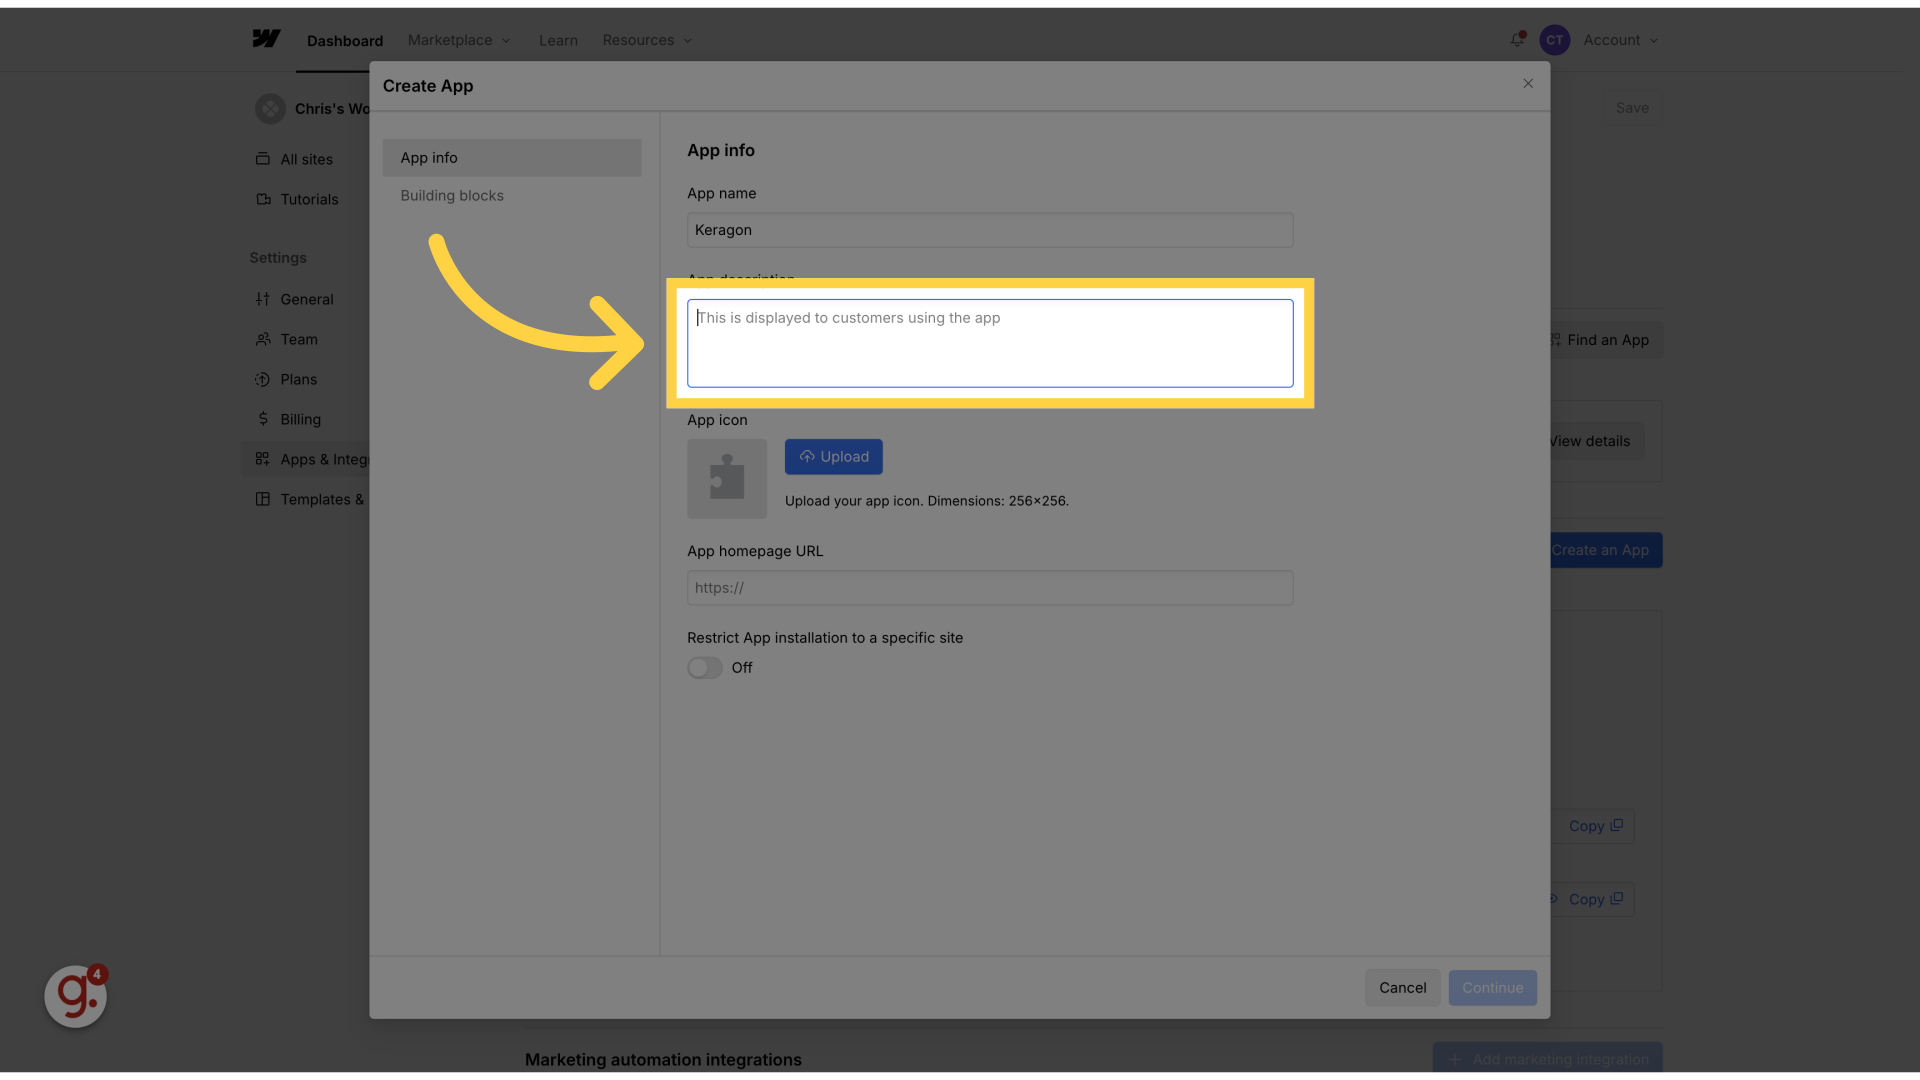
5. Set an app description
Enter a description visible to app users
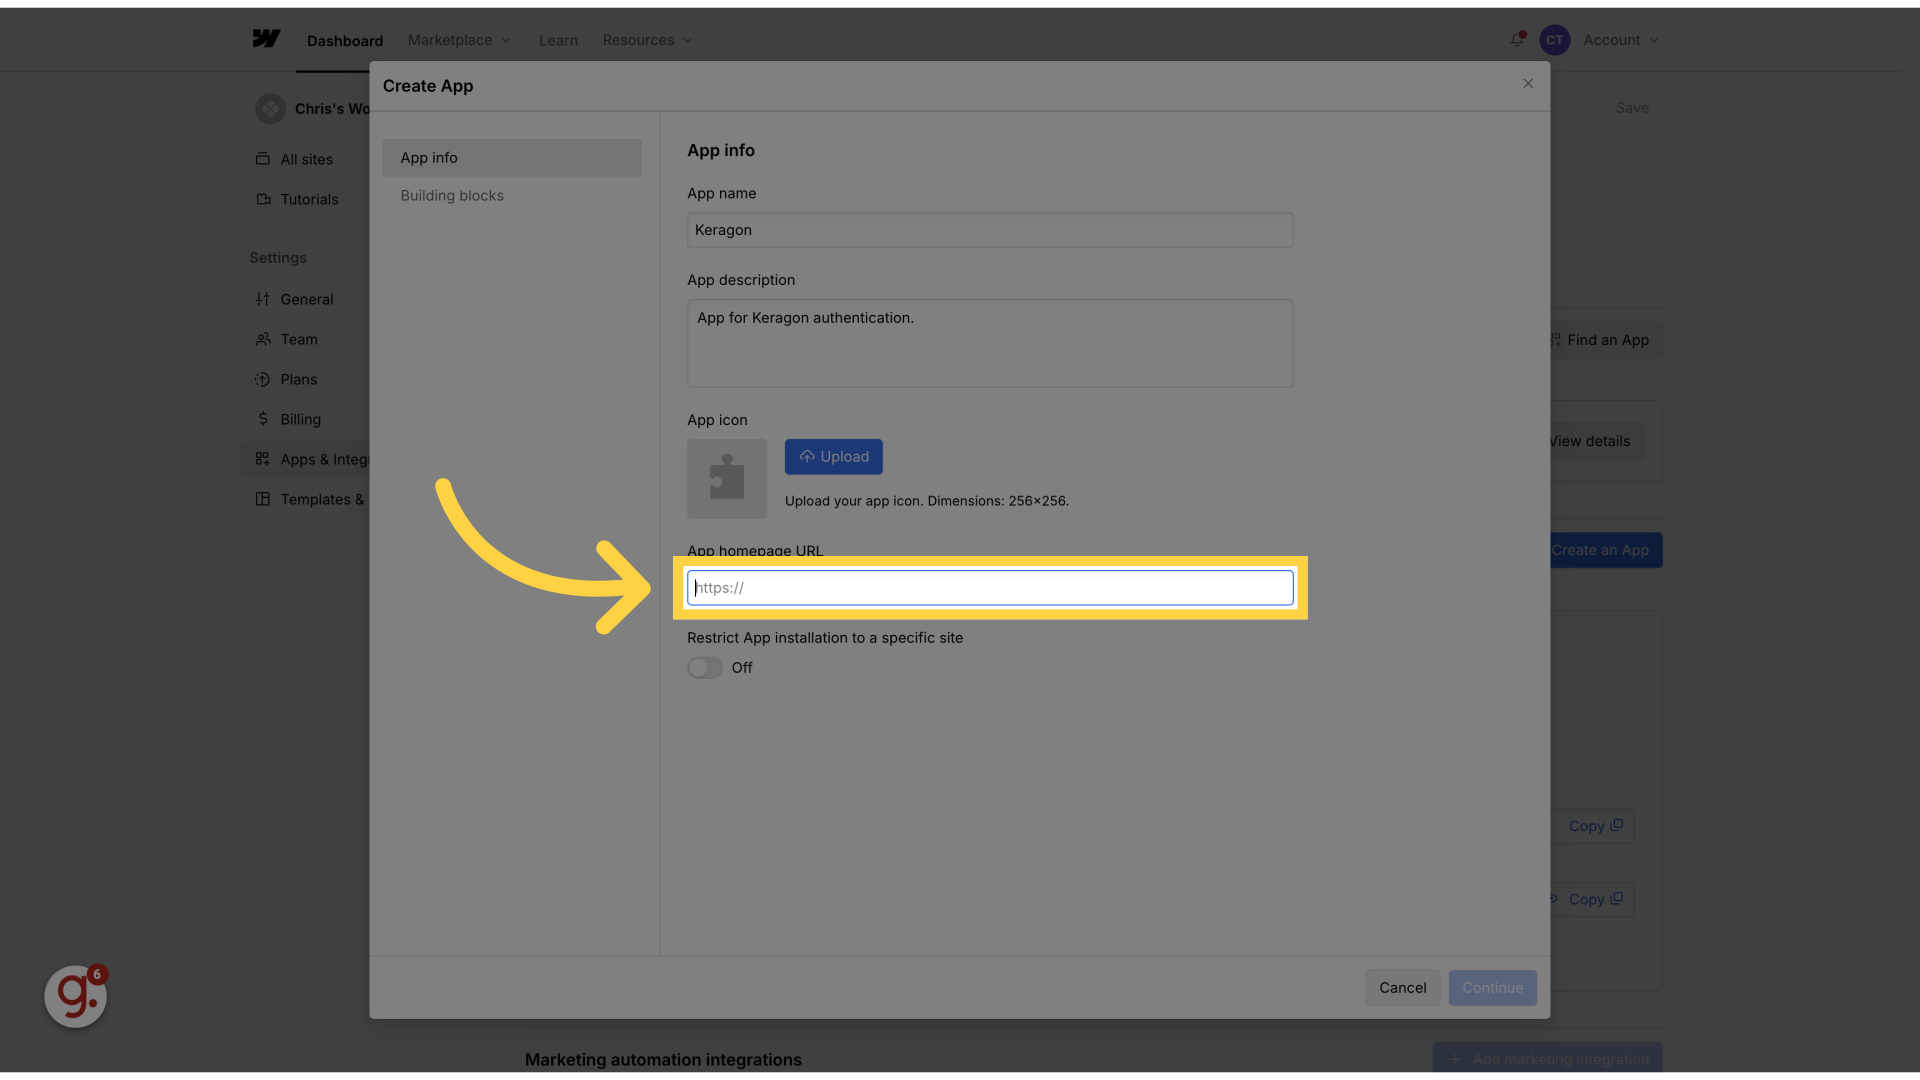
6. Enter a URL for this app.
Enter the app's URL. You can use "https://keragon.com" here.
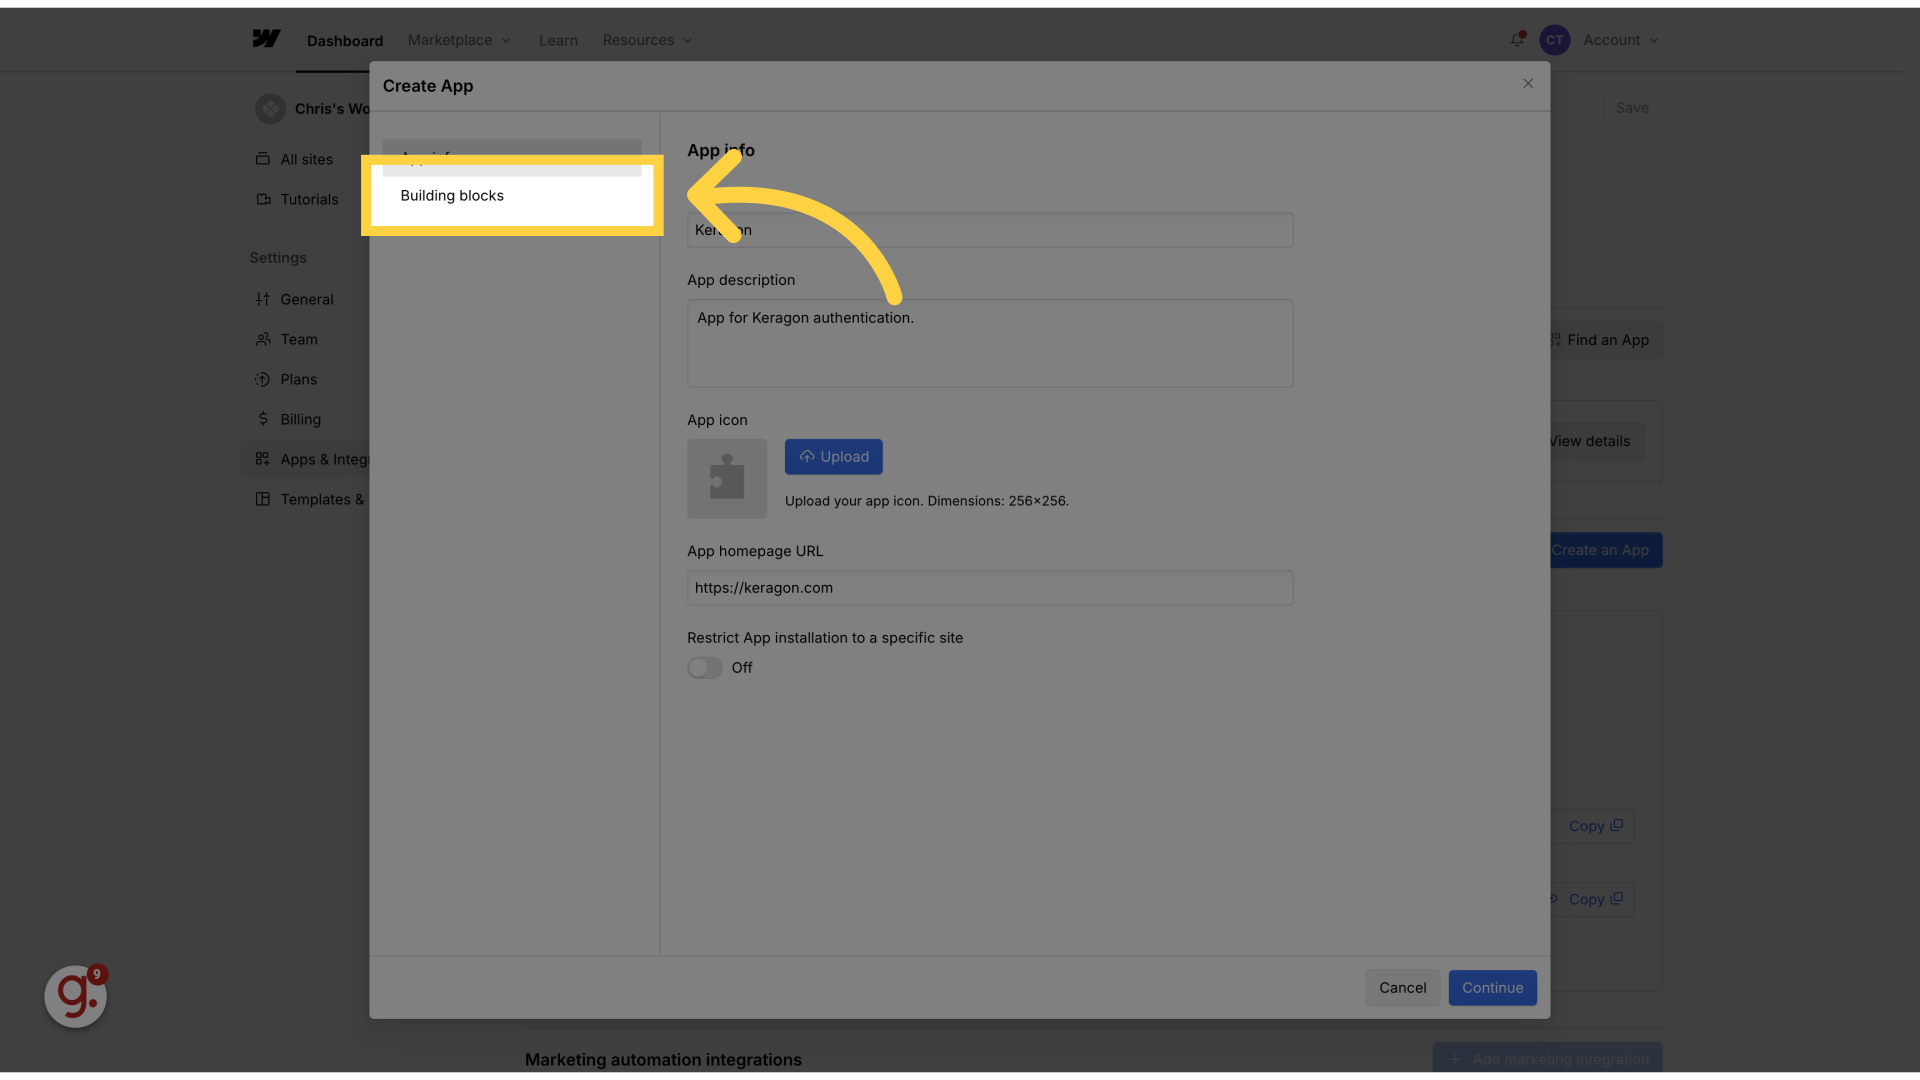
7. Click "Building blocks"
Access the building blocks section
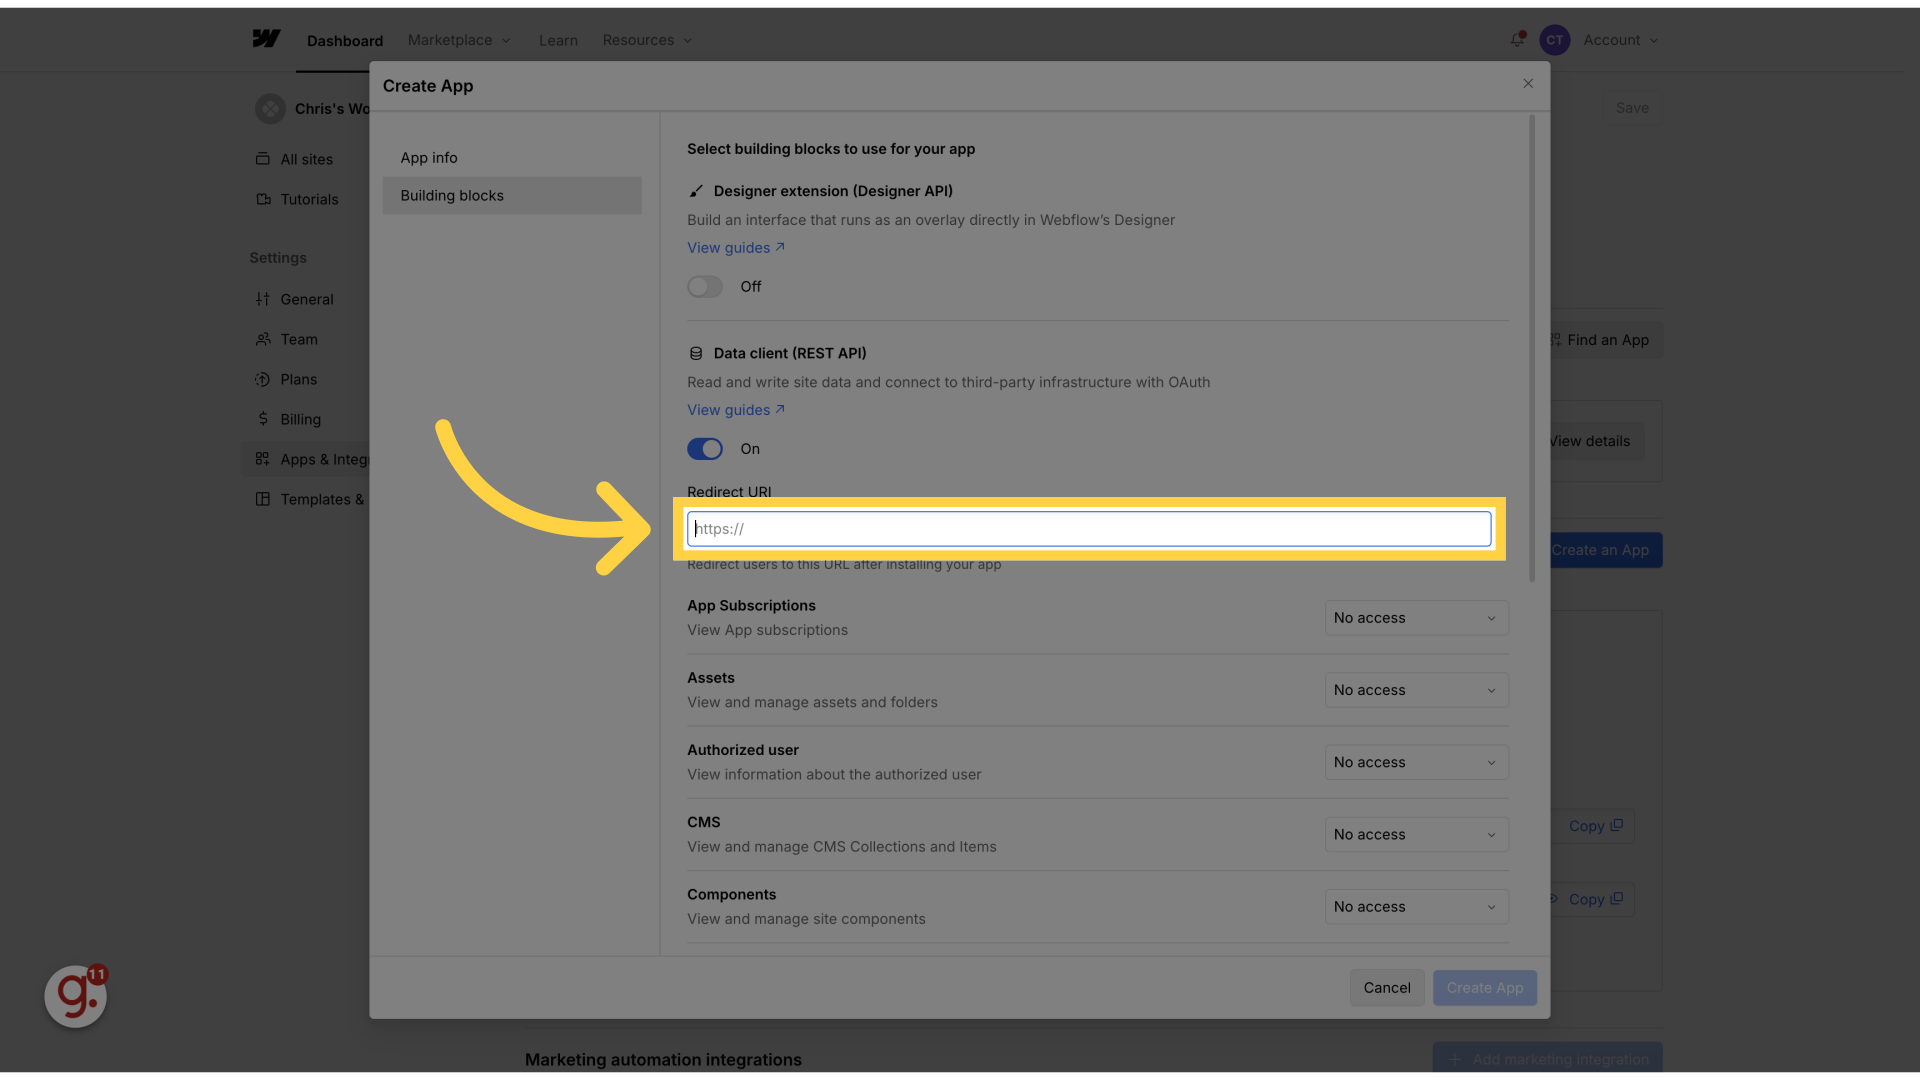
8. Enable the toggle
Enable the Data client (REST API) feature.

9. Enter the redirect URL
Enter the redirect URL. This should be "https://api.us-east-1.keragon.com/rest/auth/callback"
10. Fill "https://api.us-east-1.keragon.com/rest/auth/callback"
Type "https://api.us-east-1.keragon.com/rest/auth/callback" in the "Redirect URL" field
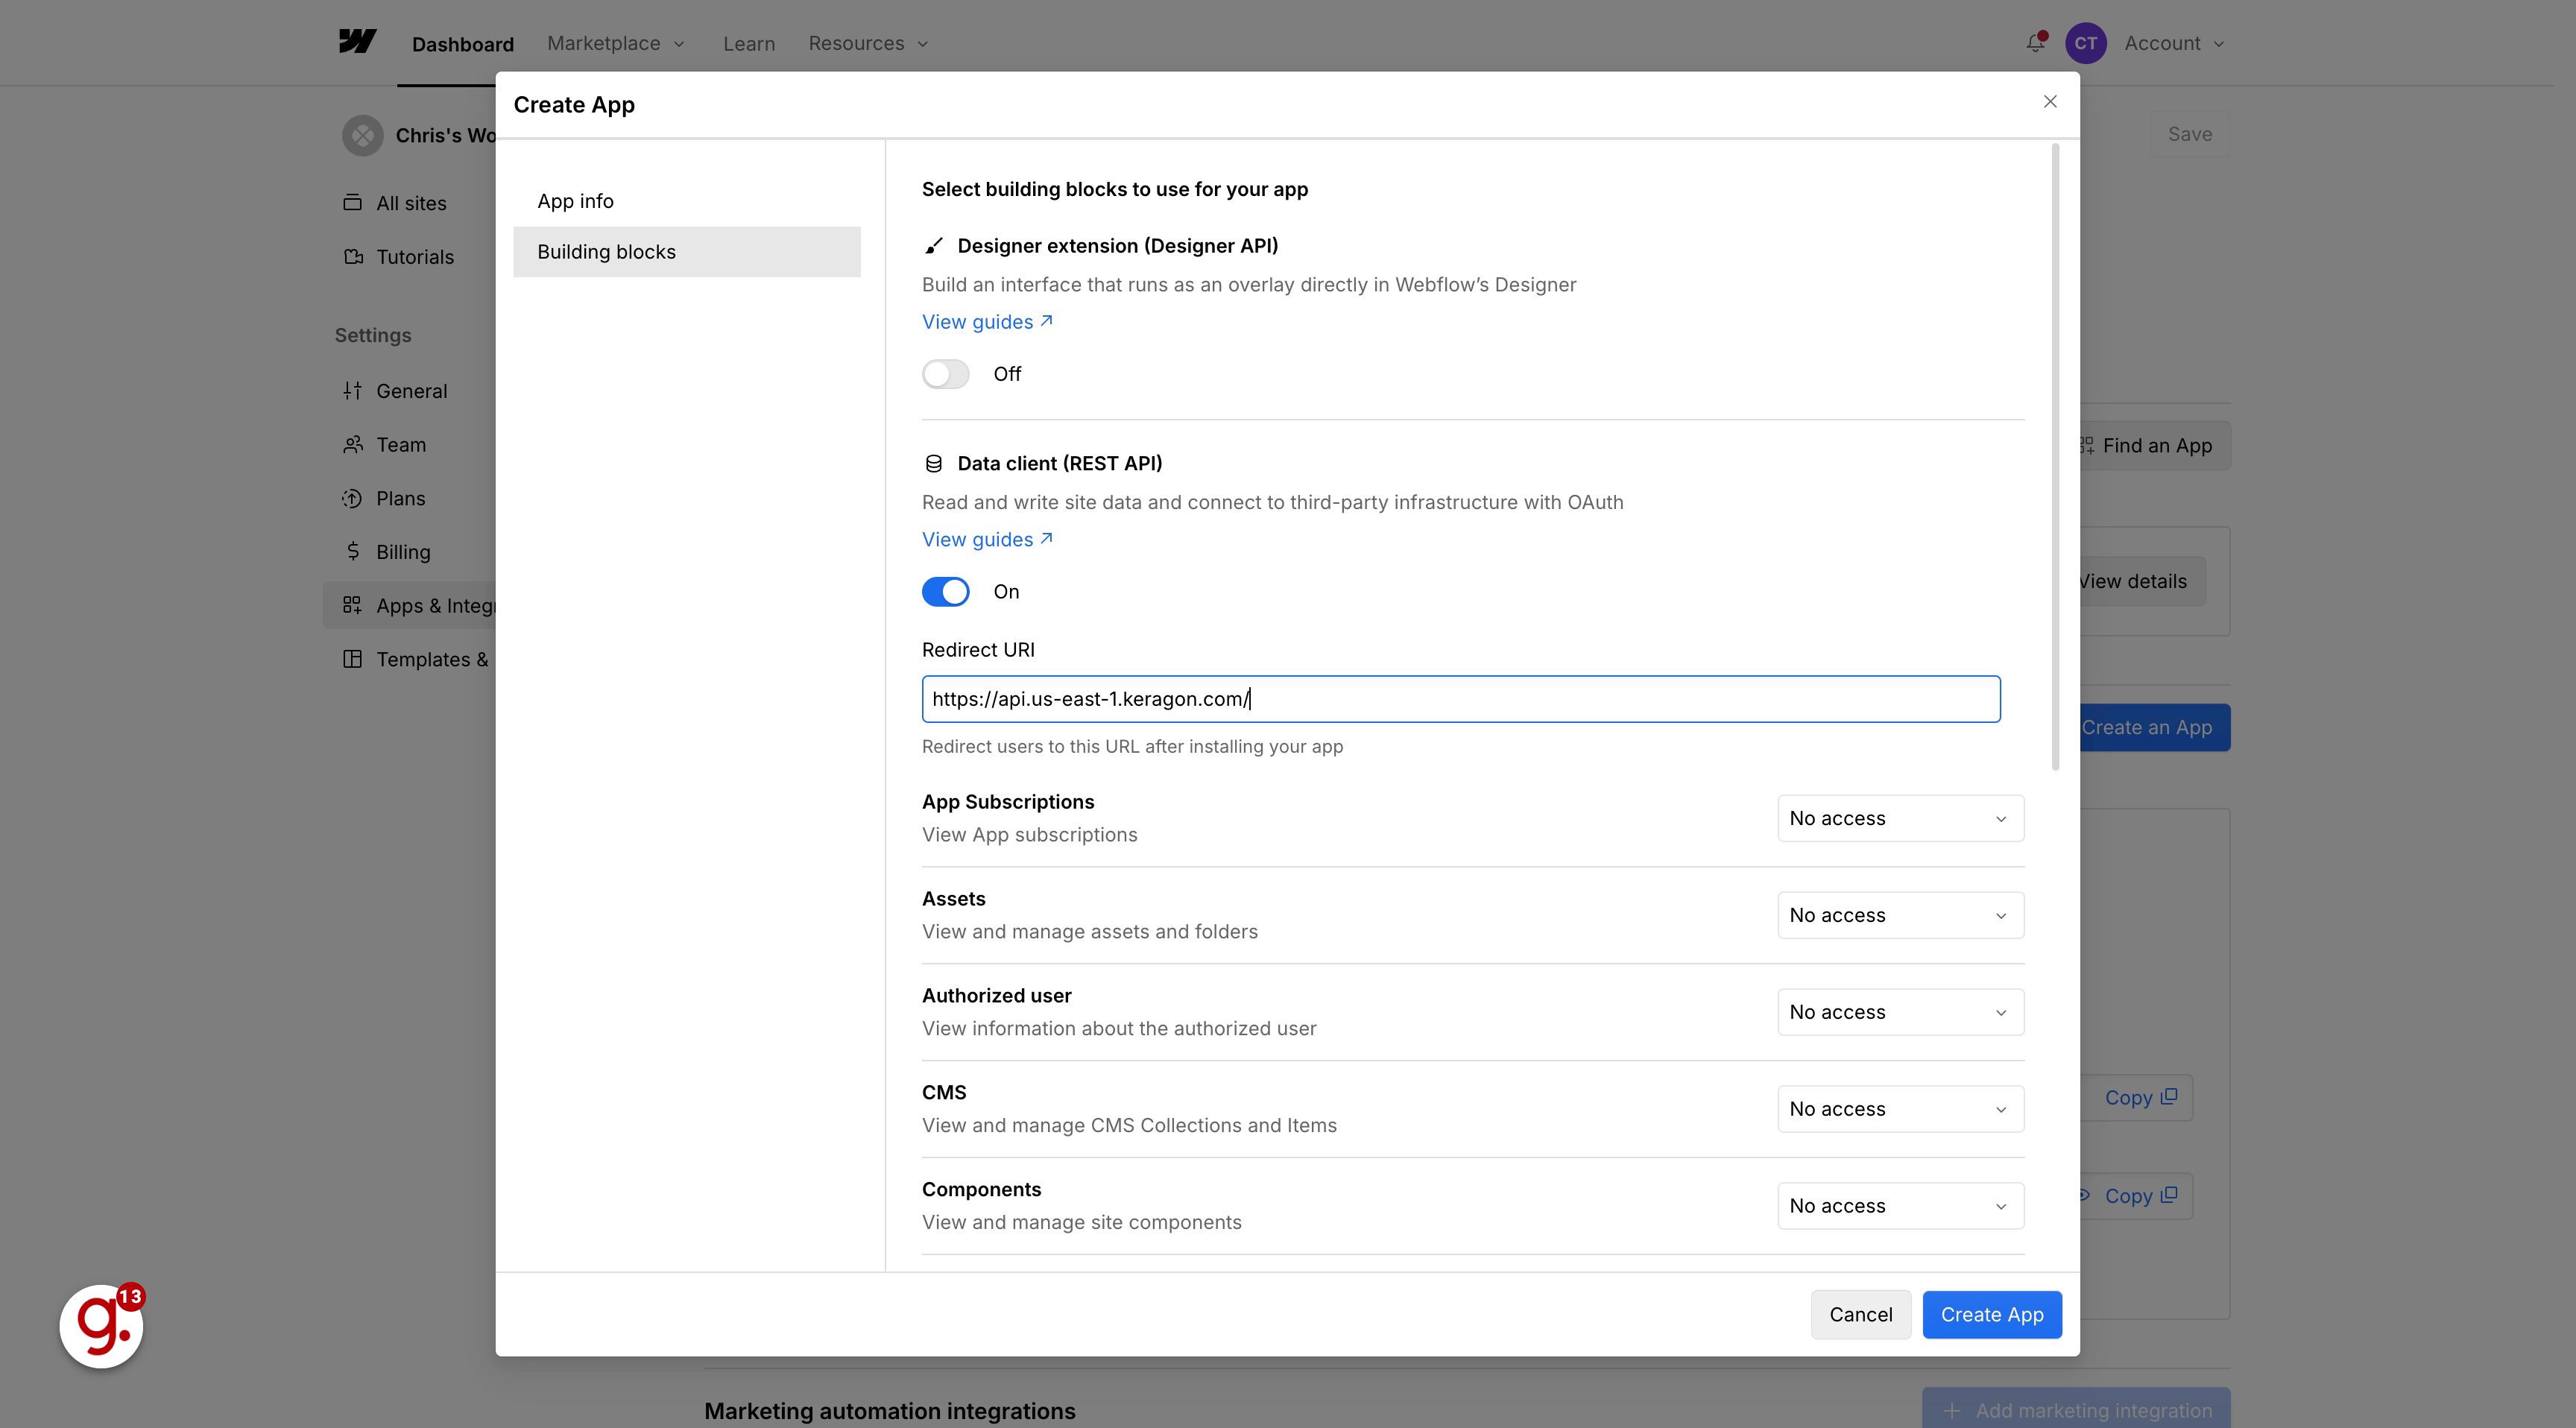
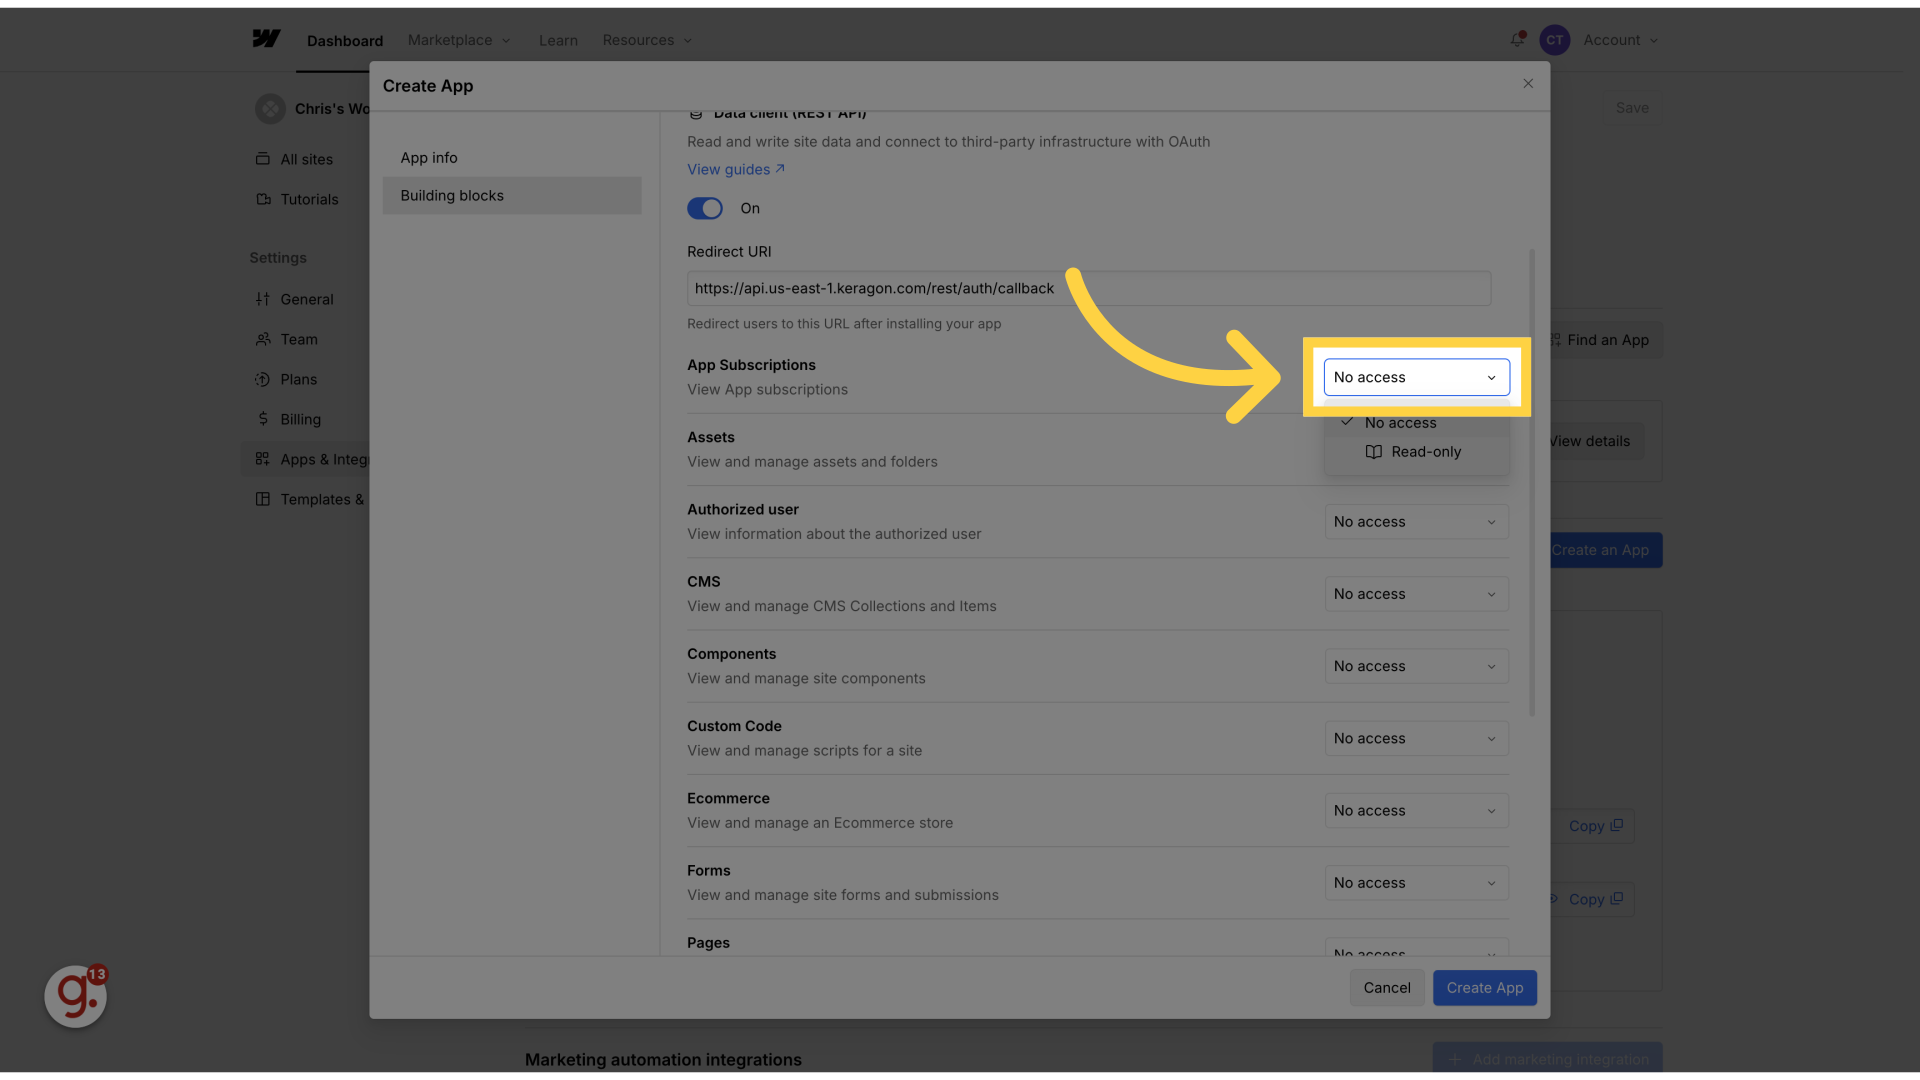
11. Enable the scopes you need
Go through the scopes one by one and enable the ones you need.
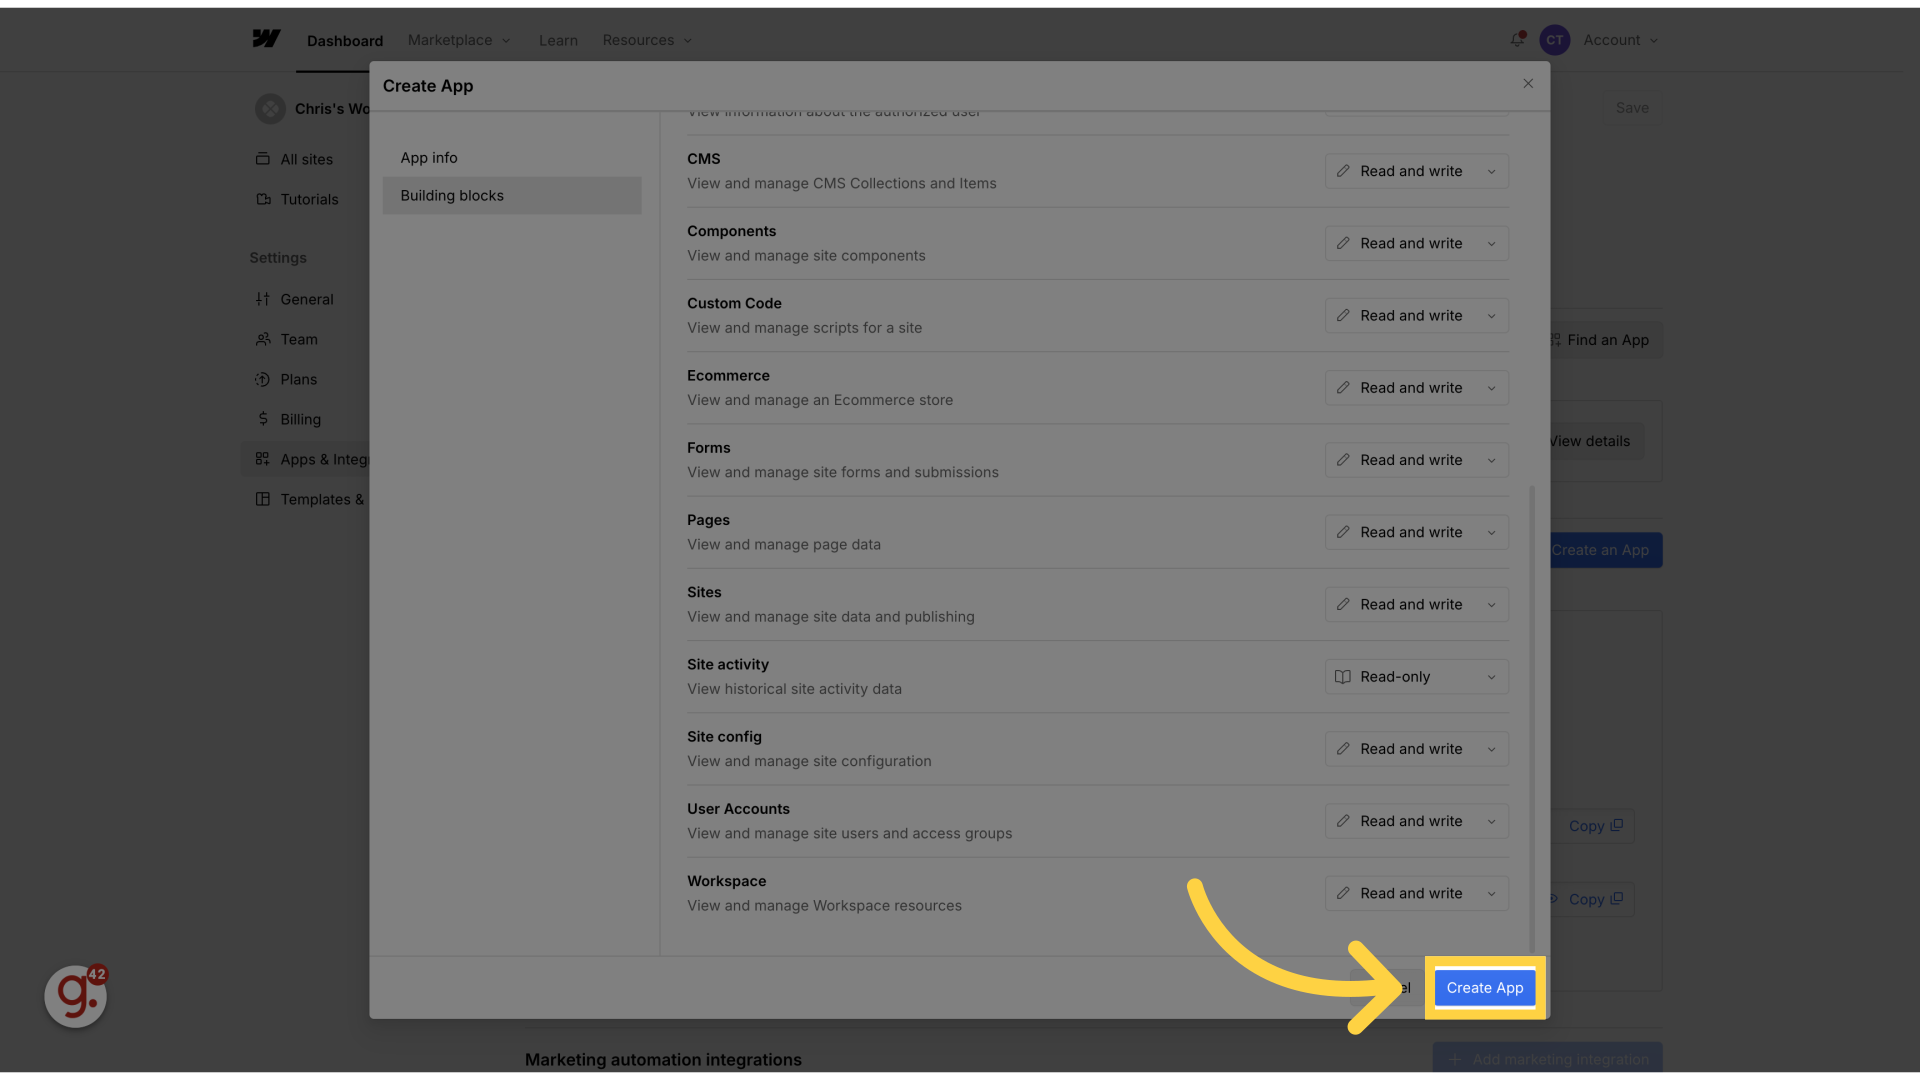
12. Click "Create App"
Finalize and create the app
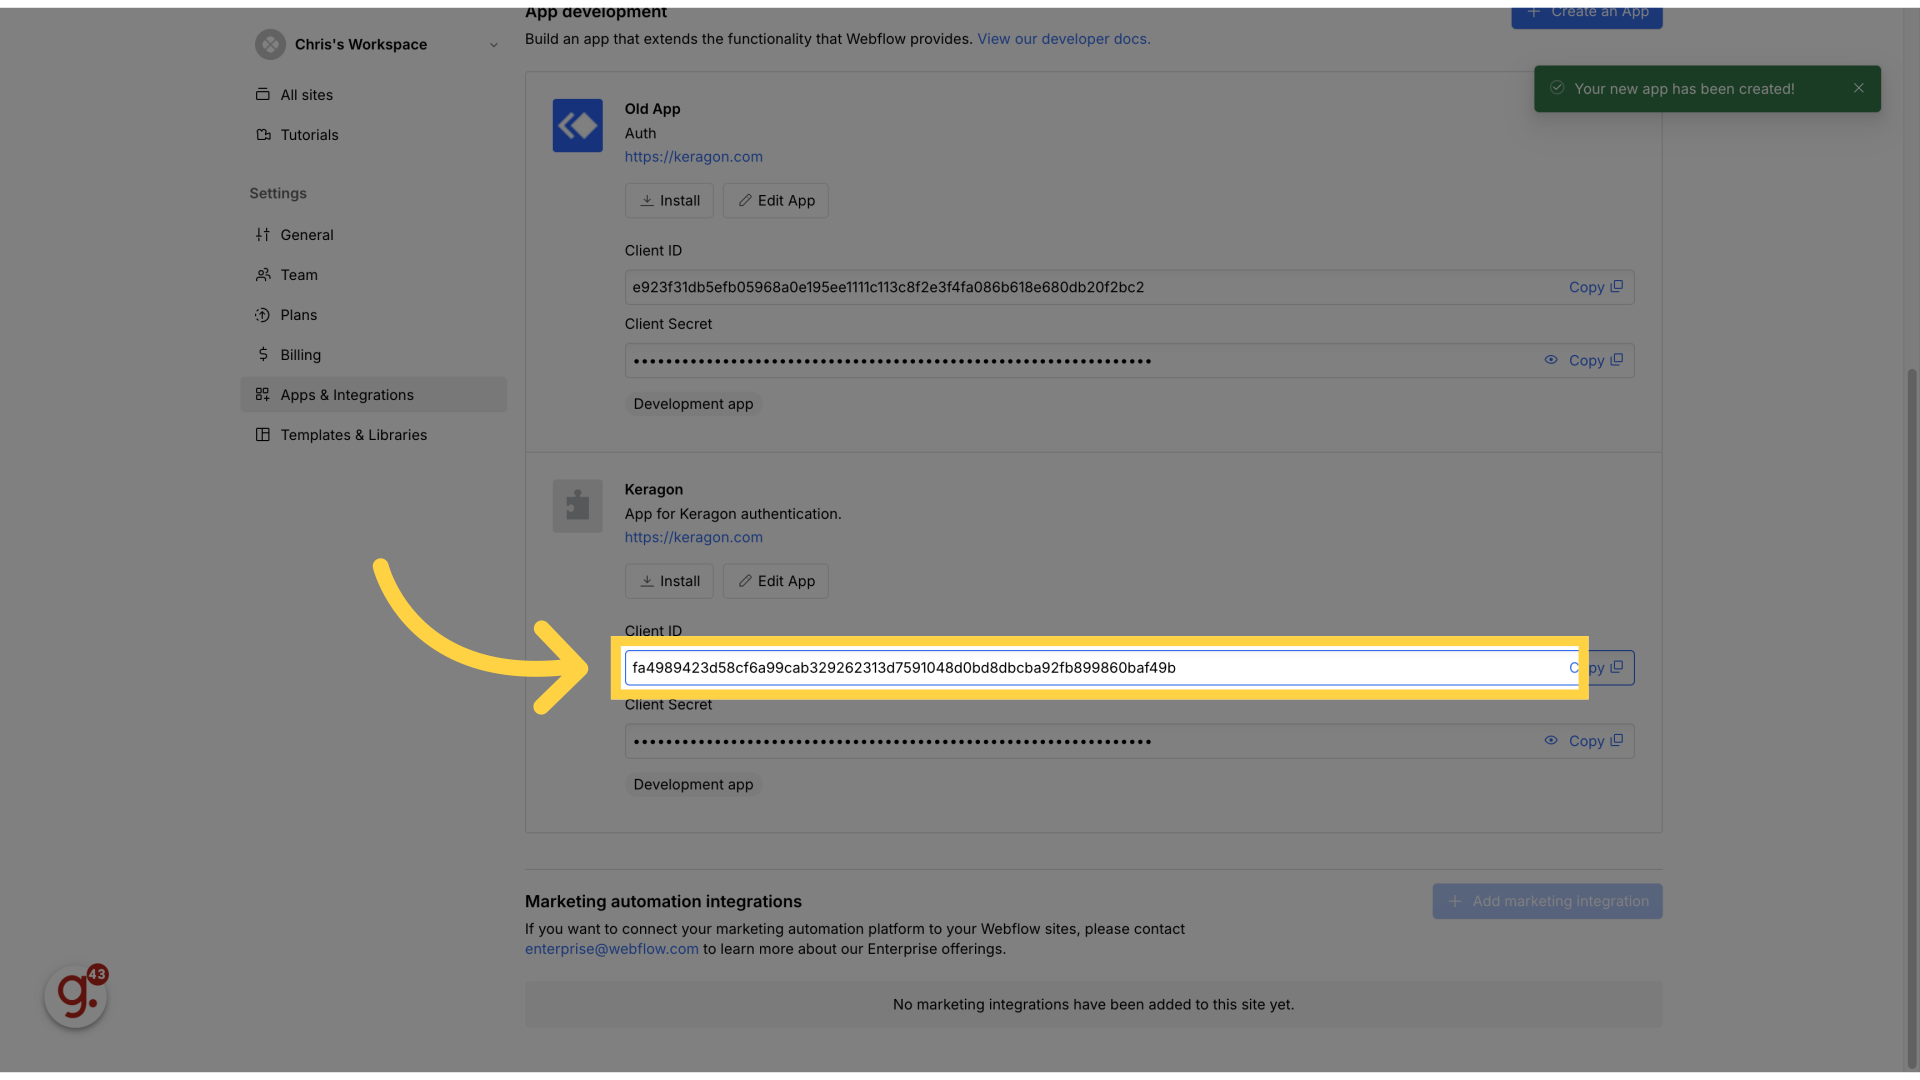
13. This is your client ID
Here is your client ID
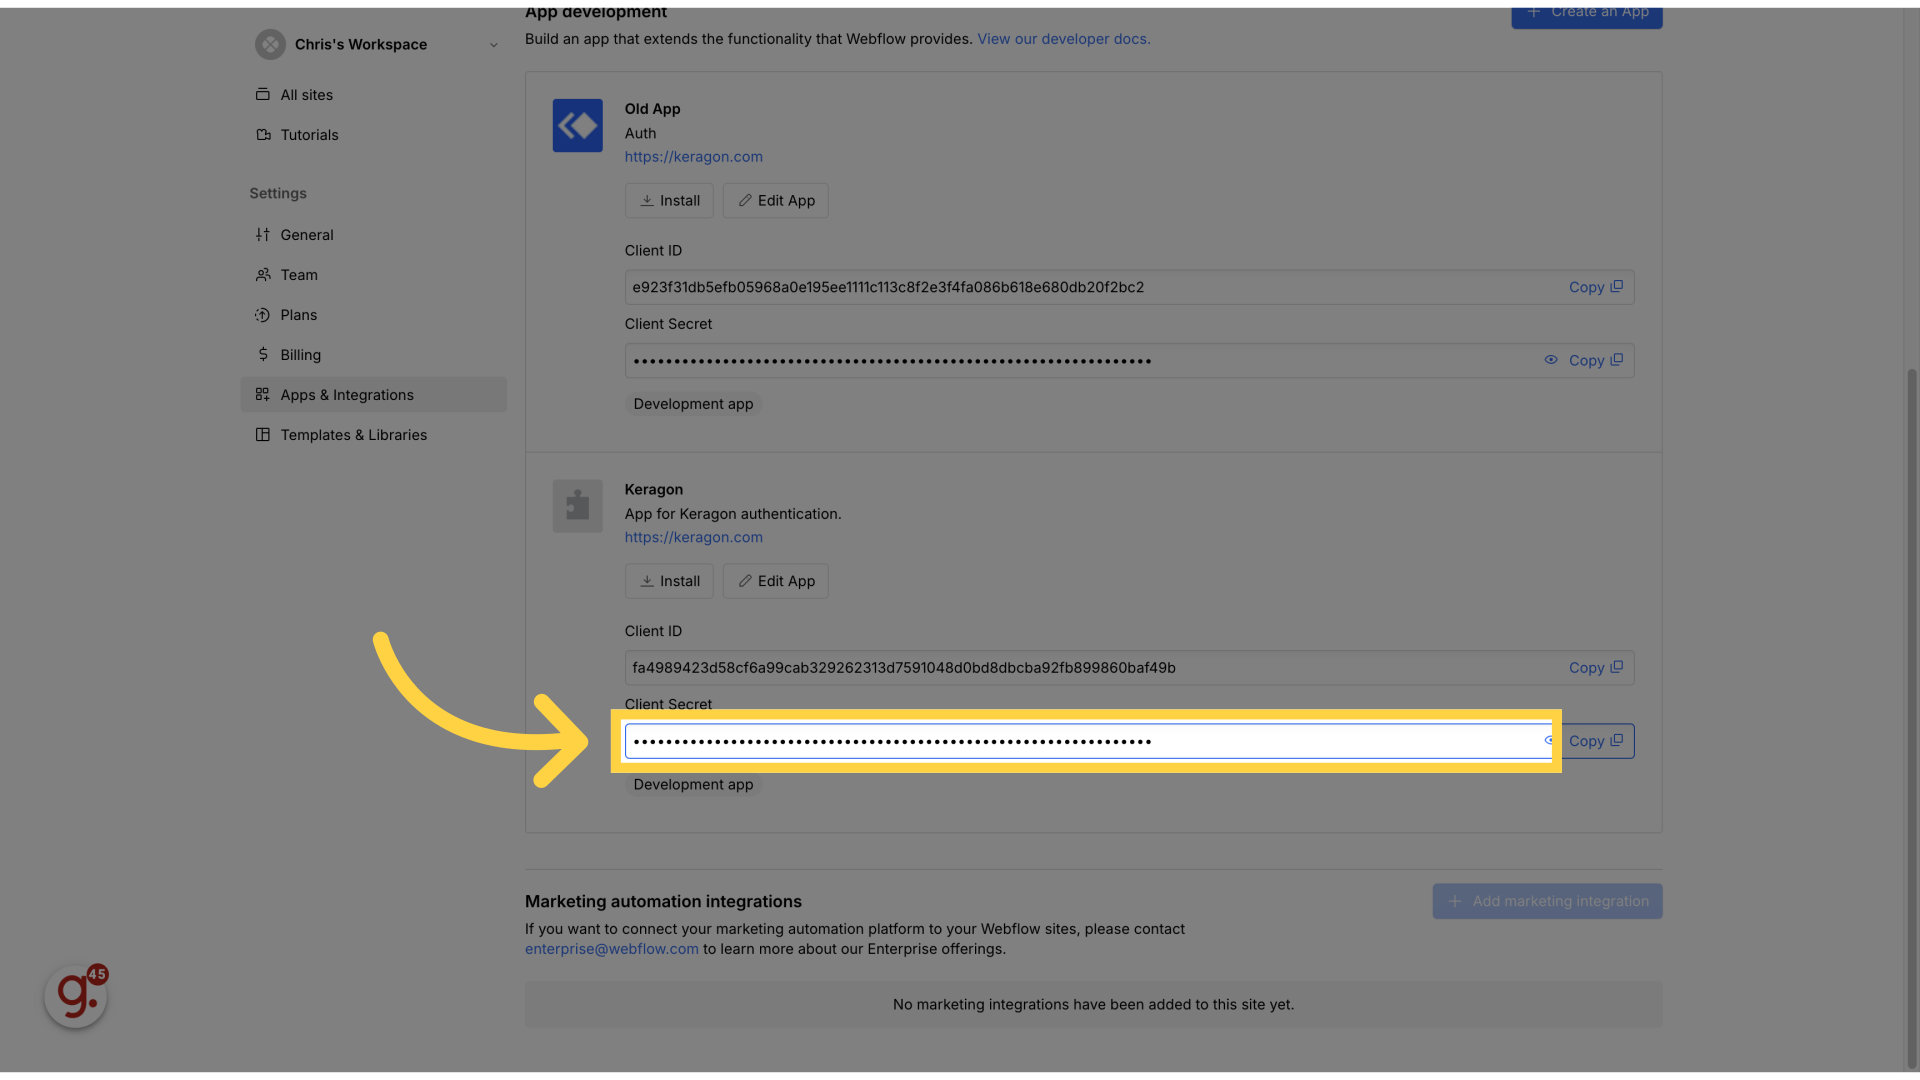
14. Here is your client secret
This is your client secret
This guide covered the process of creating an OAuth2 app in Webflow, including defining app details, setting permissions, and finalizing app creation for Employee Training