Learn how to set up a webhook between Keragon and Blaze. Follow these detailed instructions to configure the webhook and start building your workflow.
Go to app.keragon.com
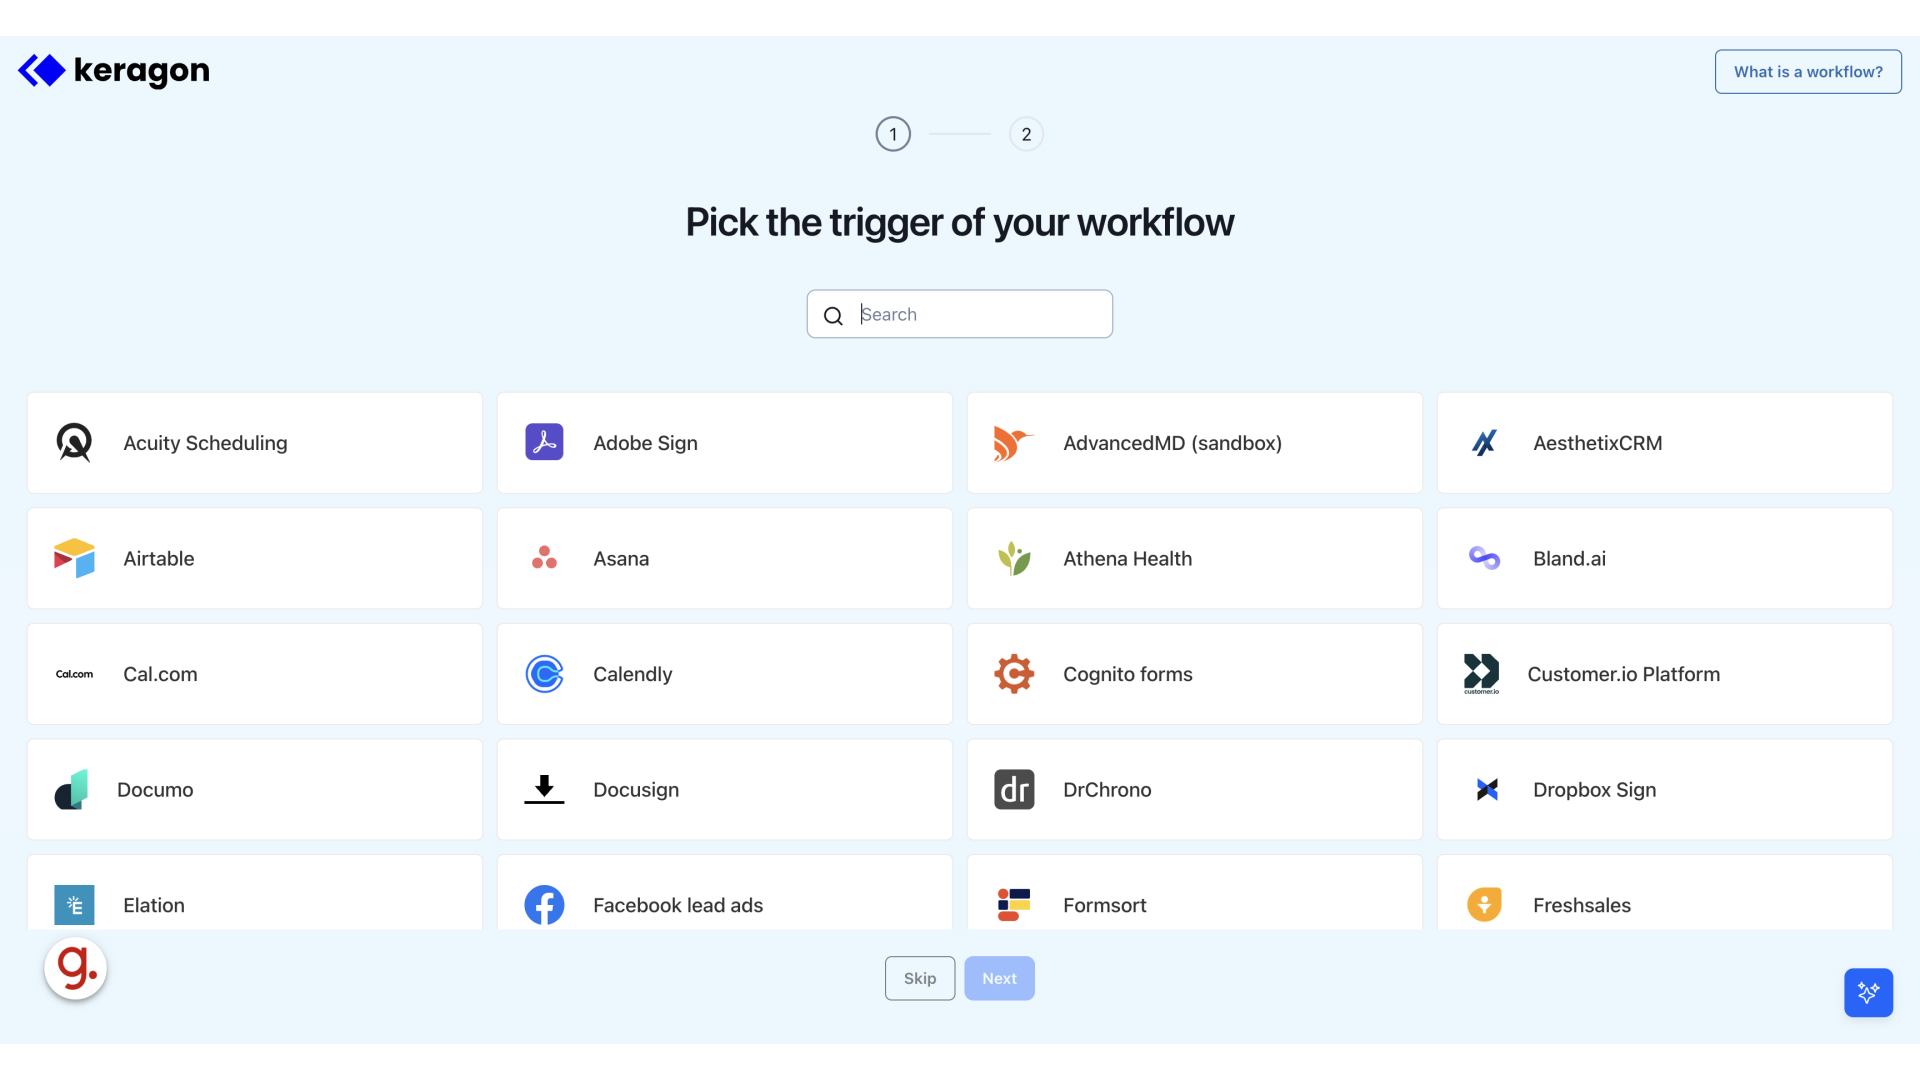
1. Create a new workflow
Create a new workflow.
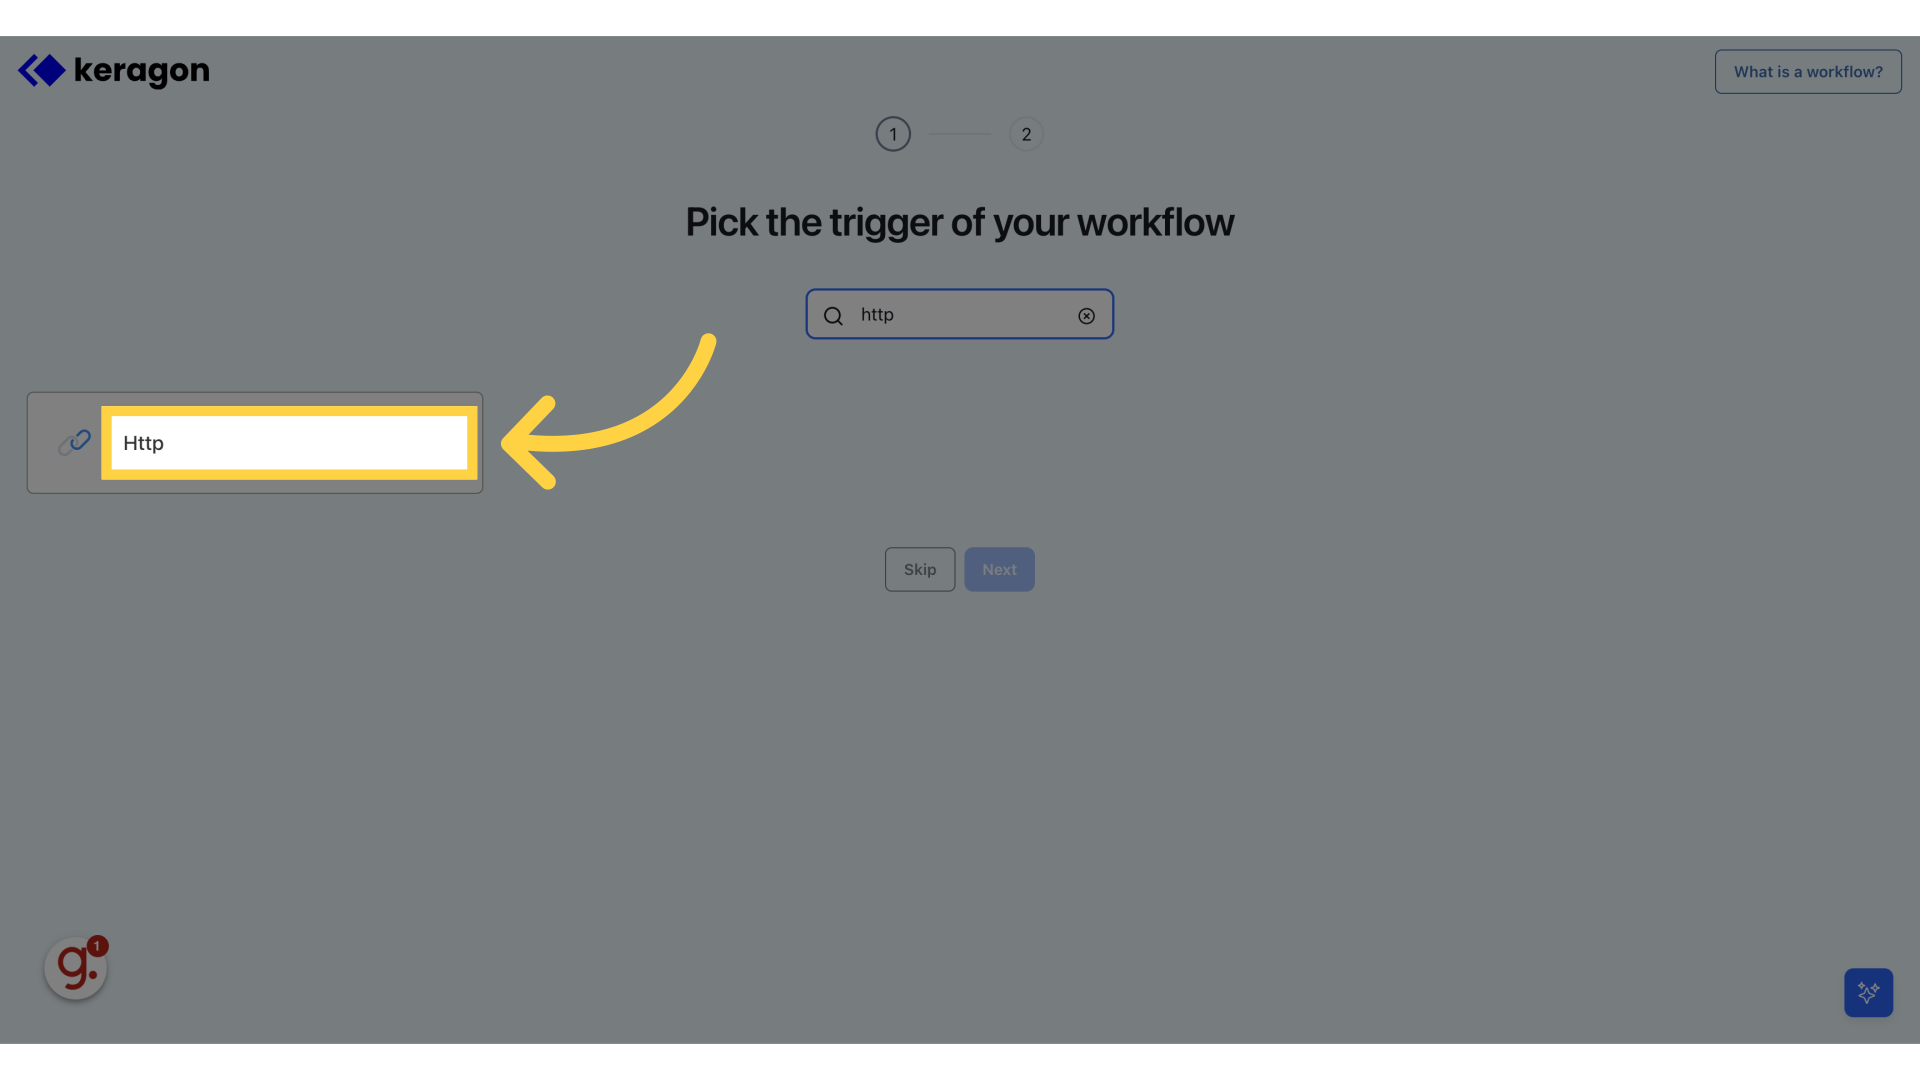
2. Click "Search" and fill in "http"
Search for "Http" trigger.

3. Select "Http"
Select the HTTP option.
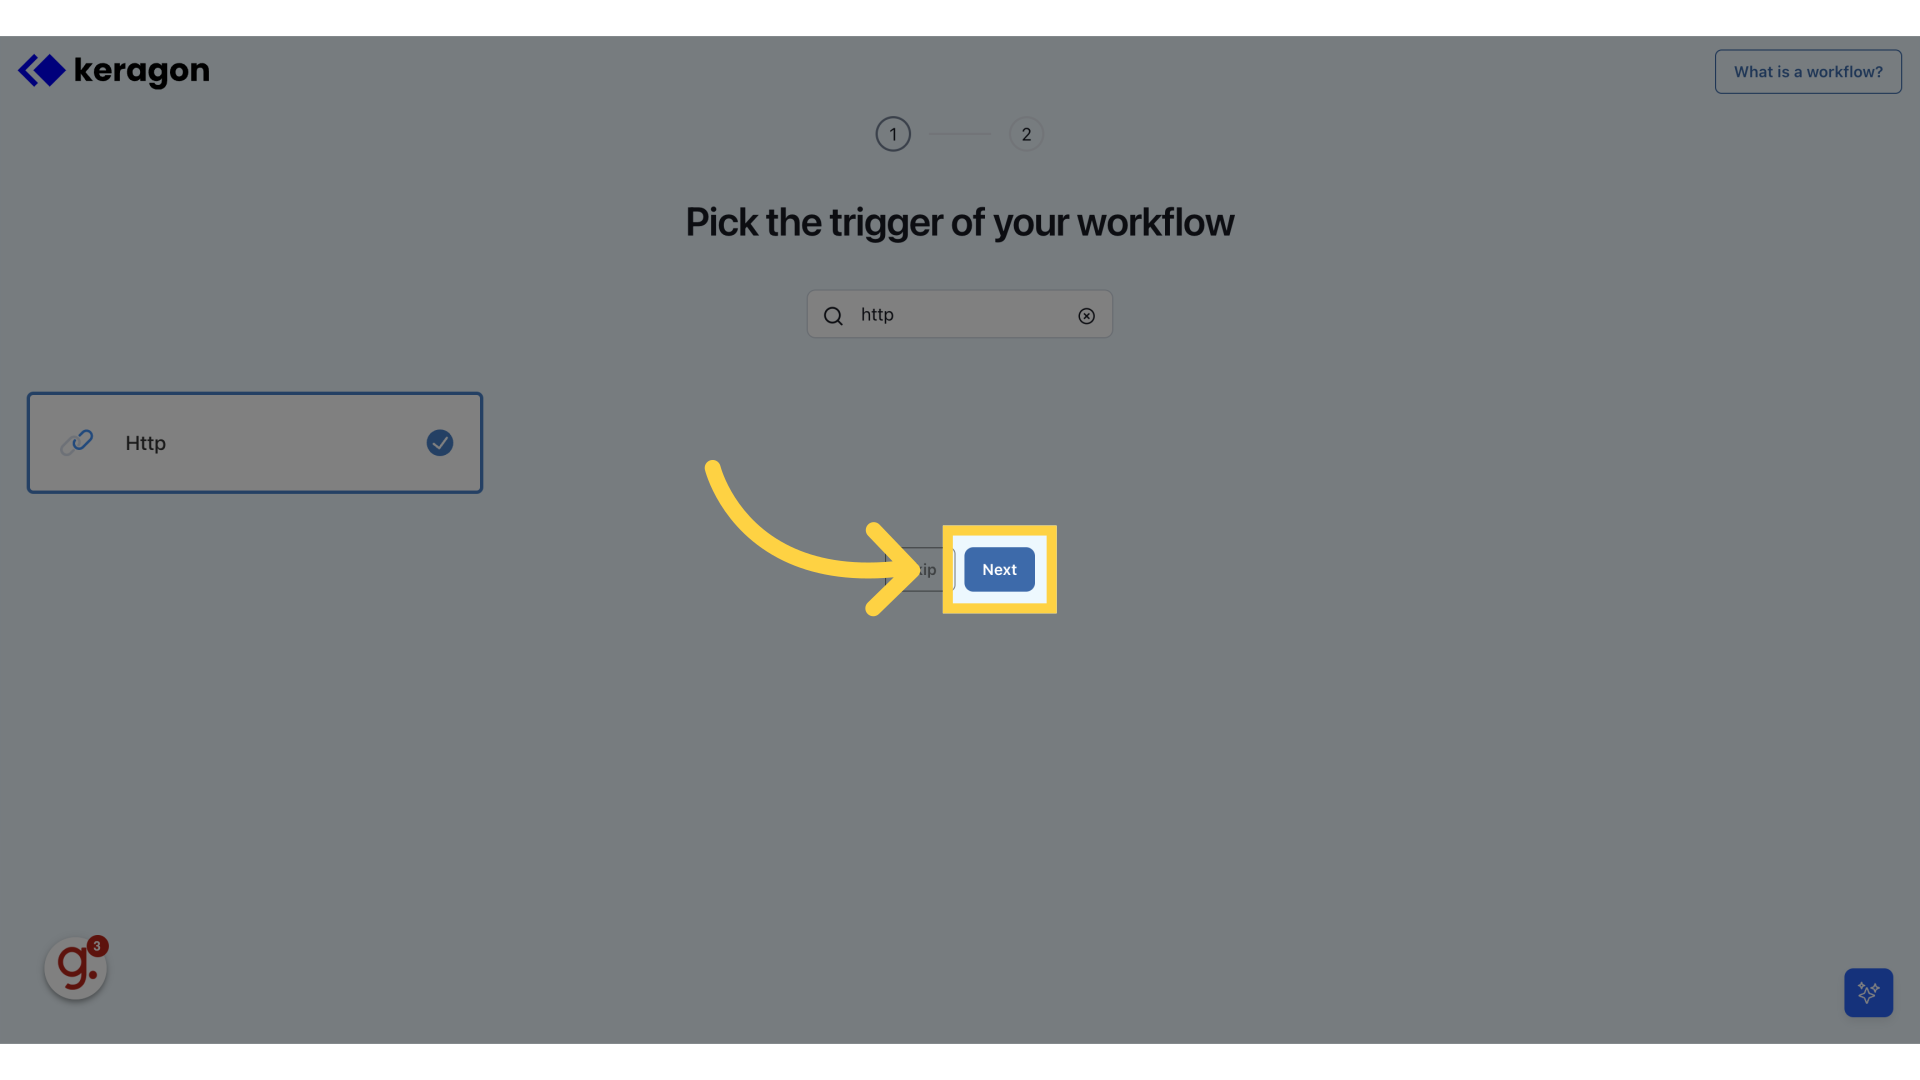
4. Click "Next"
Proceed to the next step.
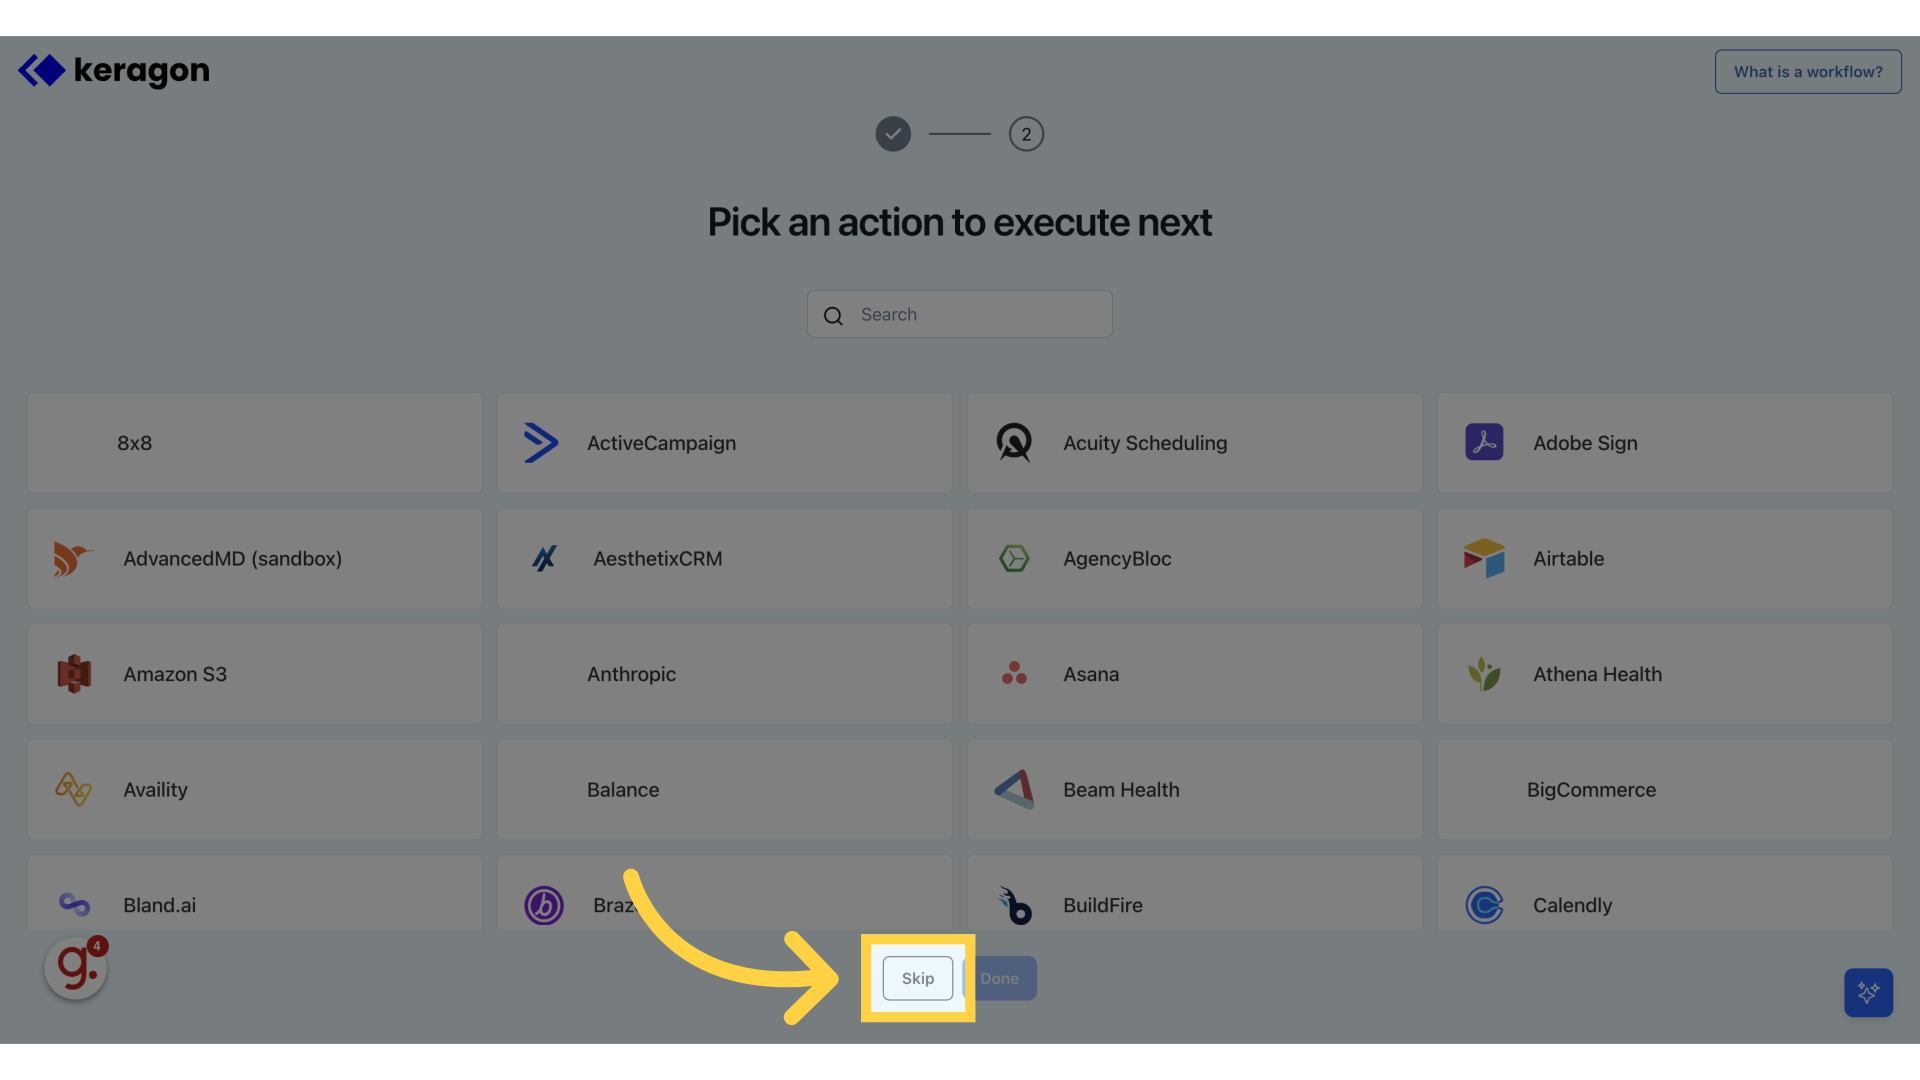
5. Click "Skip"
Skip this section.
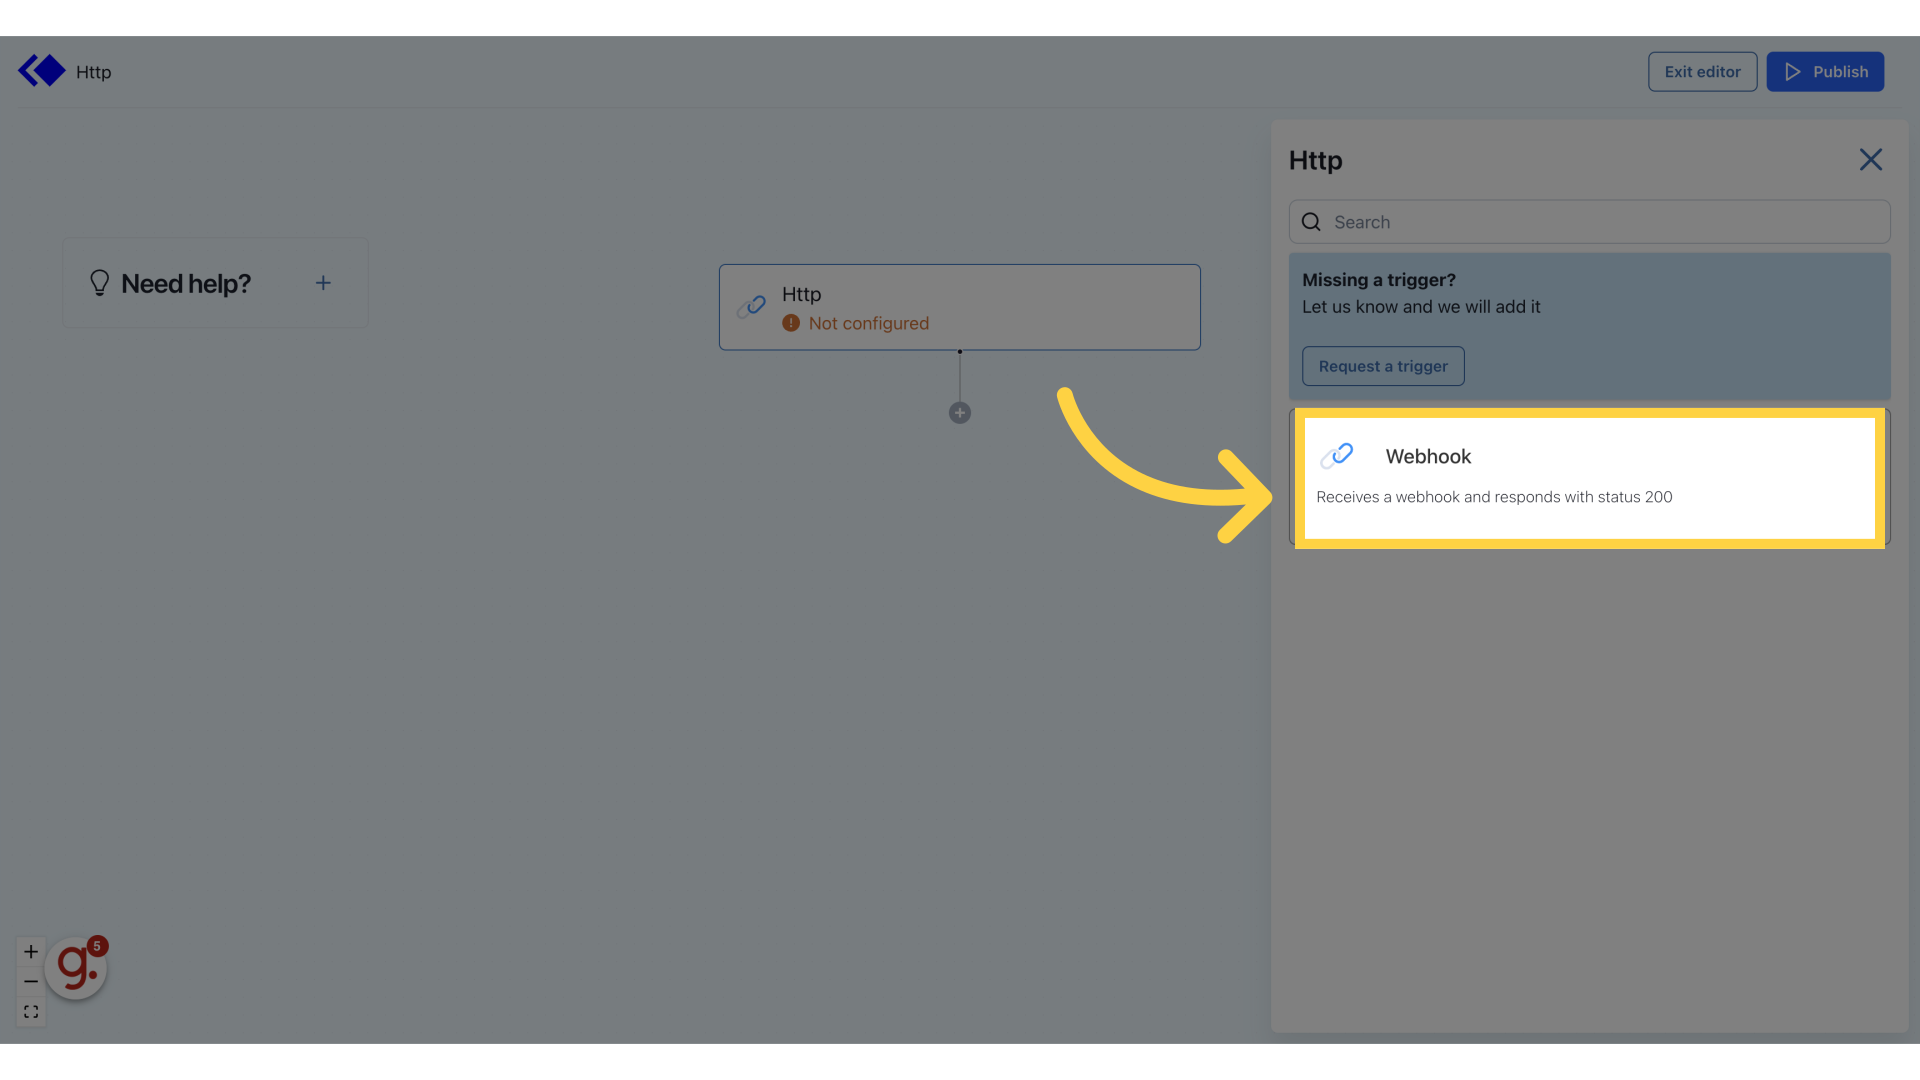
6. Select "Webhook" trigger
Choose the "Webhook" trigger.
7. Click "Save"
Save the settings.

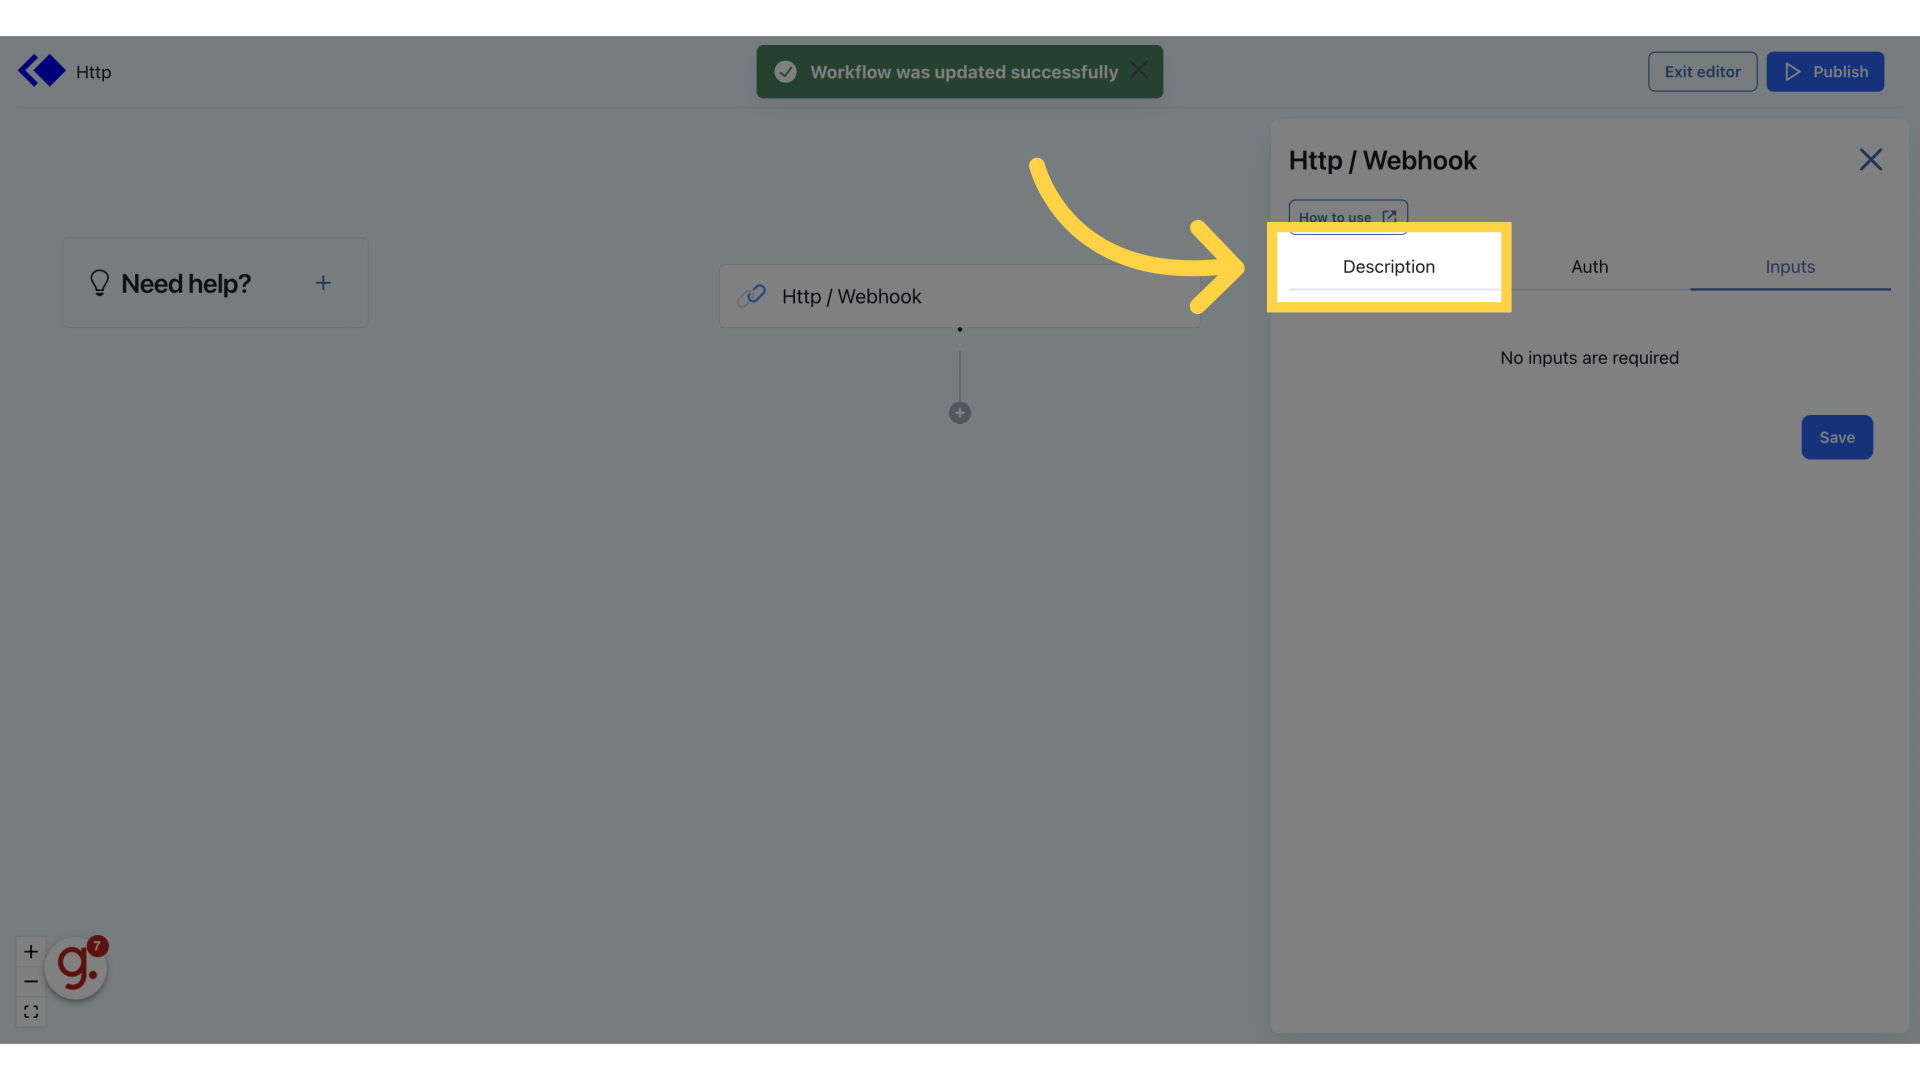
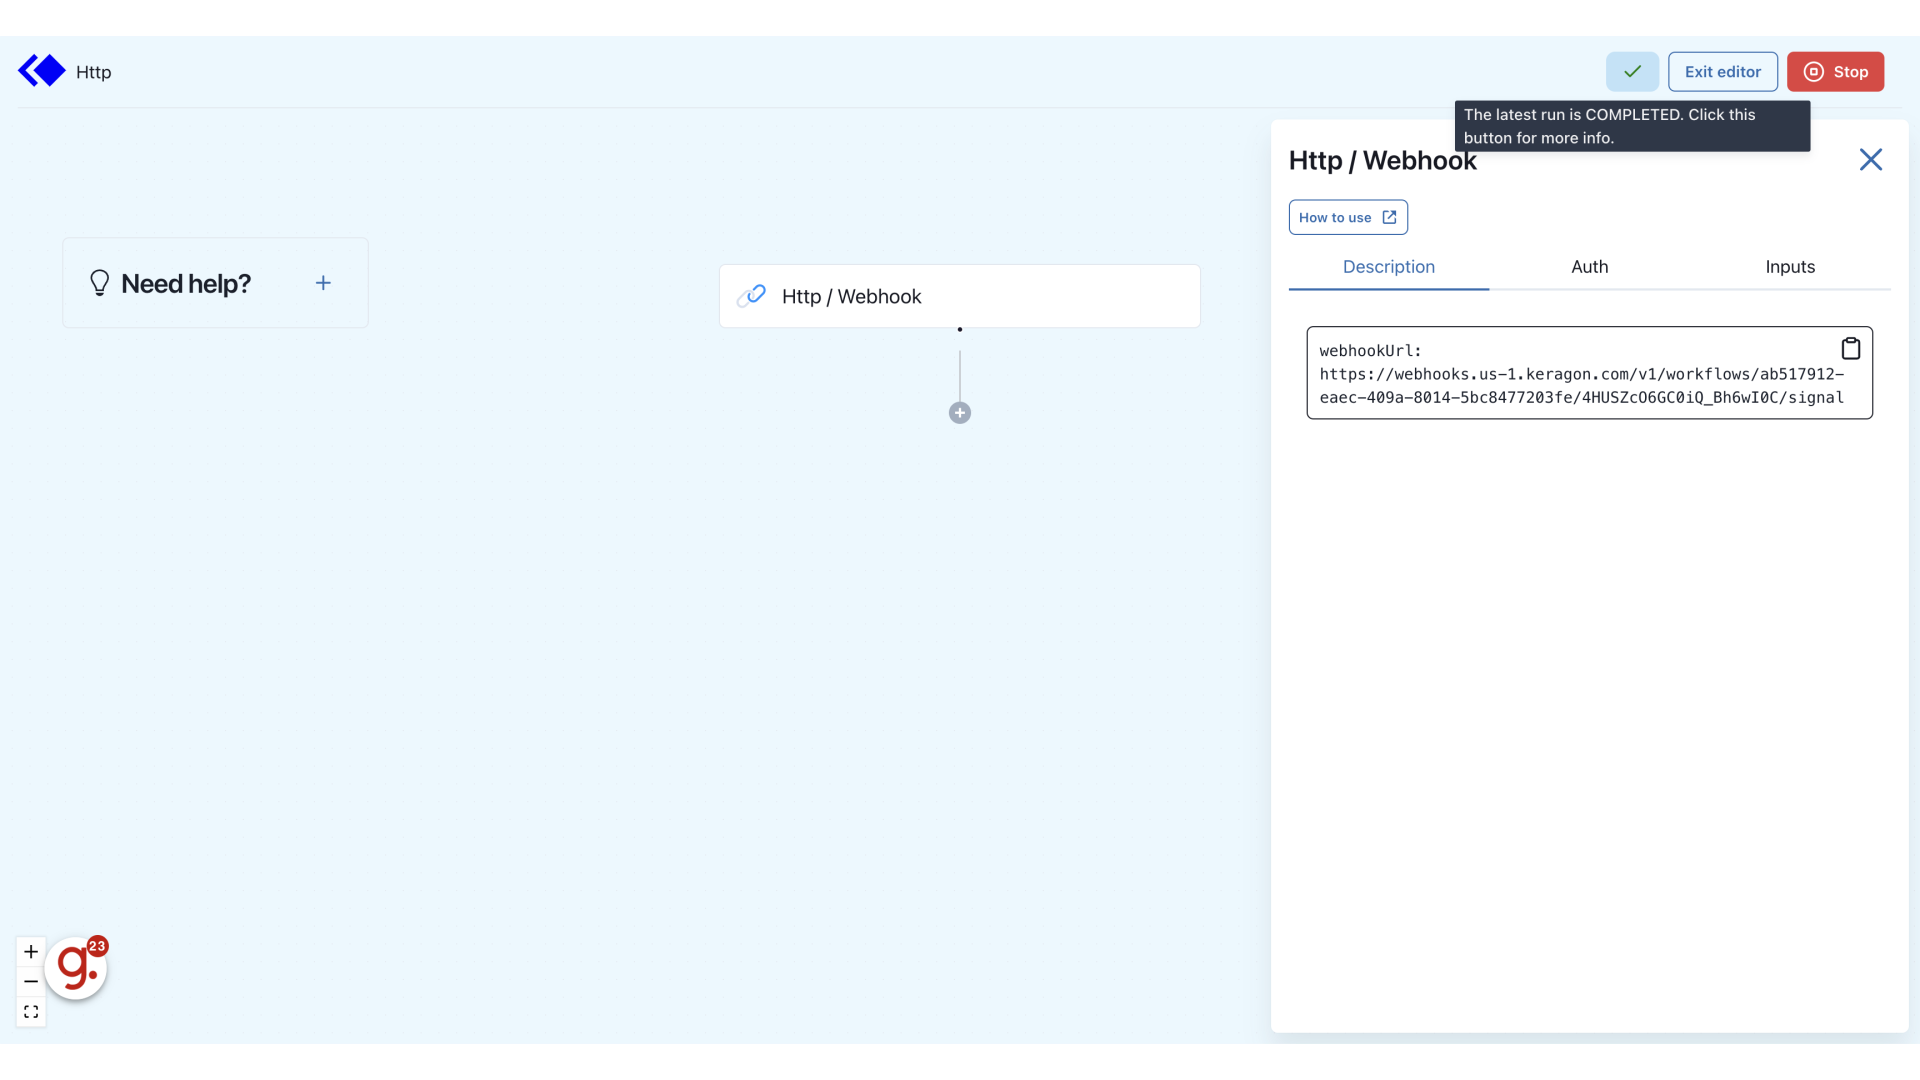
8. Click "Description"
Visit "Description" section.
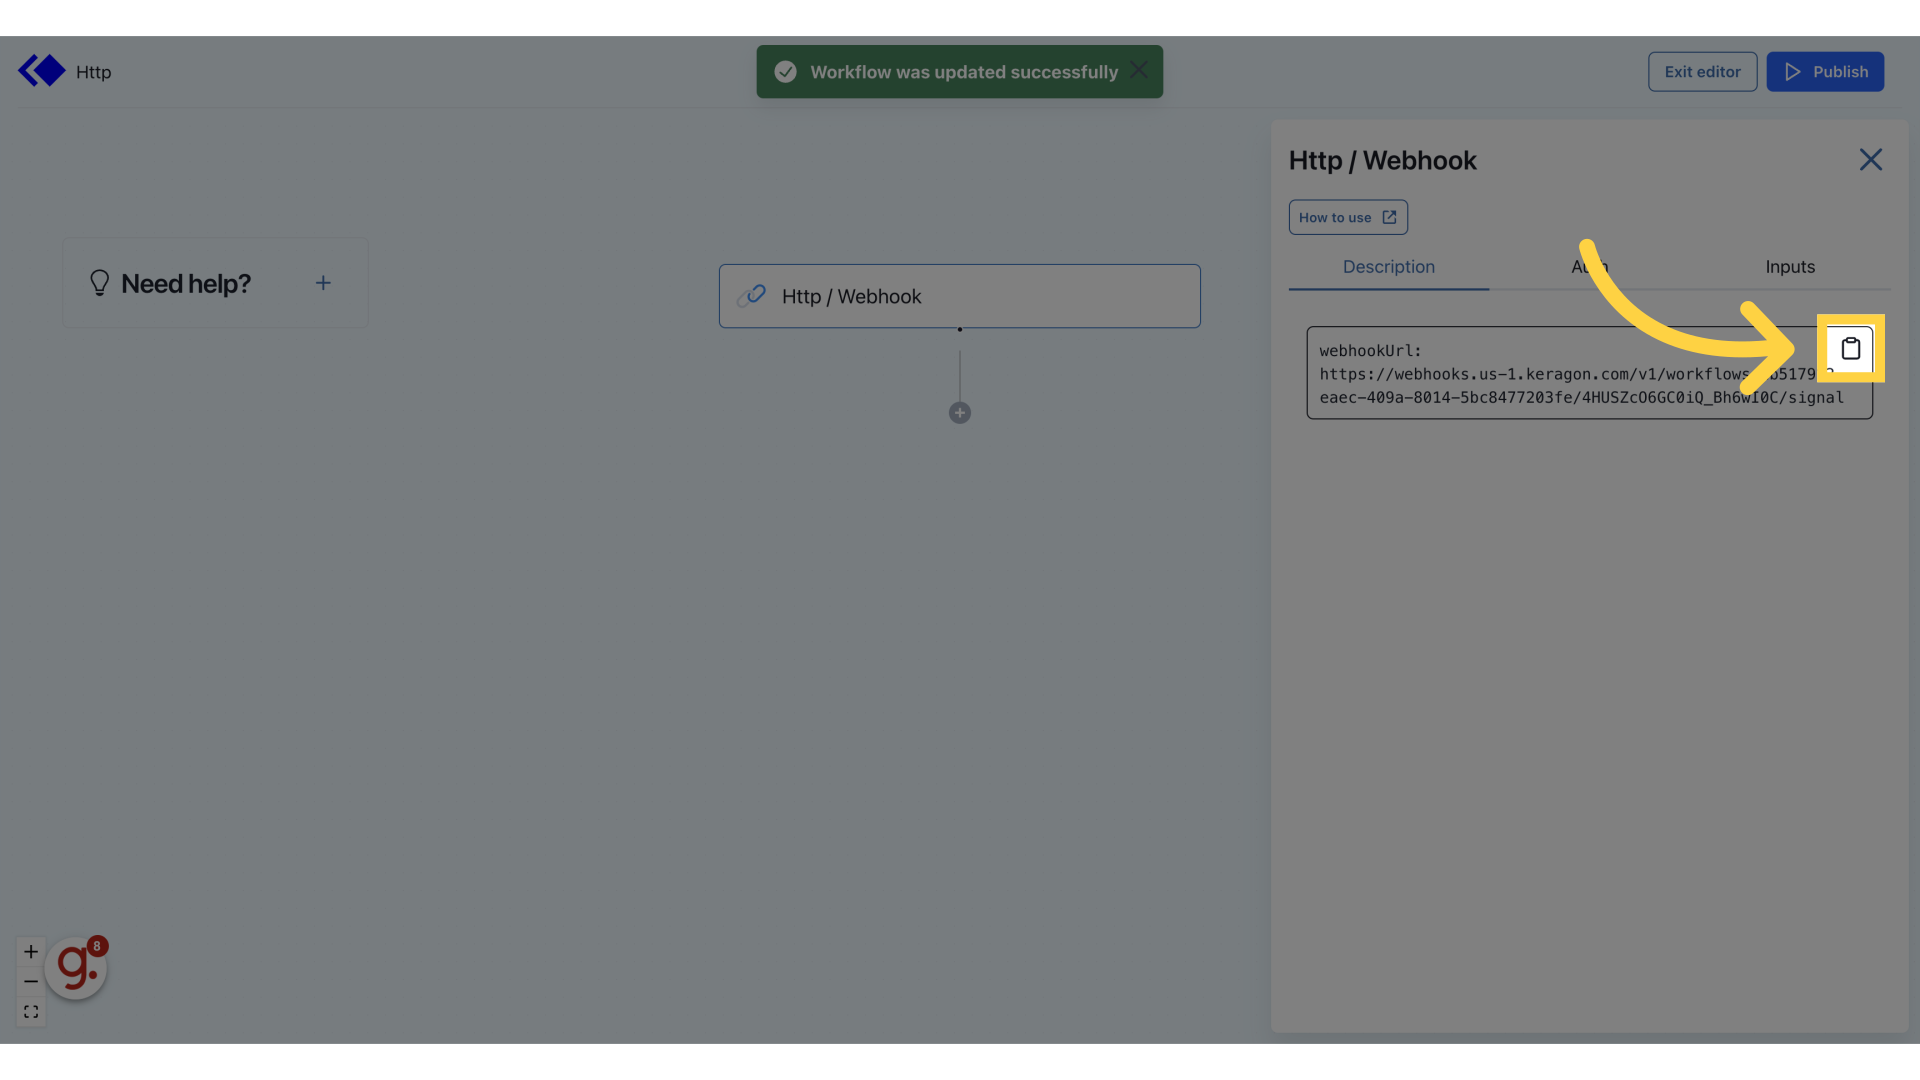
9. Copy webhook url
Copy webhook url found in "Description".
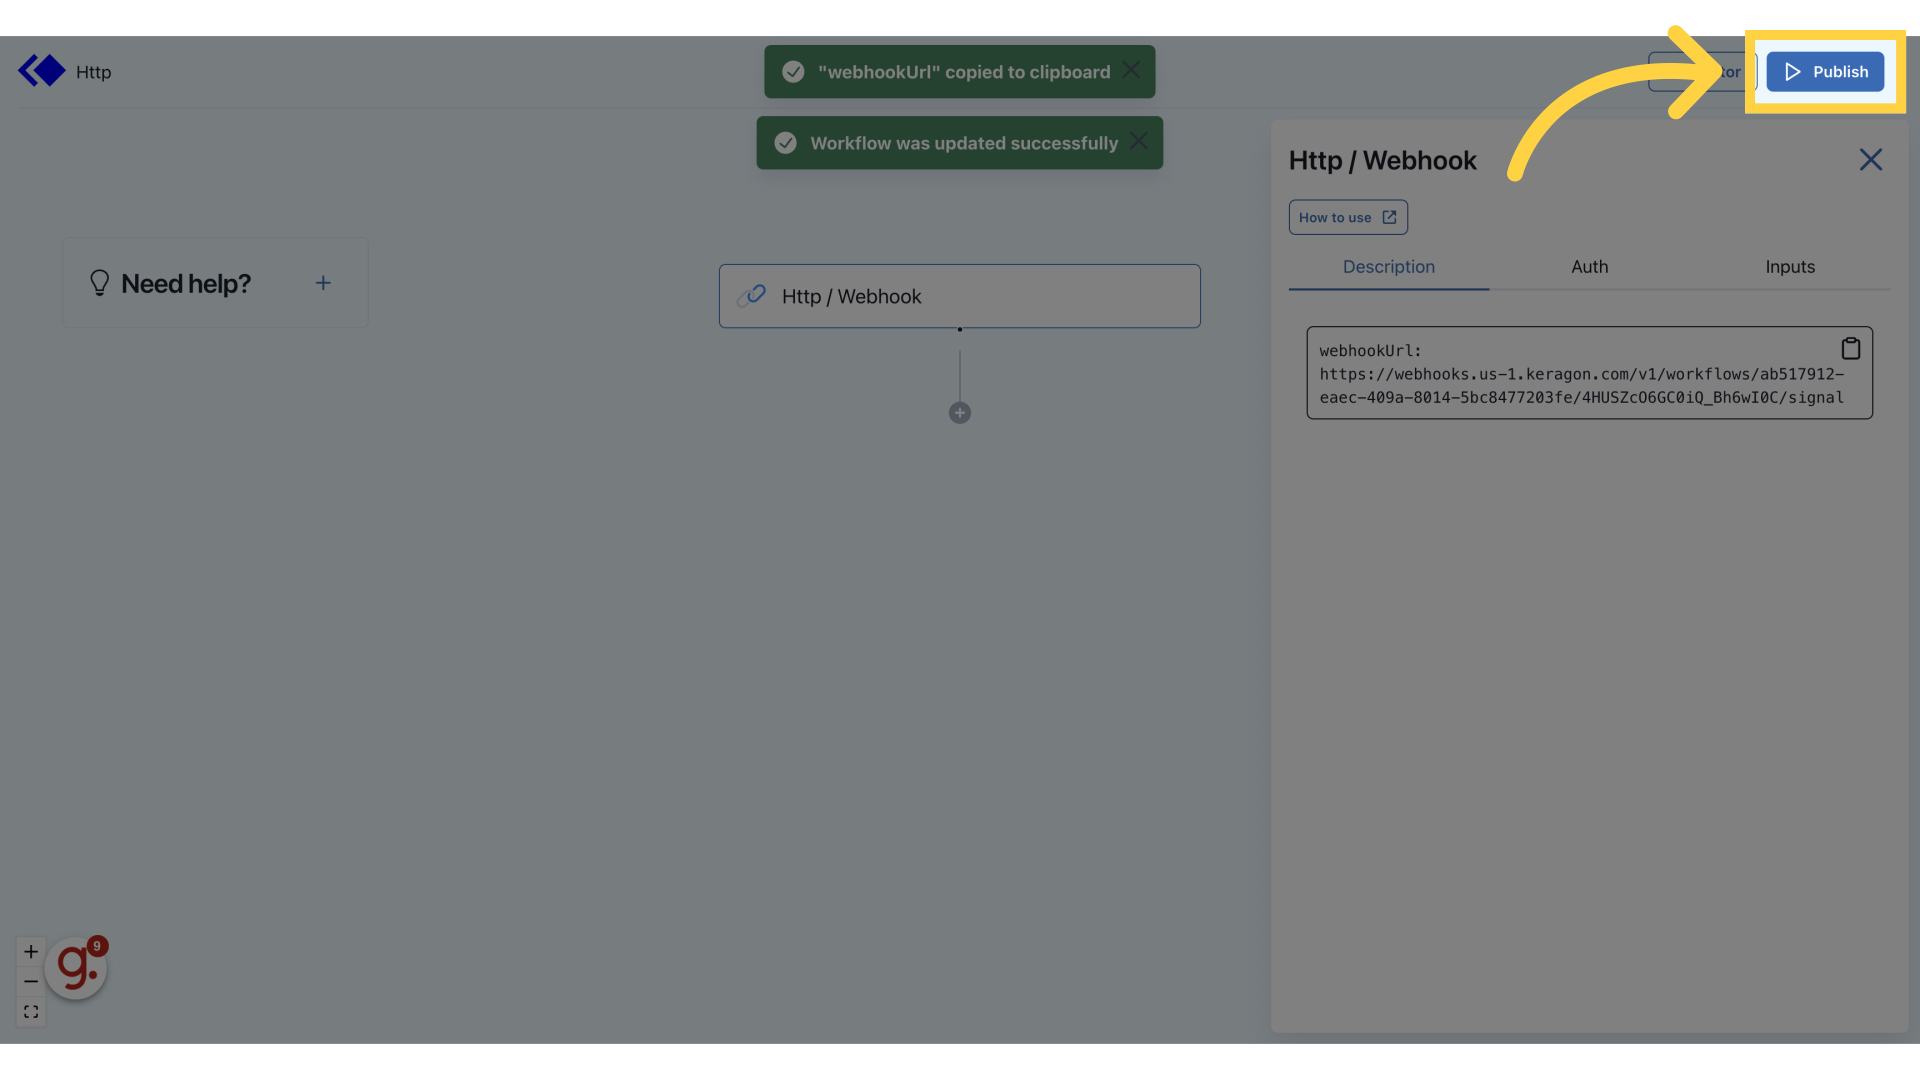
10. Click "Publish"
Publish the changes.
11. Switch to "data.blaze.today"
Switch to "data.blaze.today"
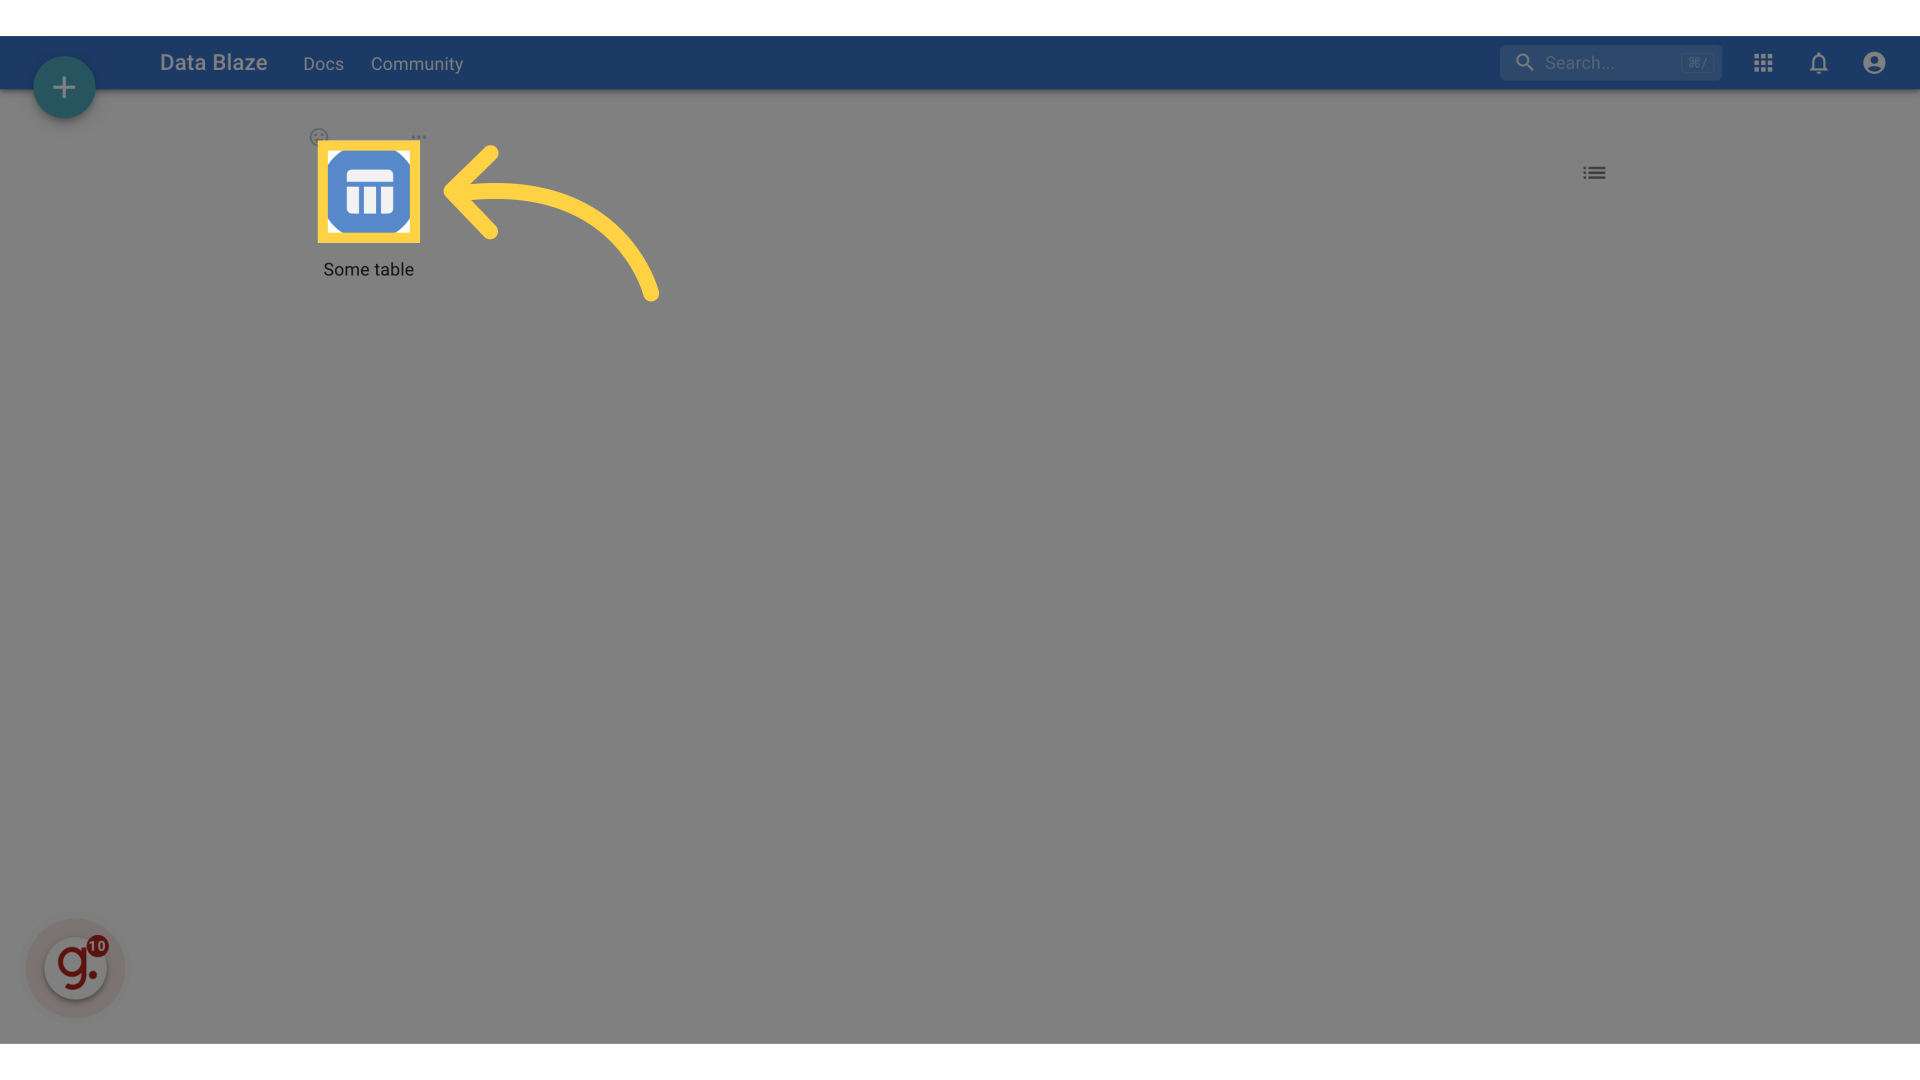
12. Select your table
Select the table you want to receive events from.
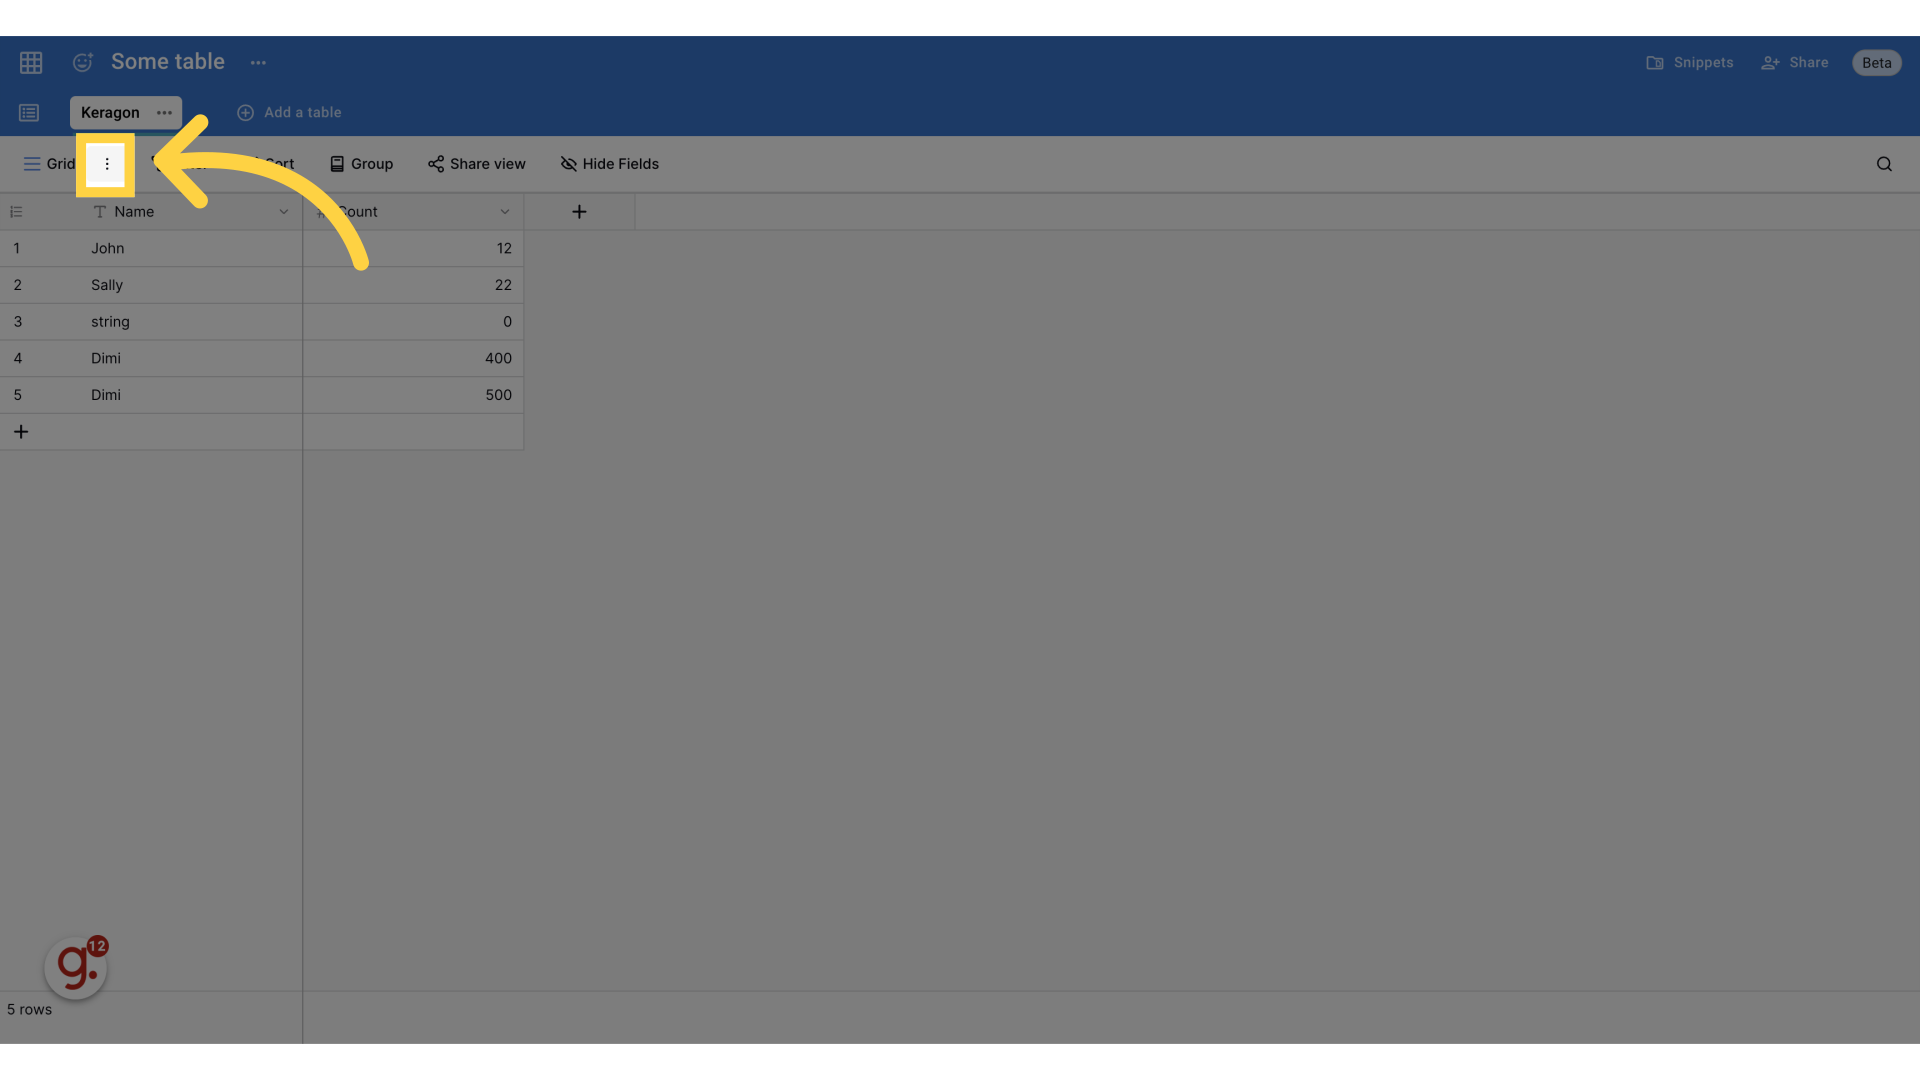
13. Click to see more options
Expand the table menu.
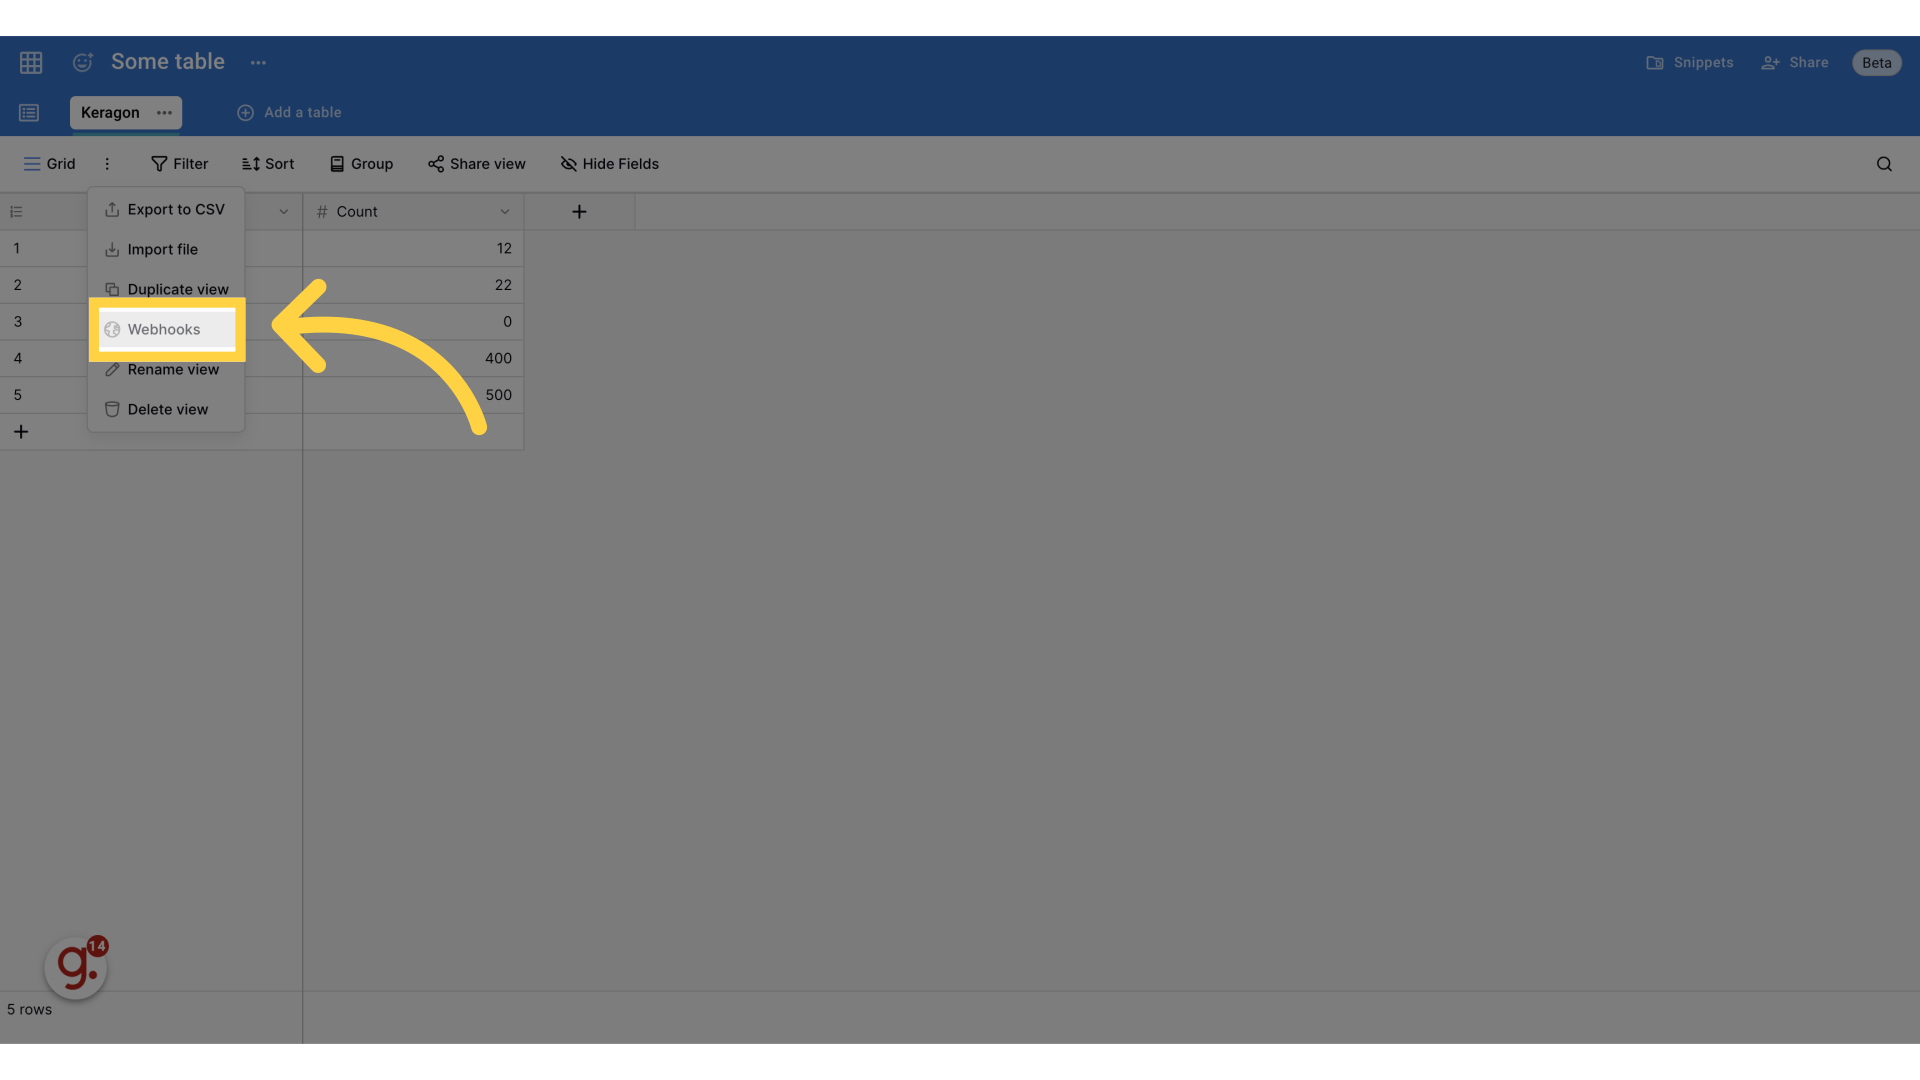
14. Click "Webhooks"
Select the Webhooks option.
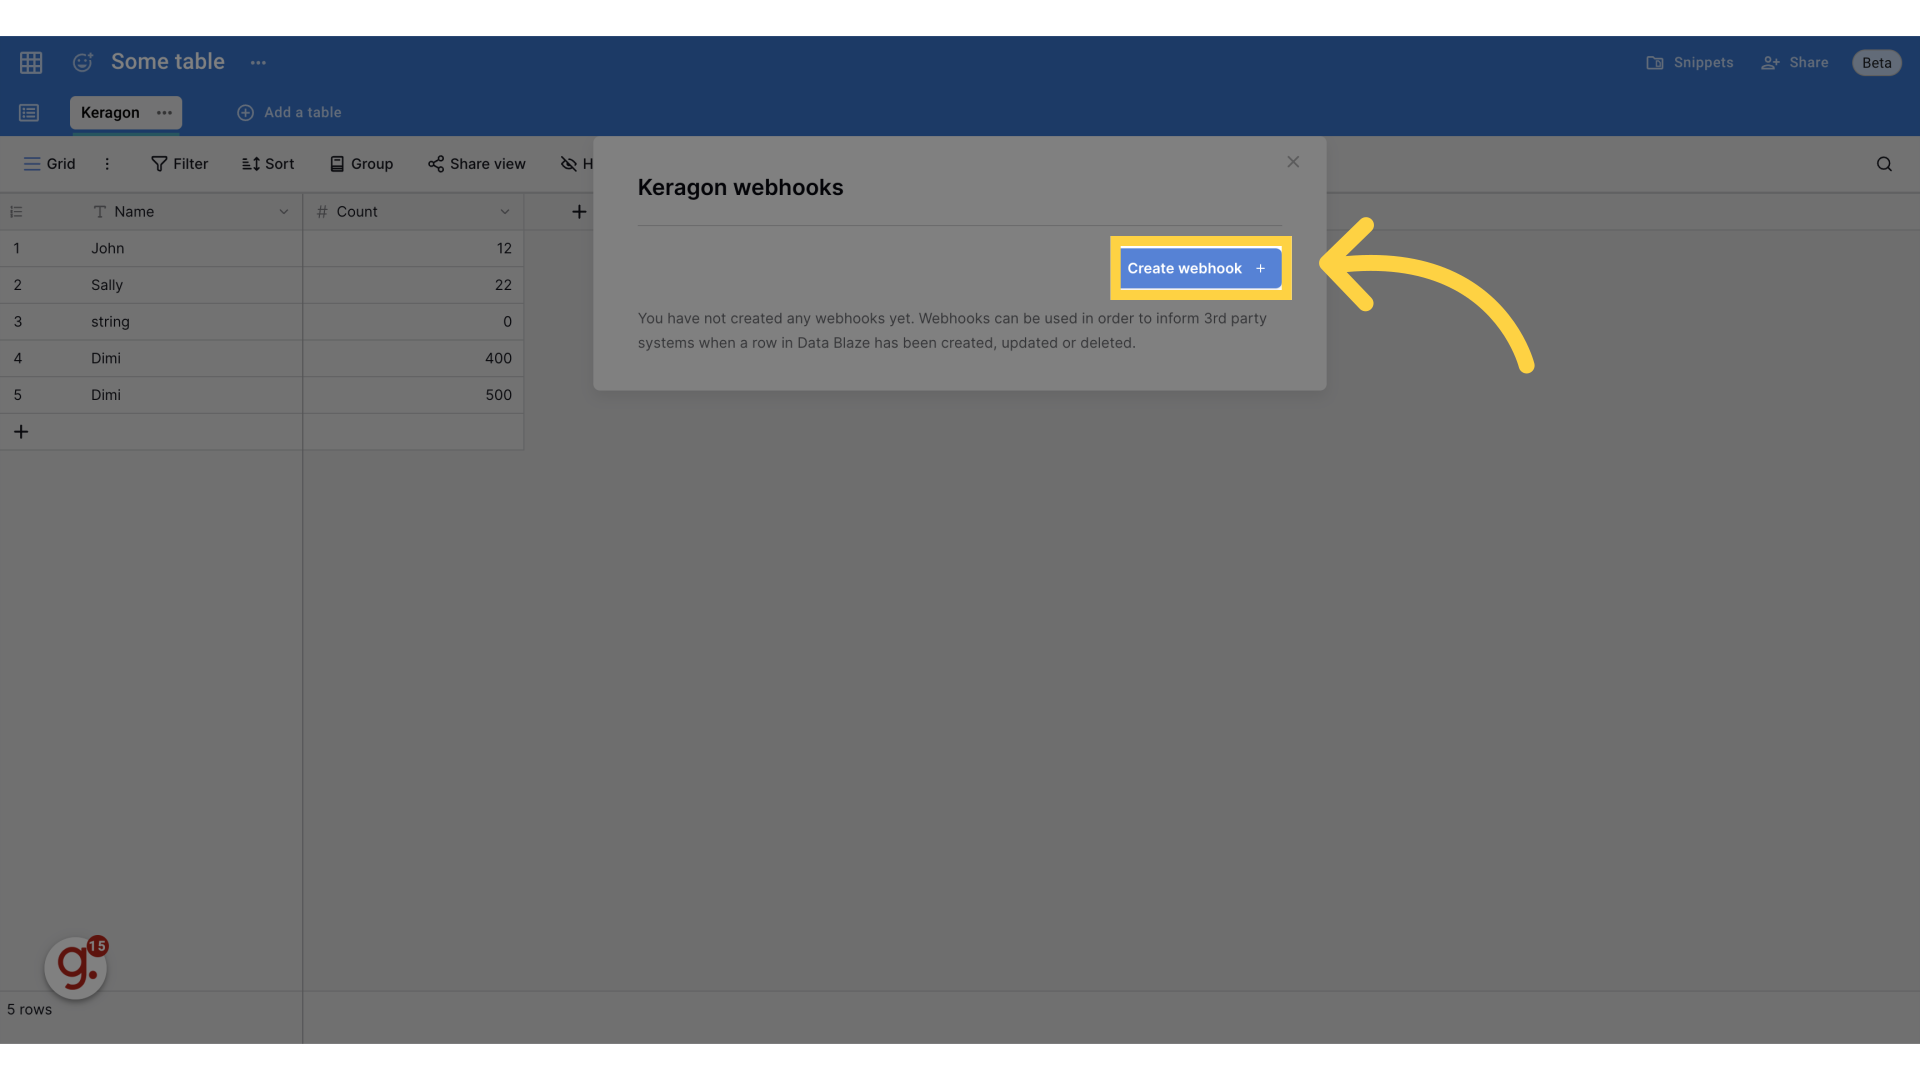
15. Click "Create webhook"
Initiate the creation of a new webhook.
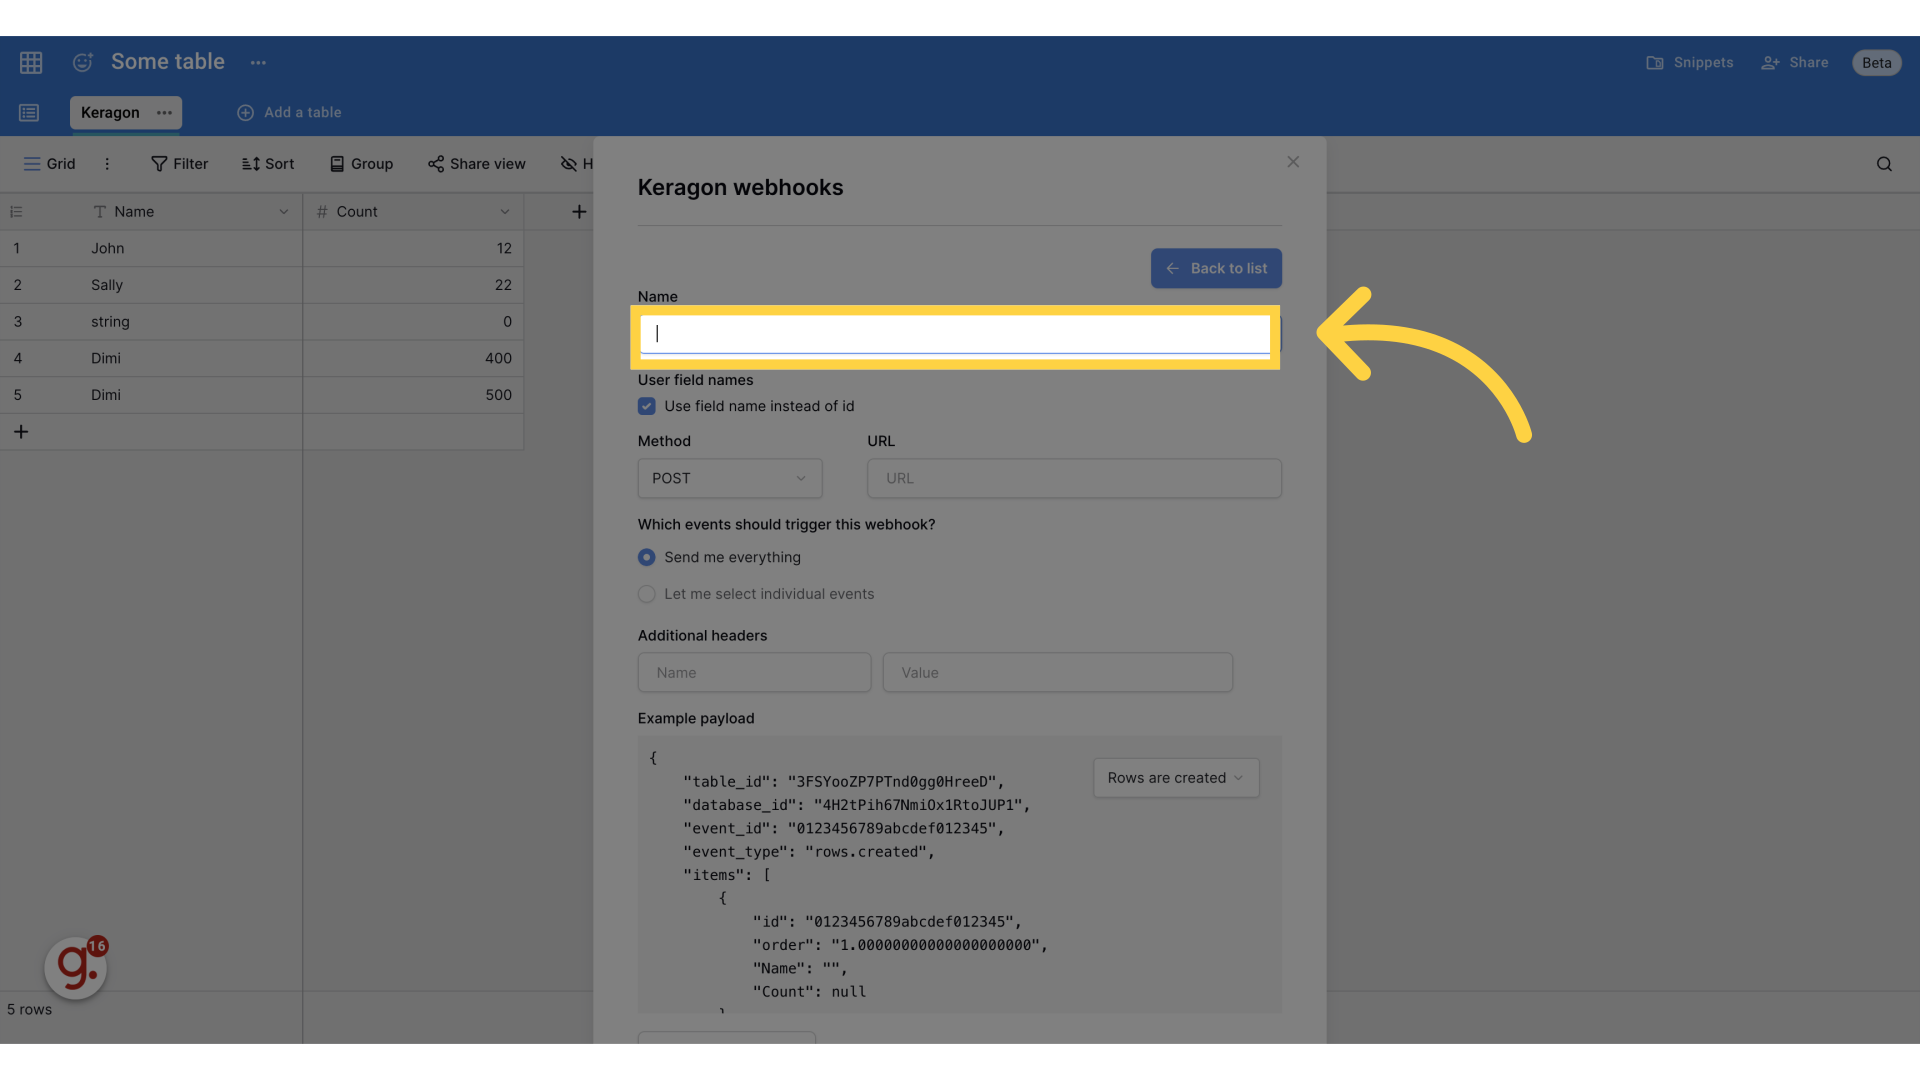
16. Name your webhook
Give a meaningful name for your webhook.
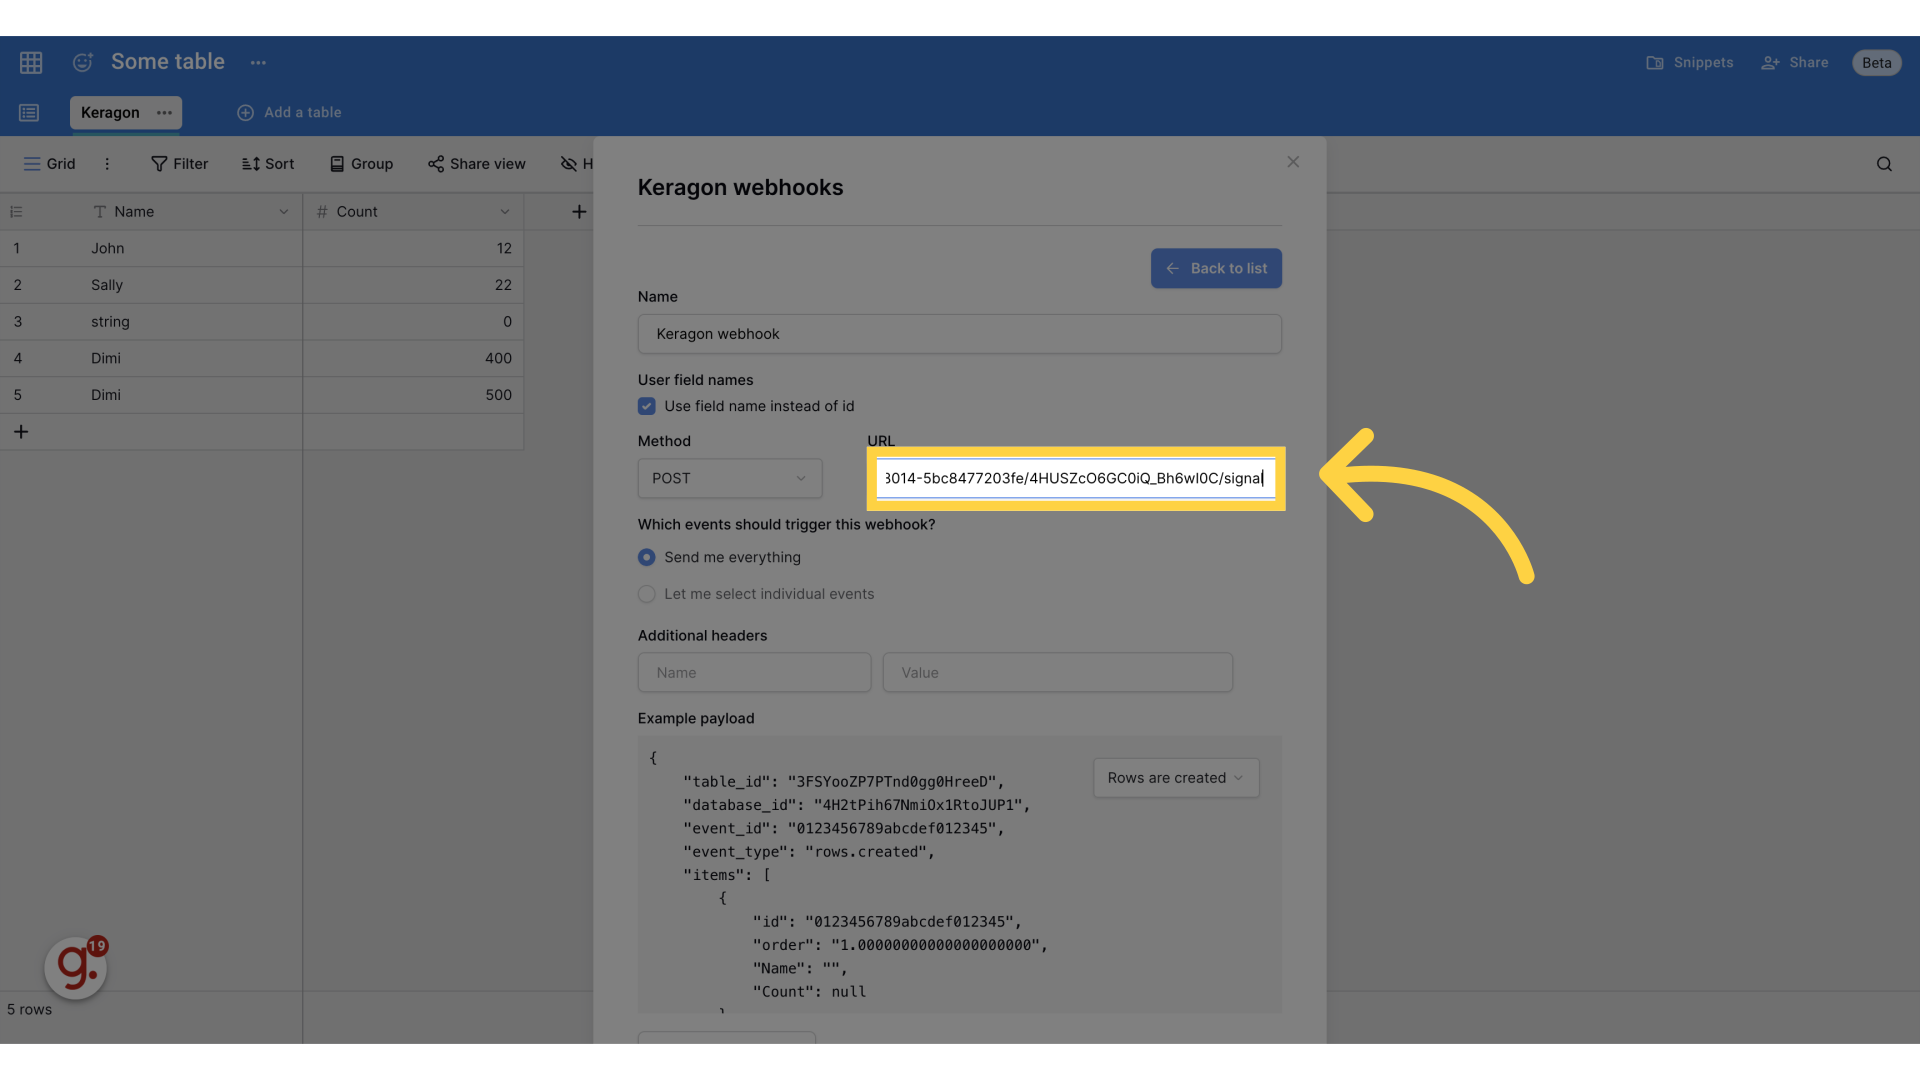
17. Click "URL"
Select the URL field.

18. Paste the webhook
Paste the webhook url from Keragon UI.
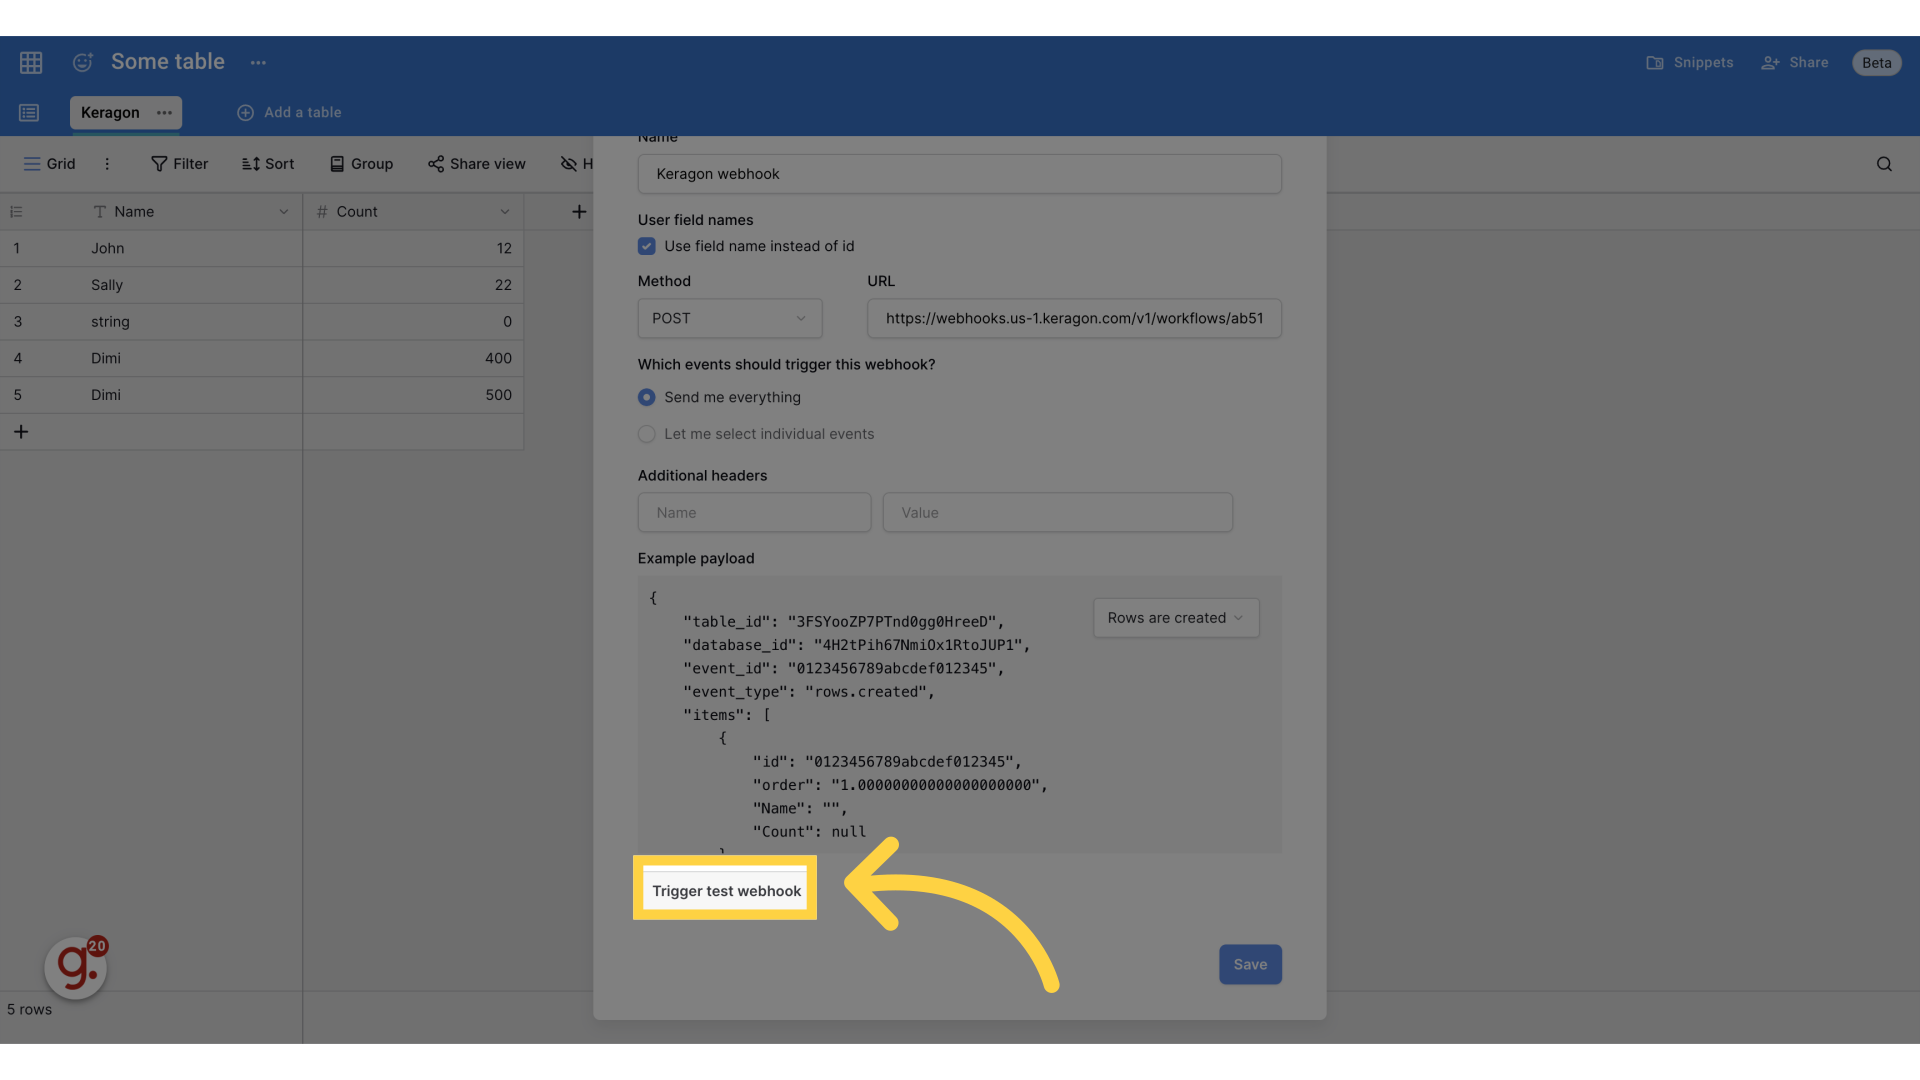
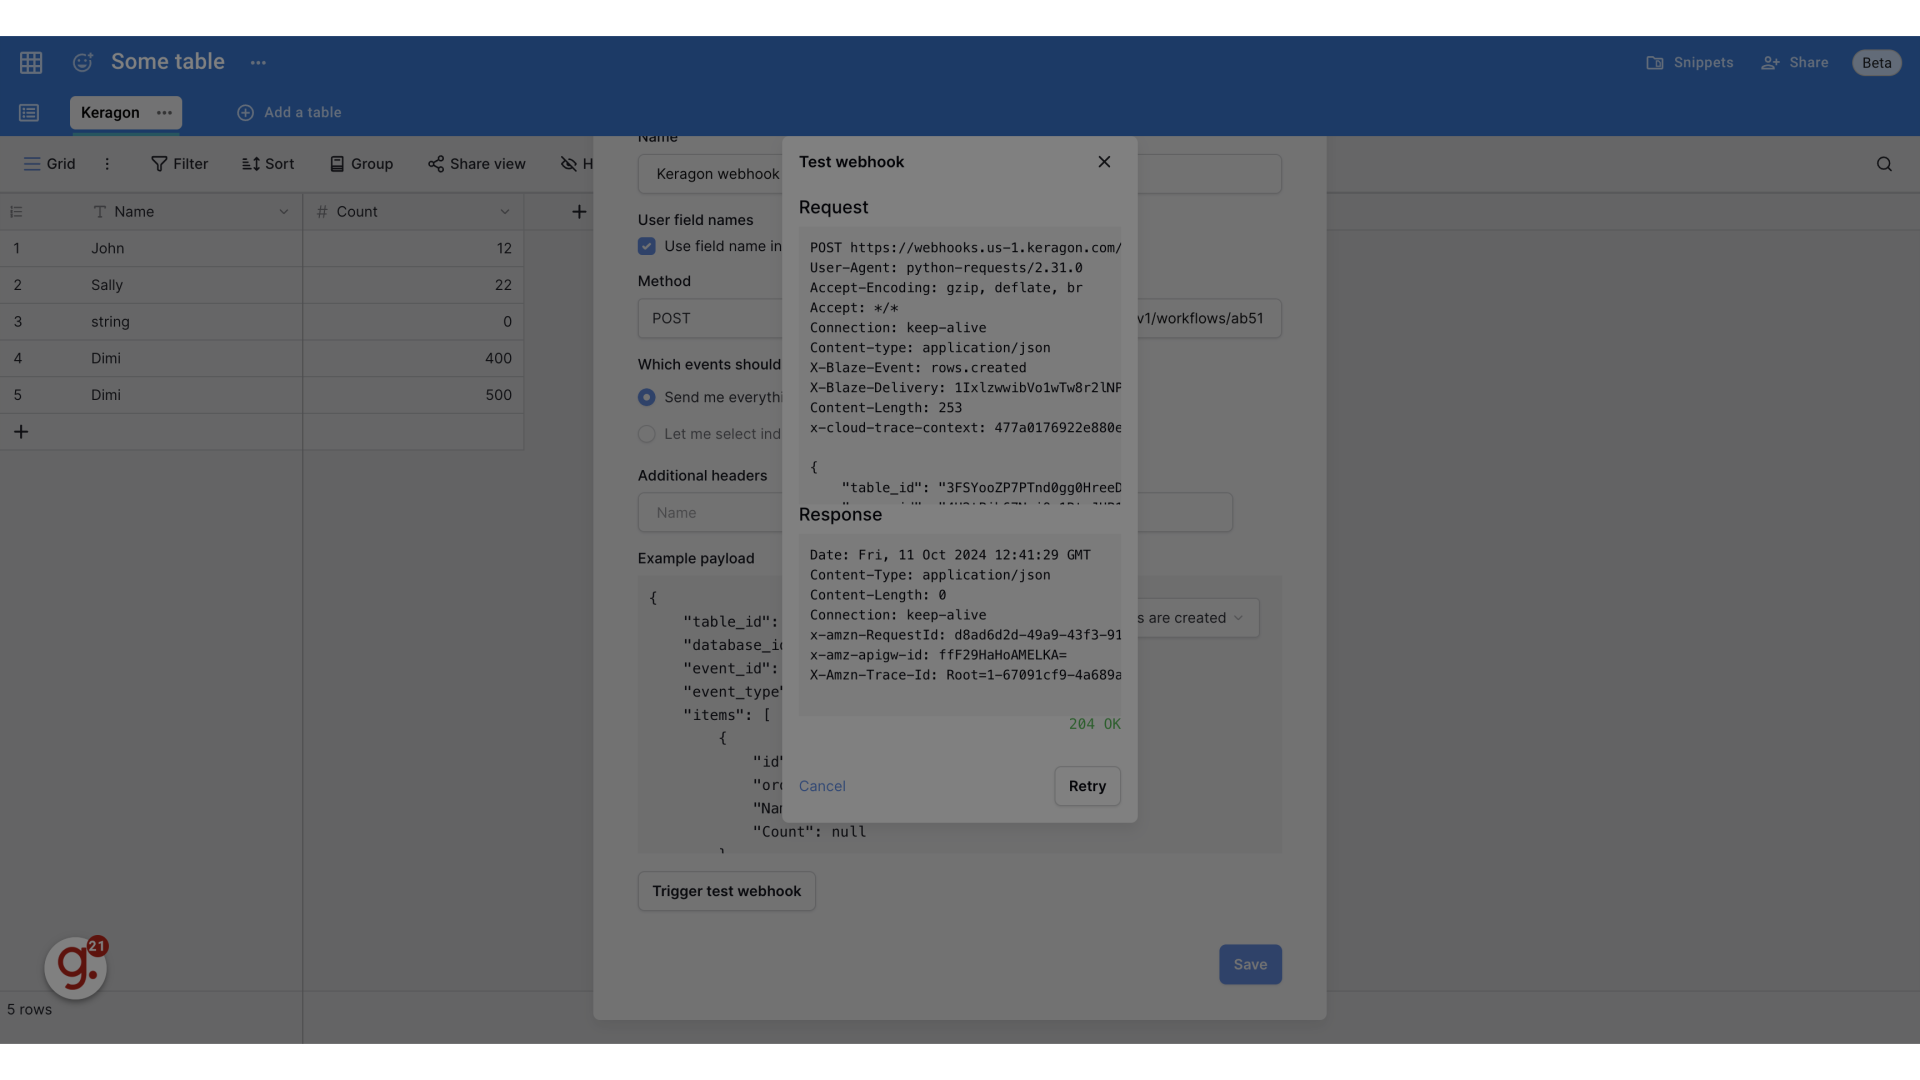
19. Click "Trigger test webhook"
Initiate a test webhook.
20. Click here
The test should be succesfull.
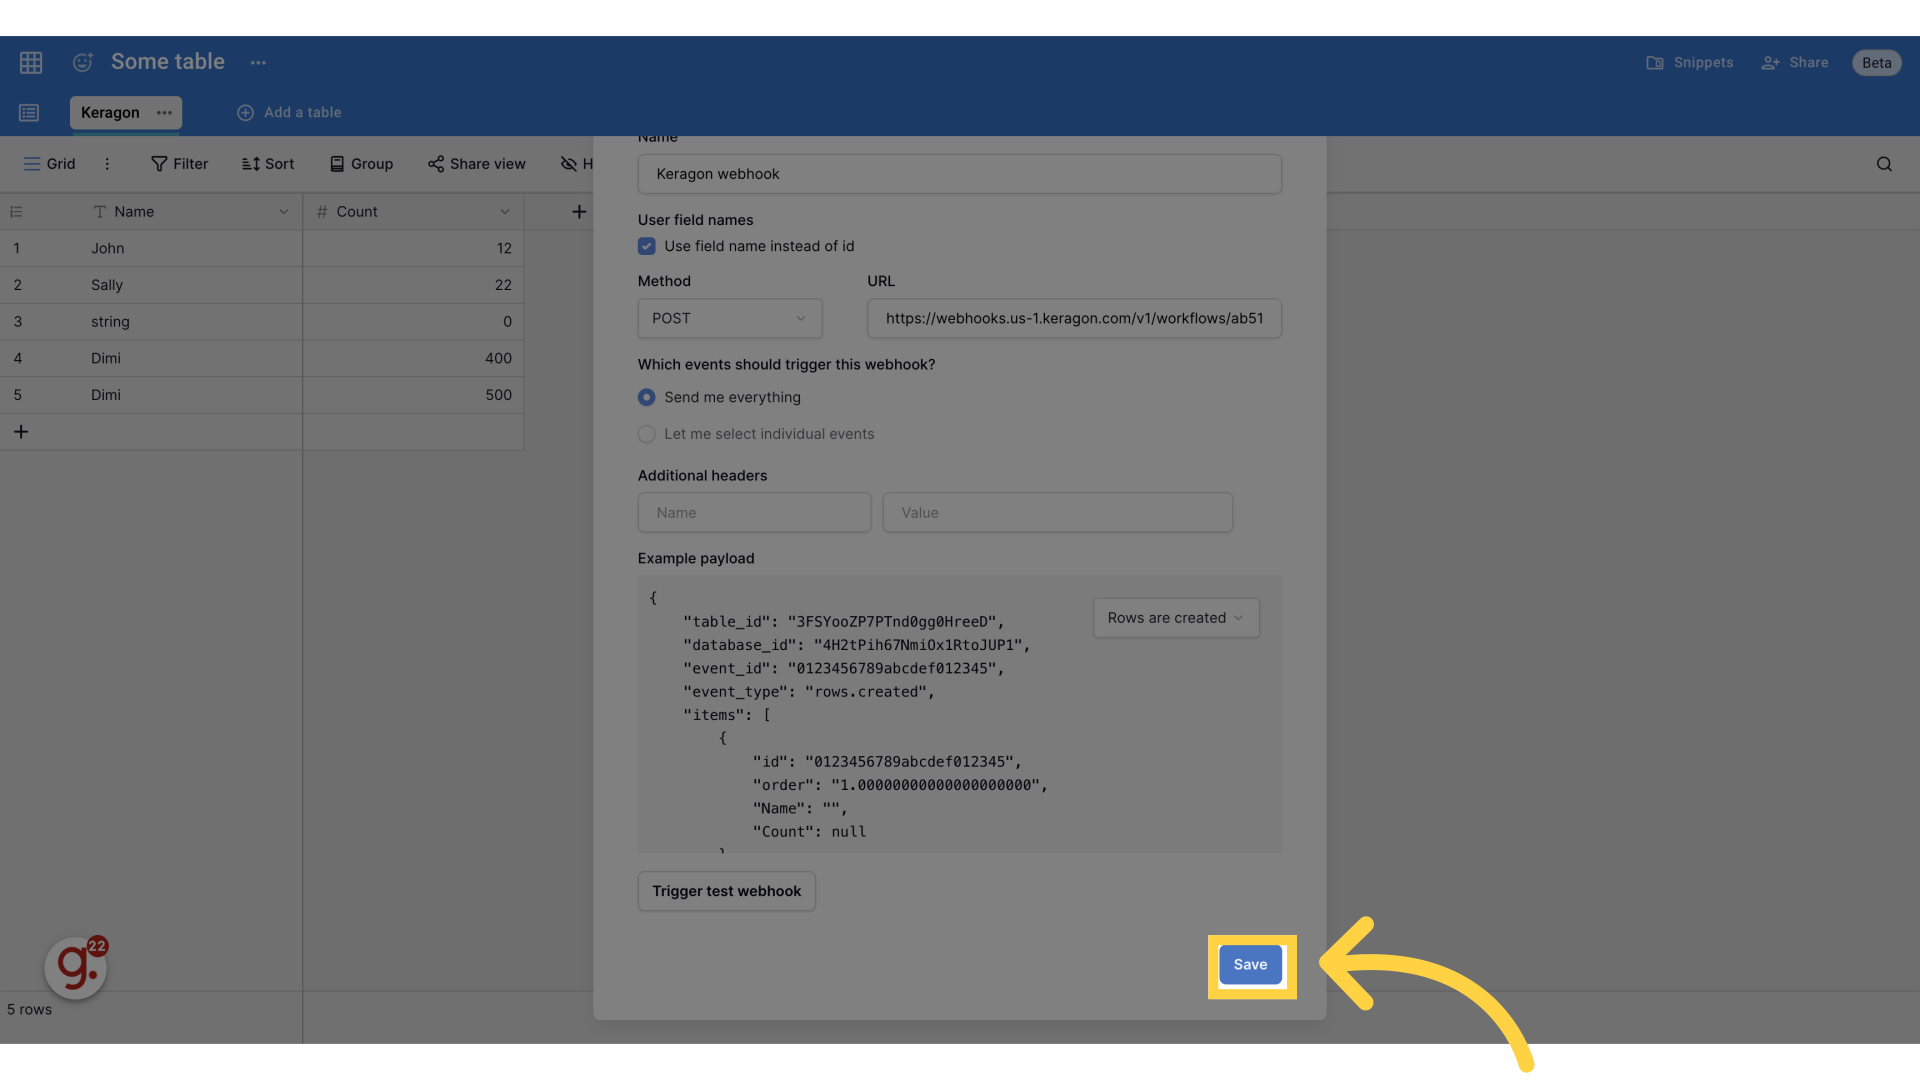
21. Click "Save"
Save the changes.
22. Switch to "app.keragon.com"
Go to "app.keragon.com"
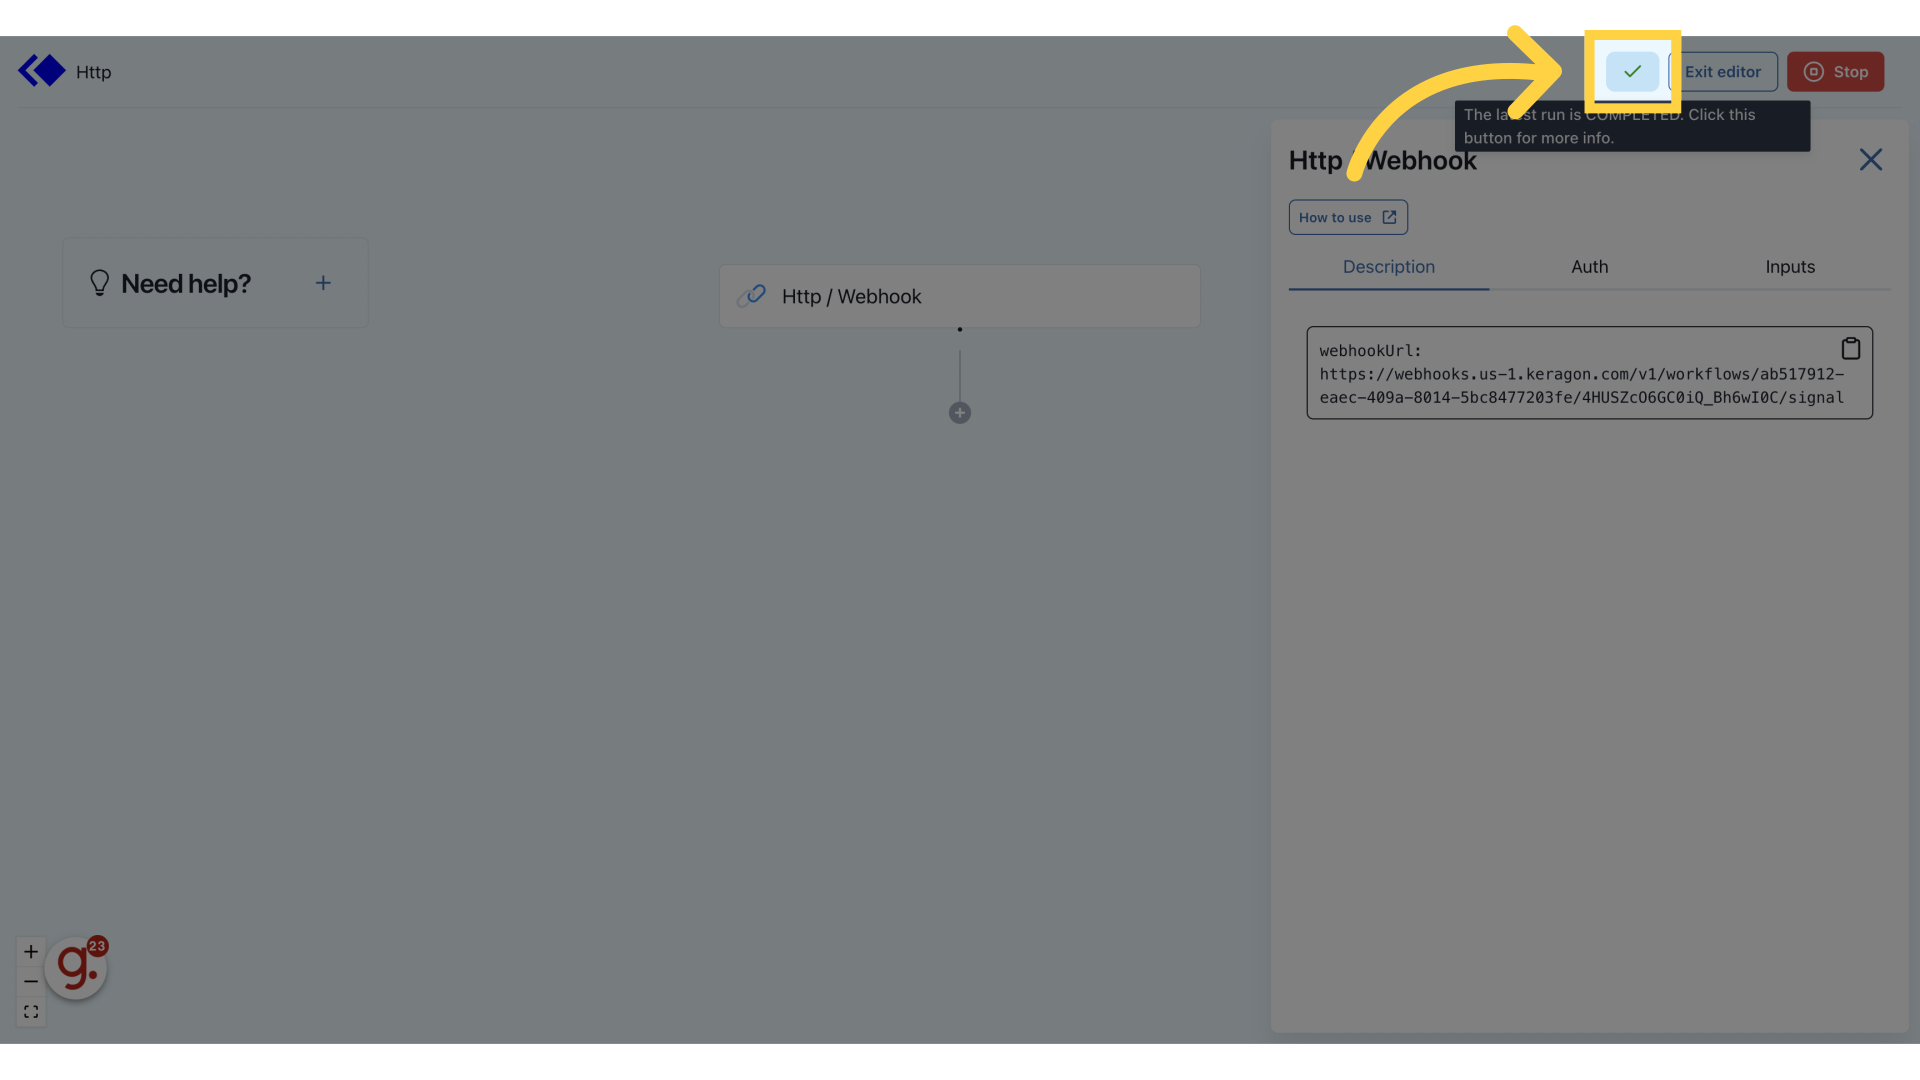
23. Click on completed run
Access the last completed run page.
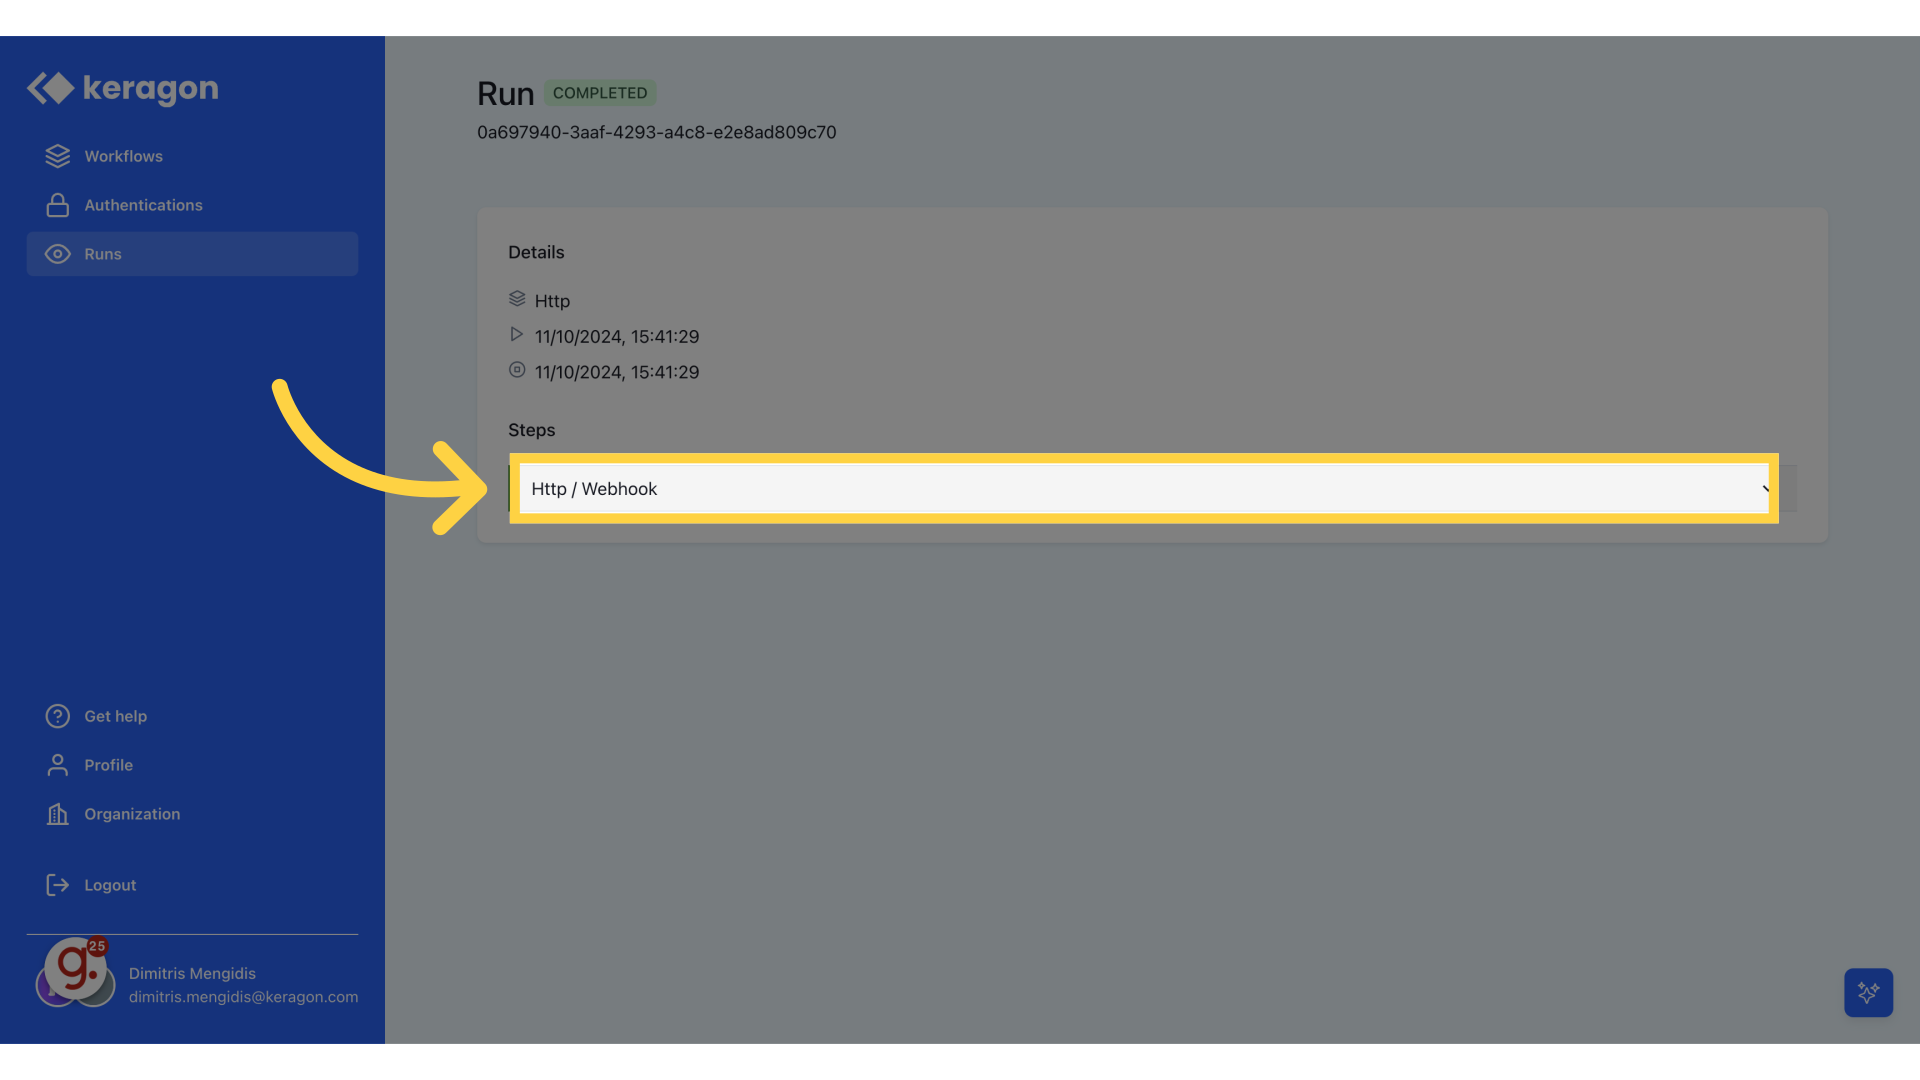
24. Click "Http / Webhook"
Select the HTTP/Webhook option.
25. Click "Outputs"
View the outputs.
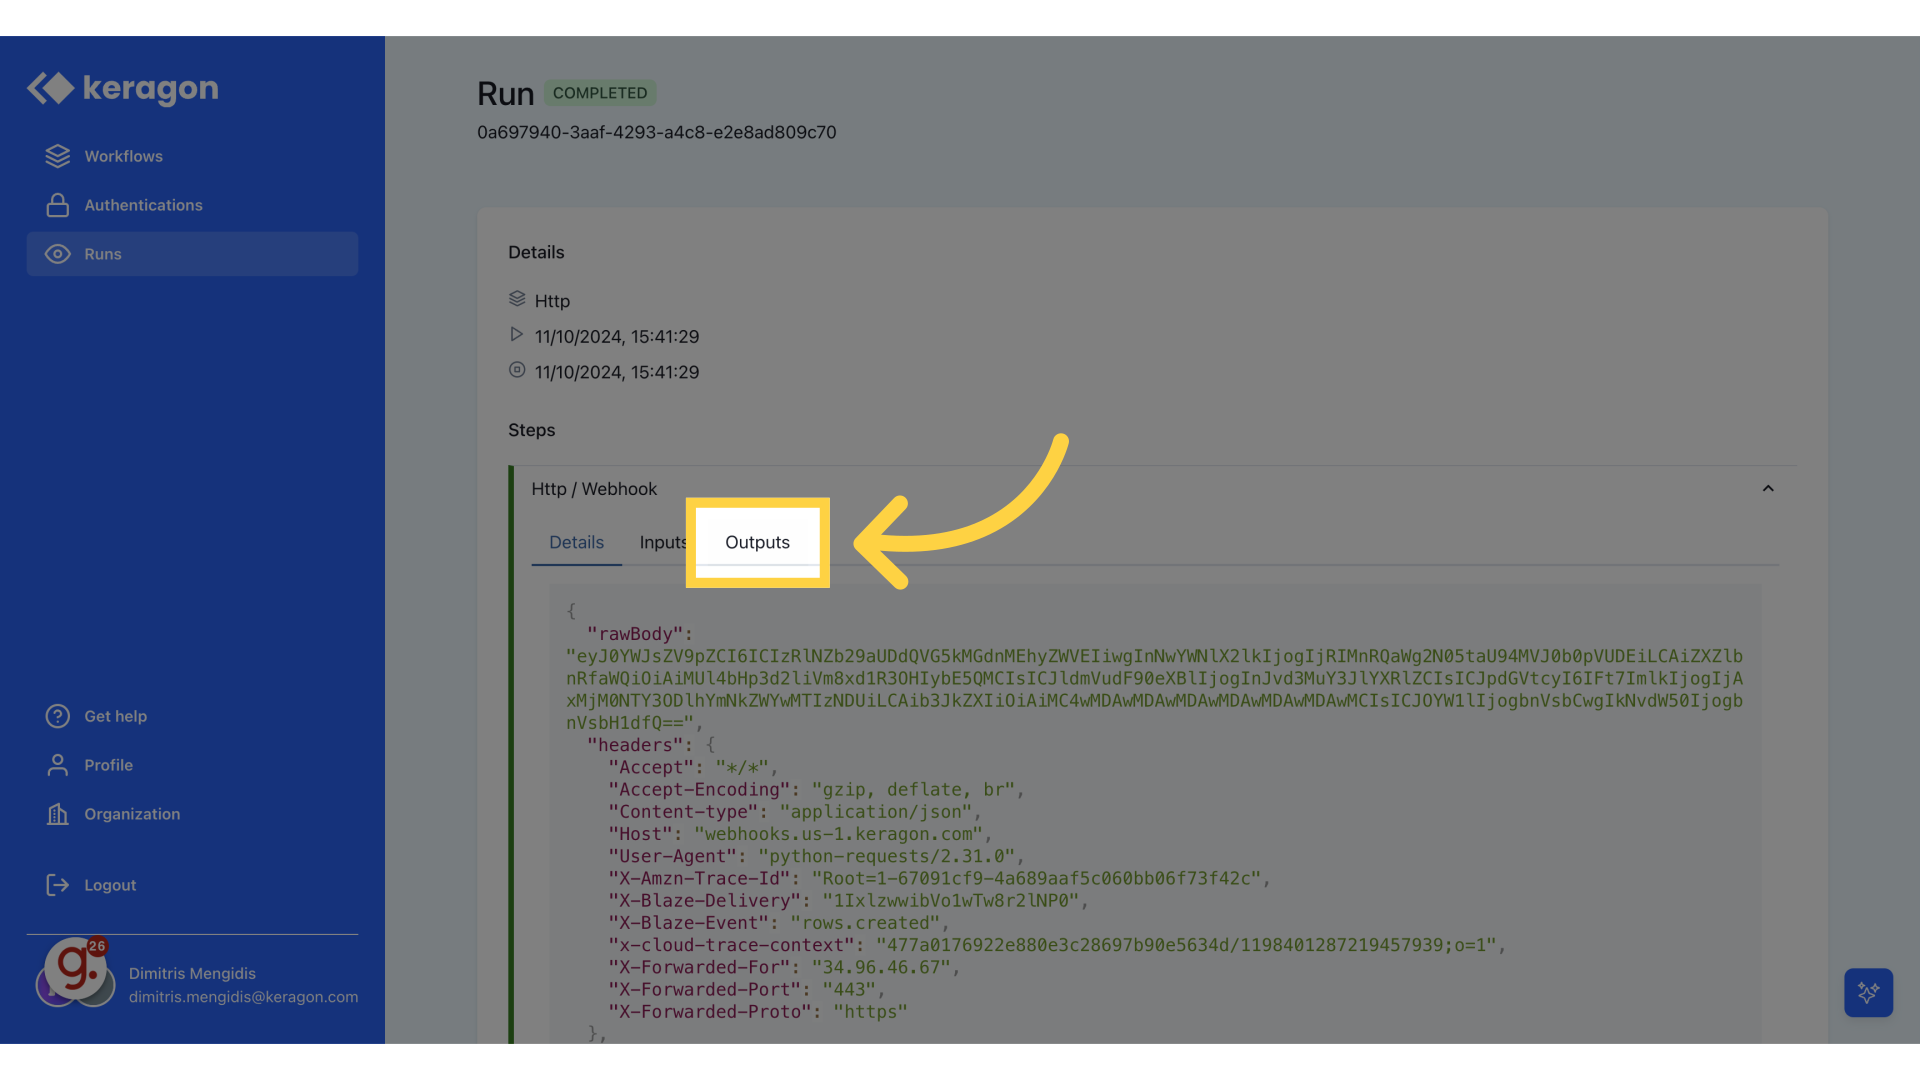
This guide covered setting up a webhook between Keragon and Blaze, including configuring webhook settings, creating a webhook, and testing the connection for successful data transmission.