This guide will walk you through the process of creating a Google Auth client for Google Workspace using Google Cloud Platform.
Go to console.cloud.google.com
1. Click "Create project"
Create a new project by clicking on "Create project."

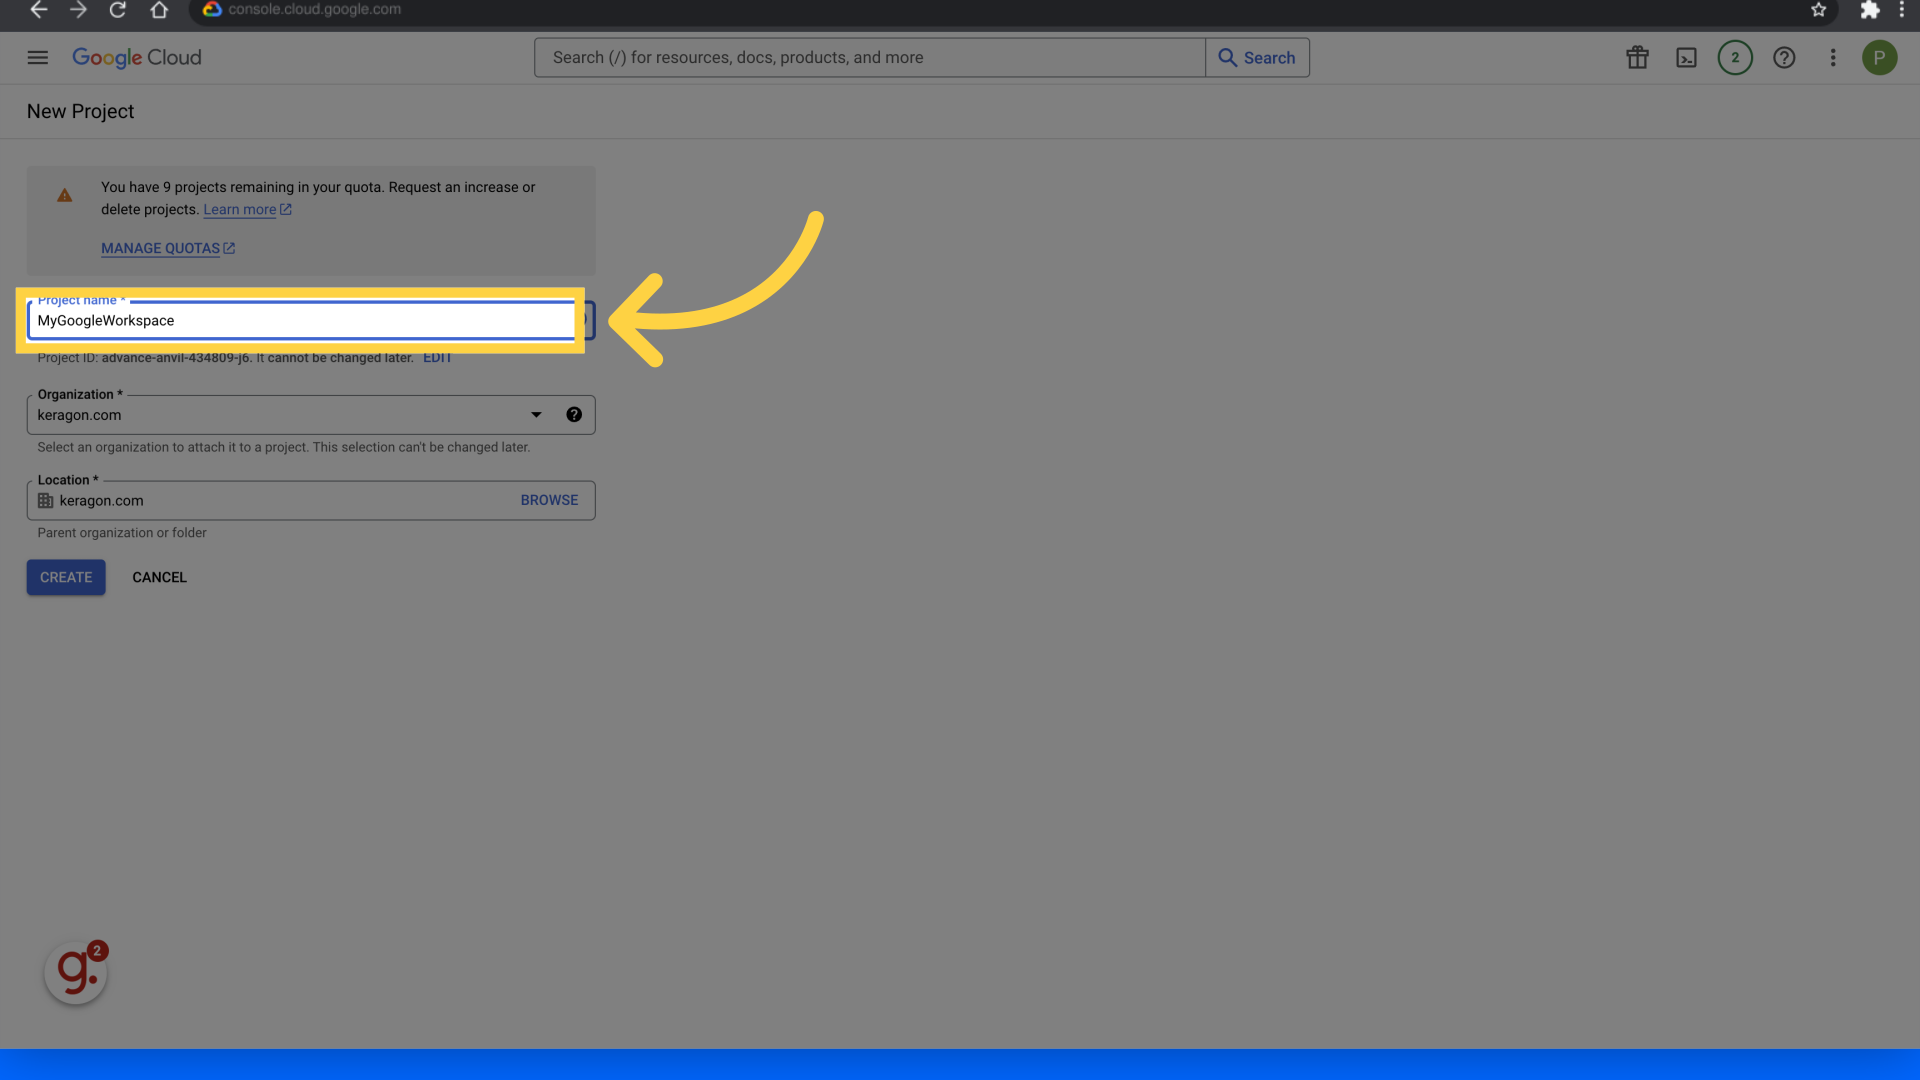
2. Fill in the project name
Enter your desired name in the required Project name fields.
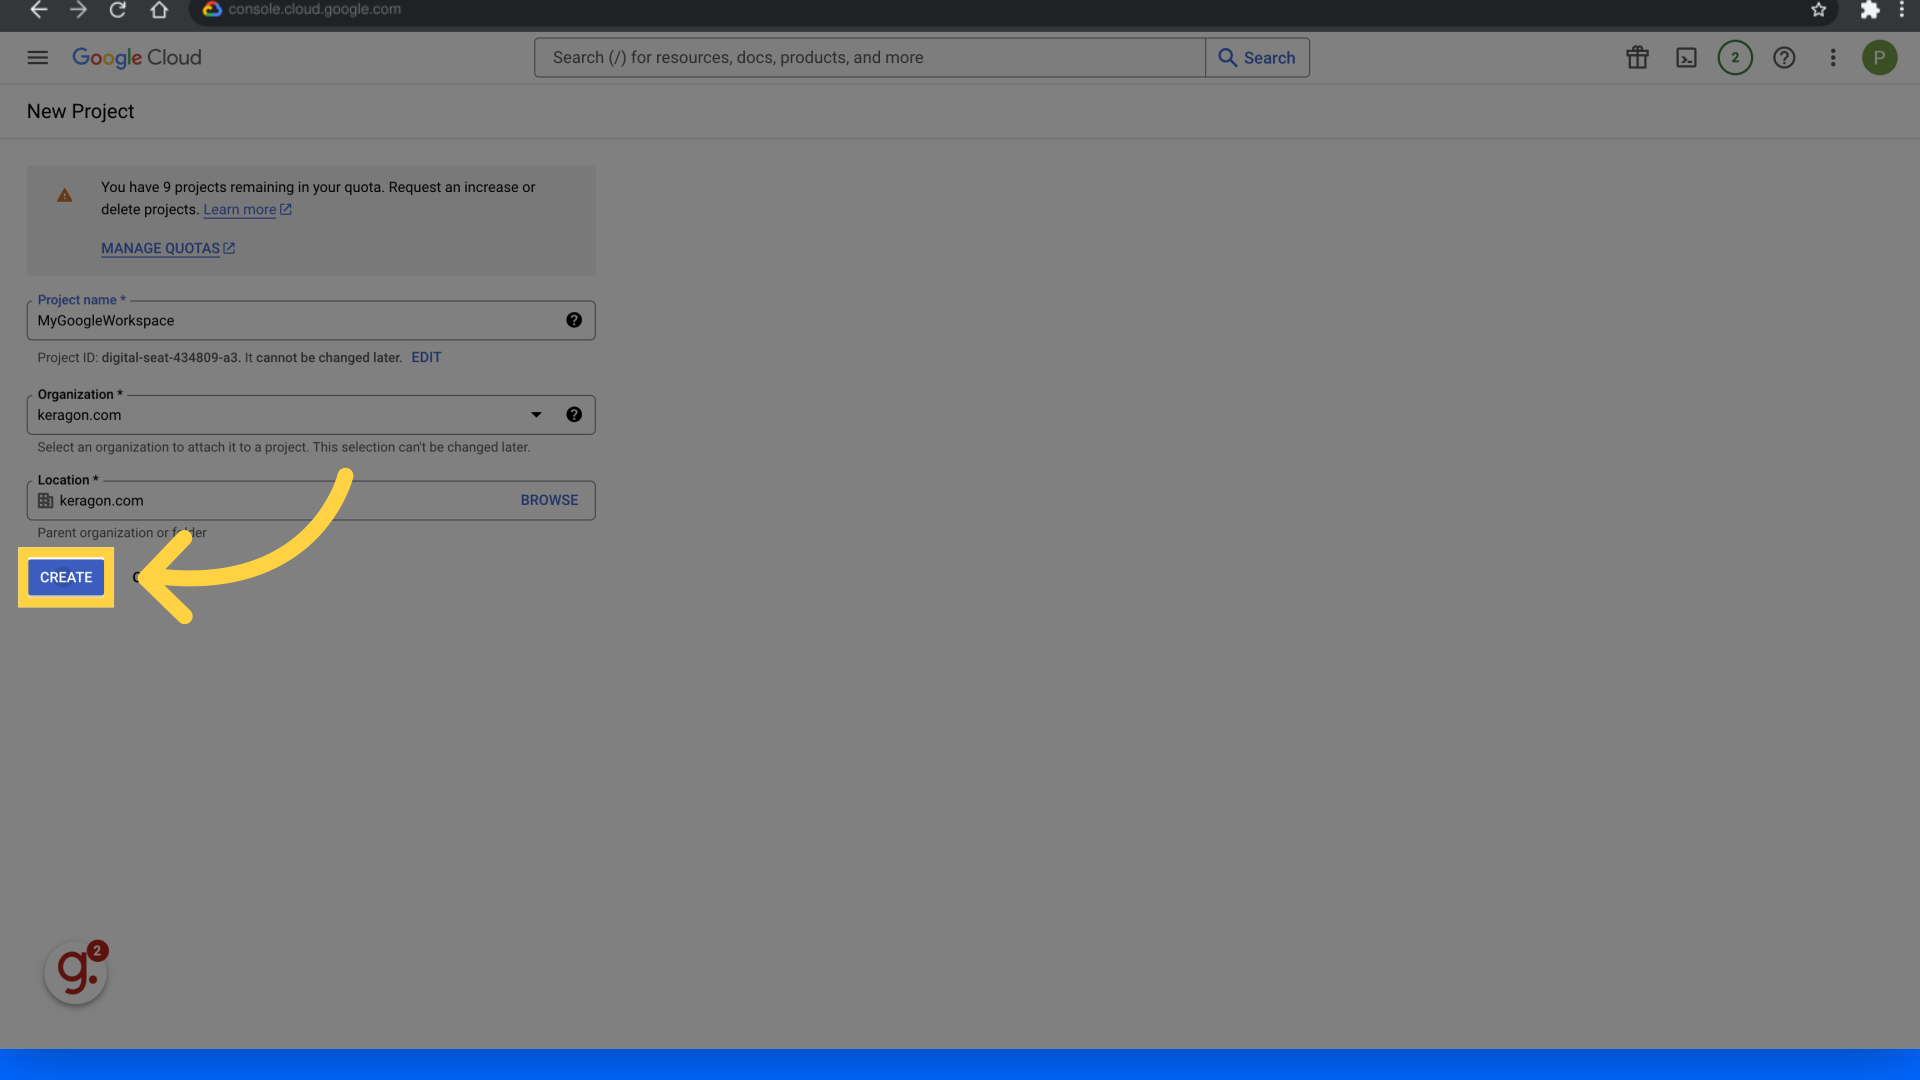
3. Click "Create"
Proceed by clicking on "Create."
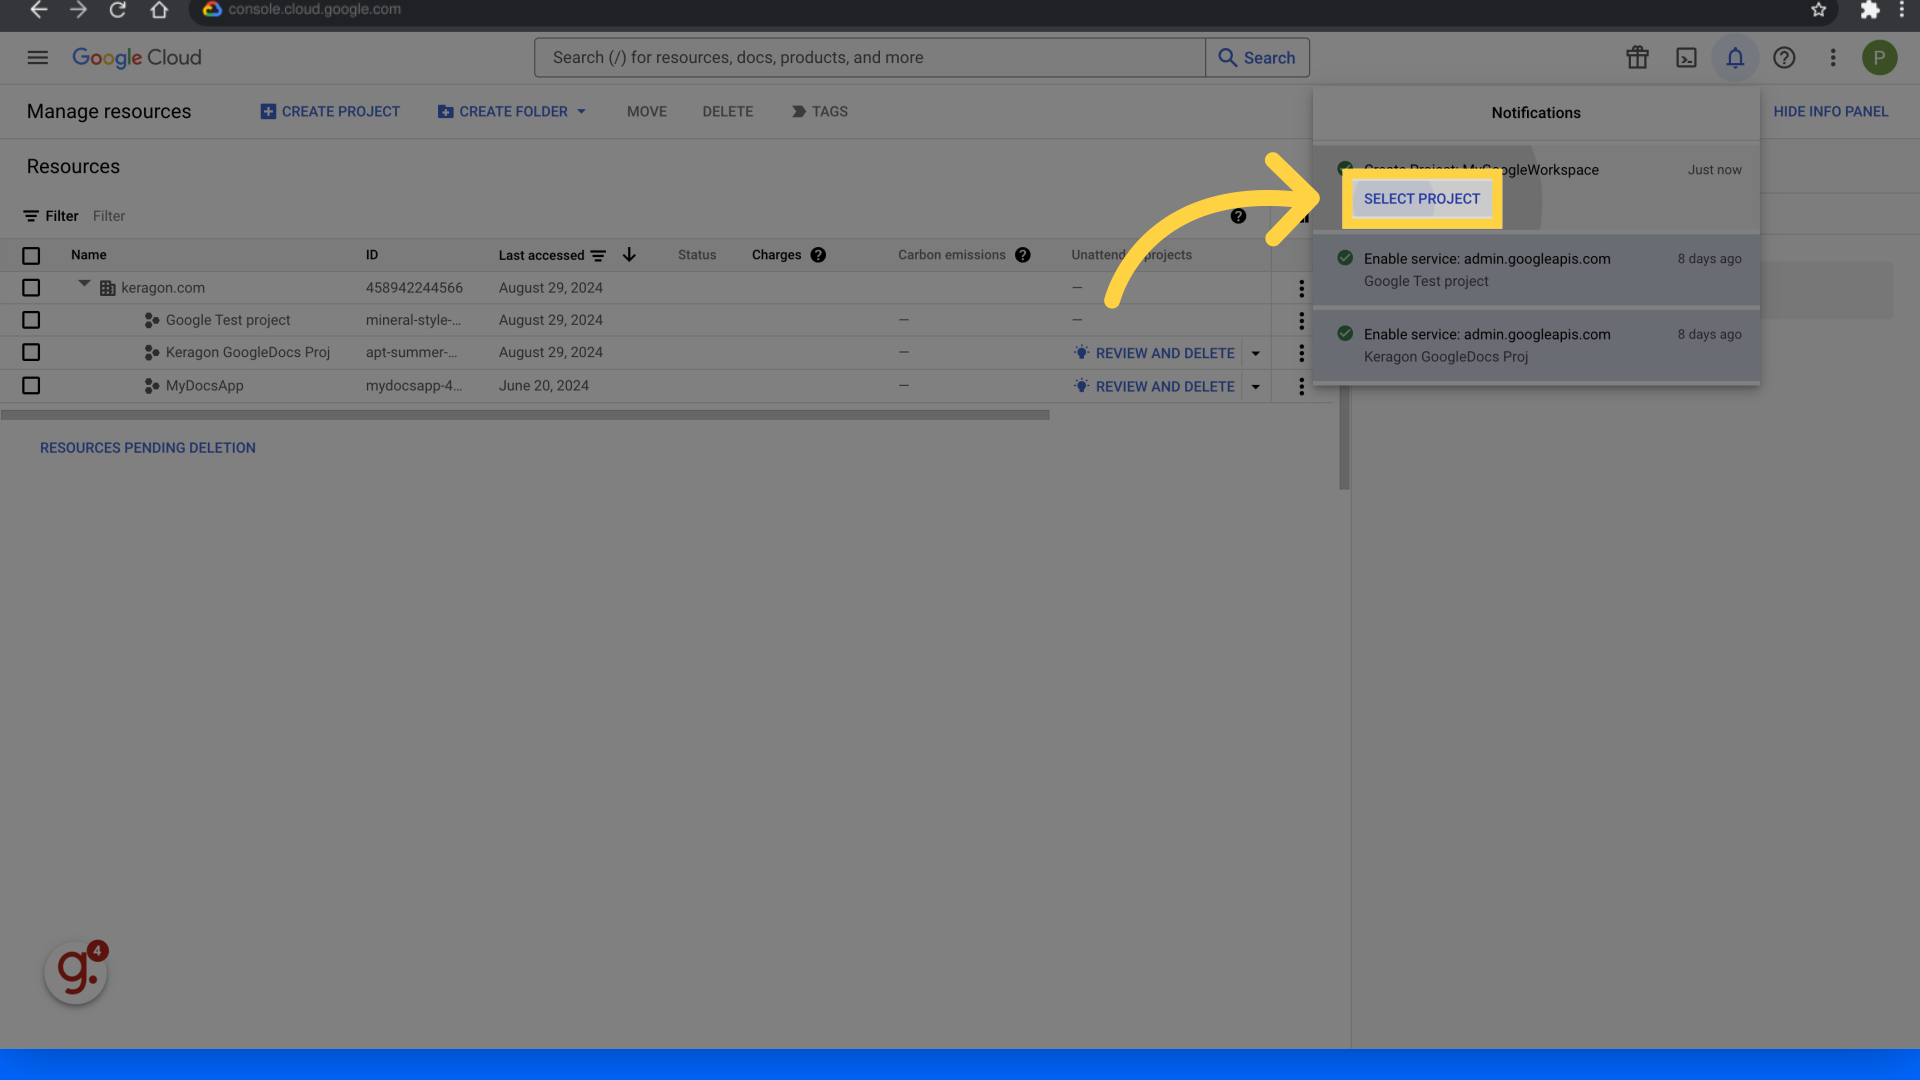
4. Click "Select Project"
Select the project by clicking on "Select Project. once the project creation is finished.
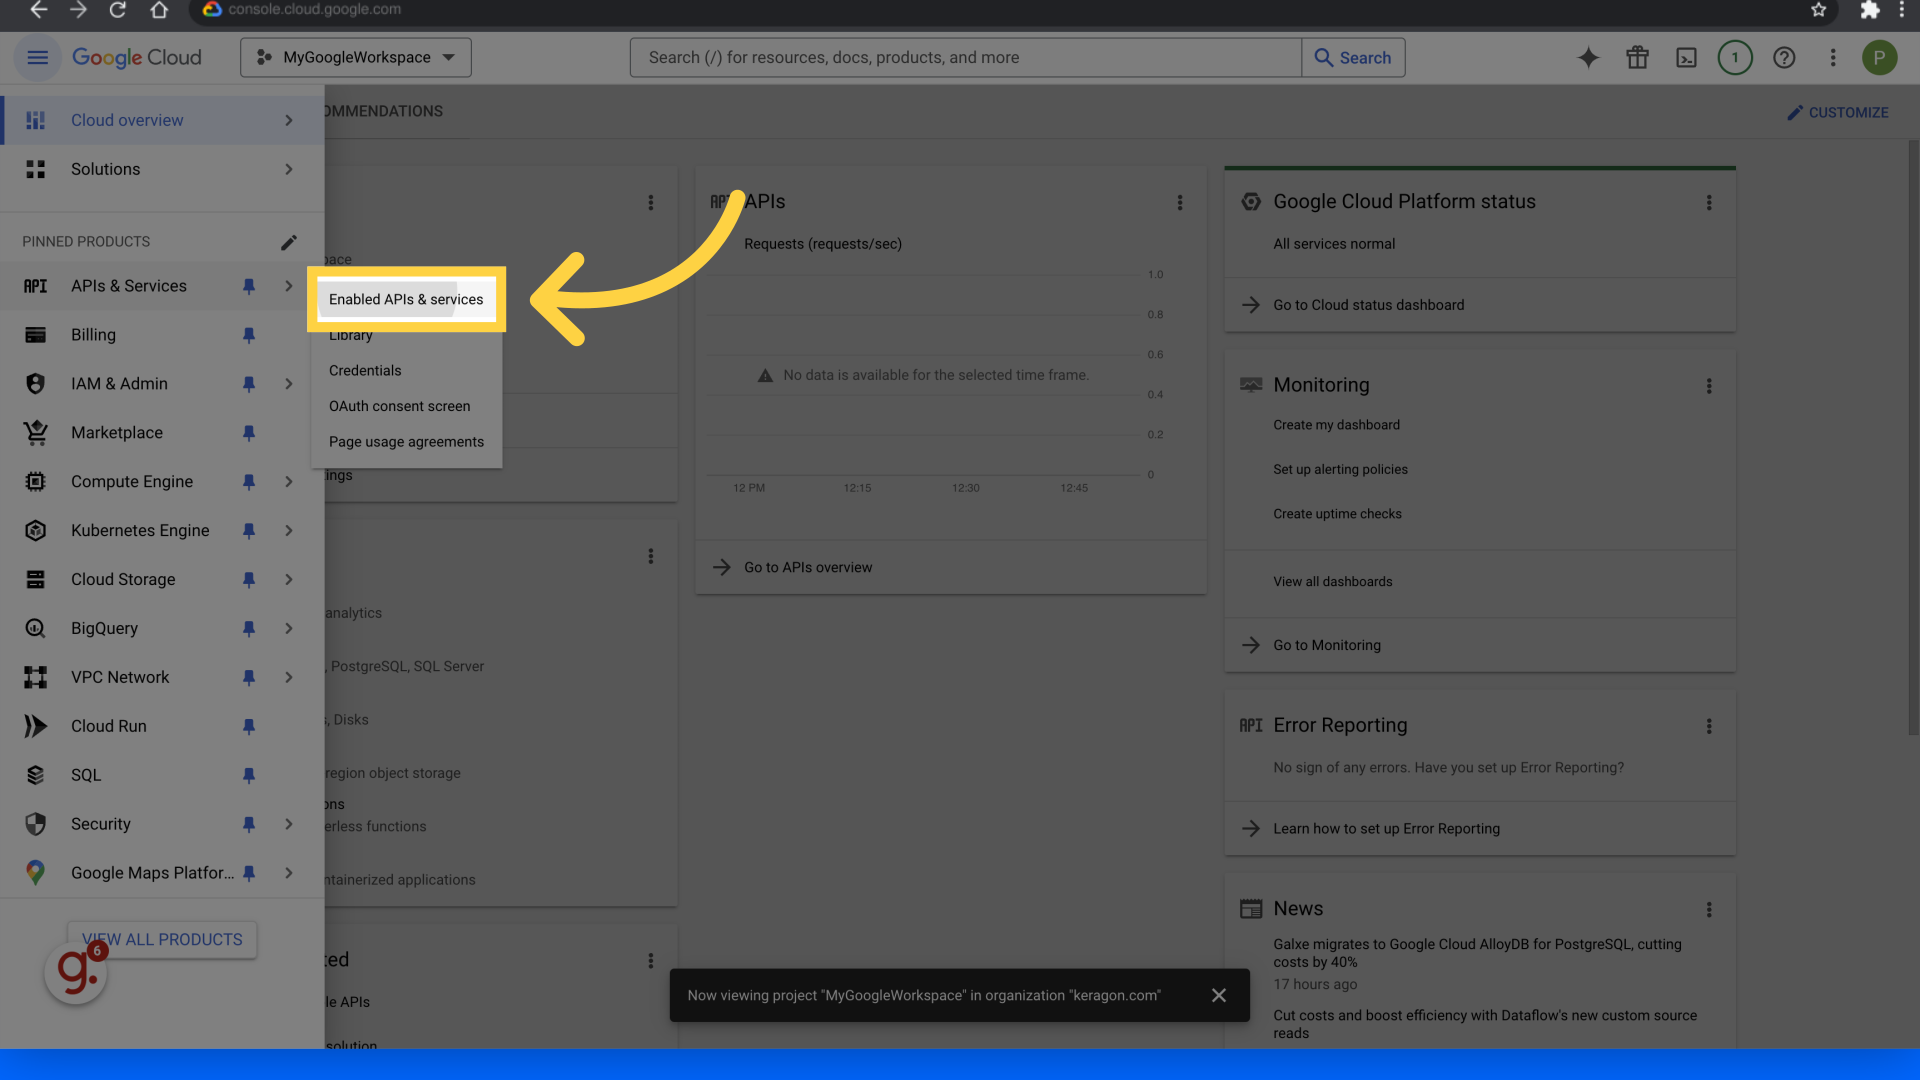
5. Click "Enabled APIs & services"
Access the "Enabled APIs & services" section by clicking on it.
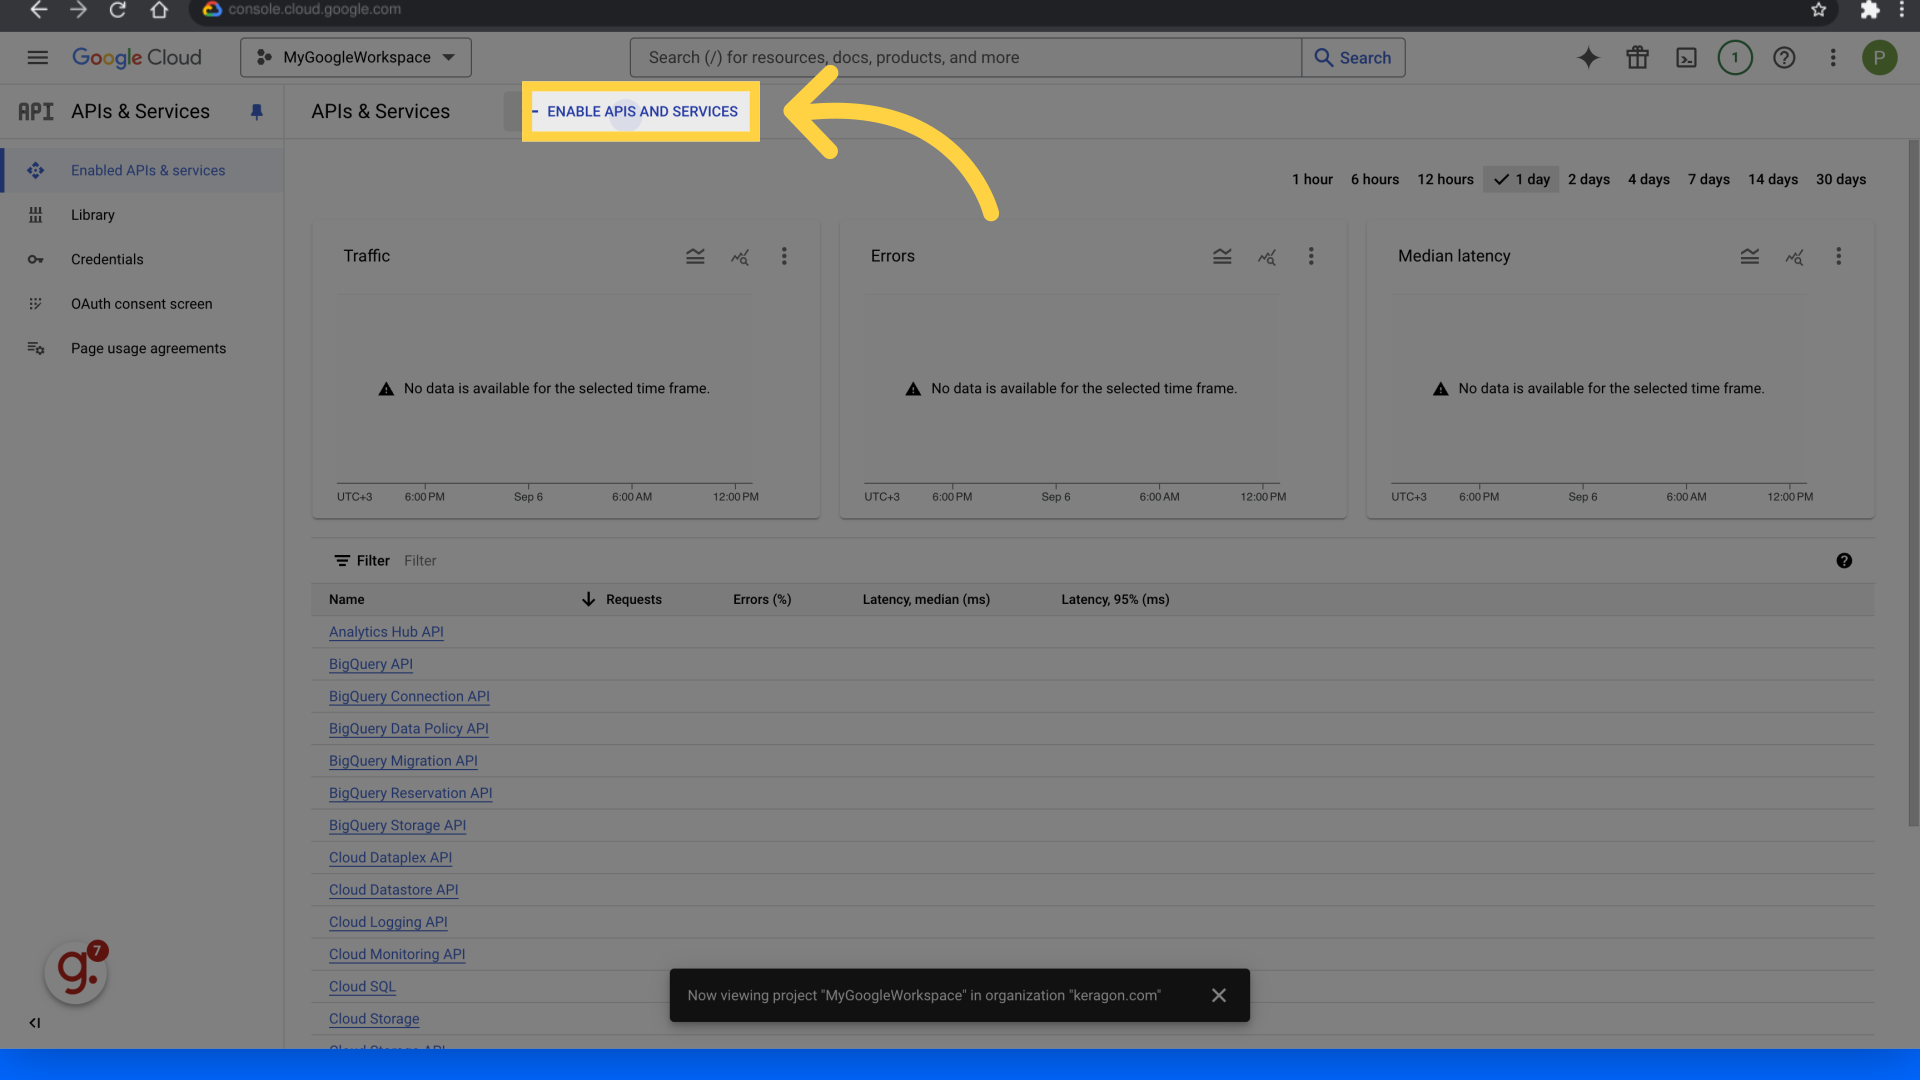
6. Click "Enable APIs and services"
Enable APIs and services by clicking on the respective option.
7. Click "Search for APIs & Services"
Initiate the search for APIs & Services by clicking on the designated option.

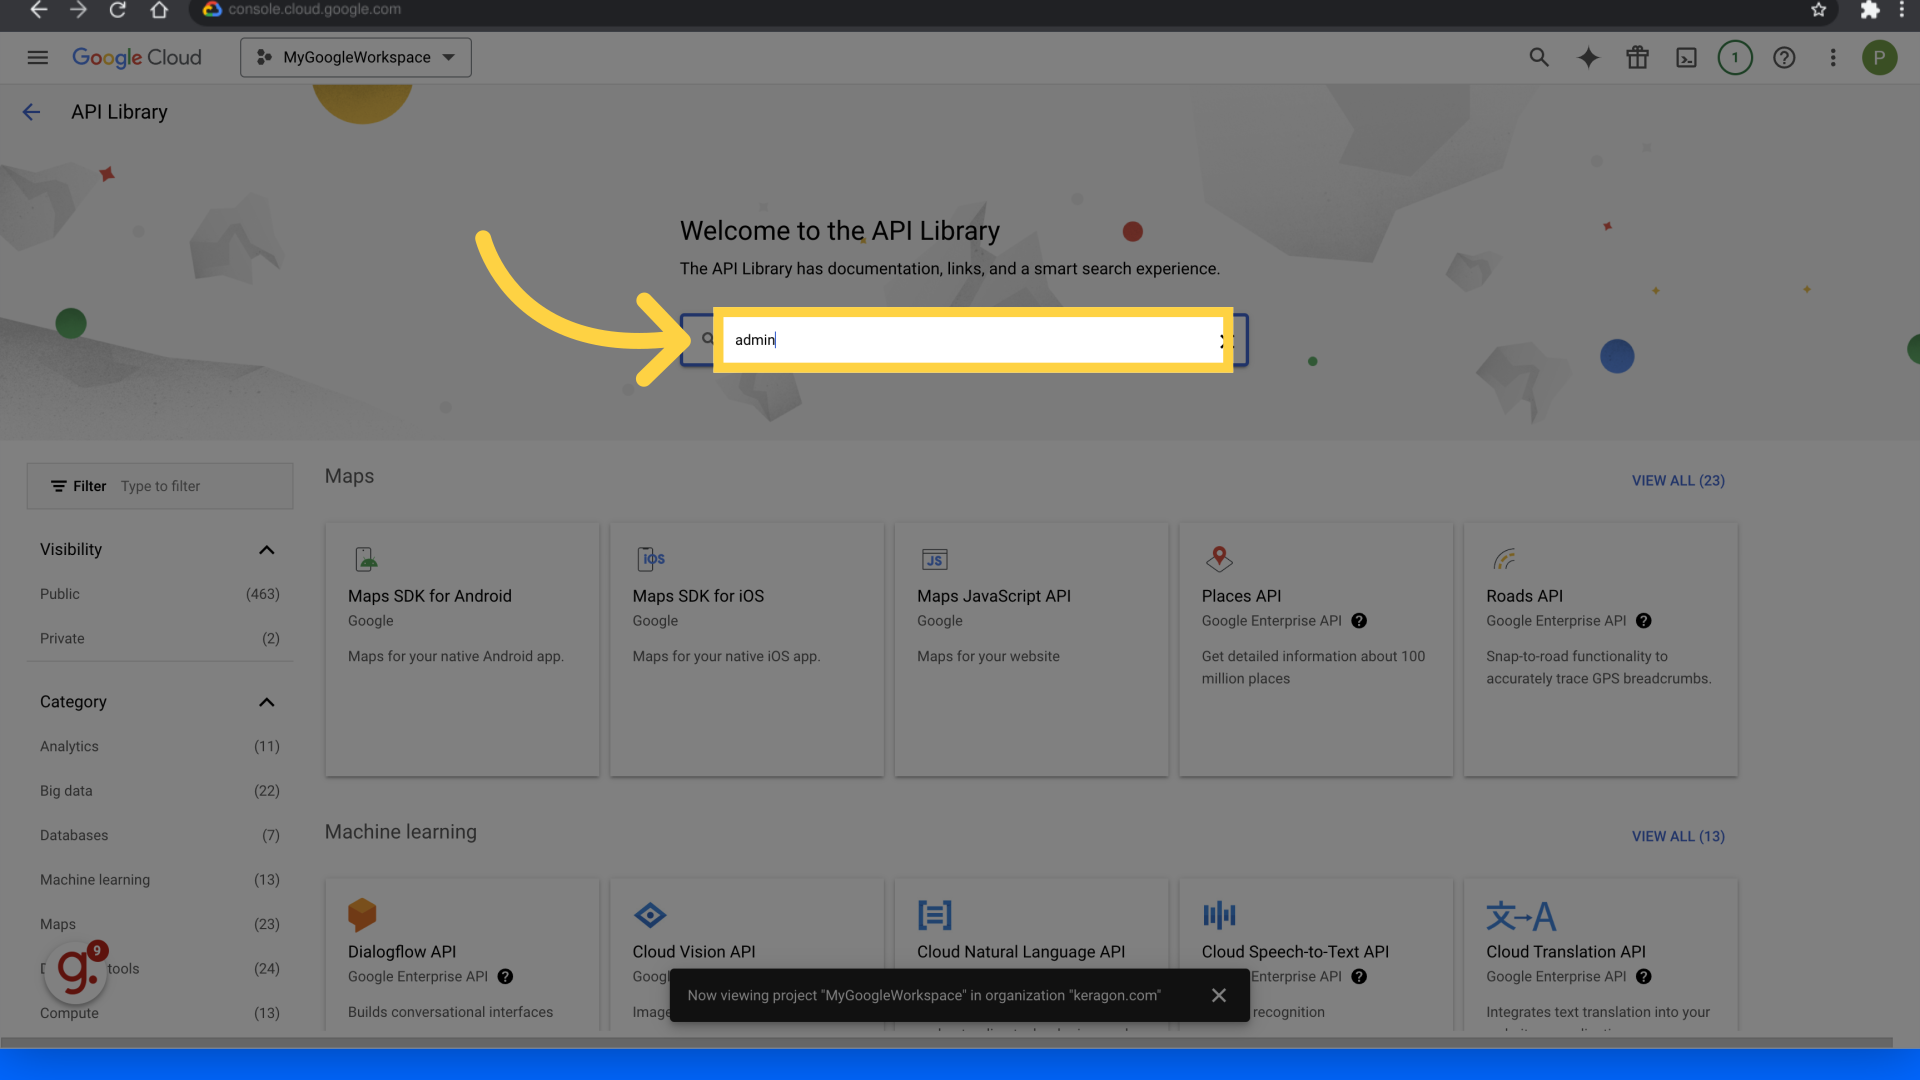
8. Fill "admin"
Enter "admin" in the search field and press "Enter" to search
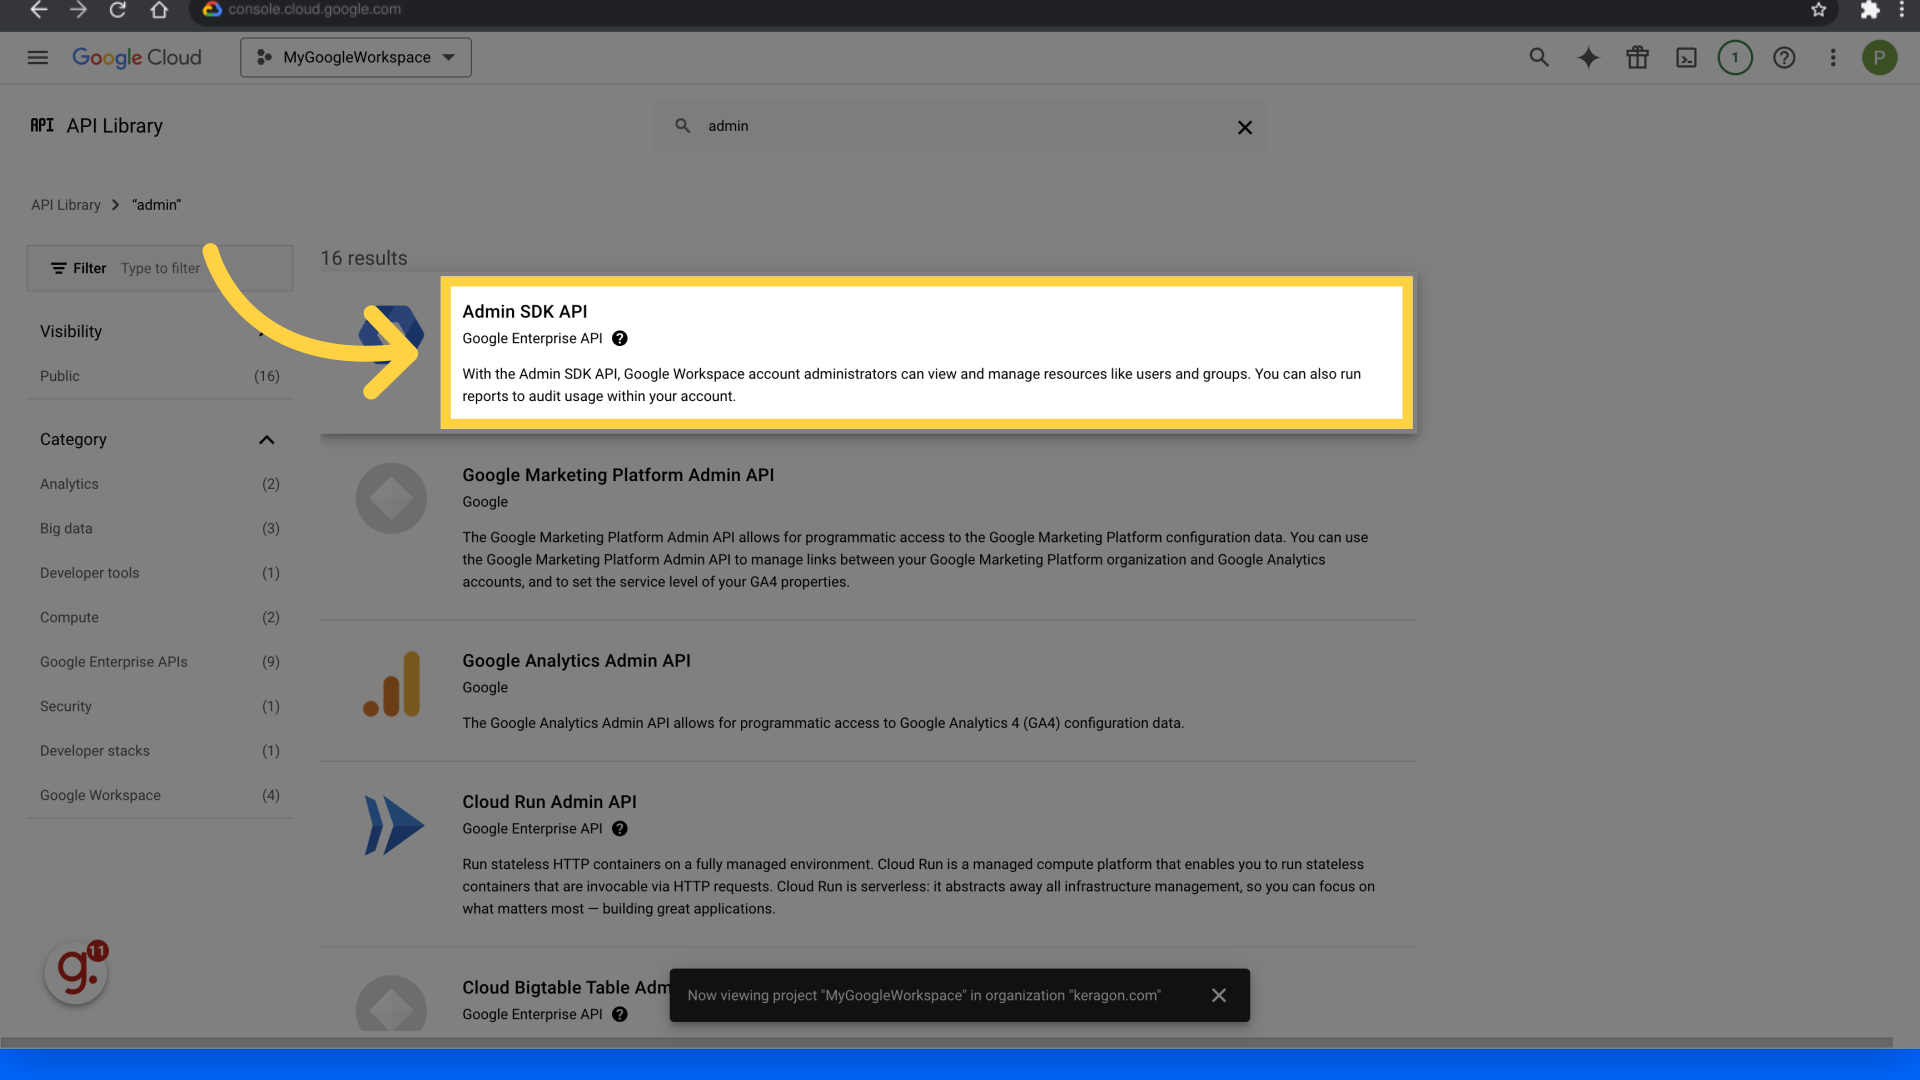
9. Click "Admin SDK API"
Select "Admin SDK API Google Enterprise API" from the options provided.
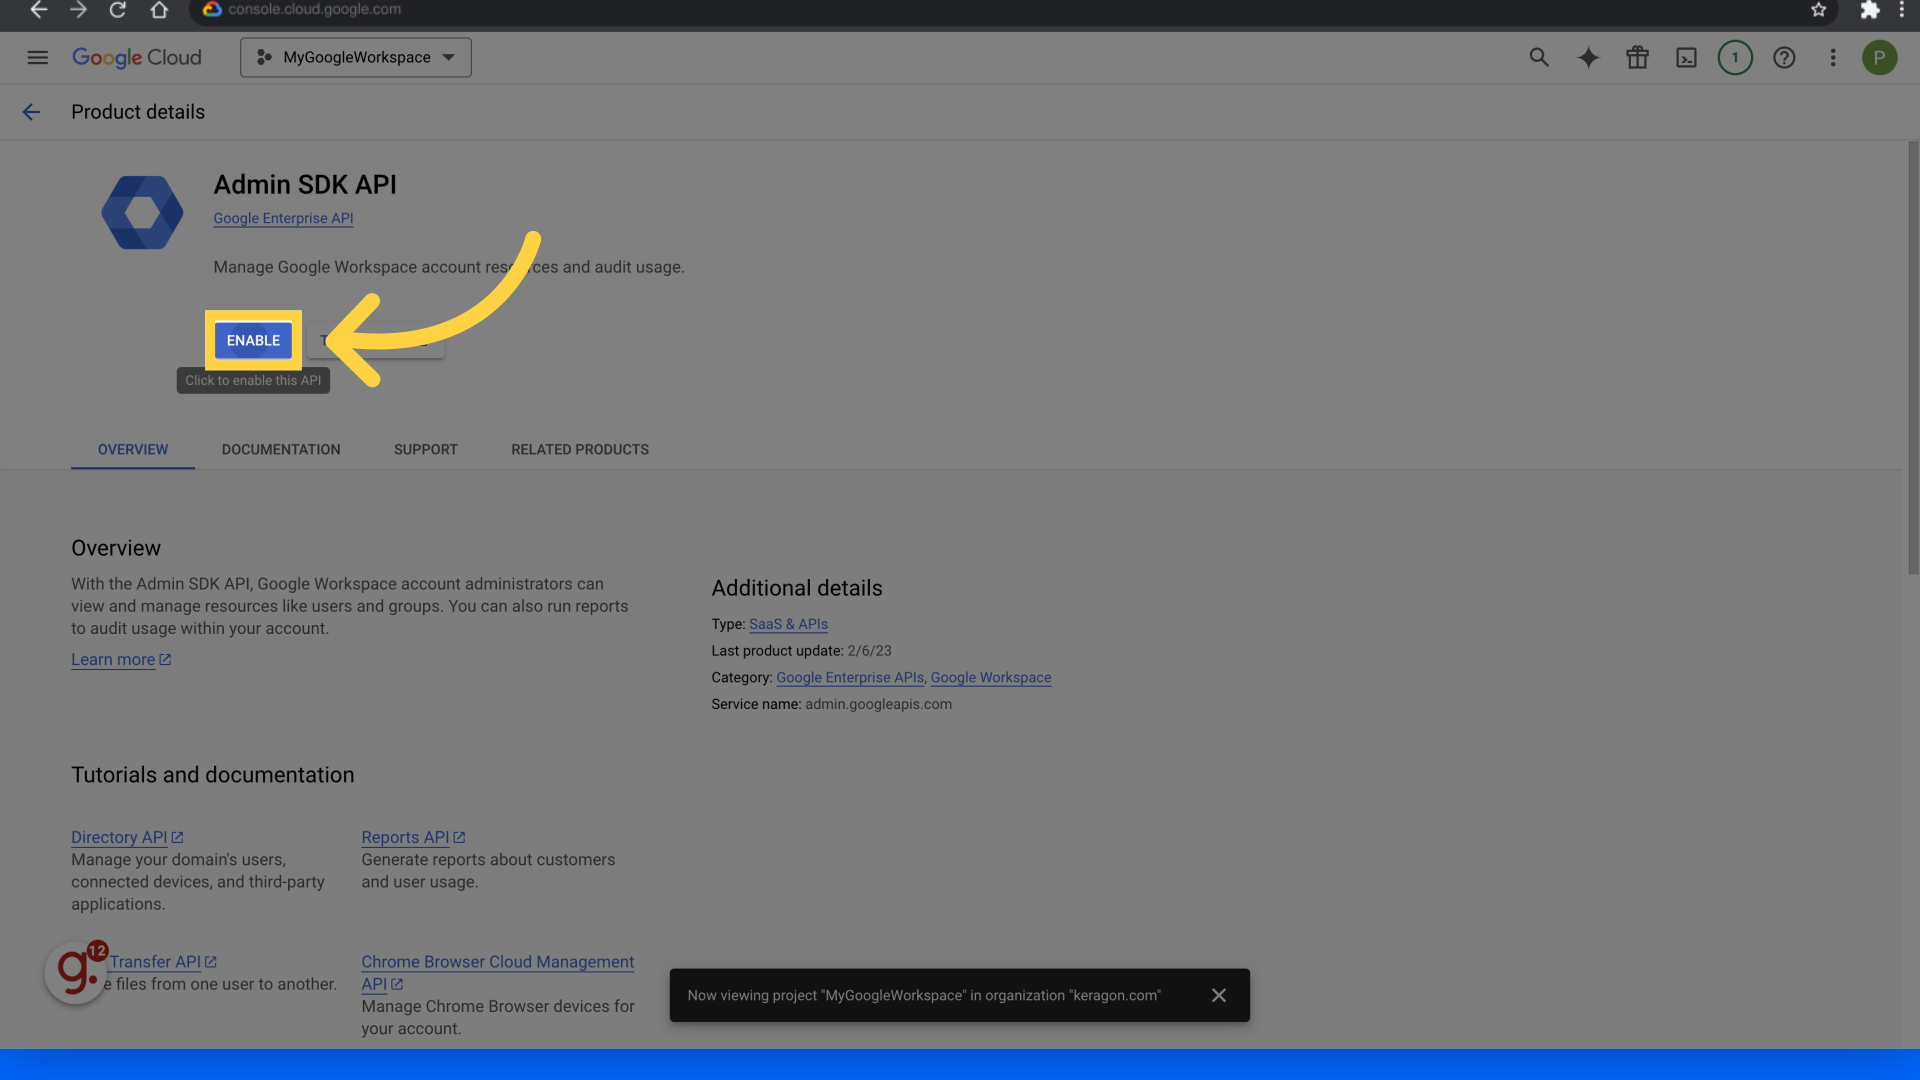
10. Click "Enable"
Enable the selected API by clicking on "Enable."
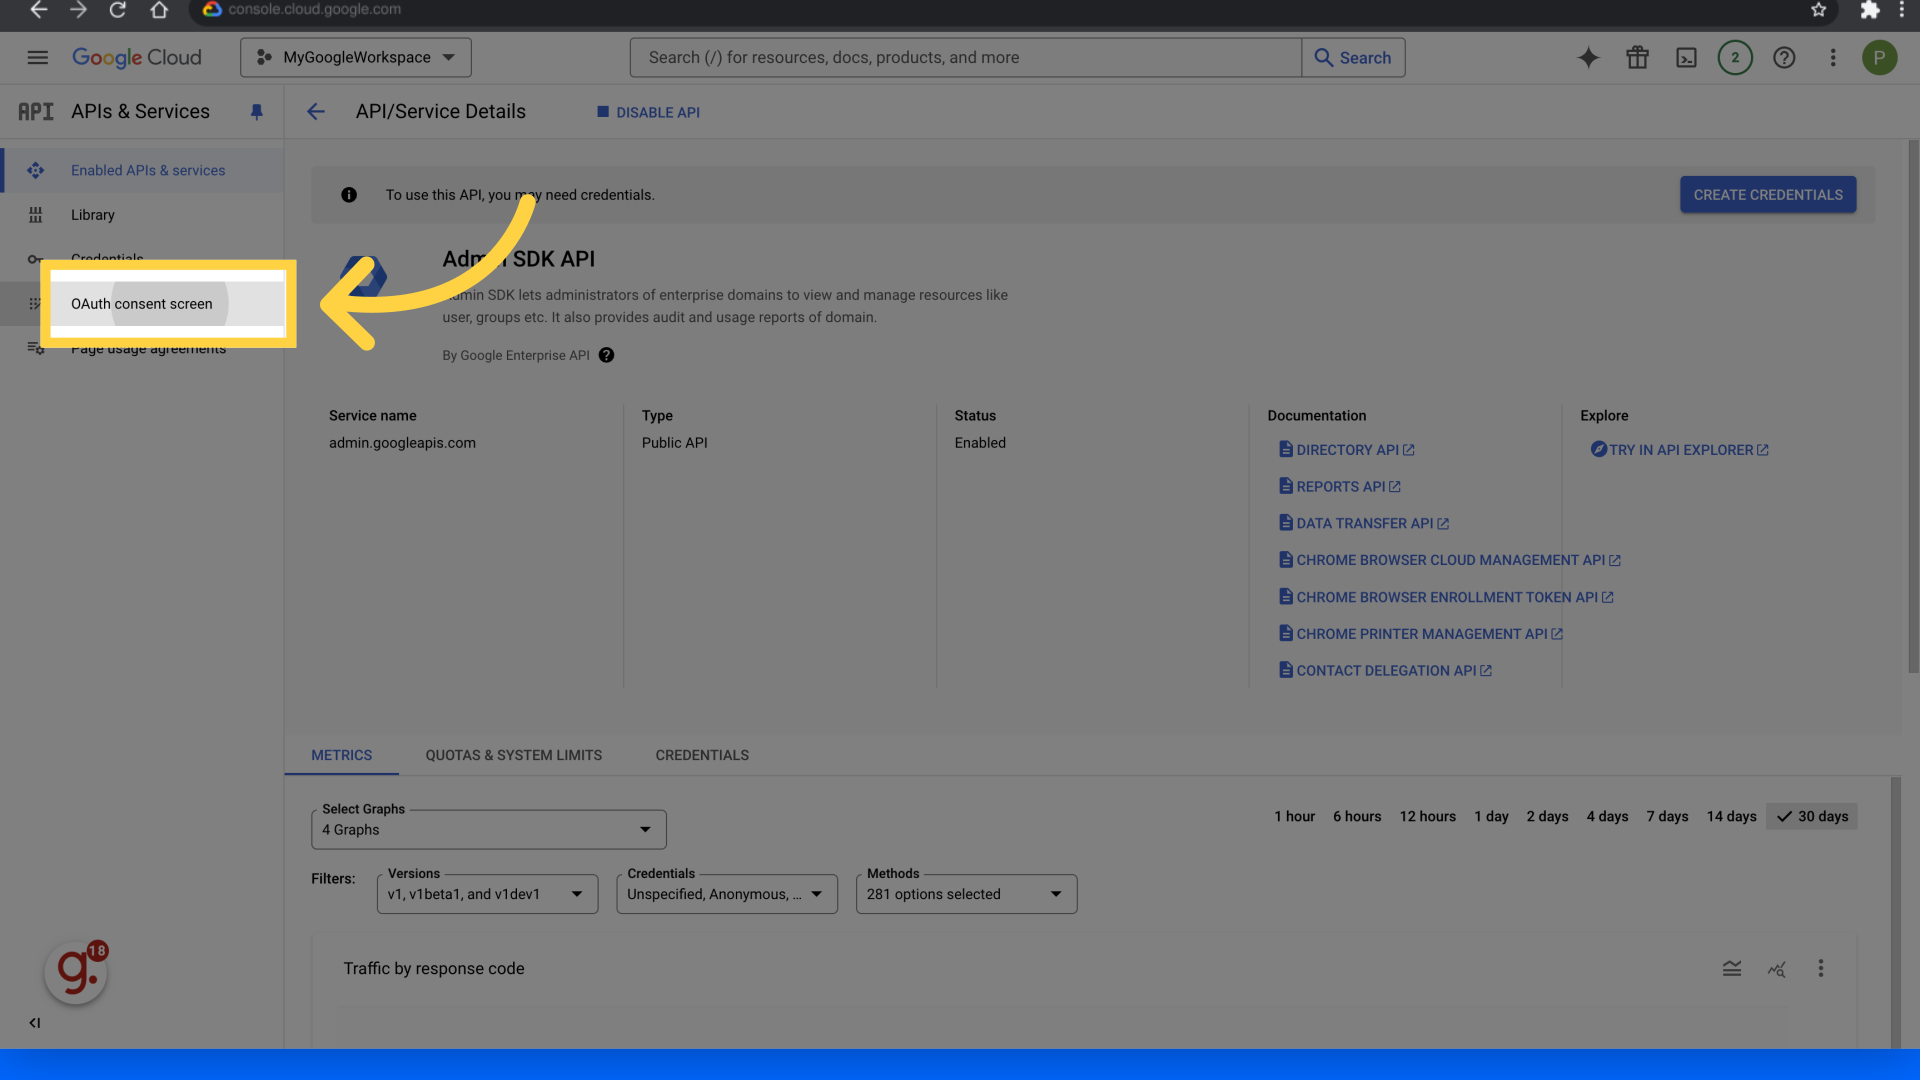
11. Click "OAuth consent screen"
Access the OAuth consent screen by clicking on it.
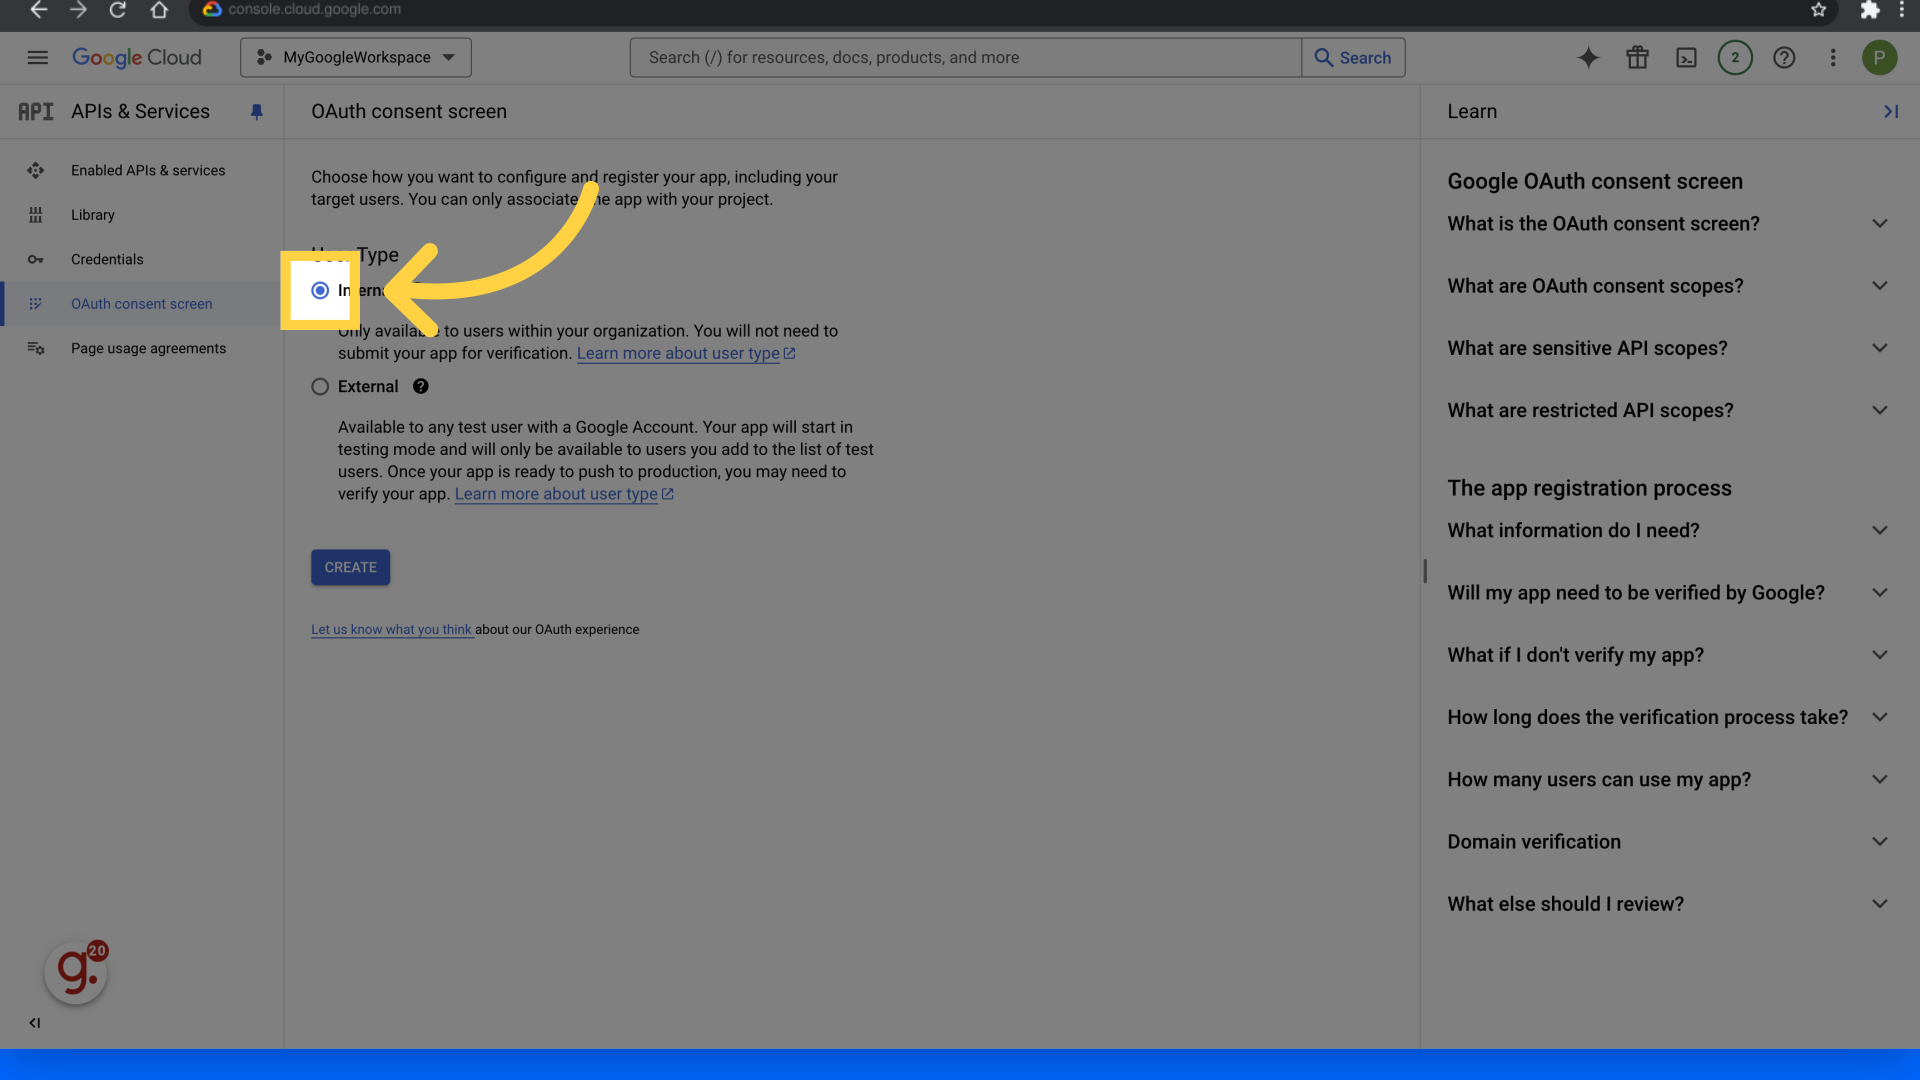
12. Fill "internal"
Enter "internal" in the provided field.
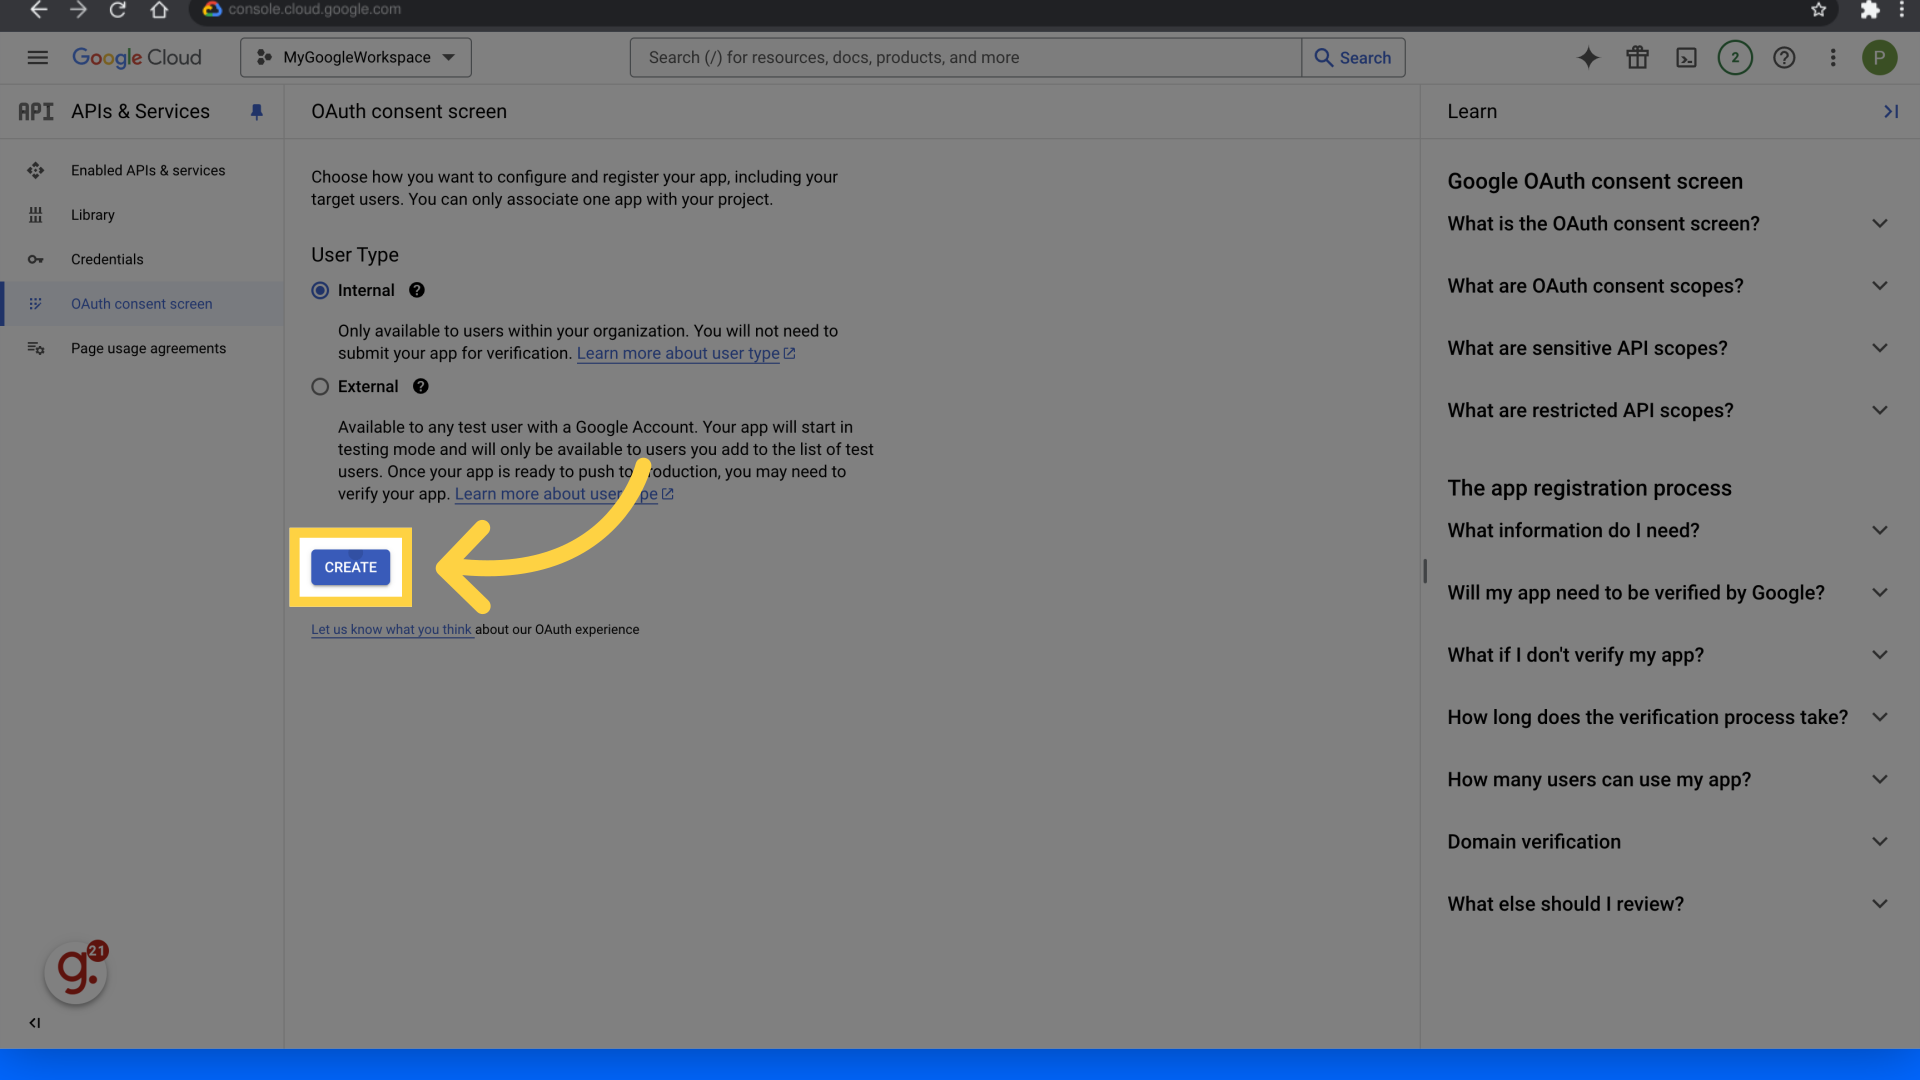
13. Click "Create"
Create the entry by clicking on "Create."
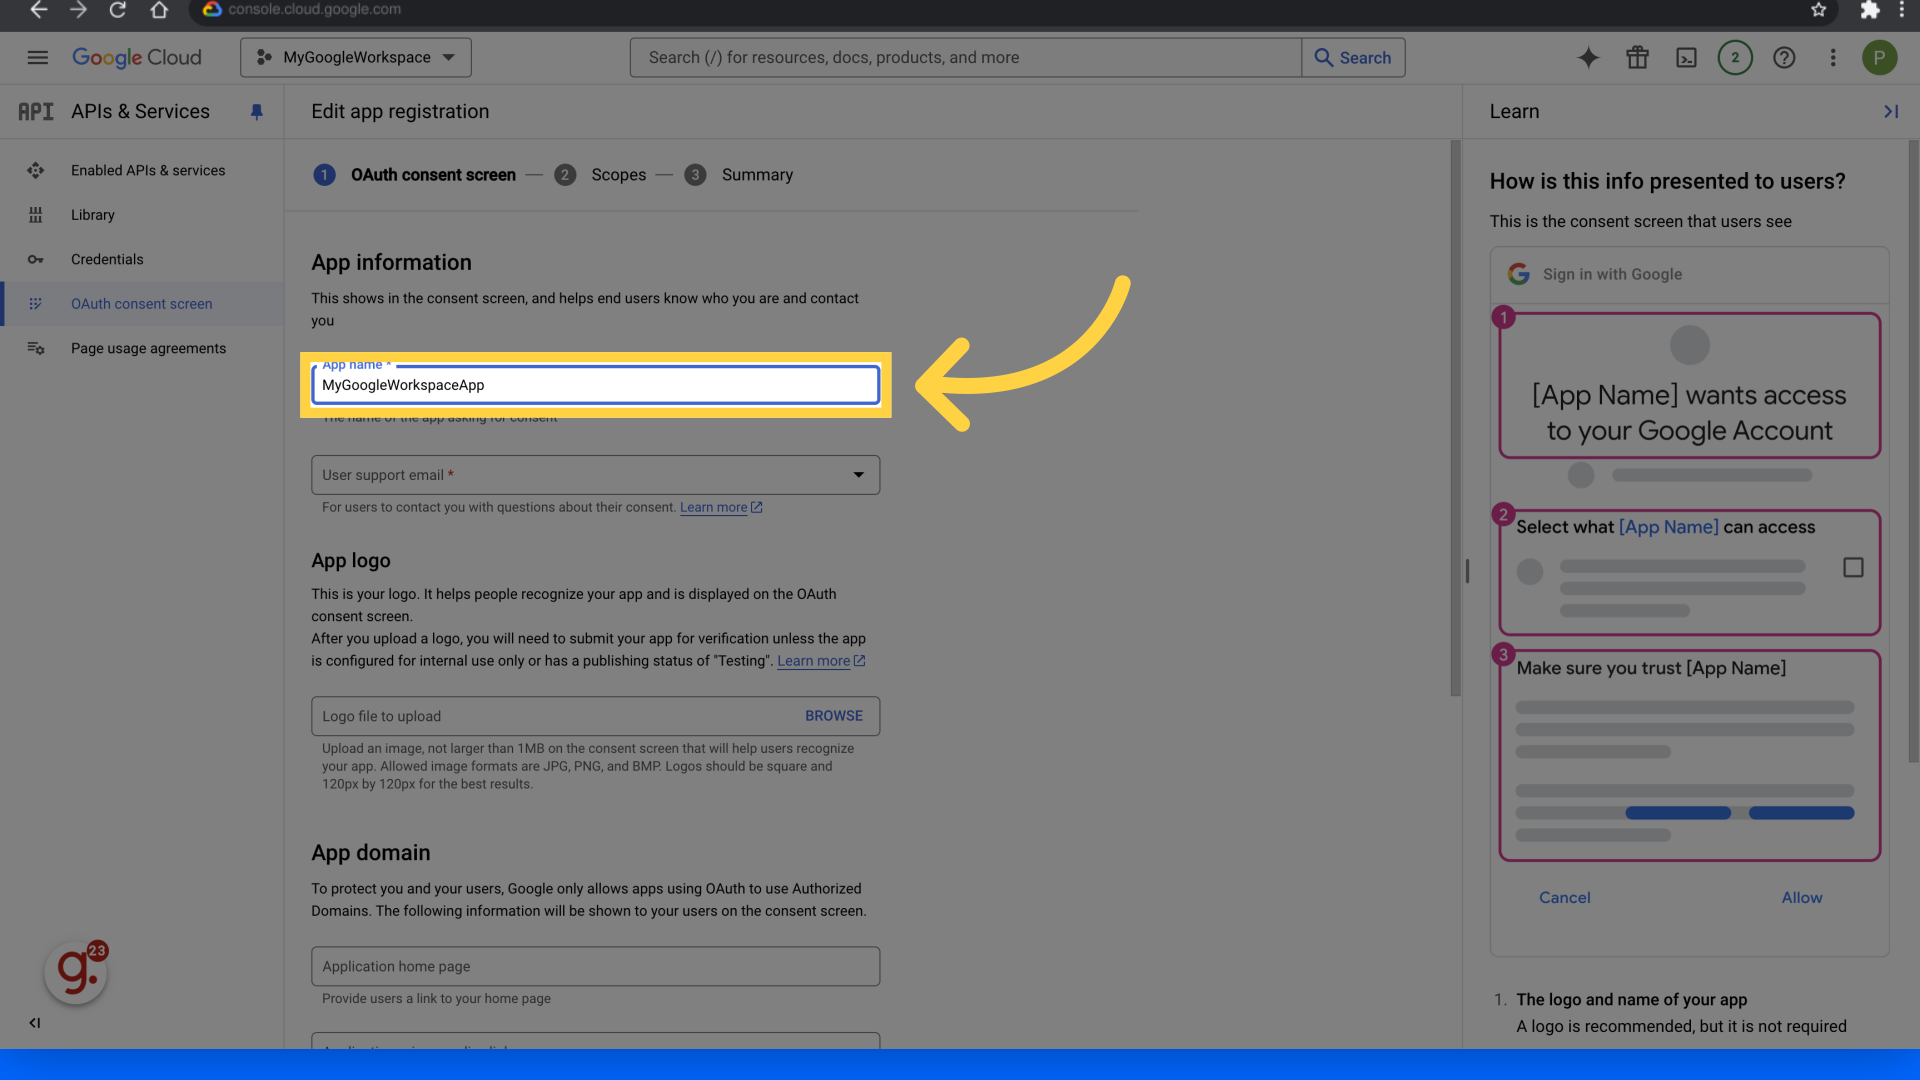
14. Fill "MyGoogleWorkspaceApp"
Enter your desired App name in the specified "App name" field.
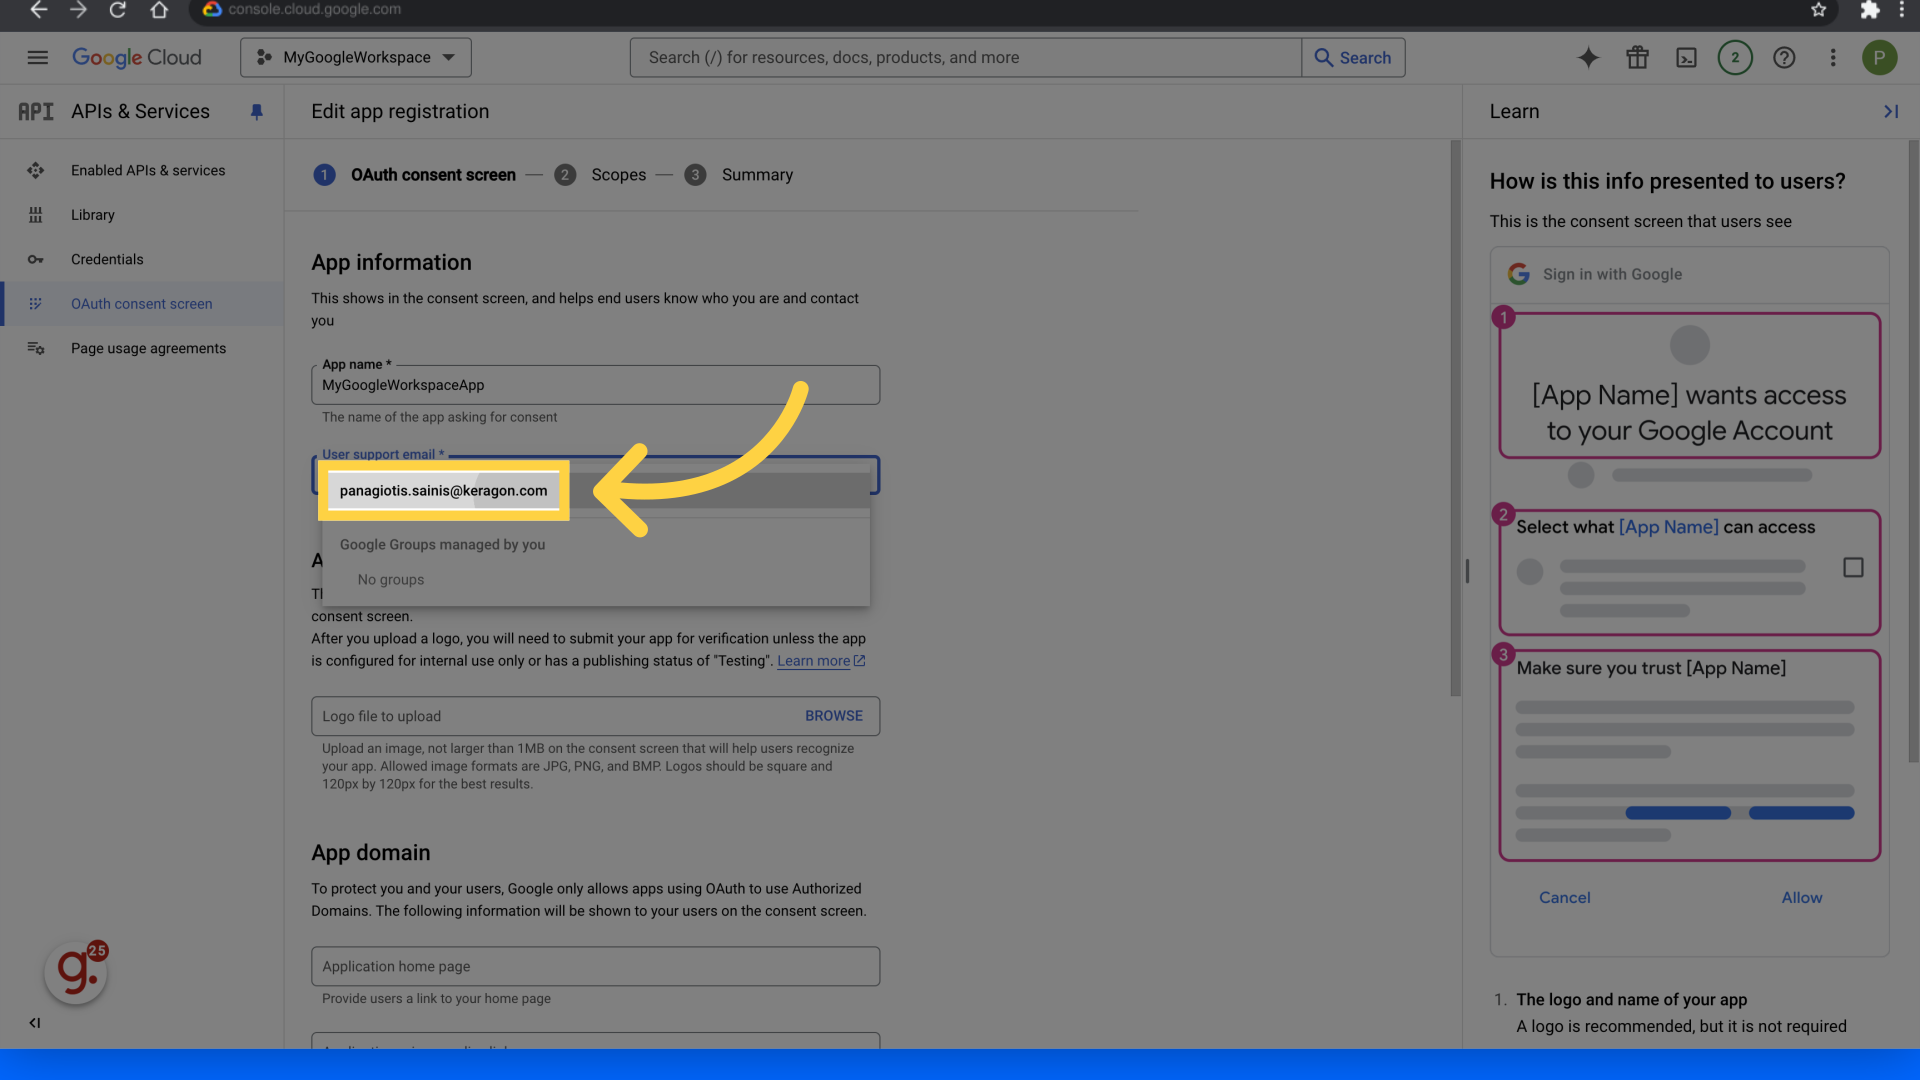
15. Click the desired support email
Select the desired support email from the list.
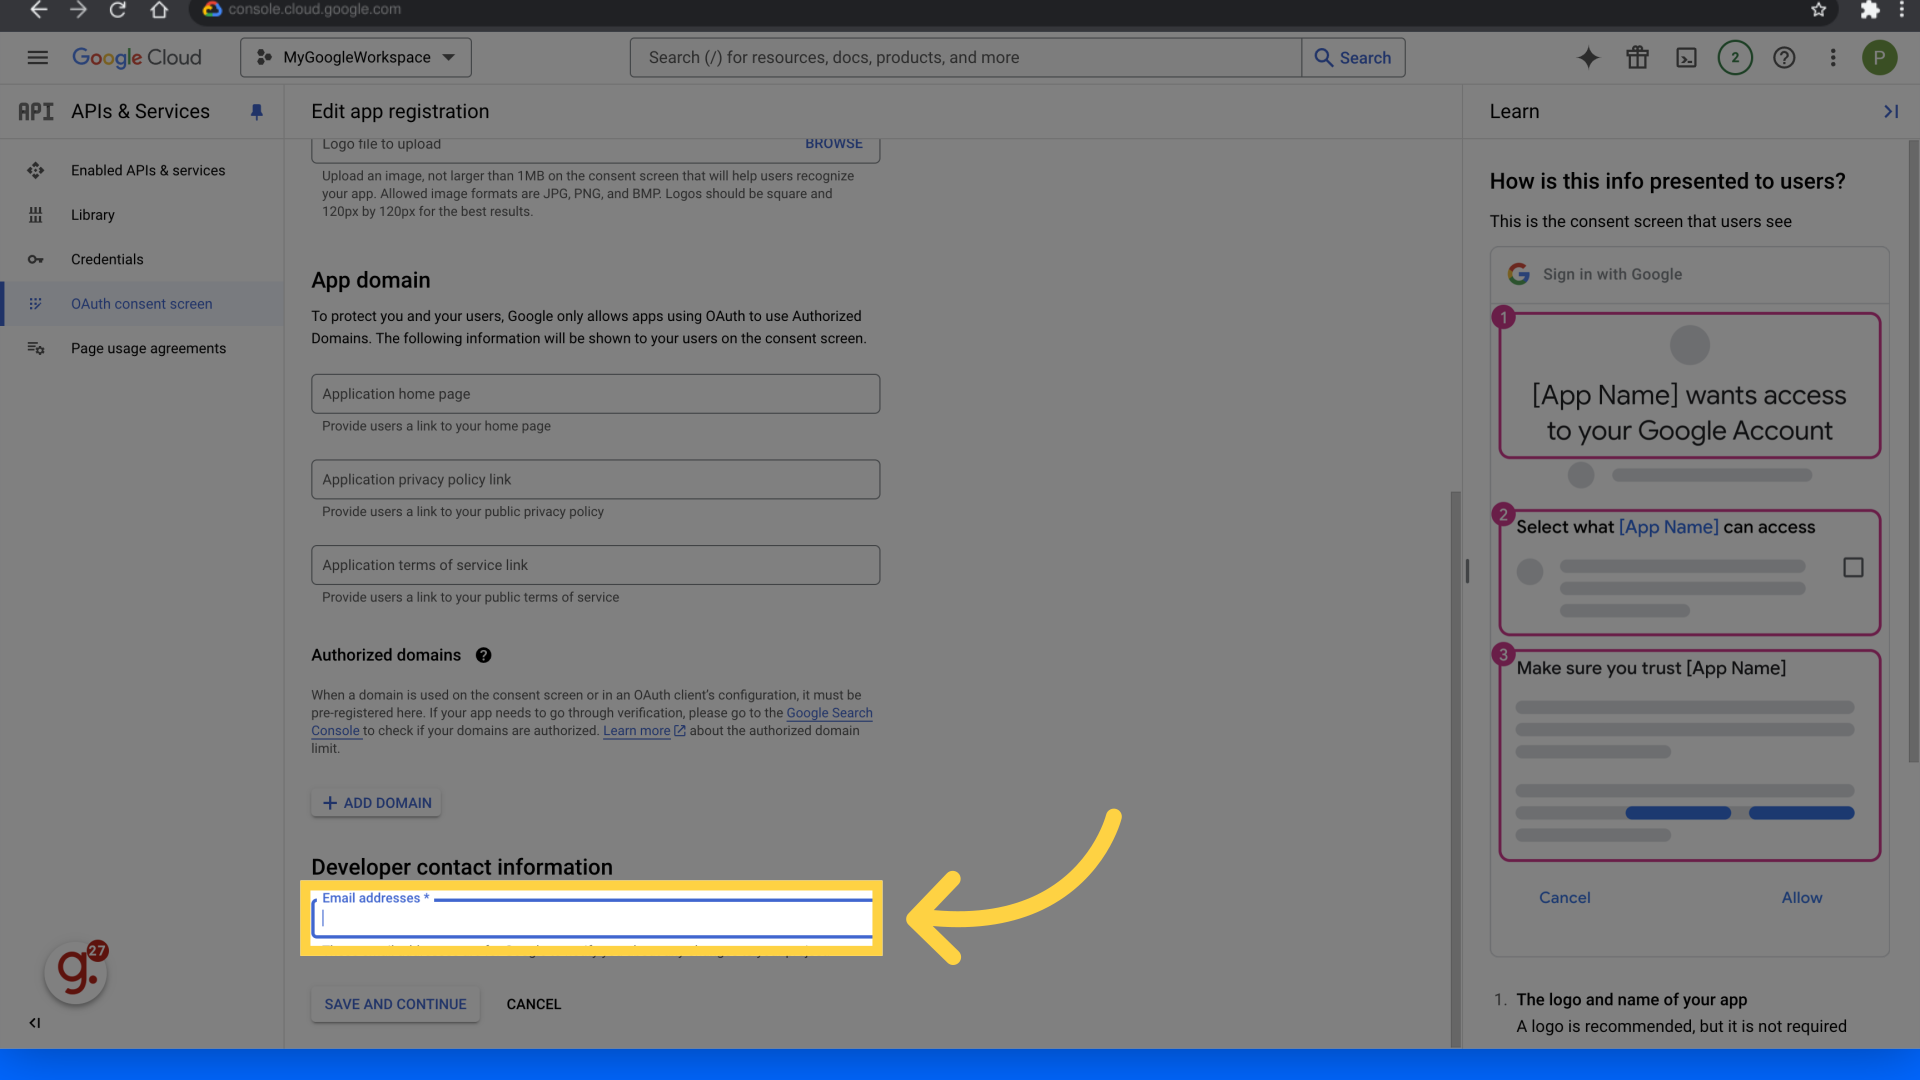
16. Click "Email addresses"
Access the "Email addresses" section and provide the appropriate email address.
17. Click "Save and continue"
Proceed by clicking on "Save and continue."

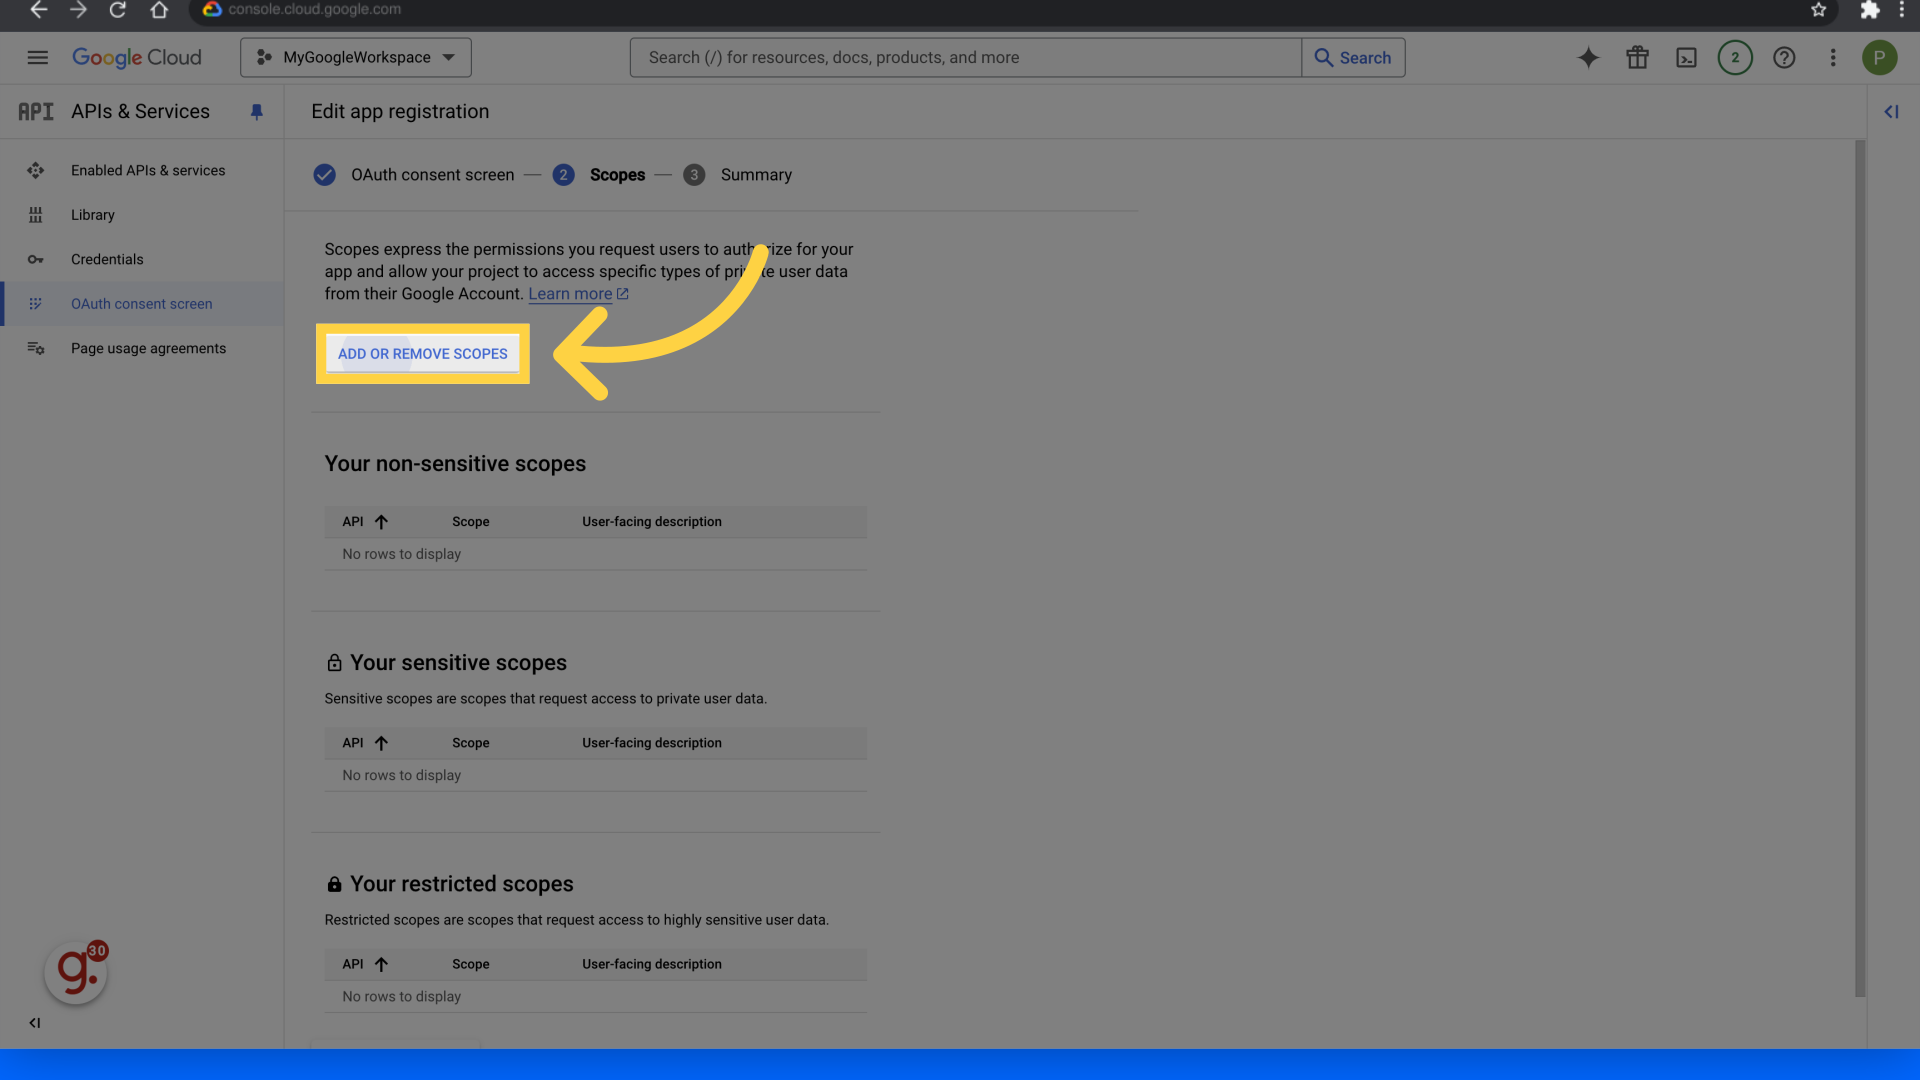
18. Click "Add or remove scopes"
Access the option to "Add or remove scopes."
19. Click here
Click on the "Manualy add scopes" field.
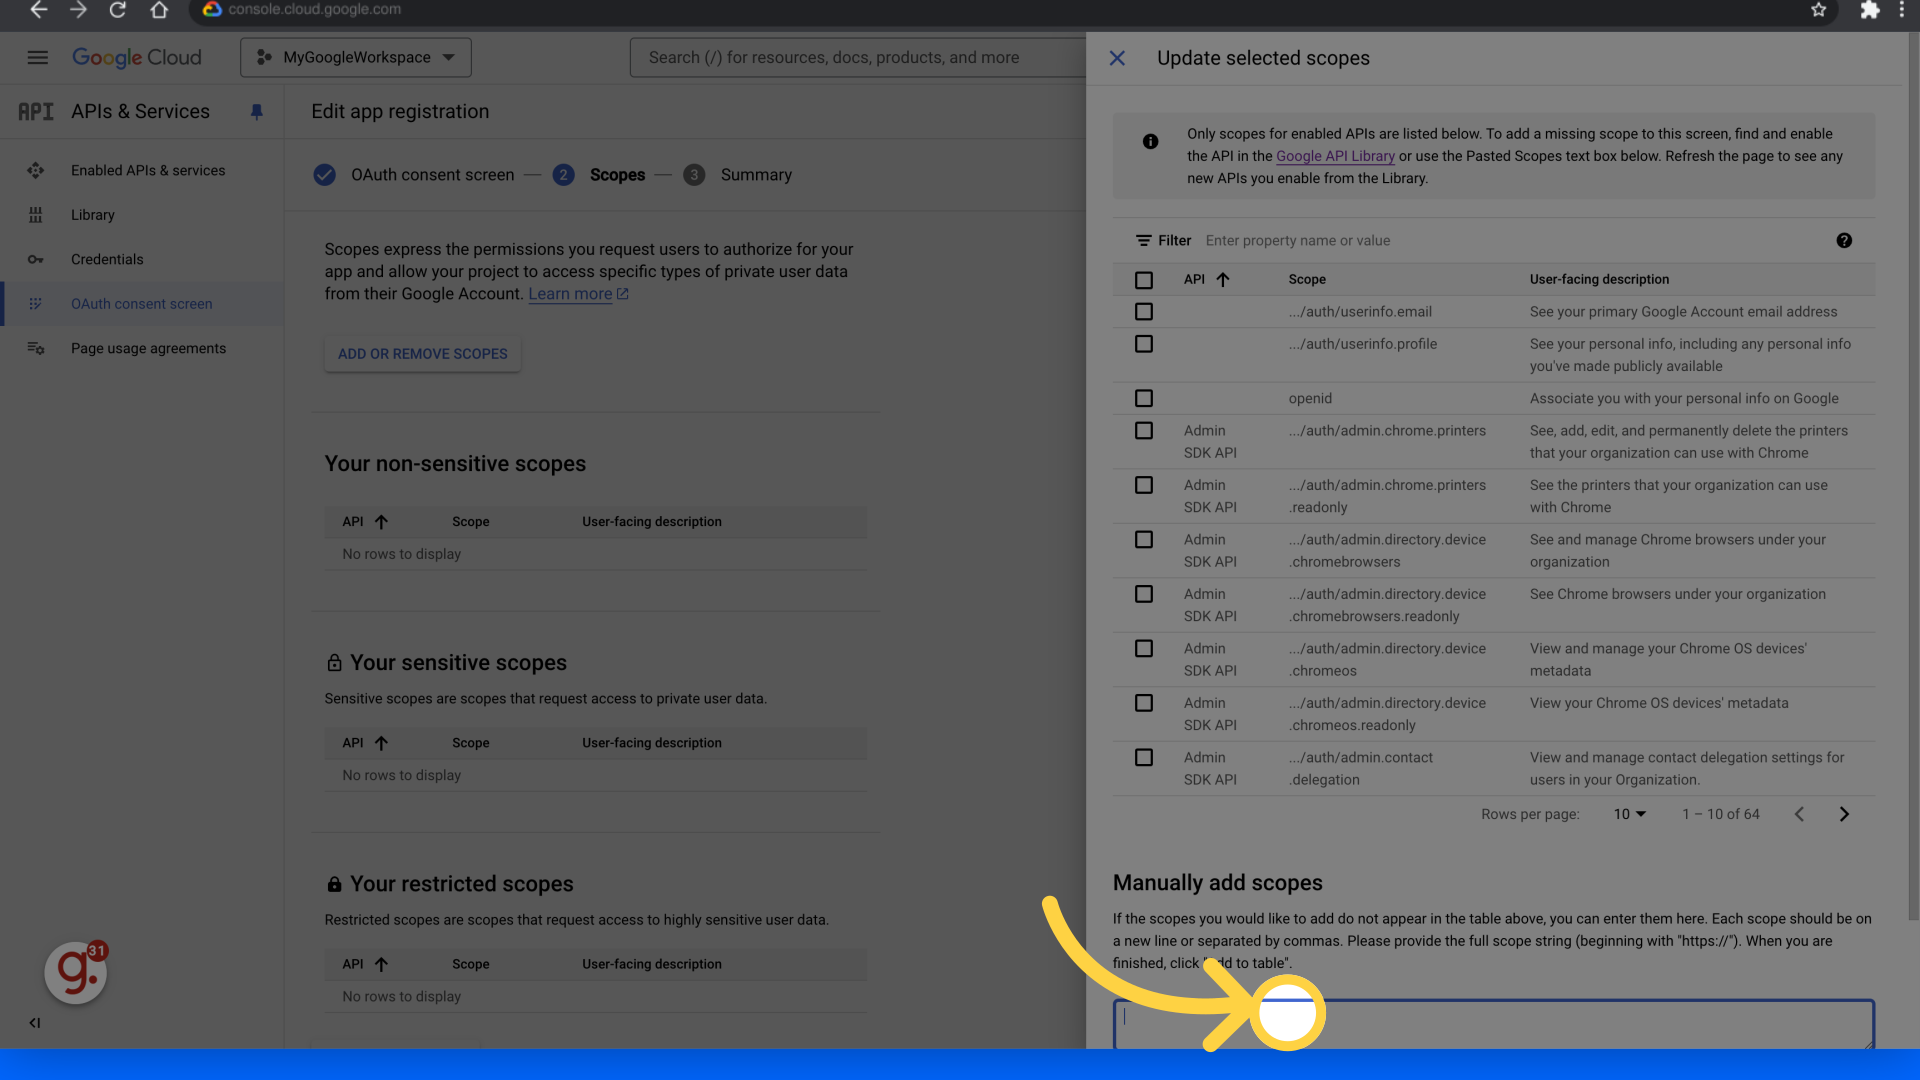
20. Fill "https://www.googleapis.com/auth/admin.directory.user https://www.googleapis.com/auth/admin.directory.orgunit https://www.googleapis.com/auth/admin.directory.group https://www.googleapis.com/auth/admin.directory.rolemanagement"
Enter the specified URLs in the provided field.
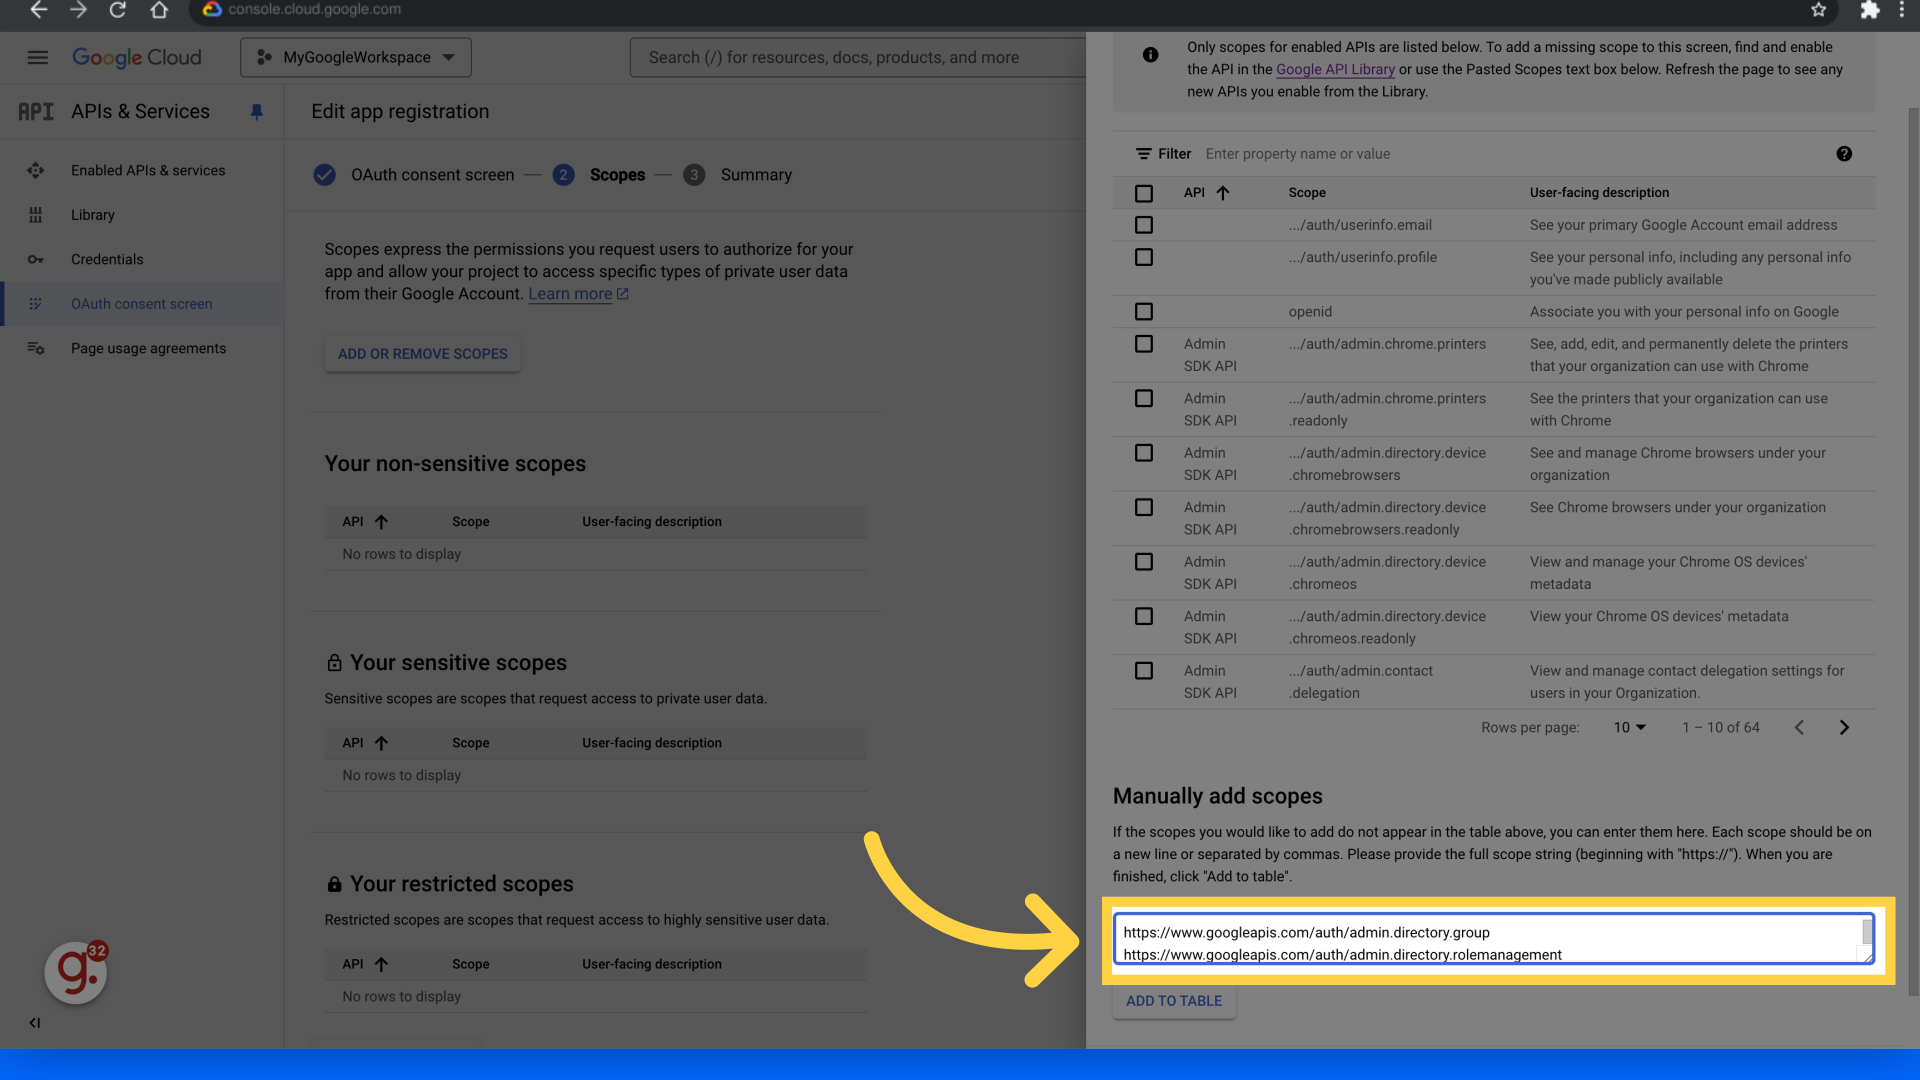
21. Click "Add to table"
Add the URLs to the table by clicking on "Add to table."

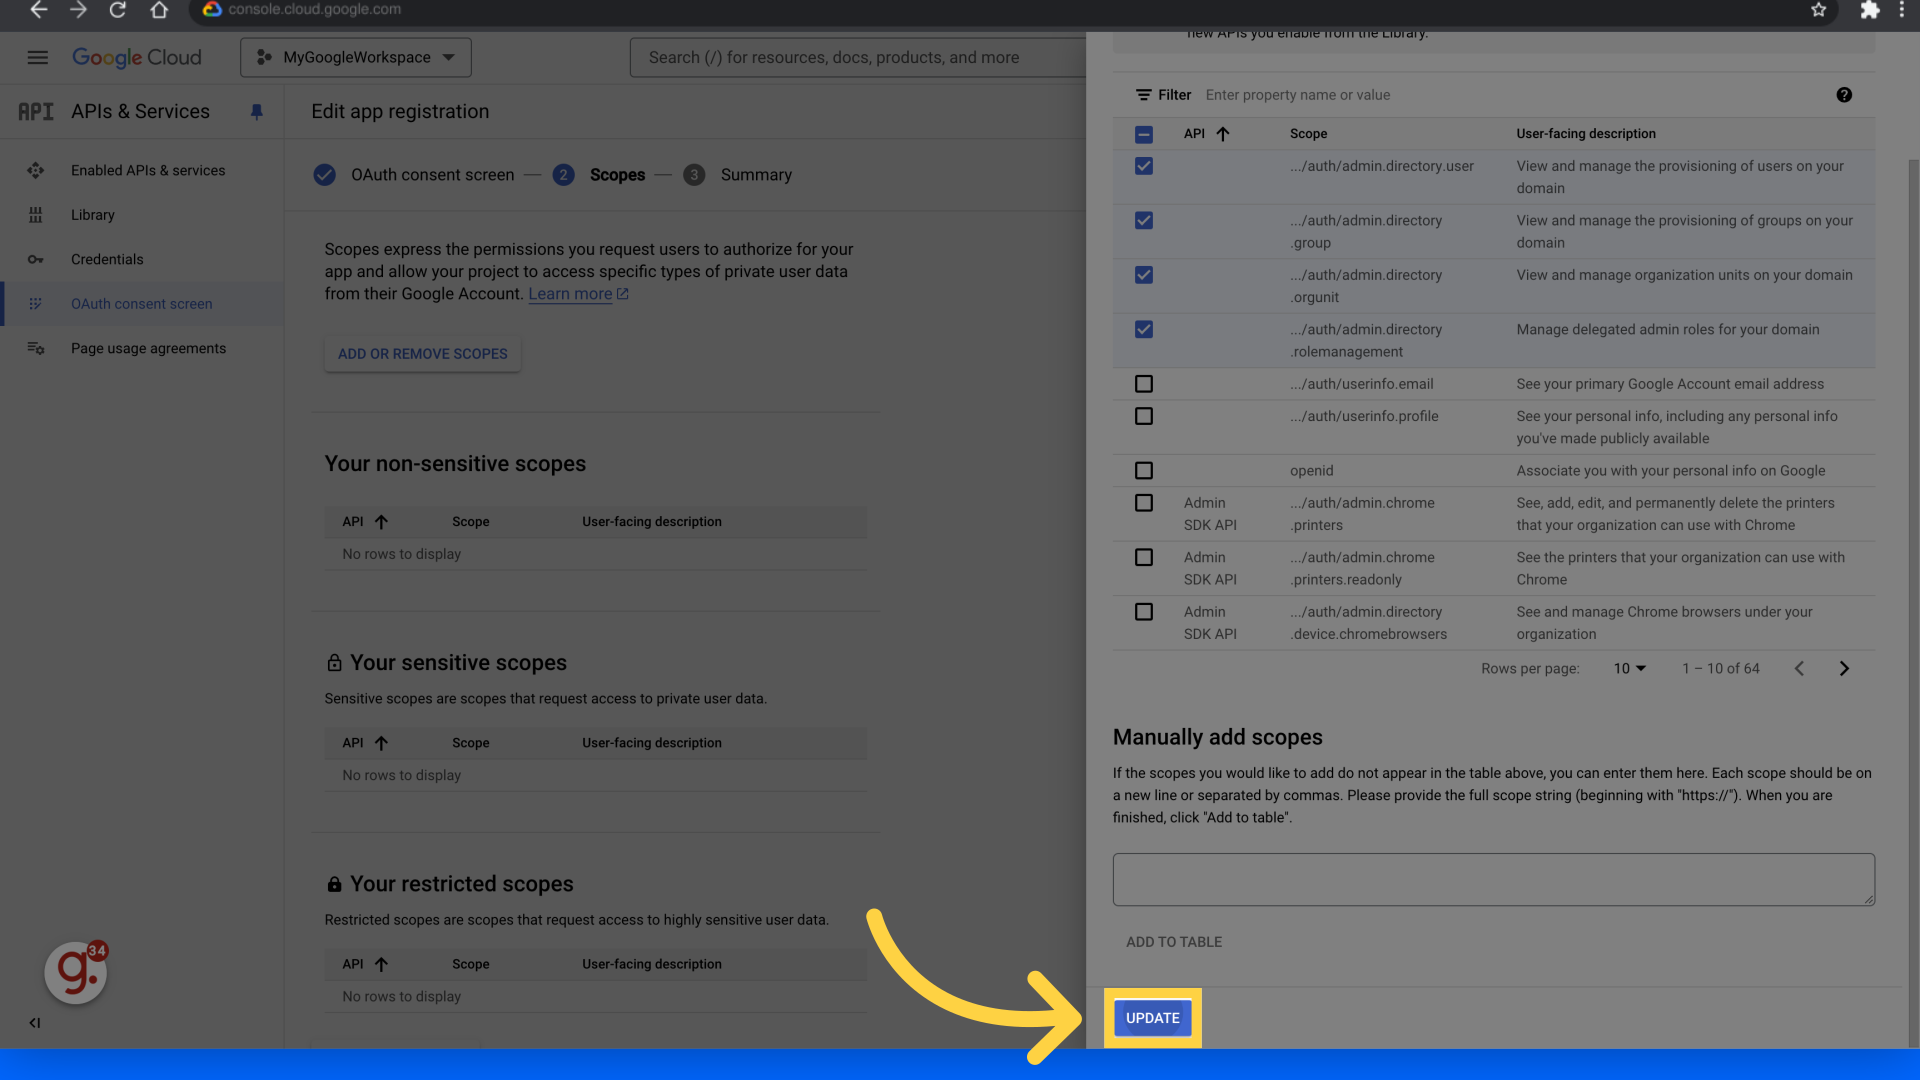
22. Click "Update"
Update the changes by clicking on "Update."
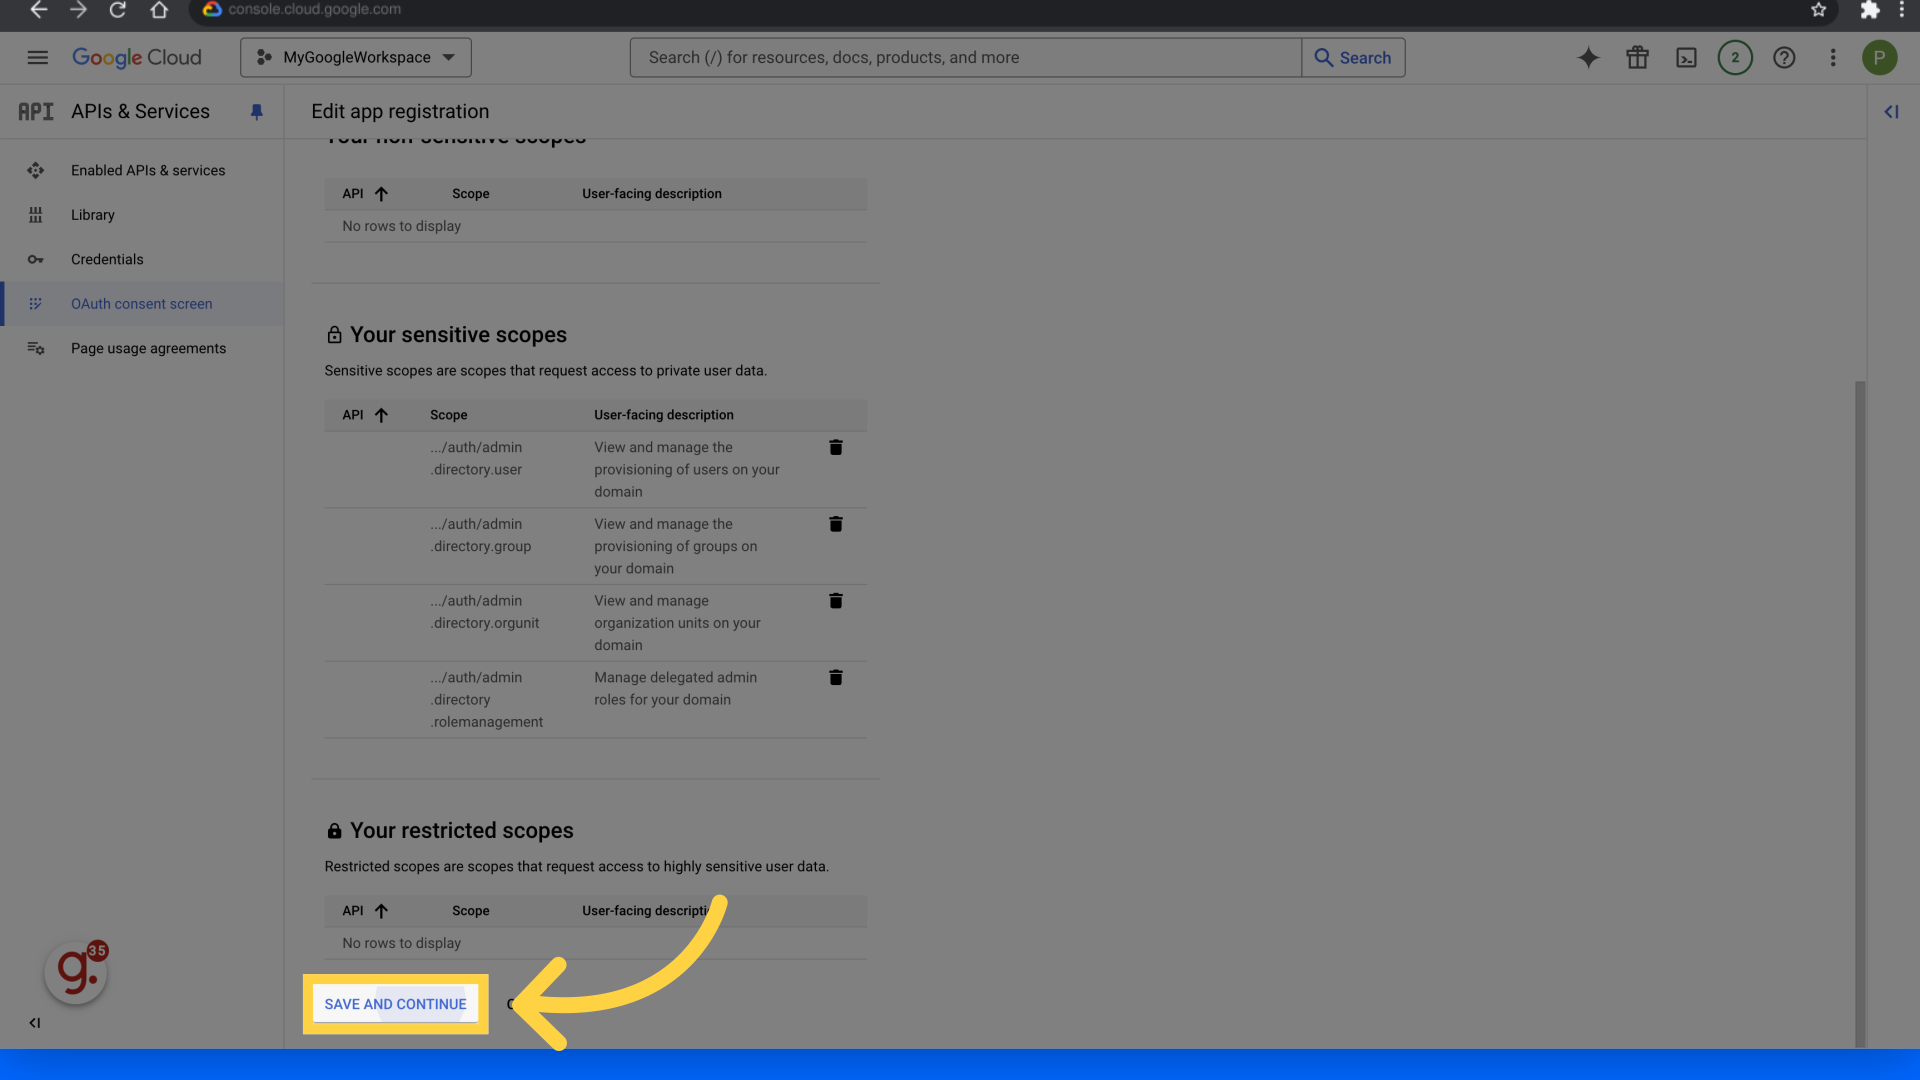
23. Click "Save and continue"
Proceed by clicking on "Save and continue."
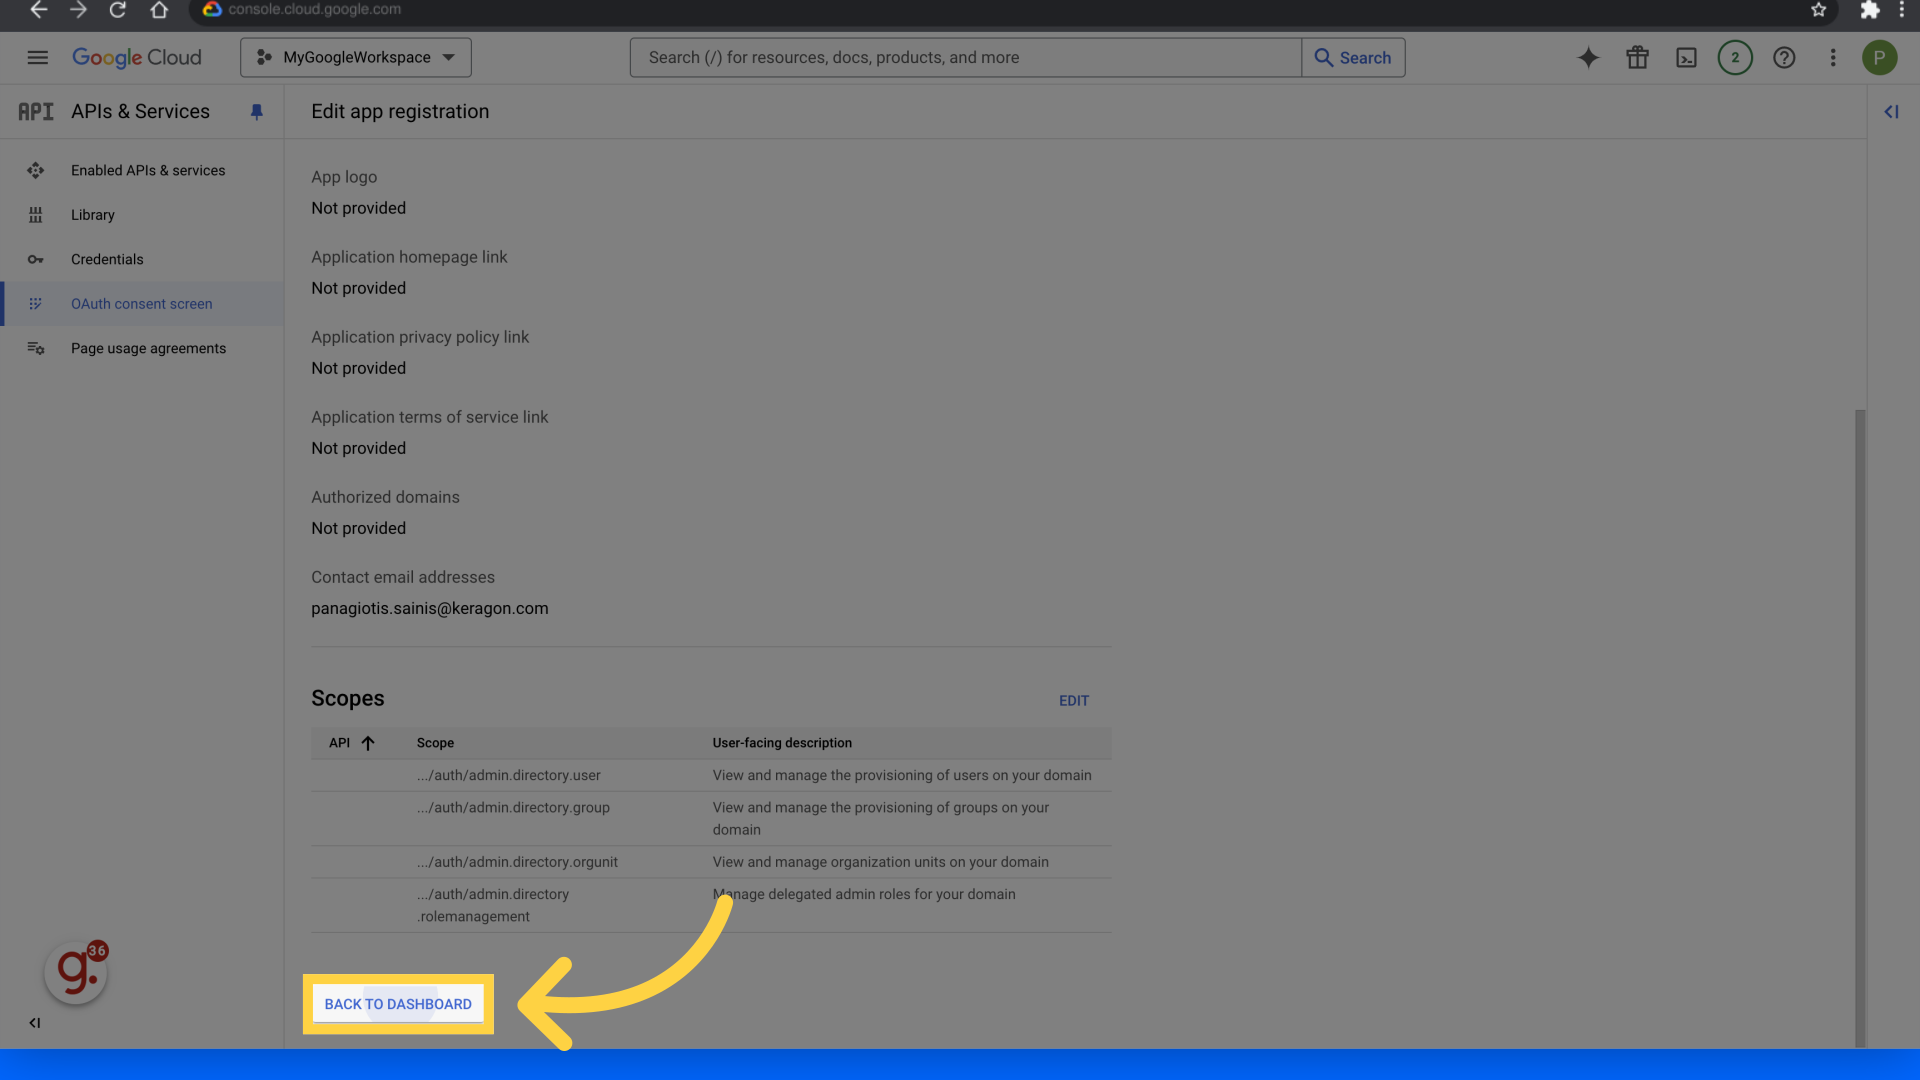
24. Click "Back to dashboard"
Return to the dashboard by clicking on "Back to dashboard."
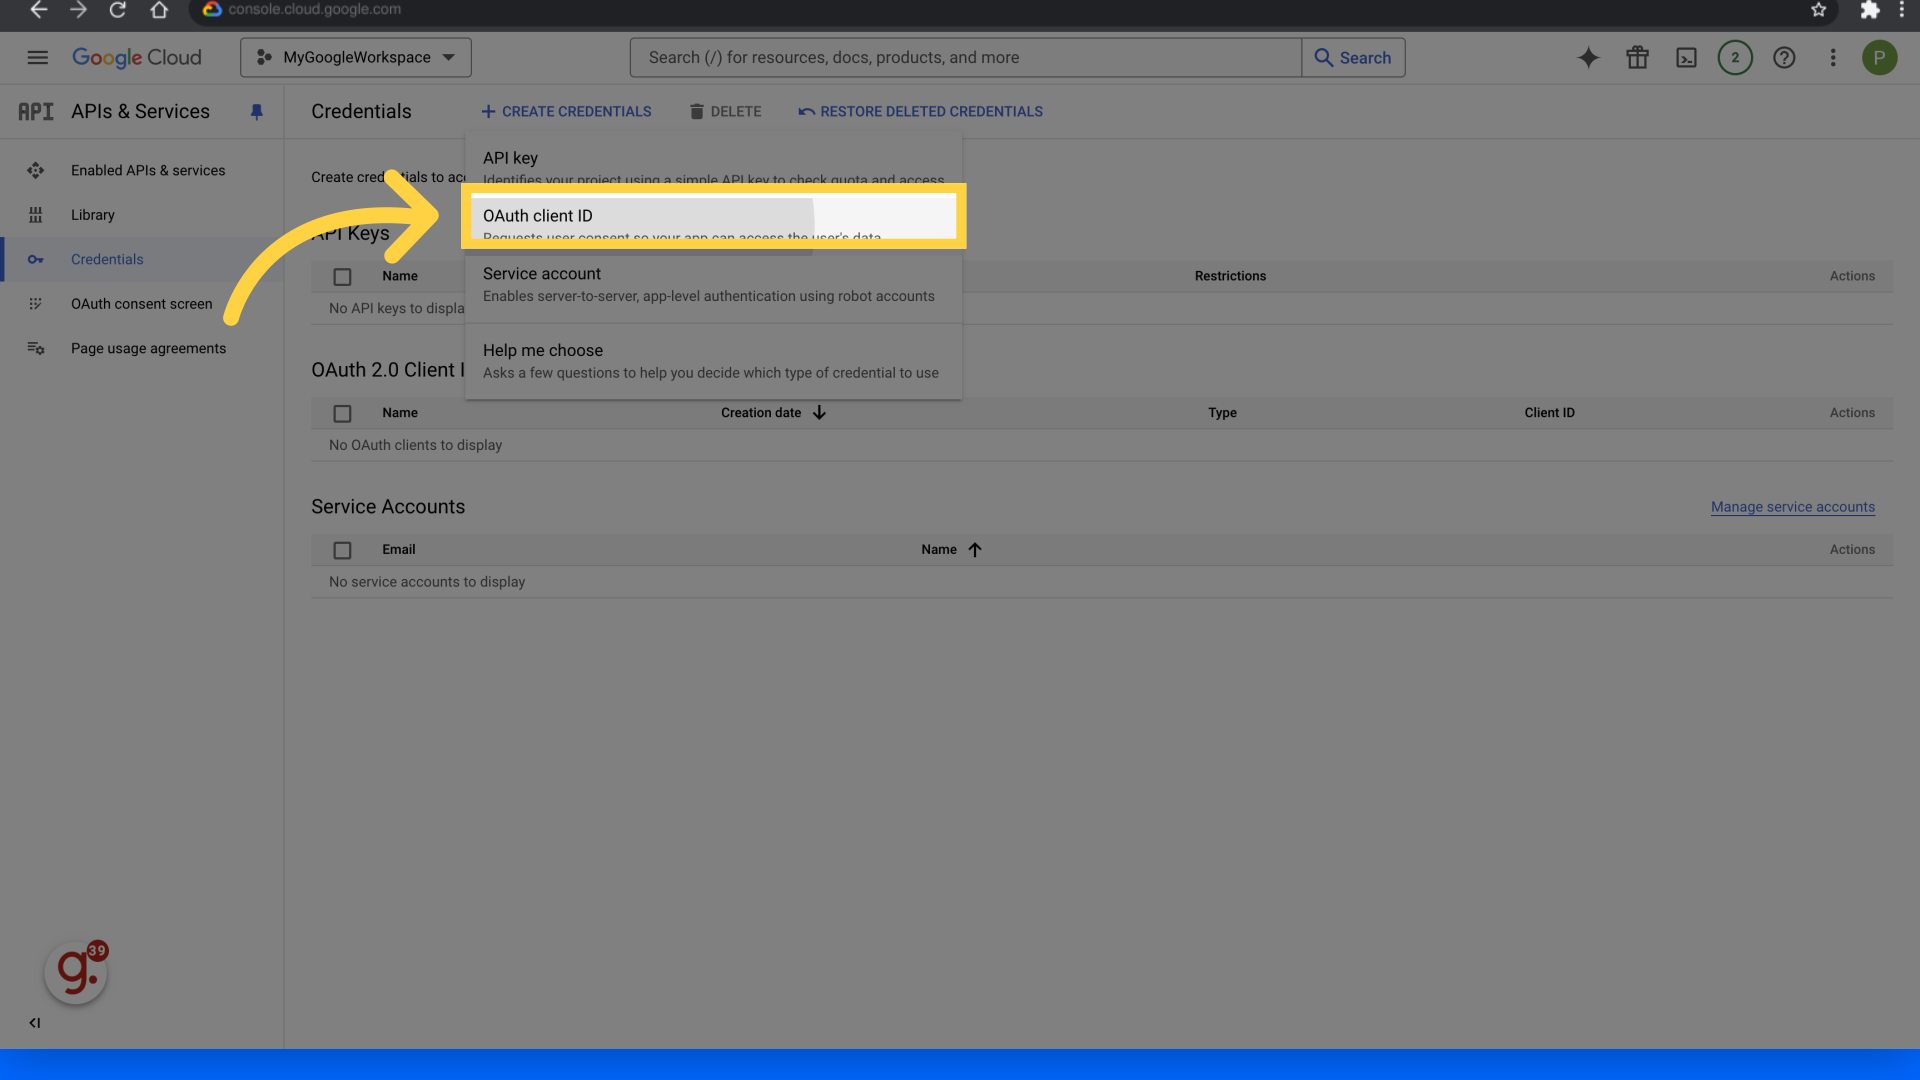
25. Click "Credentials"
Access the "Credentials" section.

26. Click "Create credentials"
Initiate the process of creating credentials by clicking on "Create credentials."

27. Click "OAuth client ID"
Select "OAuth client ID."
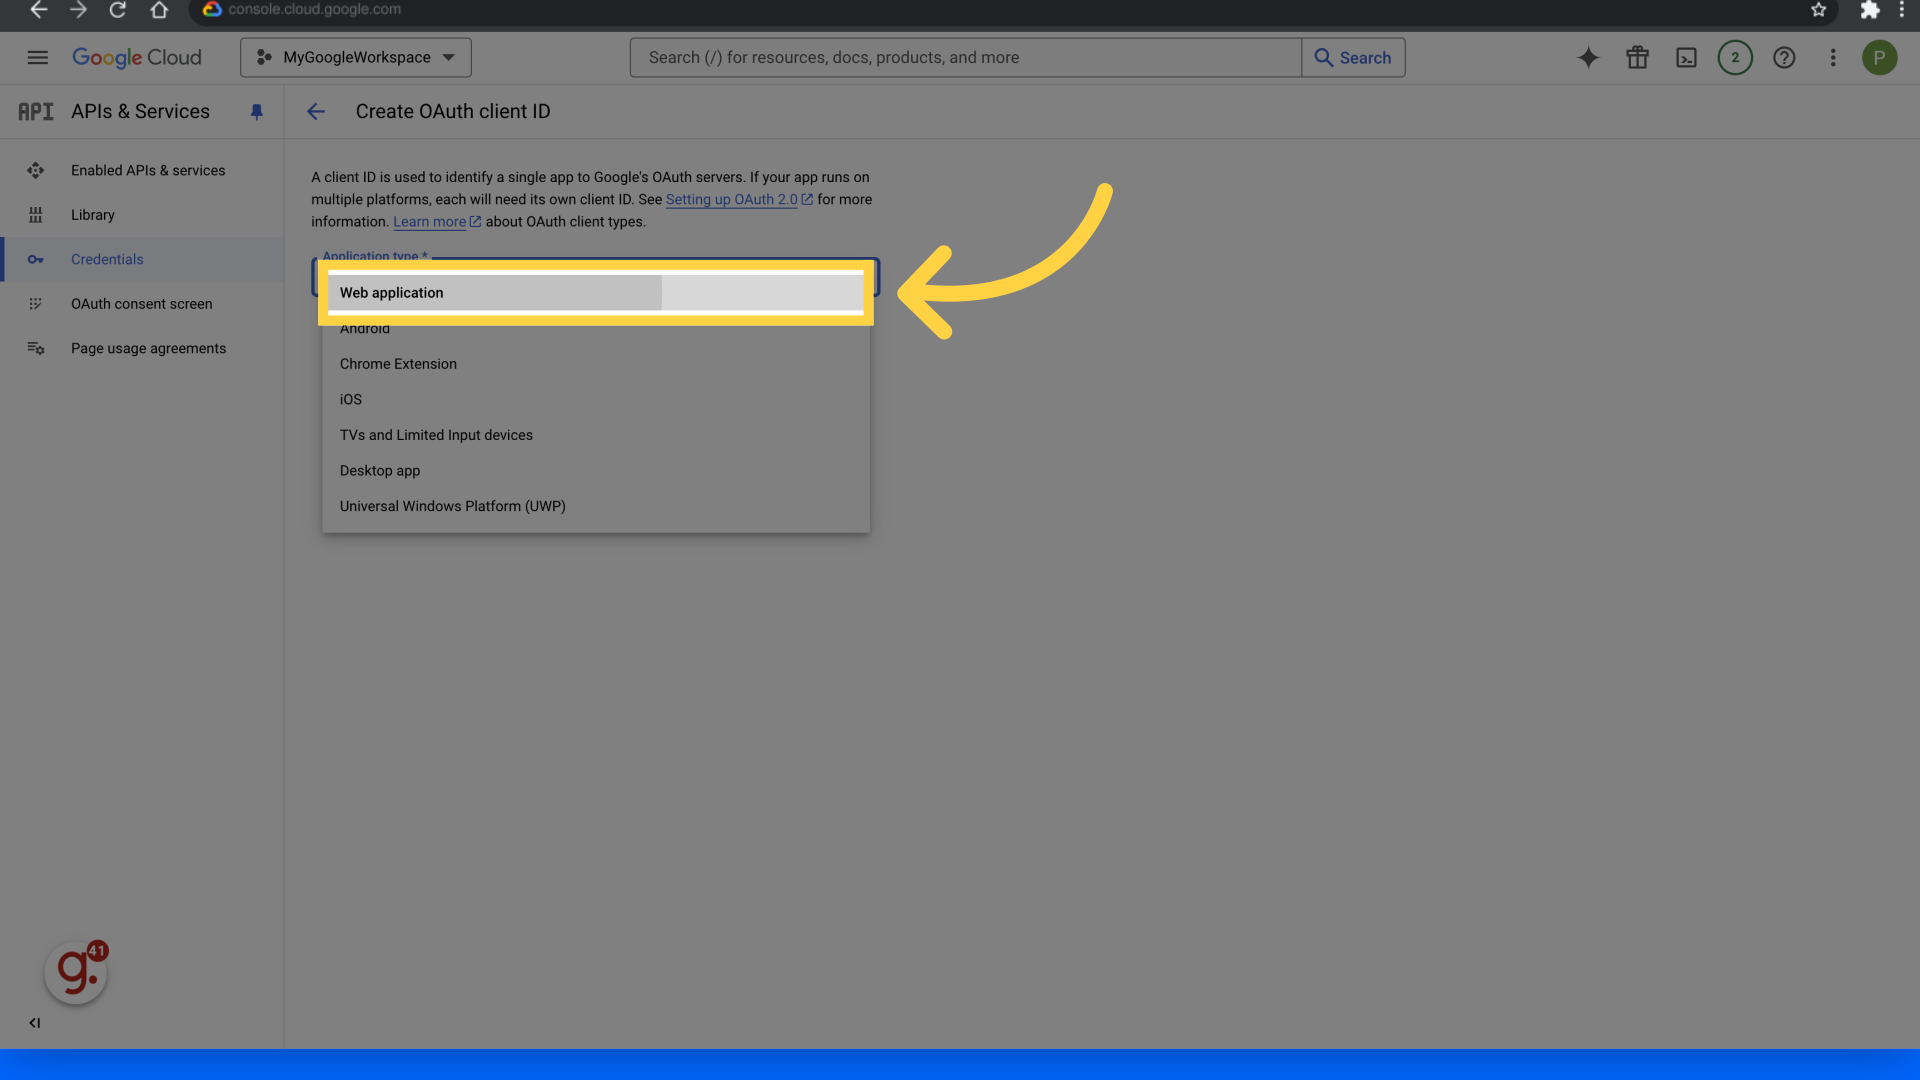
28. Click "Web application"
Choose the "Web application" option.
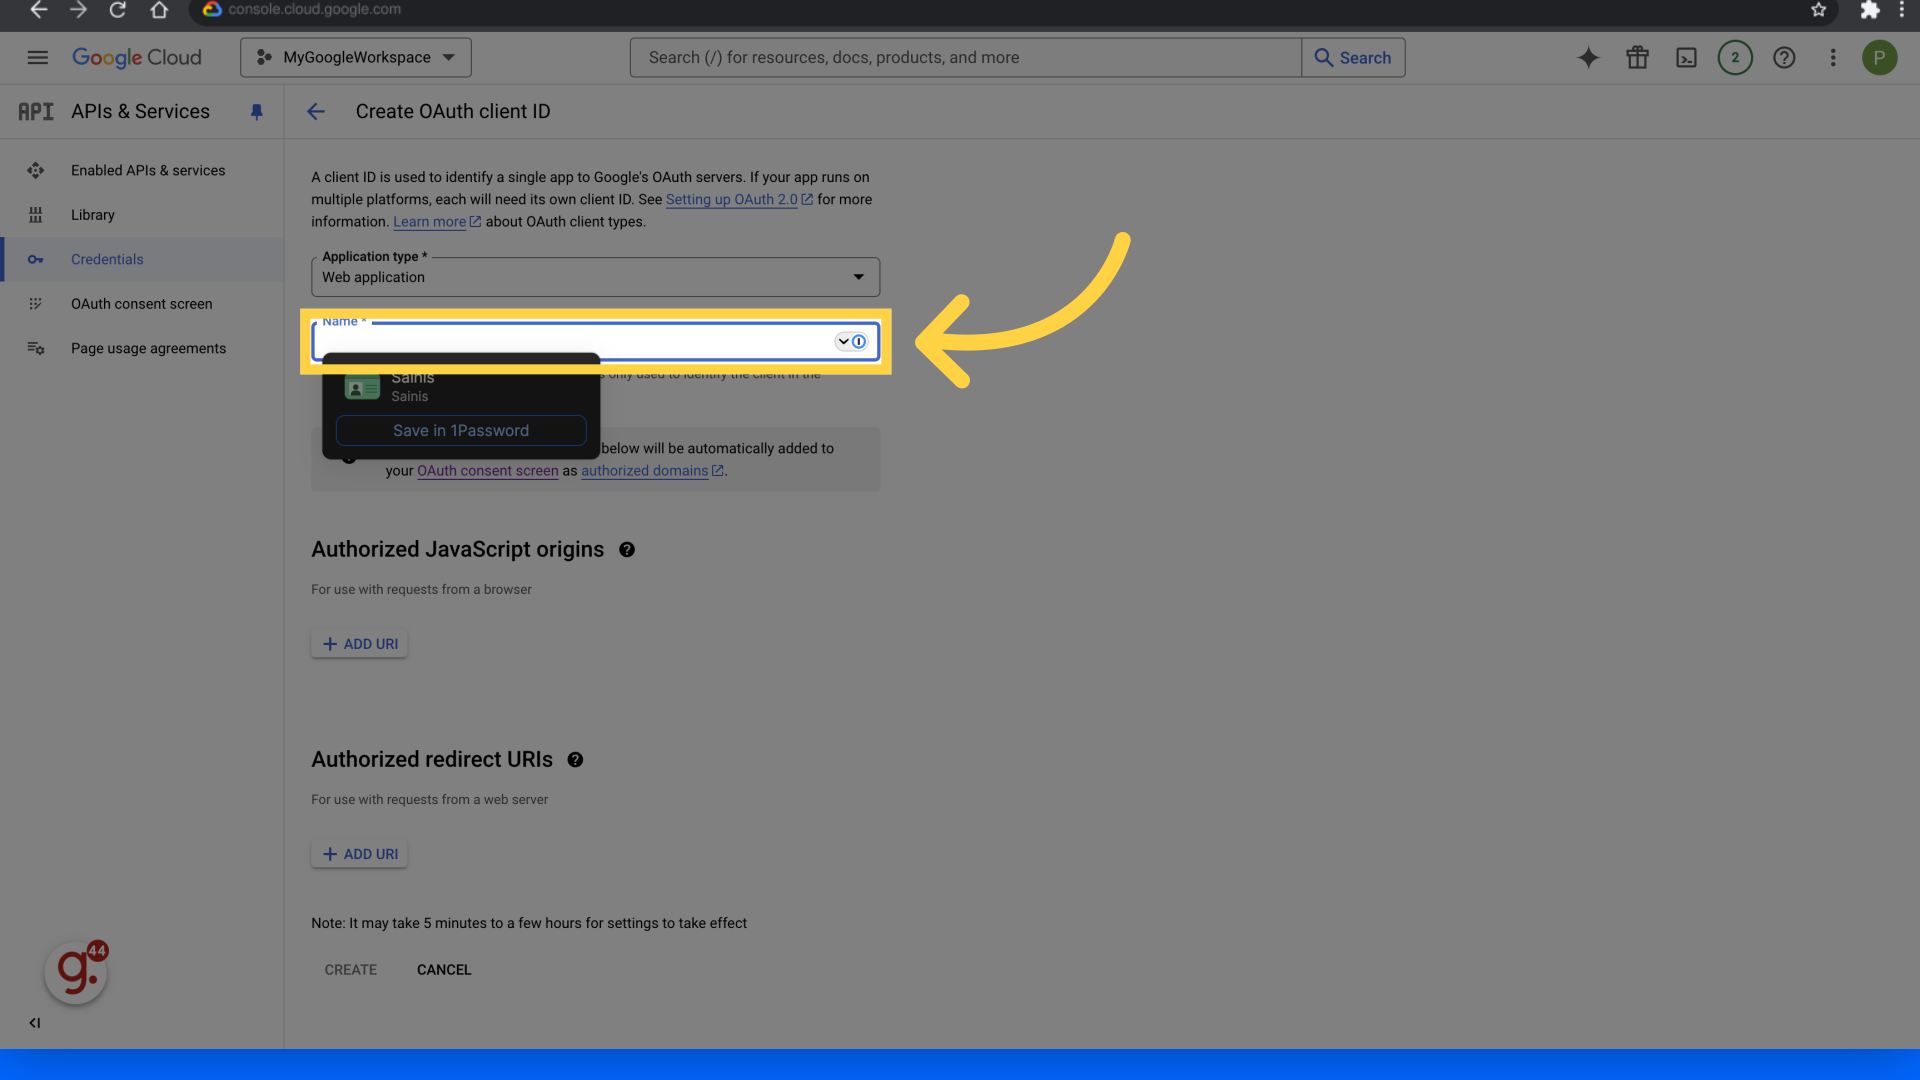
29. Fill "Name"
Enter an appropriate name in the specified field.
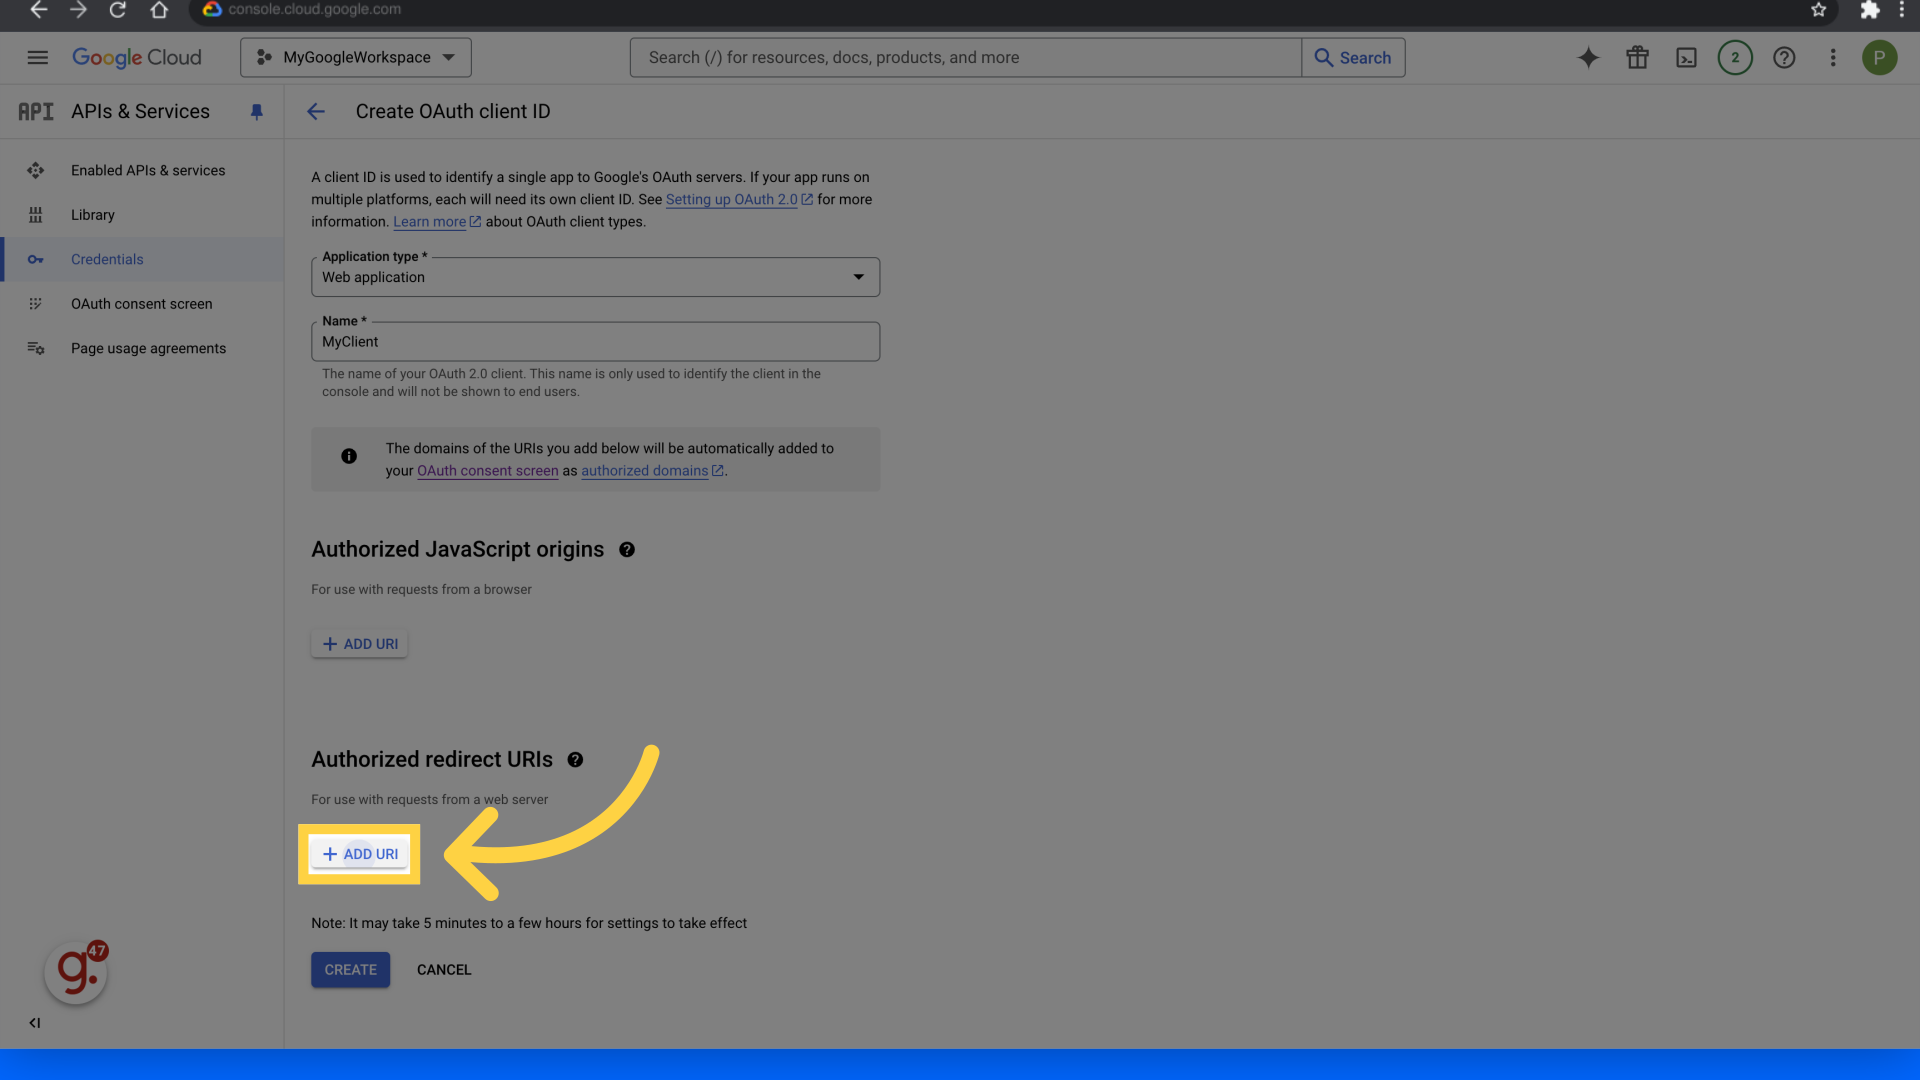
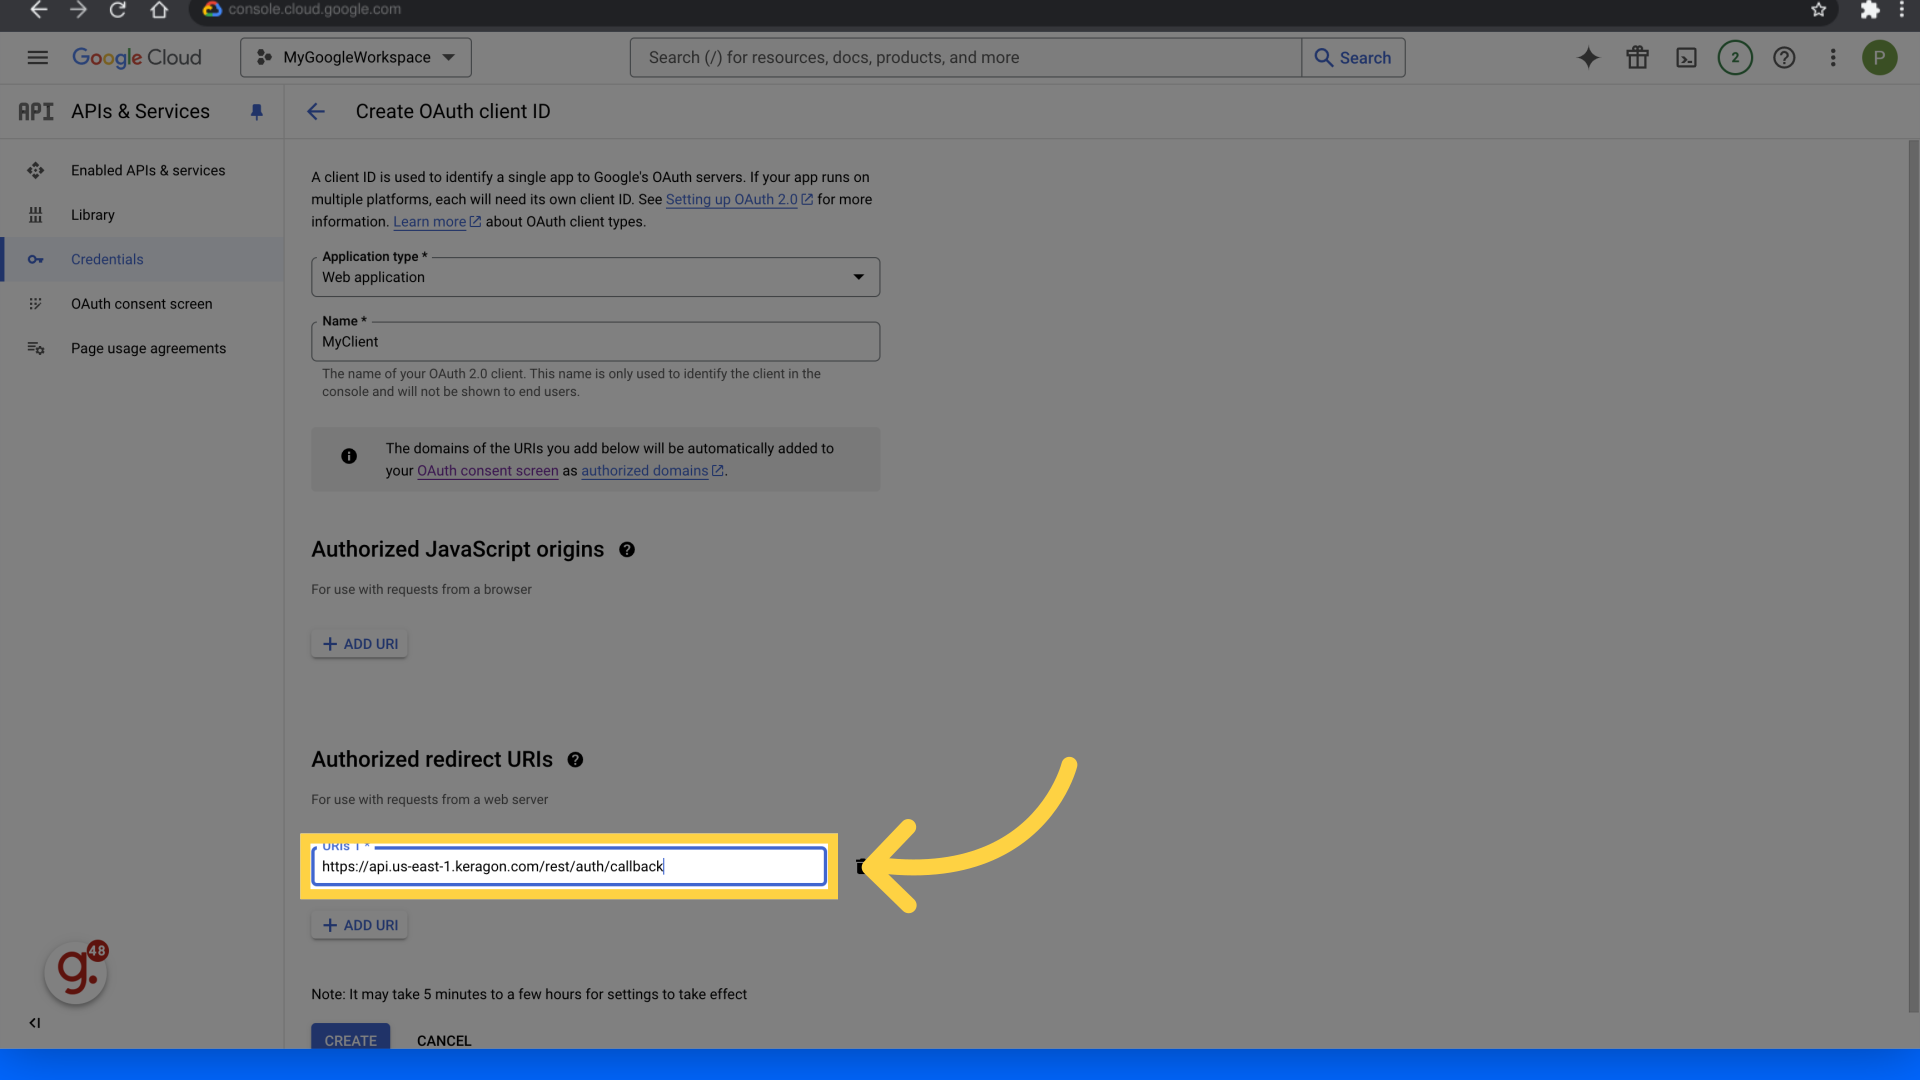
30. Click "Add URI"
Add a URI by clicking on "Add URI."
31. Fill "https://api.us-east-1.keragon.com/rest/auth/callback"
Enter "https://api.us-east-1.keragon.com/rest/auth/callback" in the field.
32. Click "Add URI"
Add another URI by clicking on "Add URI."
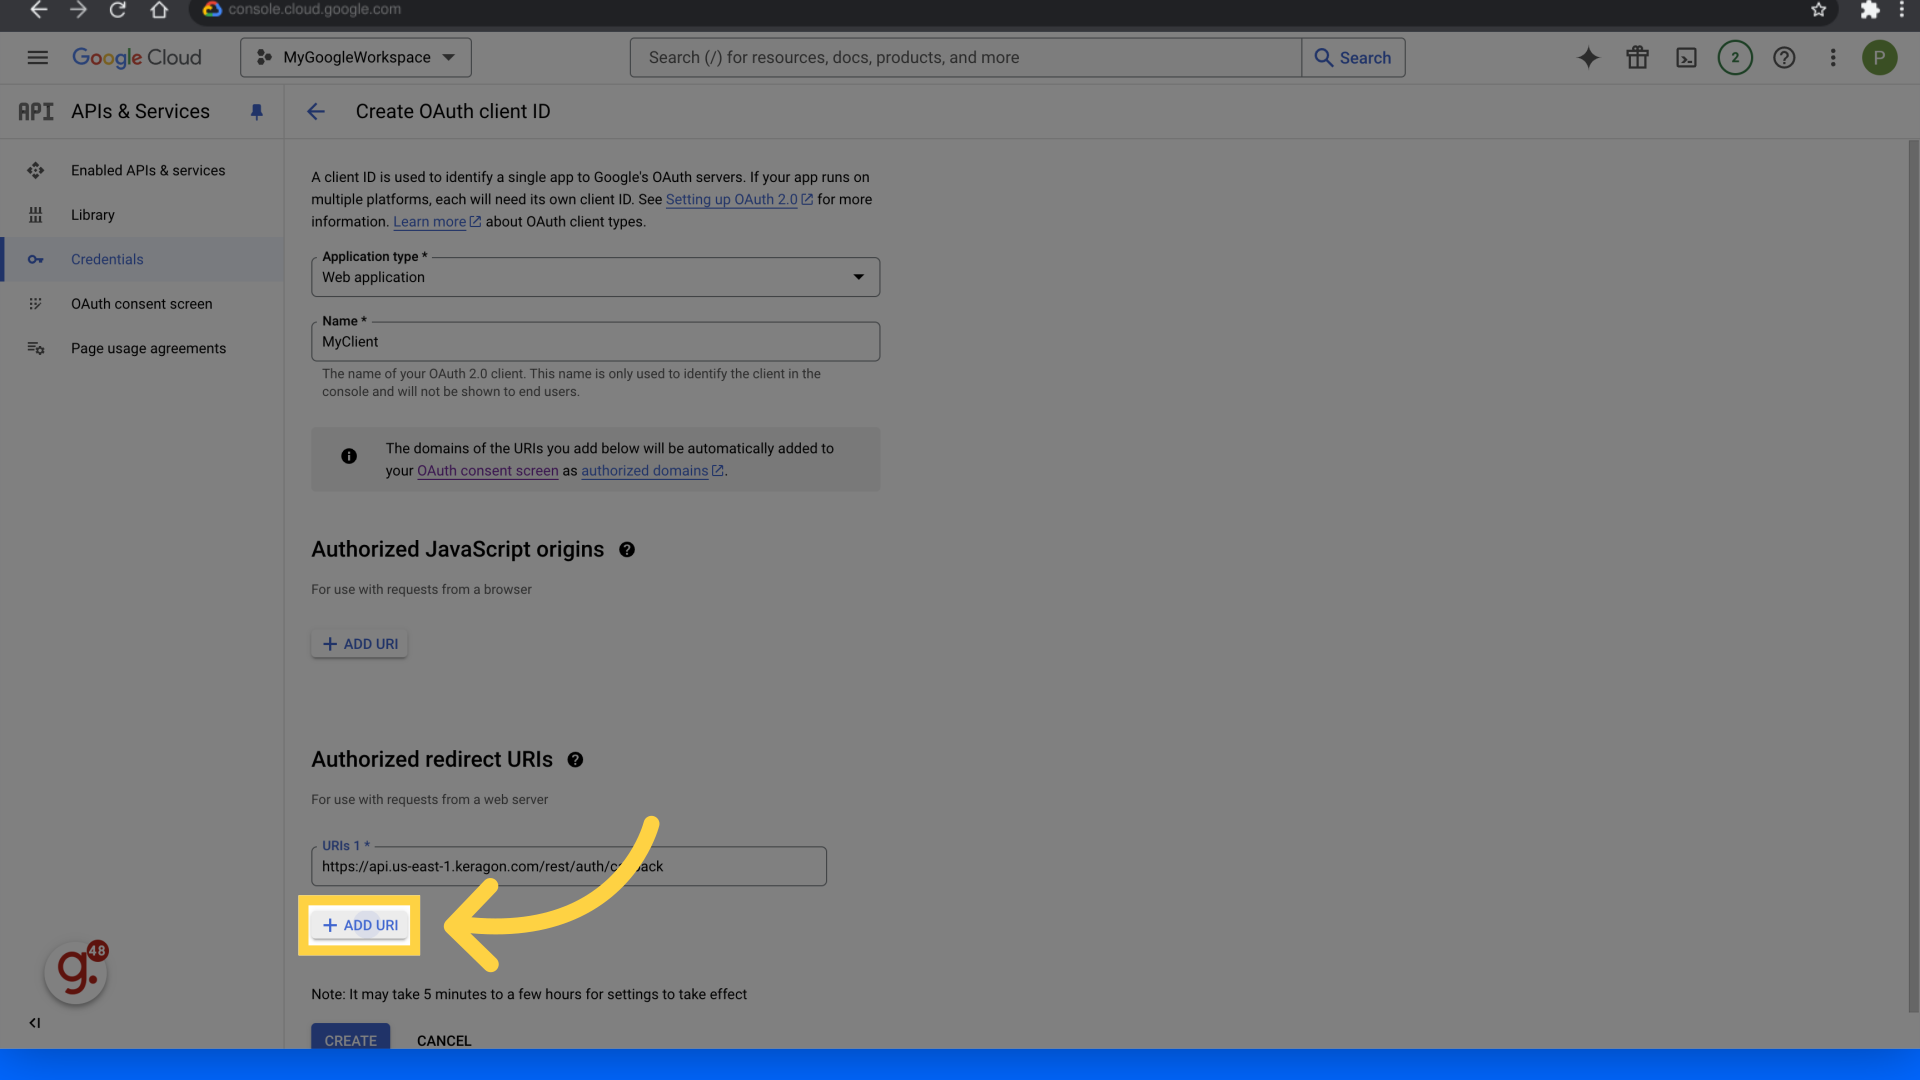
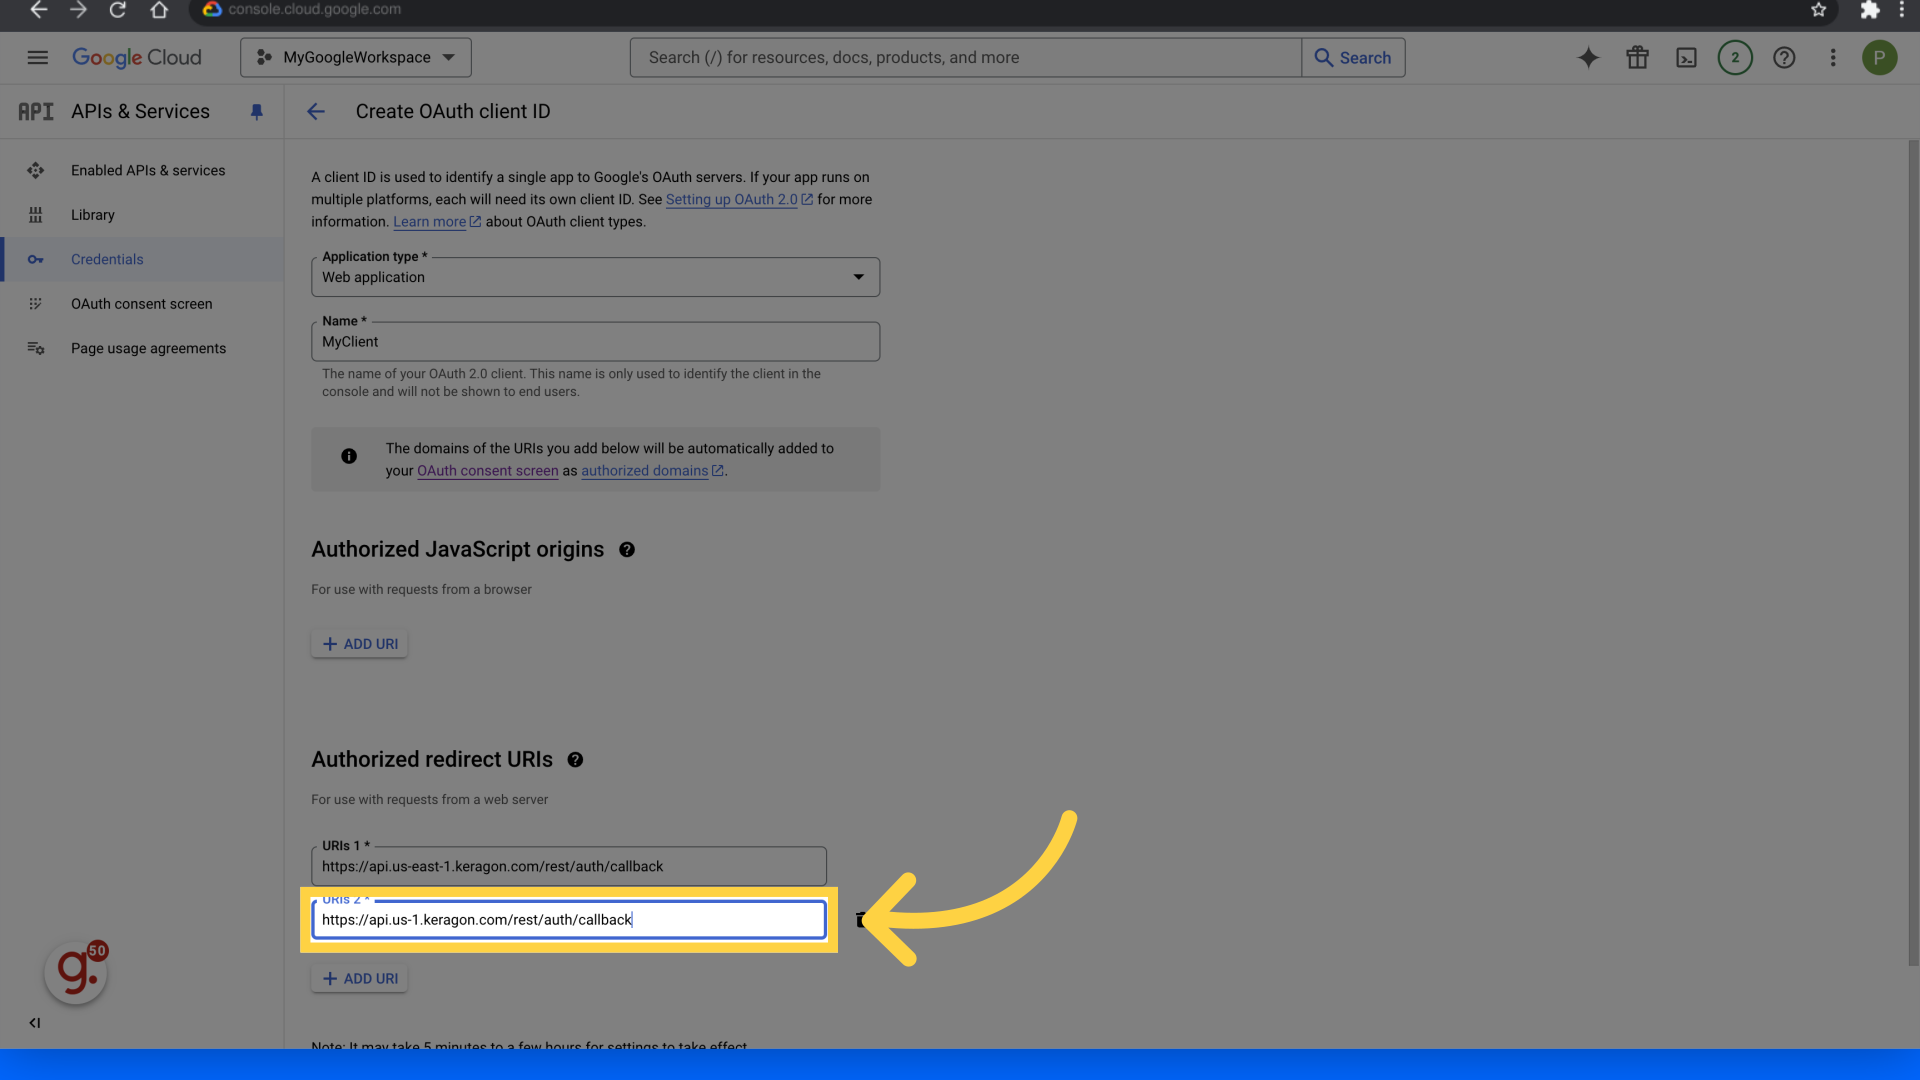
33. Fill "https://api.us-1.keragon.com/rest/auth/callback"
Enter "https://api.us-1.keragon.com/rest/auth/callback" in the field.
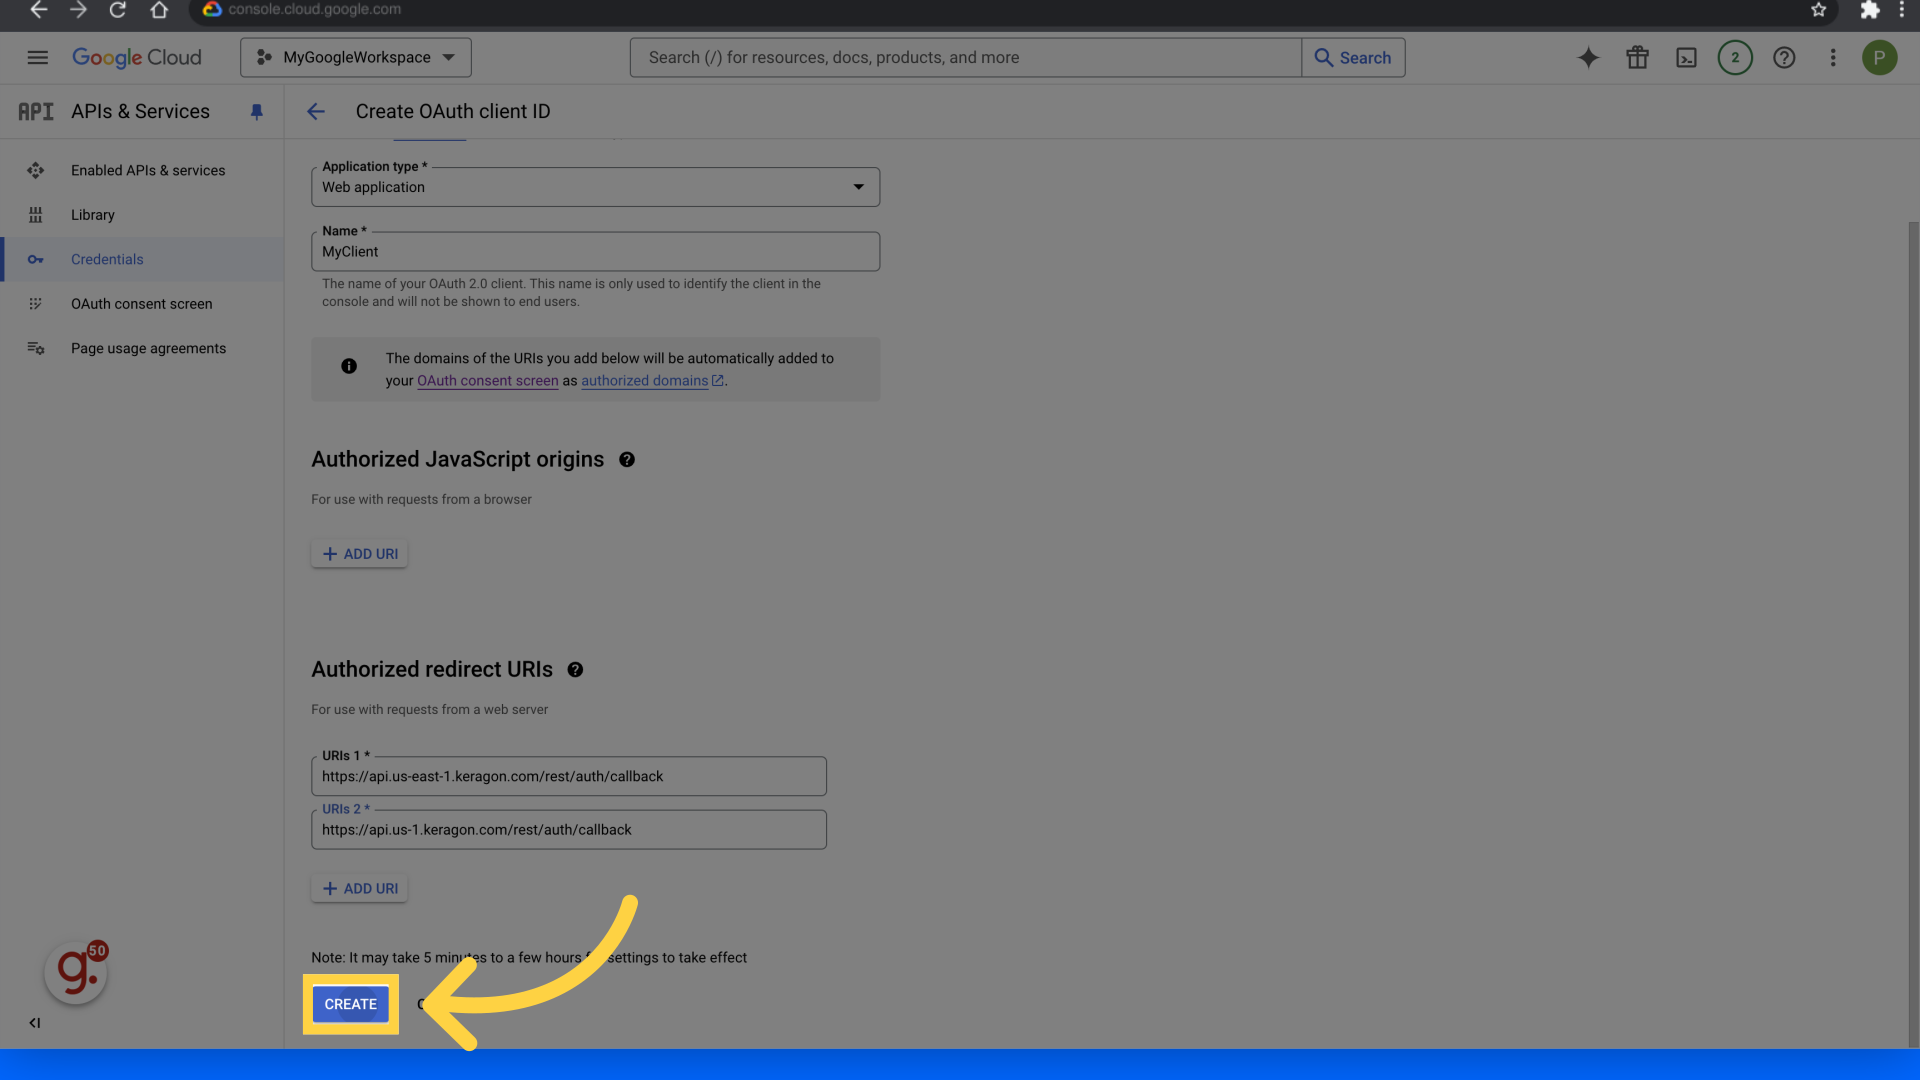
34. Click "Create"
Finalize the process by clicking on "Create."
35. Click here
Copy the client Id and use it on the respective field in Keragon dahsboard.
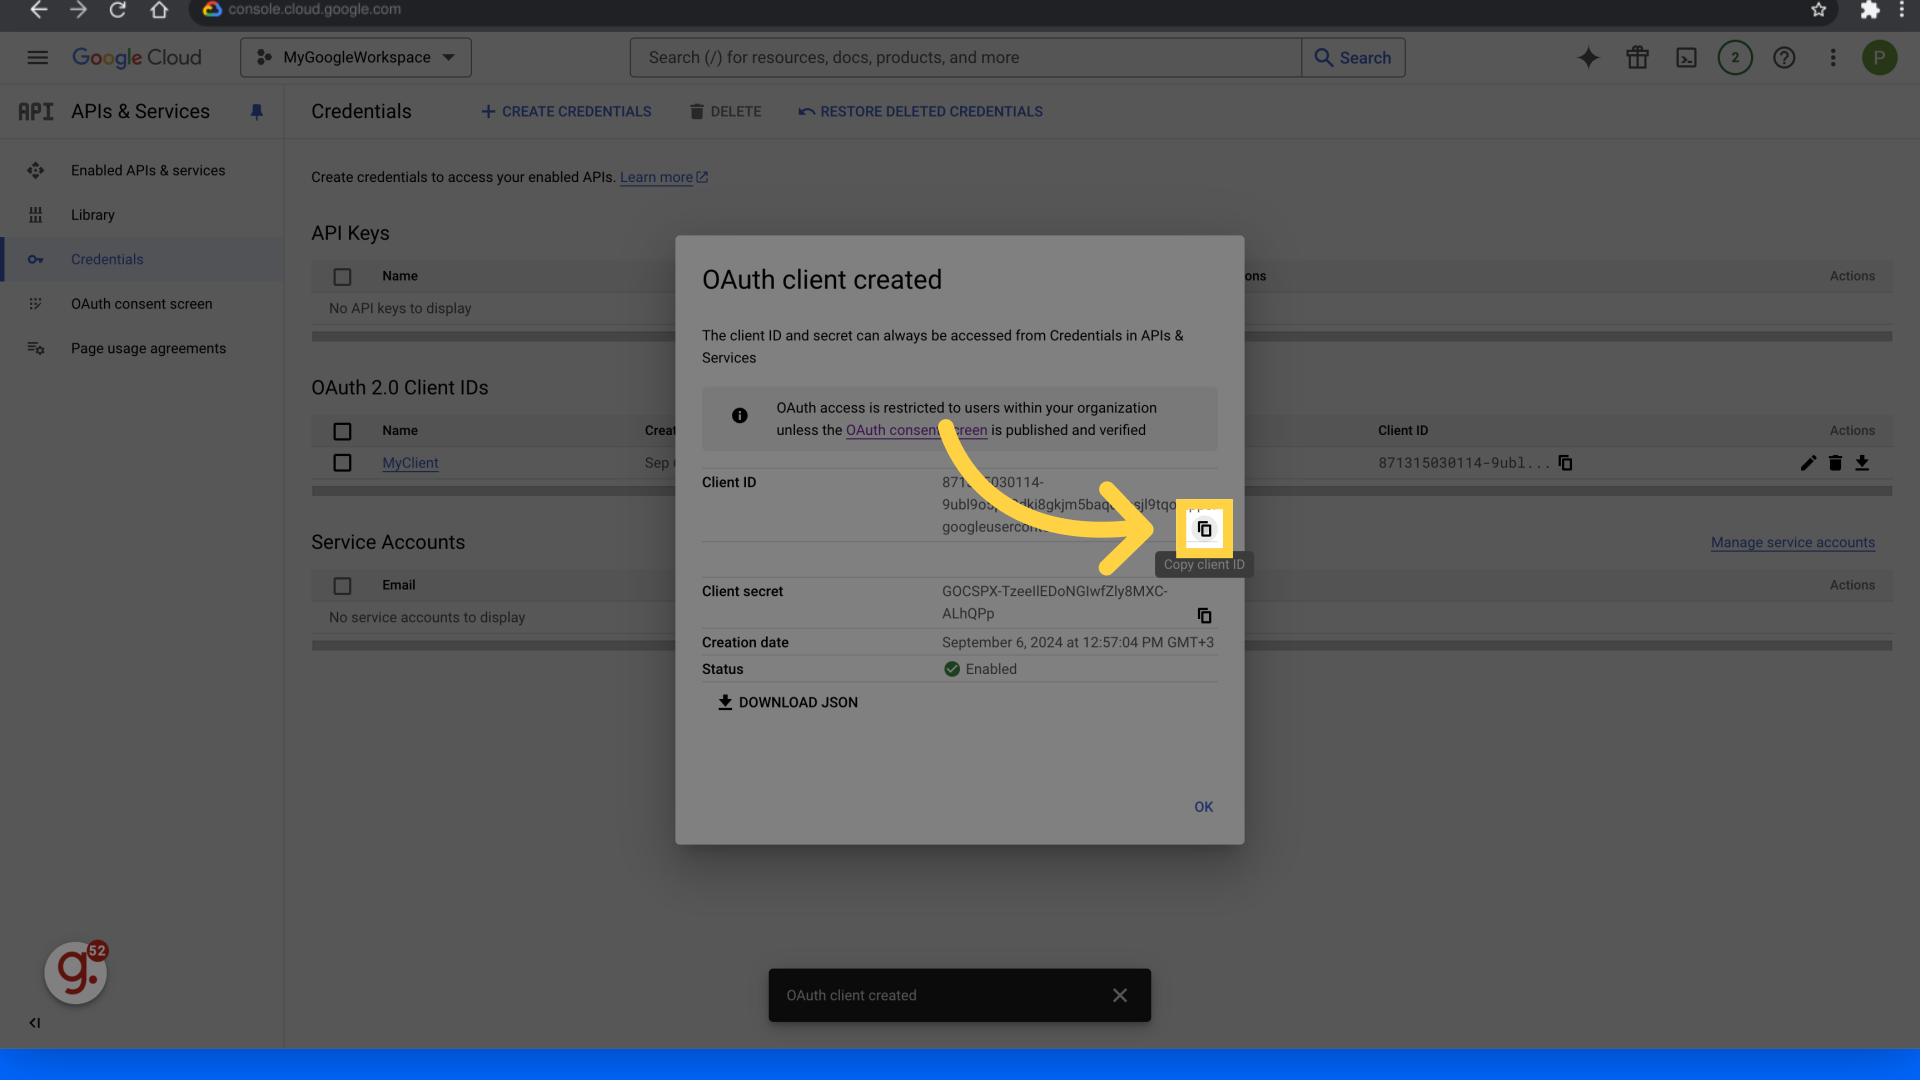
36. Click here
Copy the client secret and use it on the respective field in Keragon dahsboard.

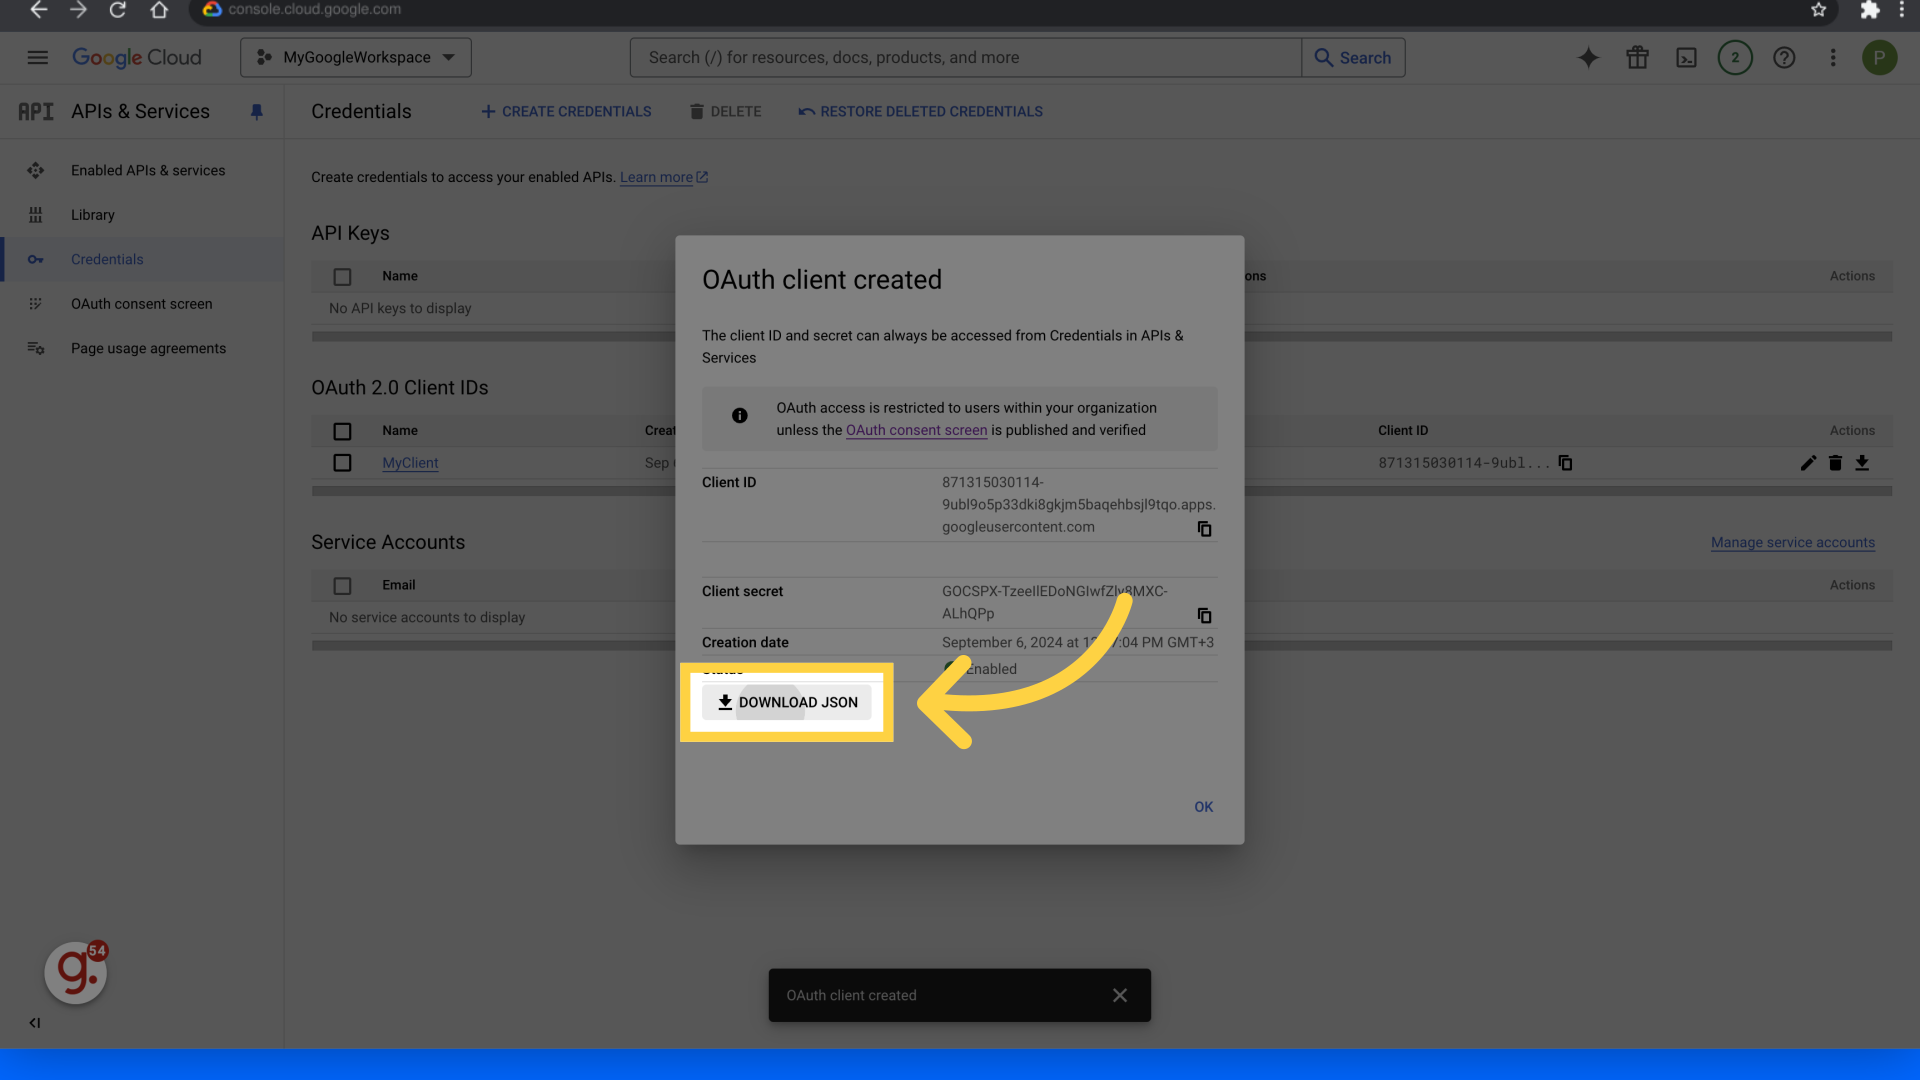
37. Click "Download JSON"
Download the JSON file by clicking on "Download JSON." and save the credentials for future use.
The guide covered the step-by-step process of creating a Google Auth client for Google Workspace on Google Cloud Platform. From project creation to downloading the necessary JSON file, you've learned how to set up authentication effectively for employee training.