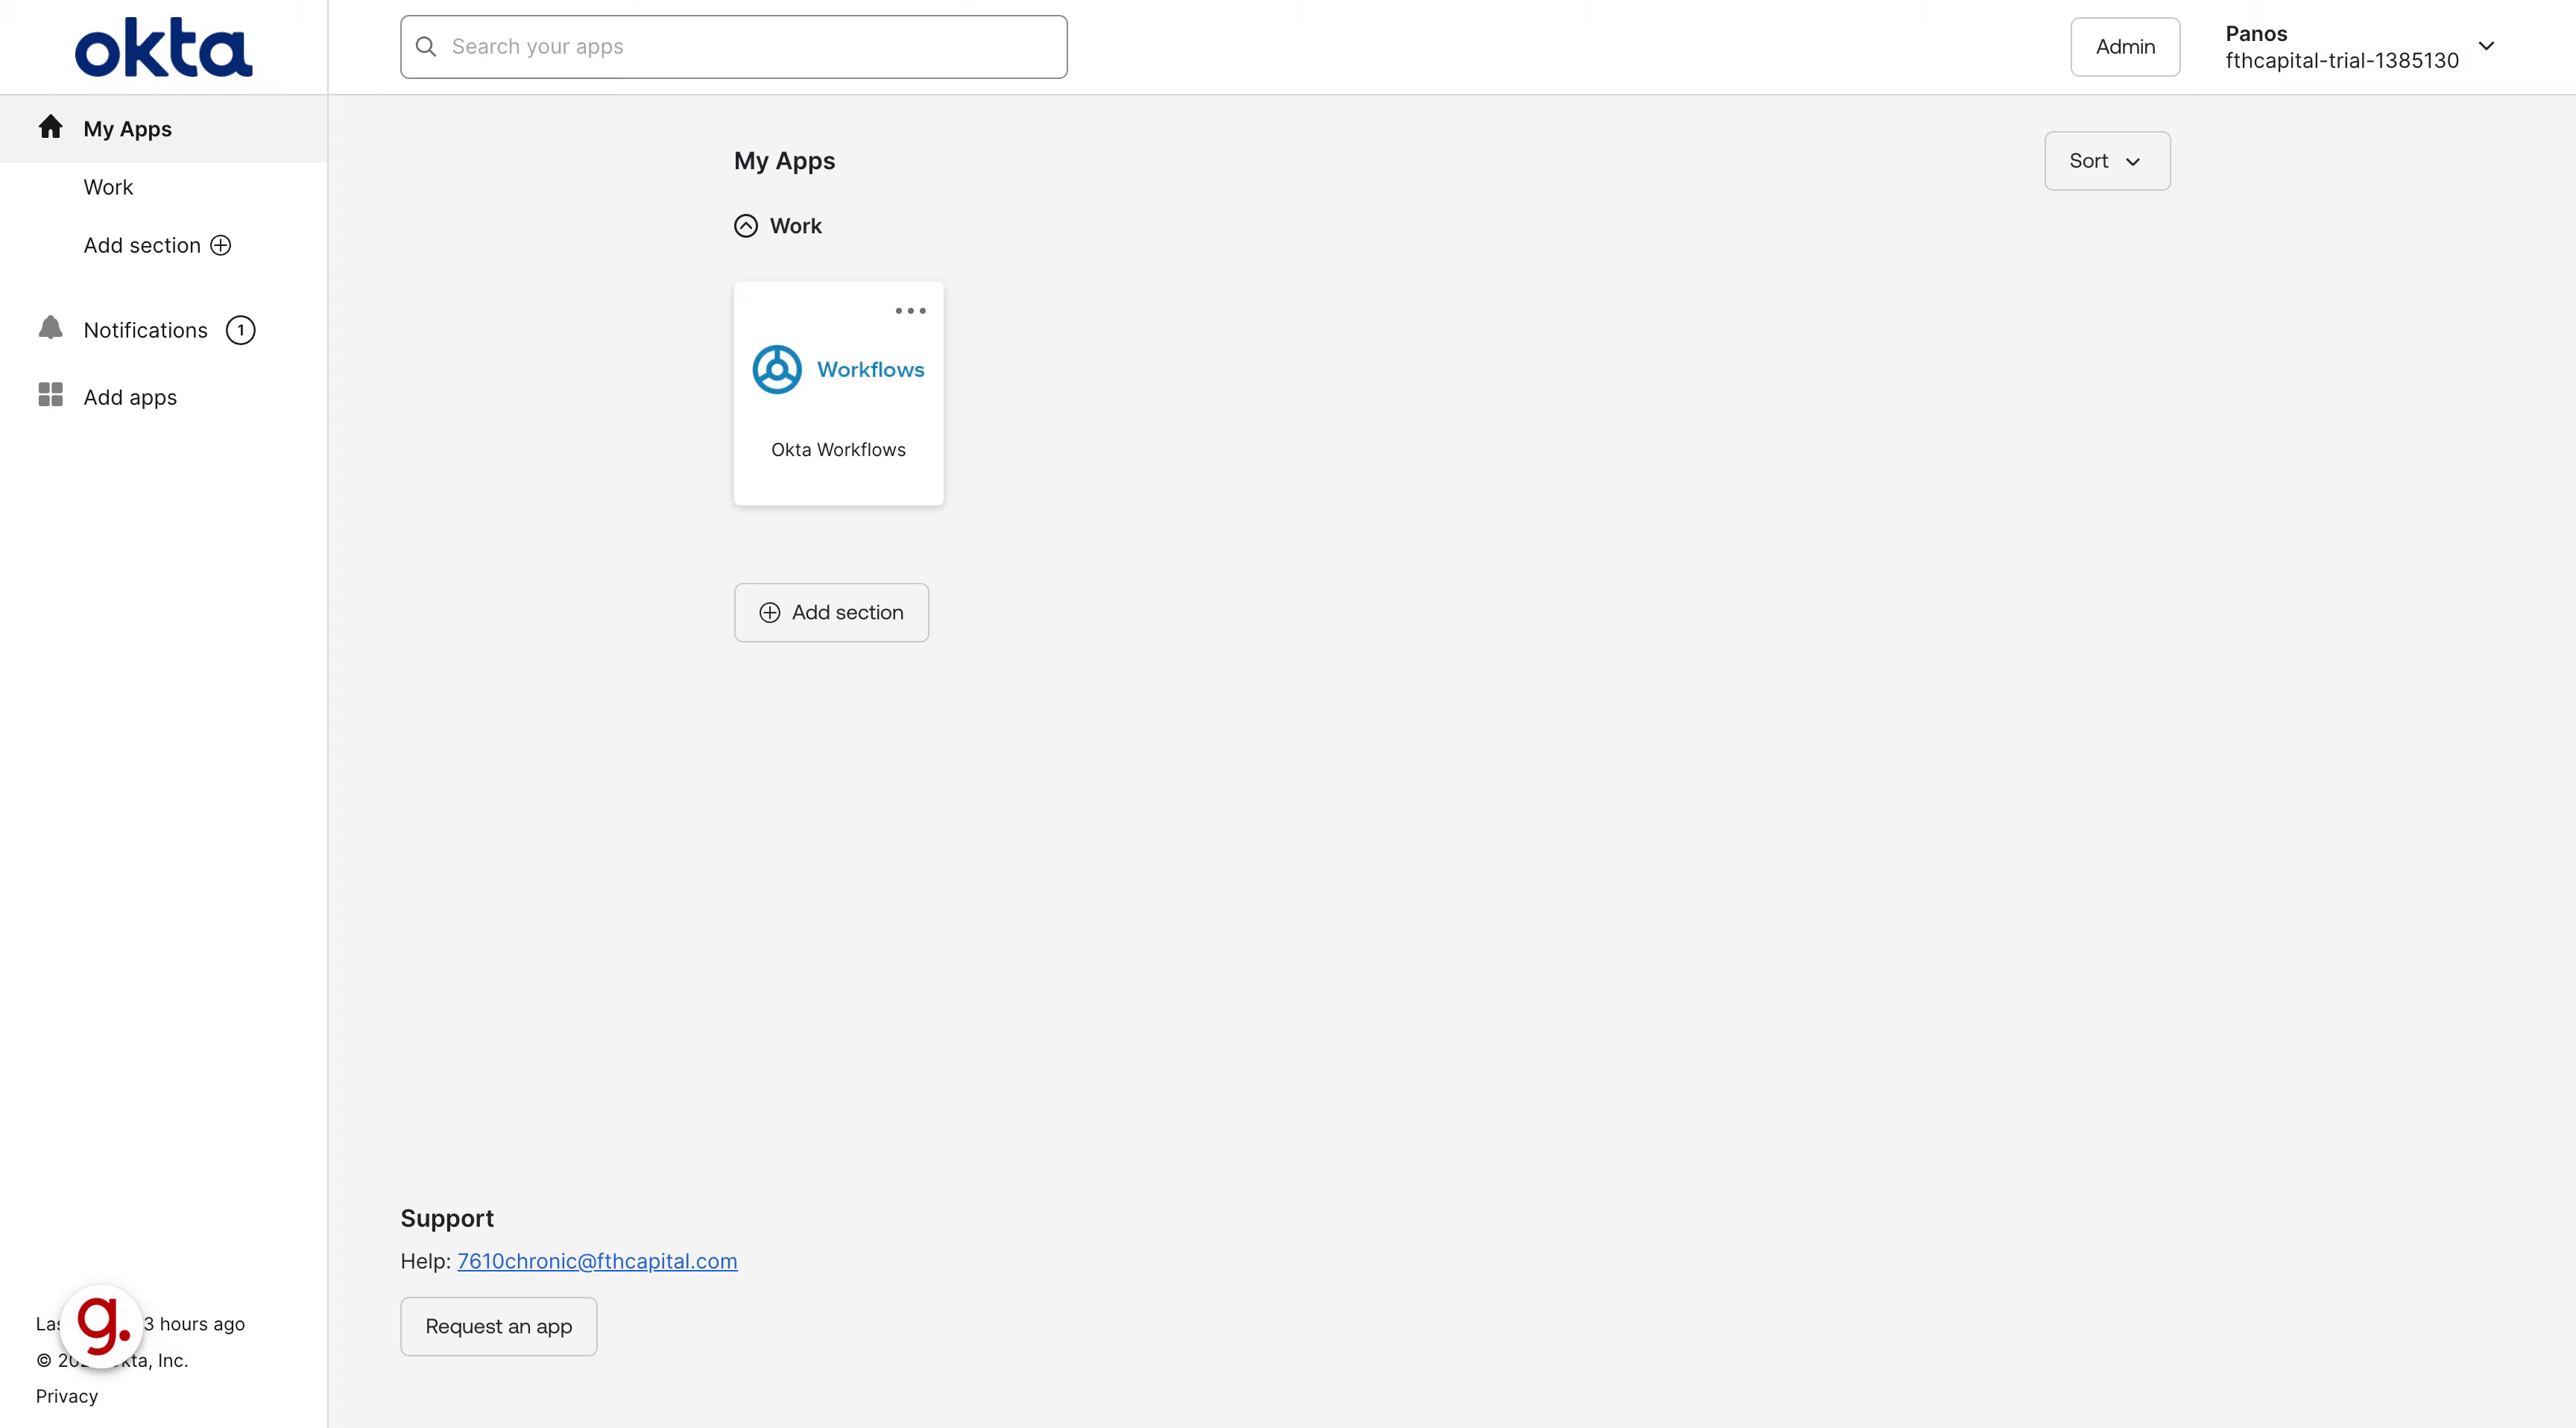
This guide will walk you through setting up event hooks in Okta and integrating them with Keragon for employee training.
1. Introduction
From setting up hooks to defining triggers, this guide ensures a smooth integration process.
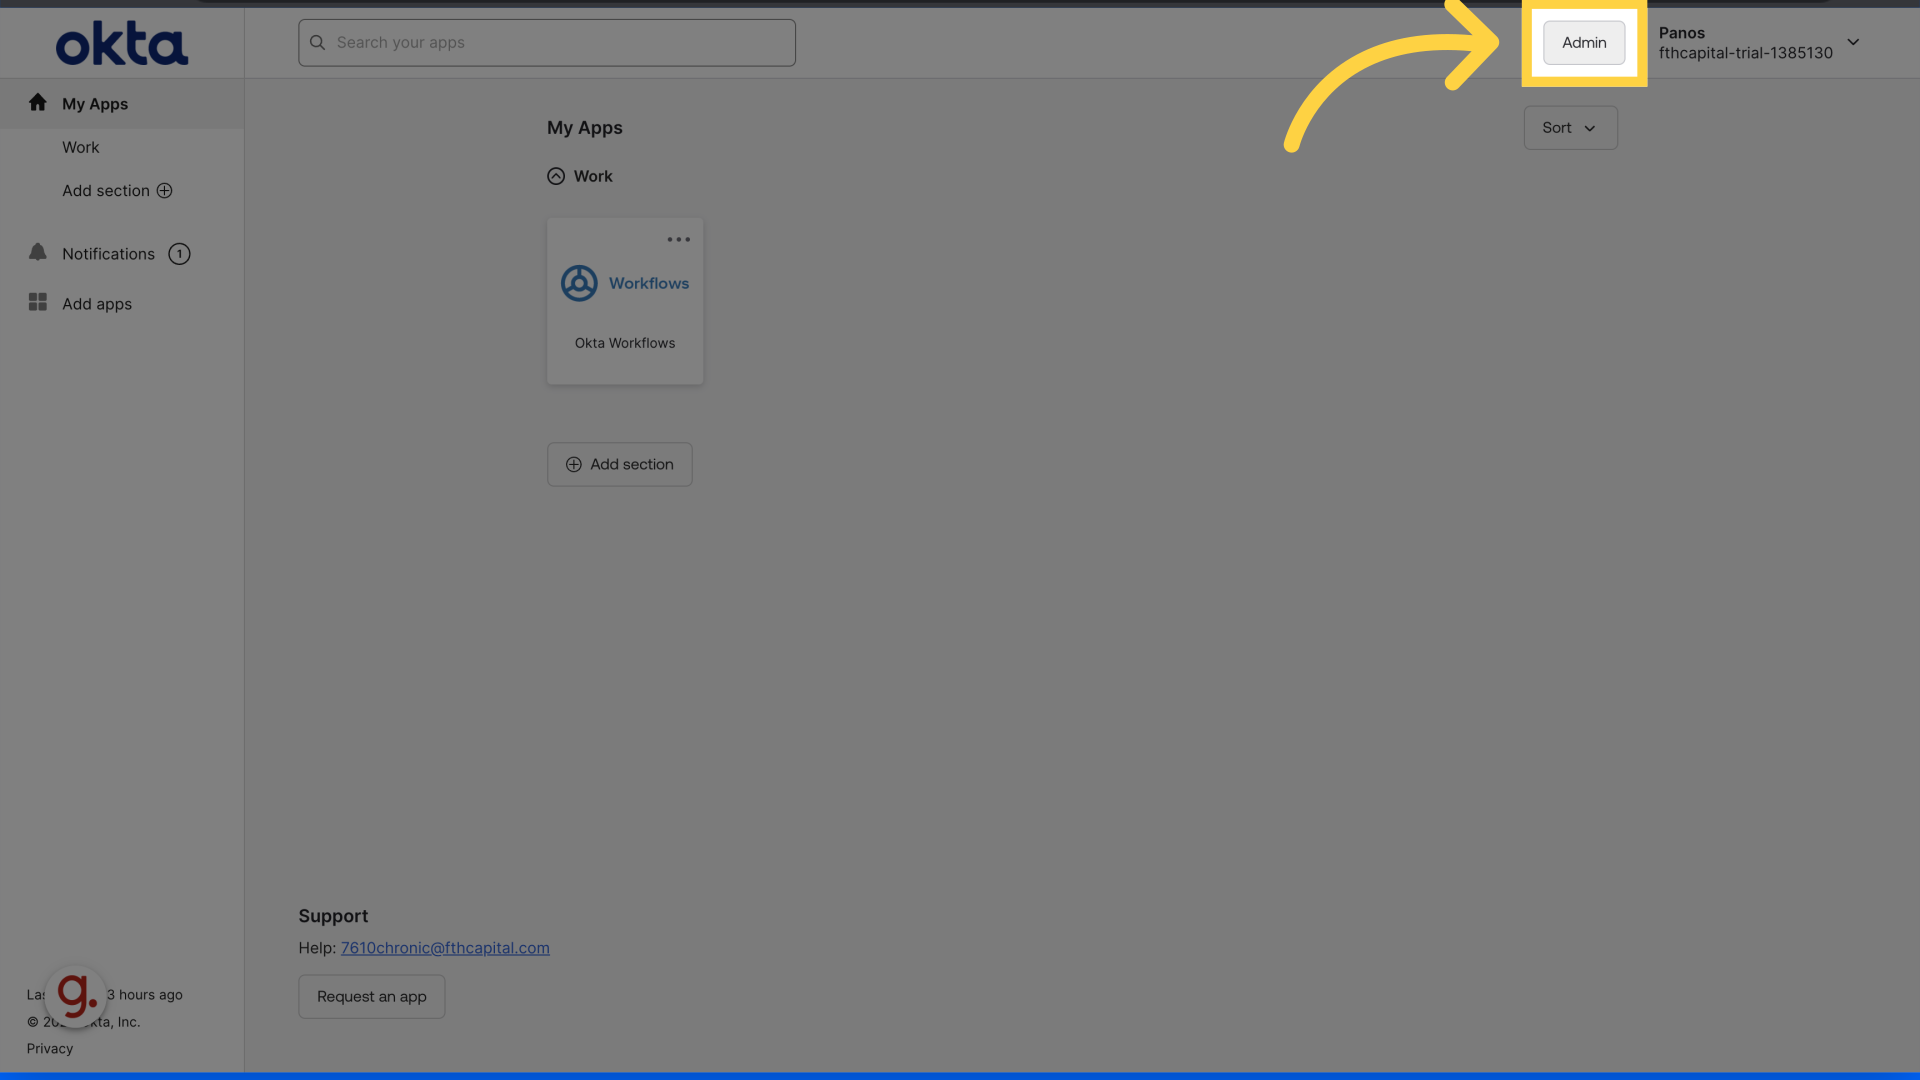
2. Click "Admin" to head to the Admin dashboard of Okta.
Navigate to the Admin section.
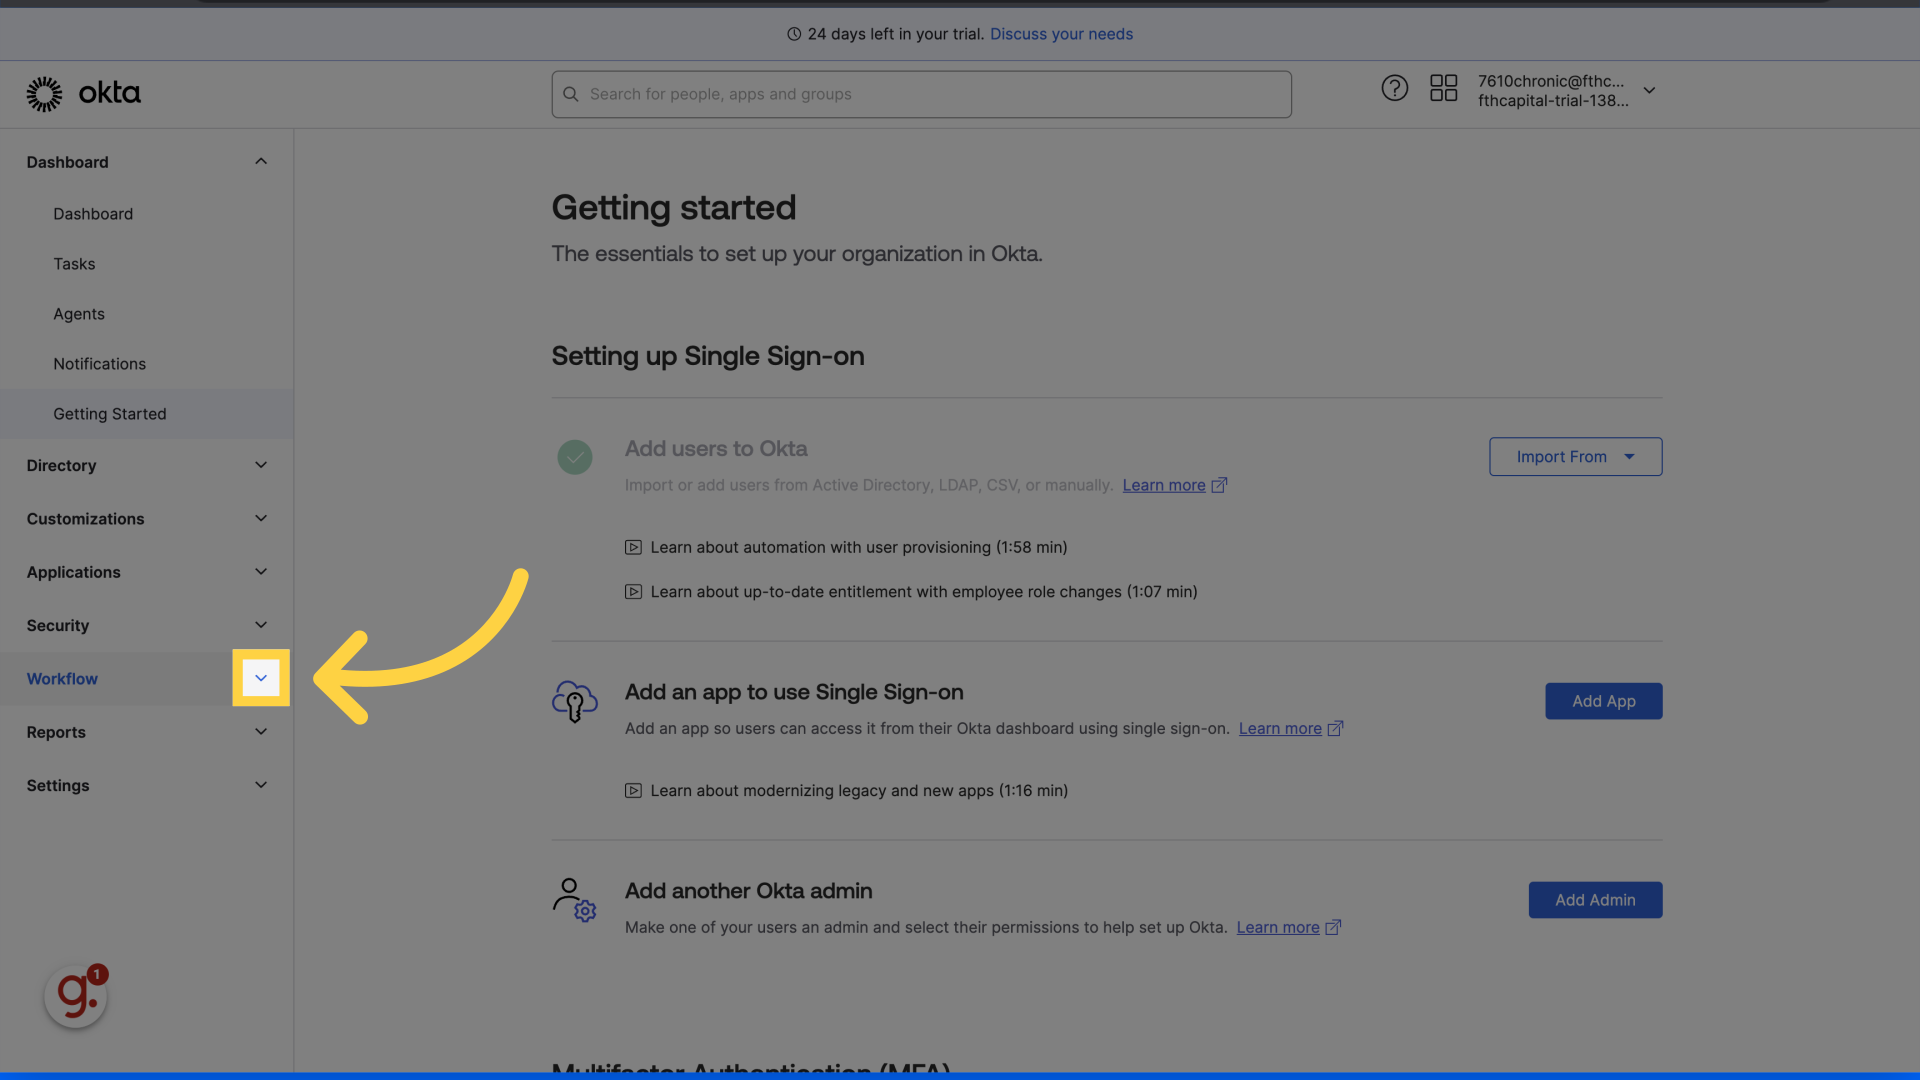
3. Click on Workflows
Click on Workflows on the side bar.
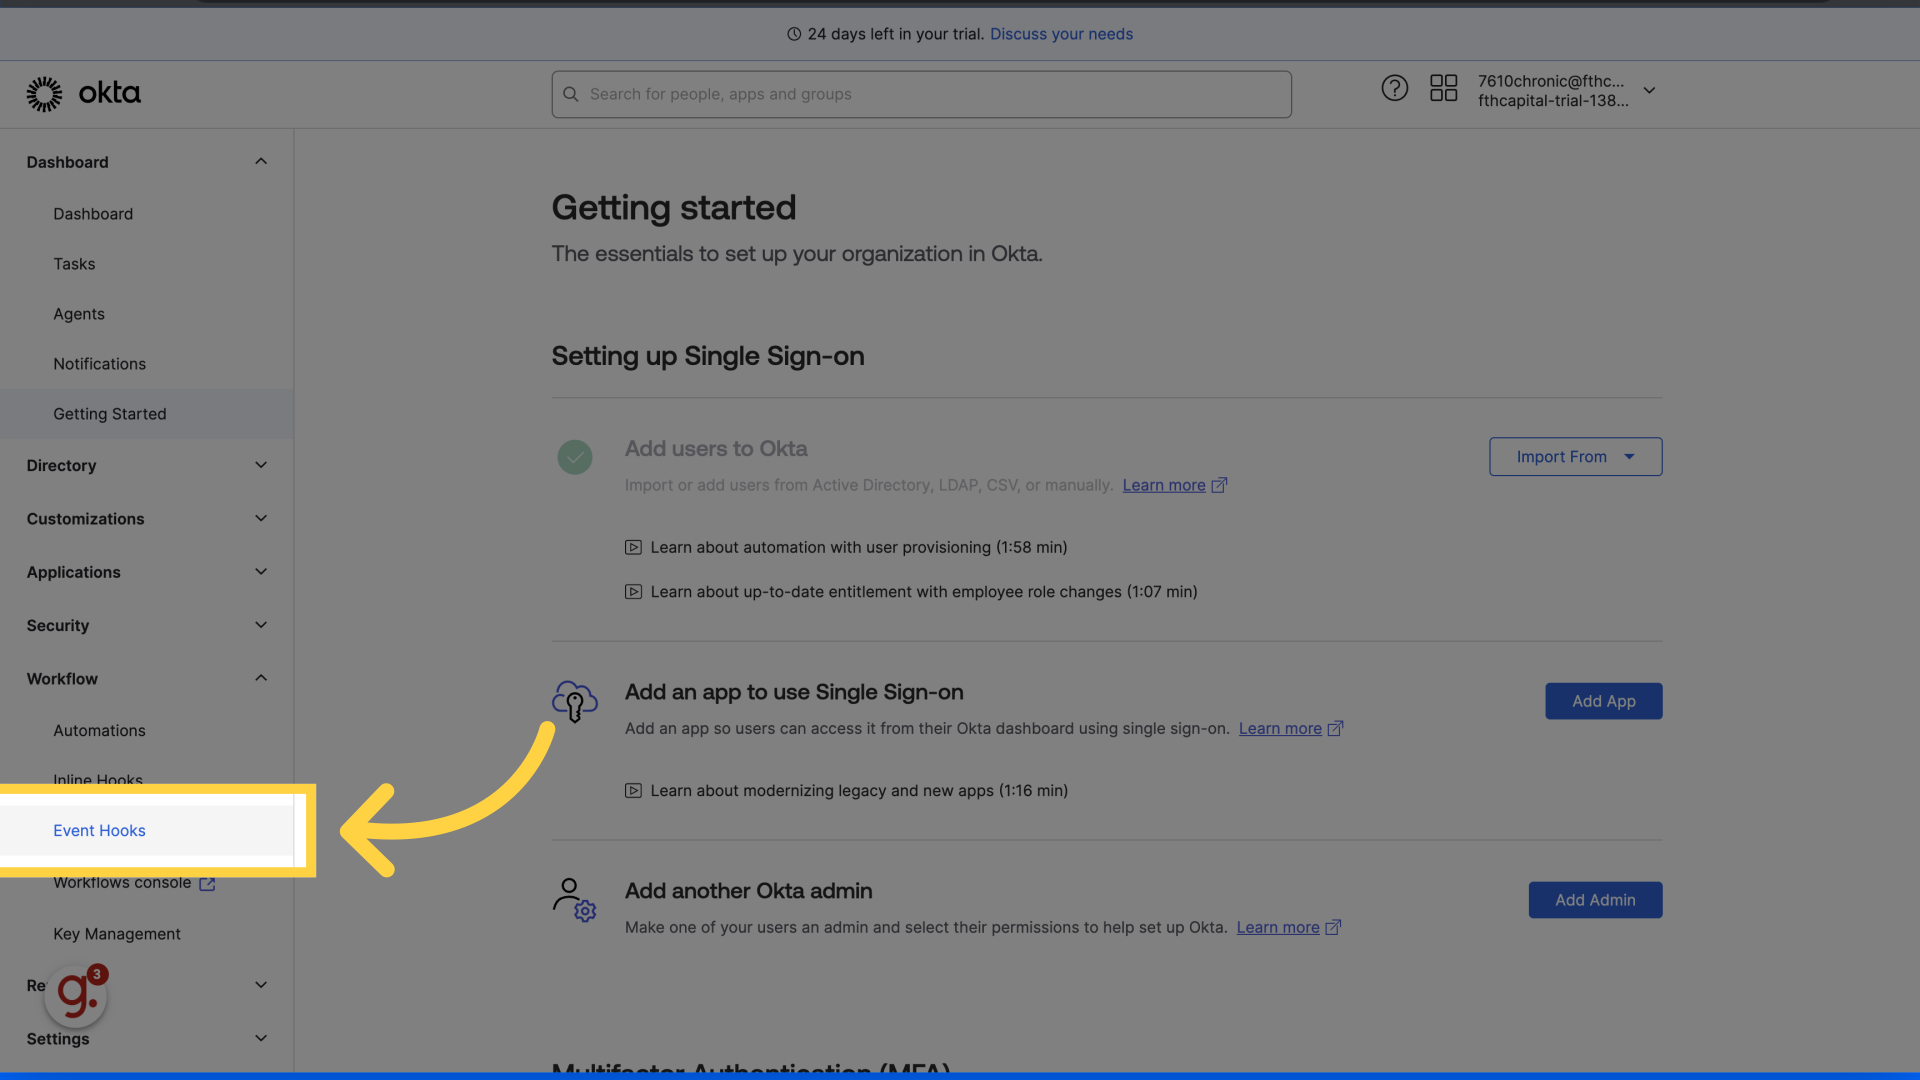
4. Click "Event Hooks"
Access the Event Hooks feature.
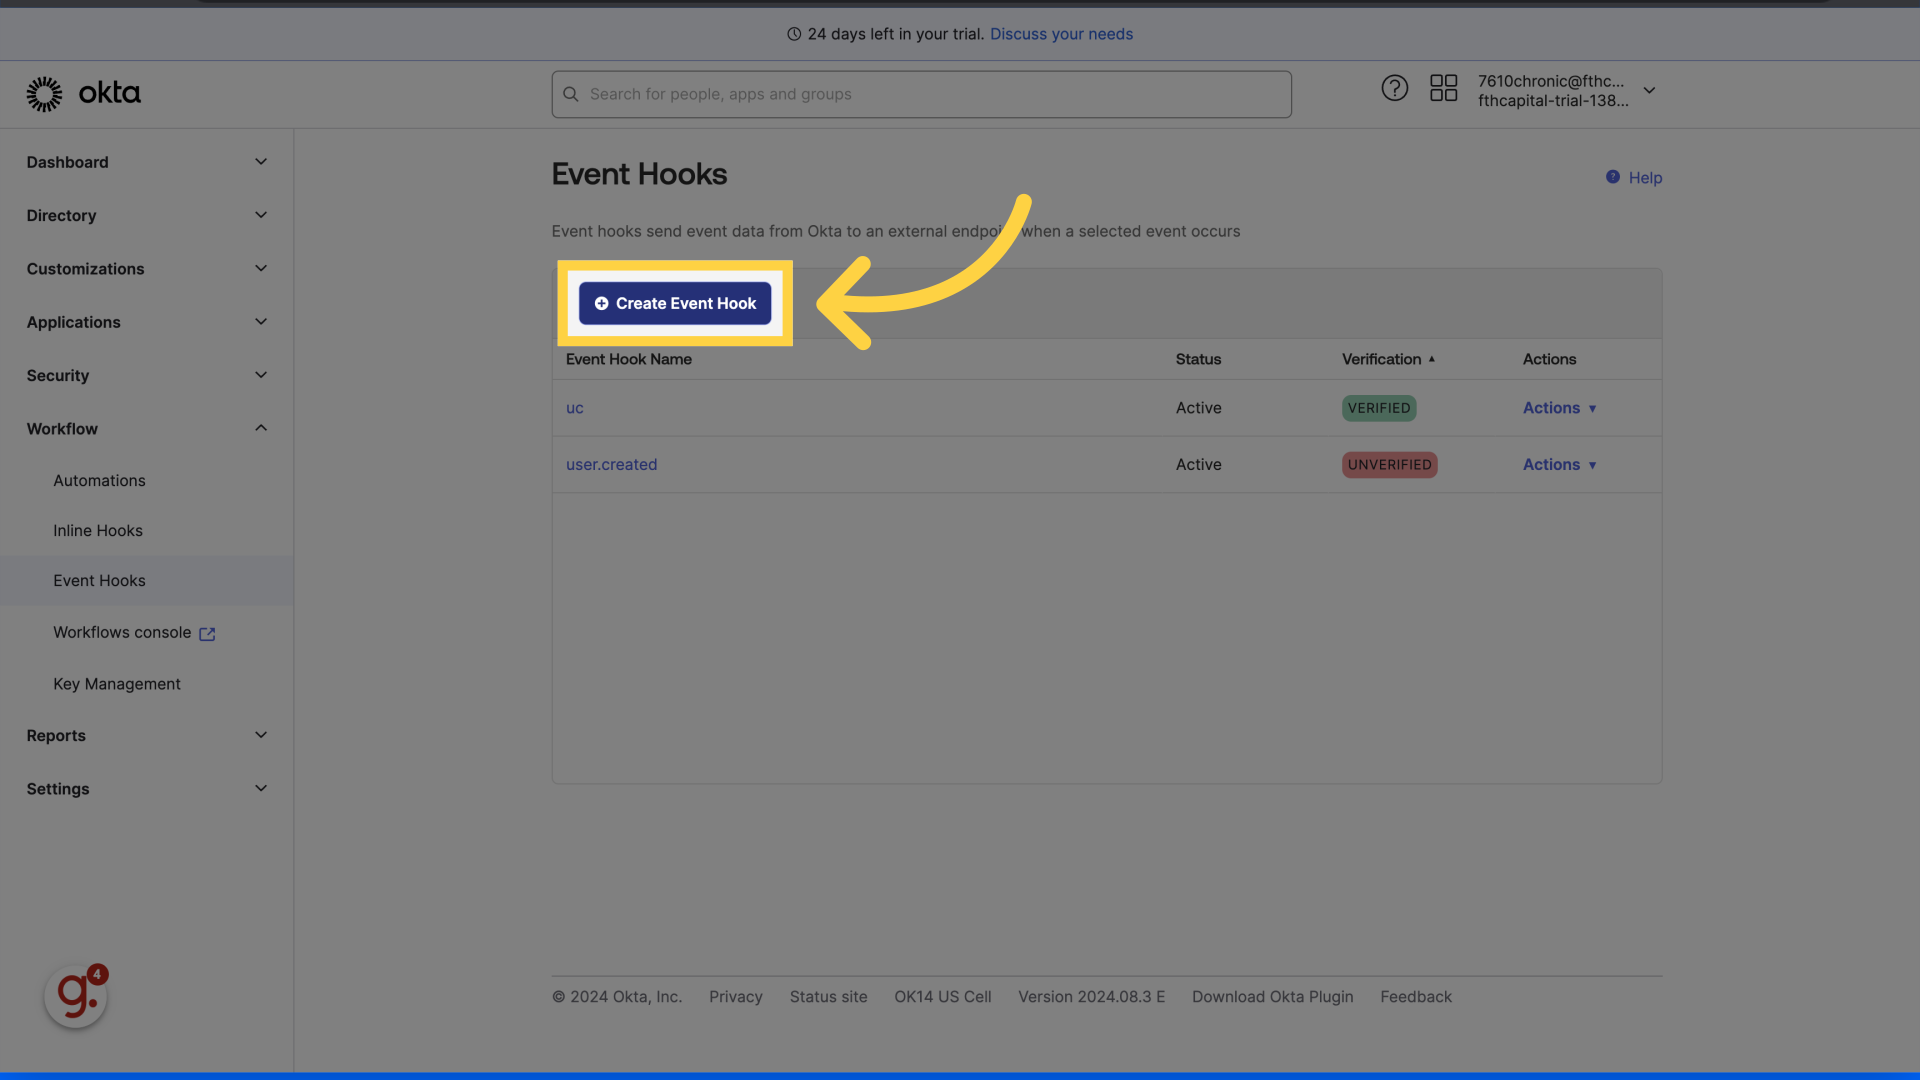
5. Click "Create Event Hook"
Initiate the creation of a new Event Hook.
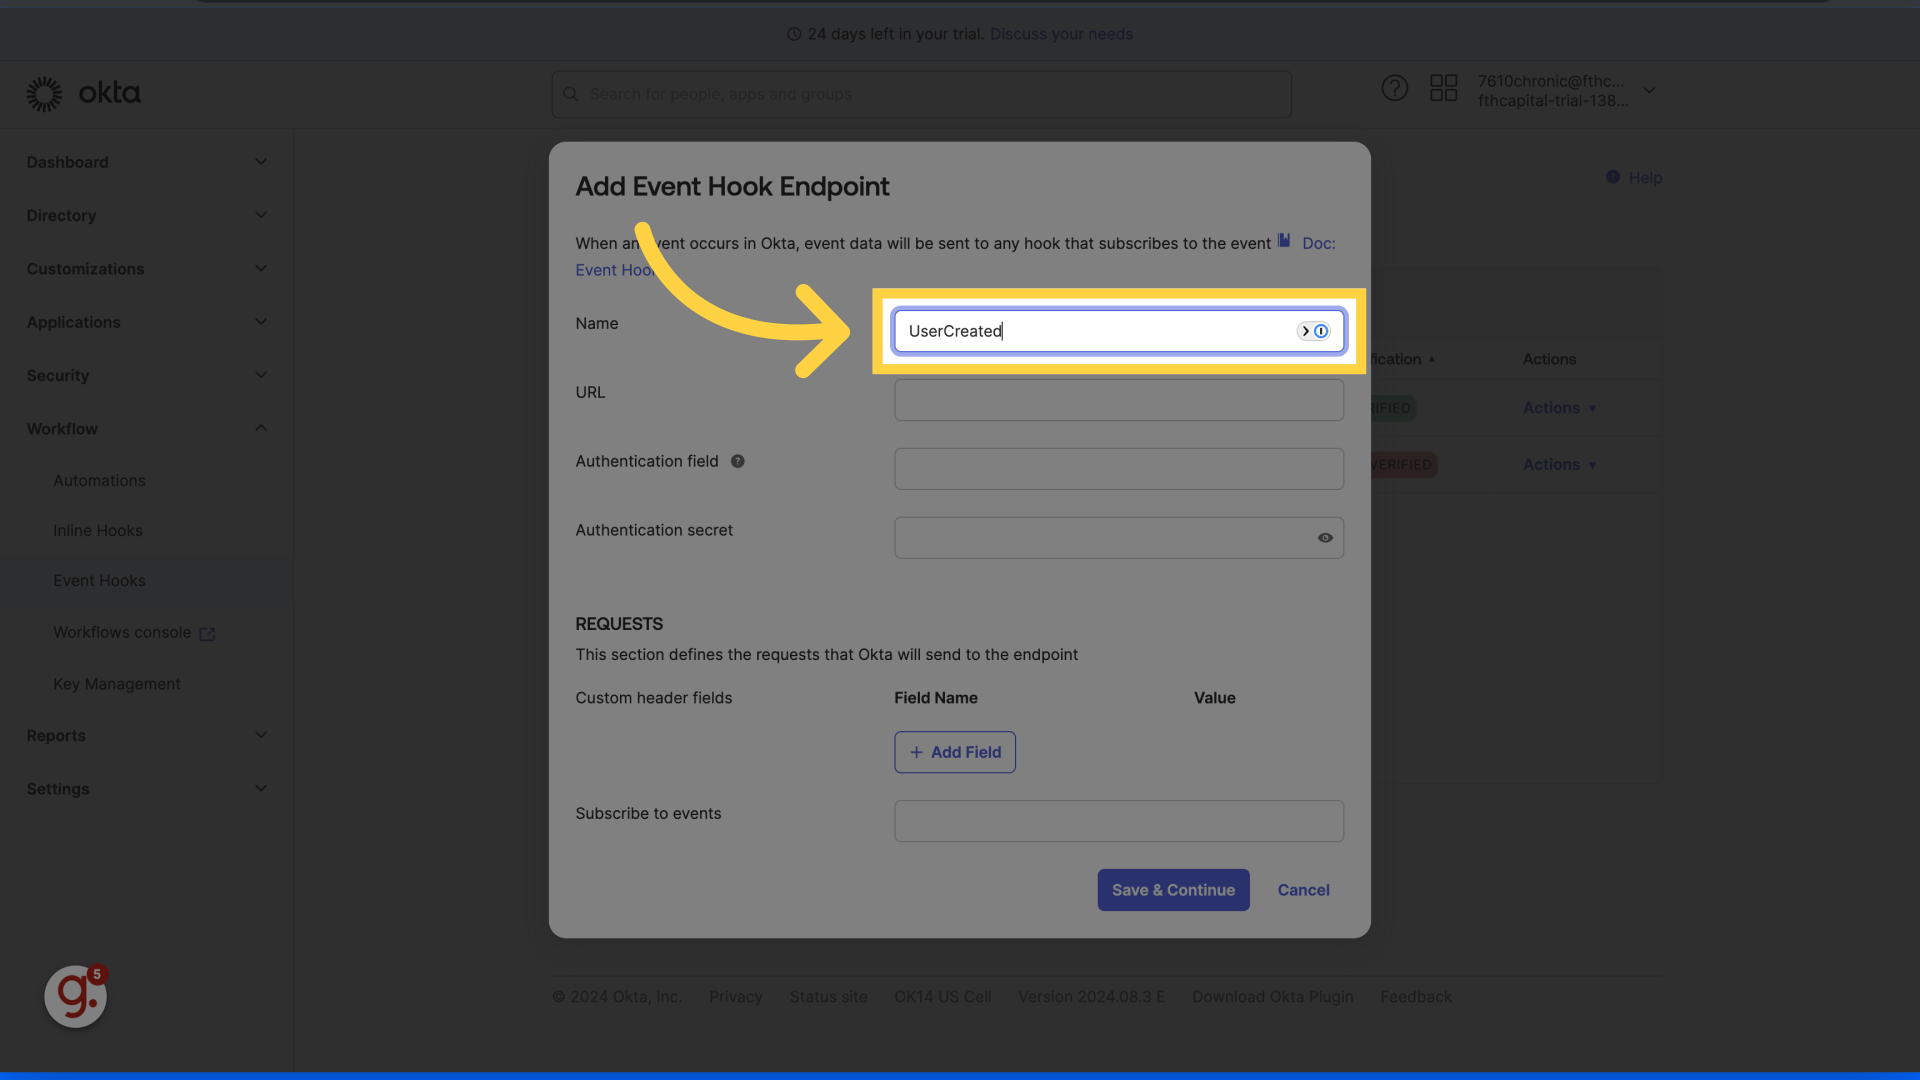
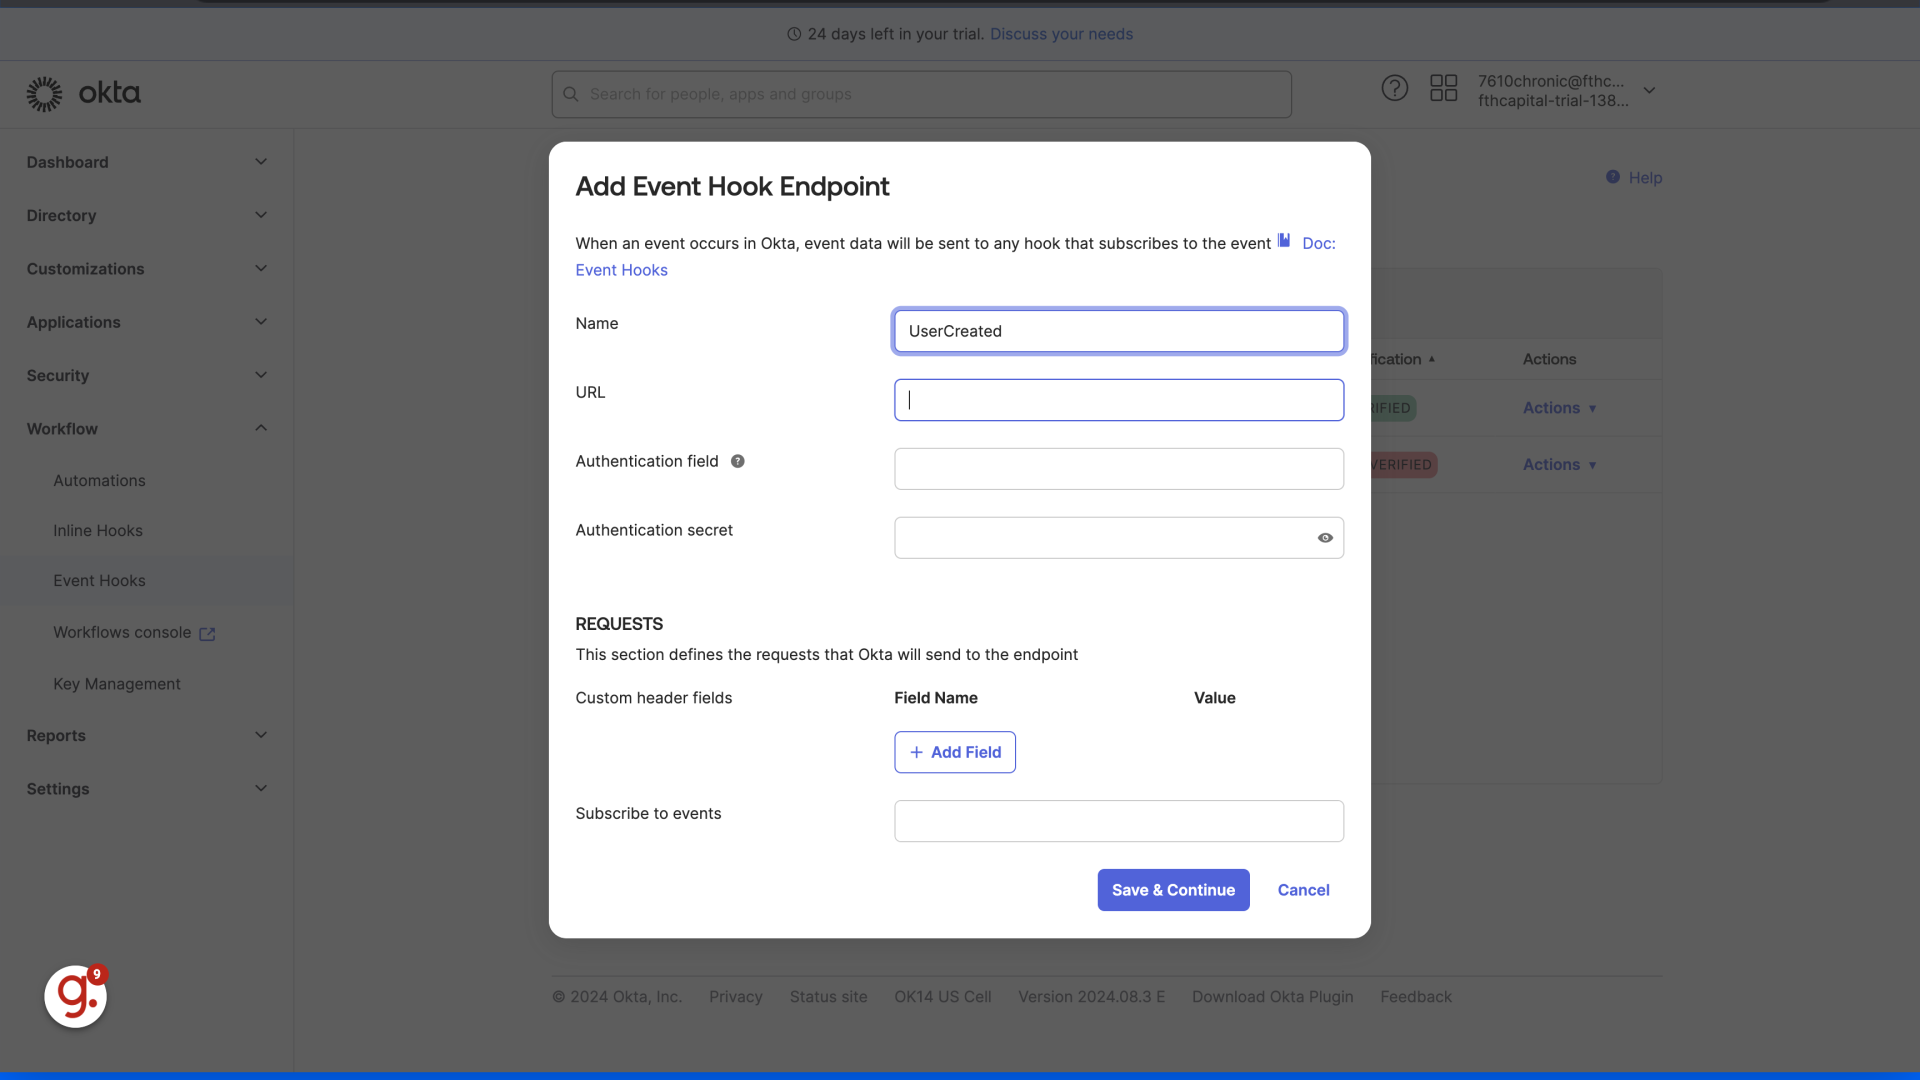
6. Enter a name for this webhook.
Chose a name for your webhook.
7. Switch to "app.keragon.com"
Navigate to your Keragon dashboard & select your workflow with an Okta trigger.
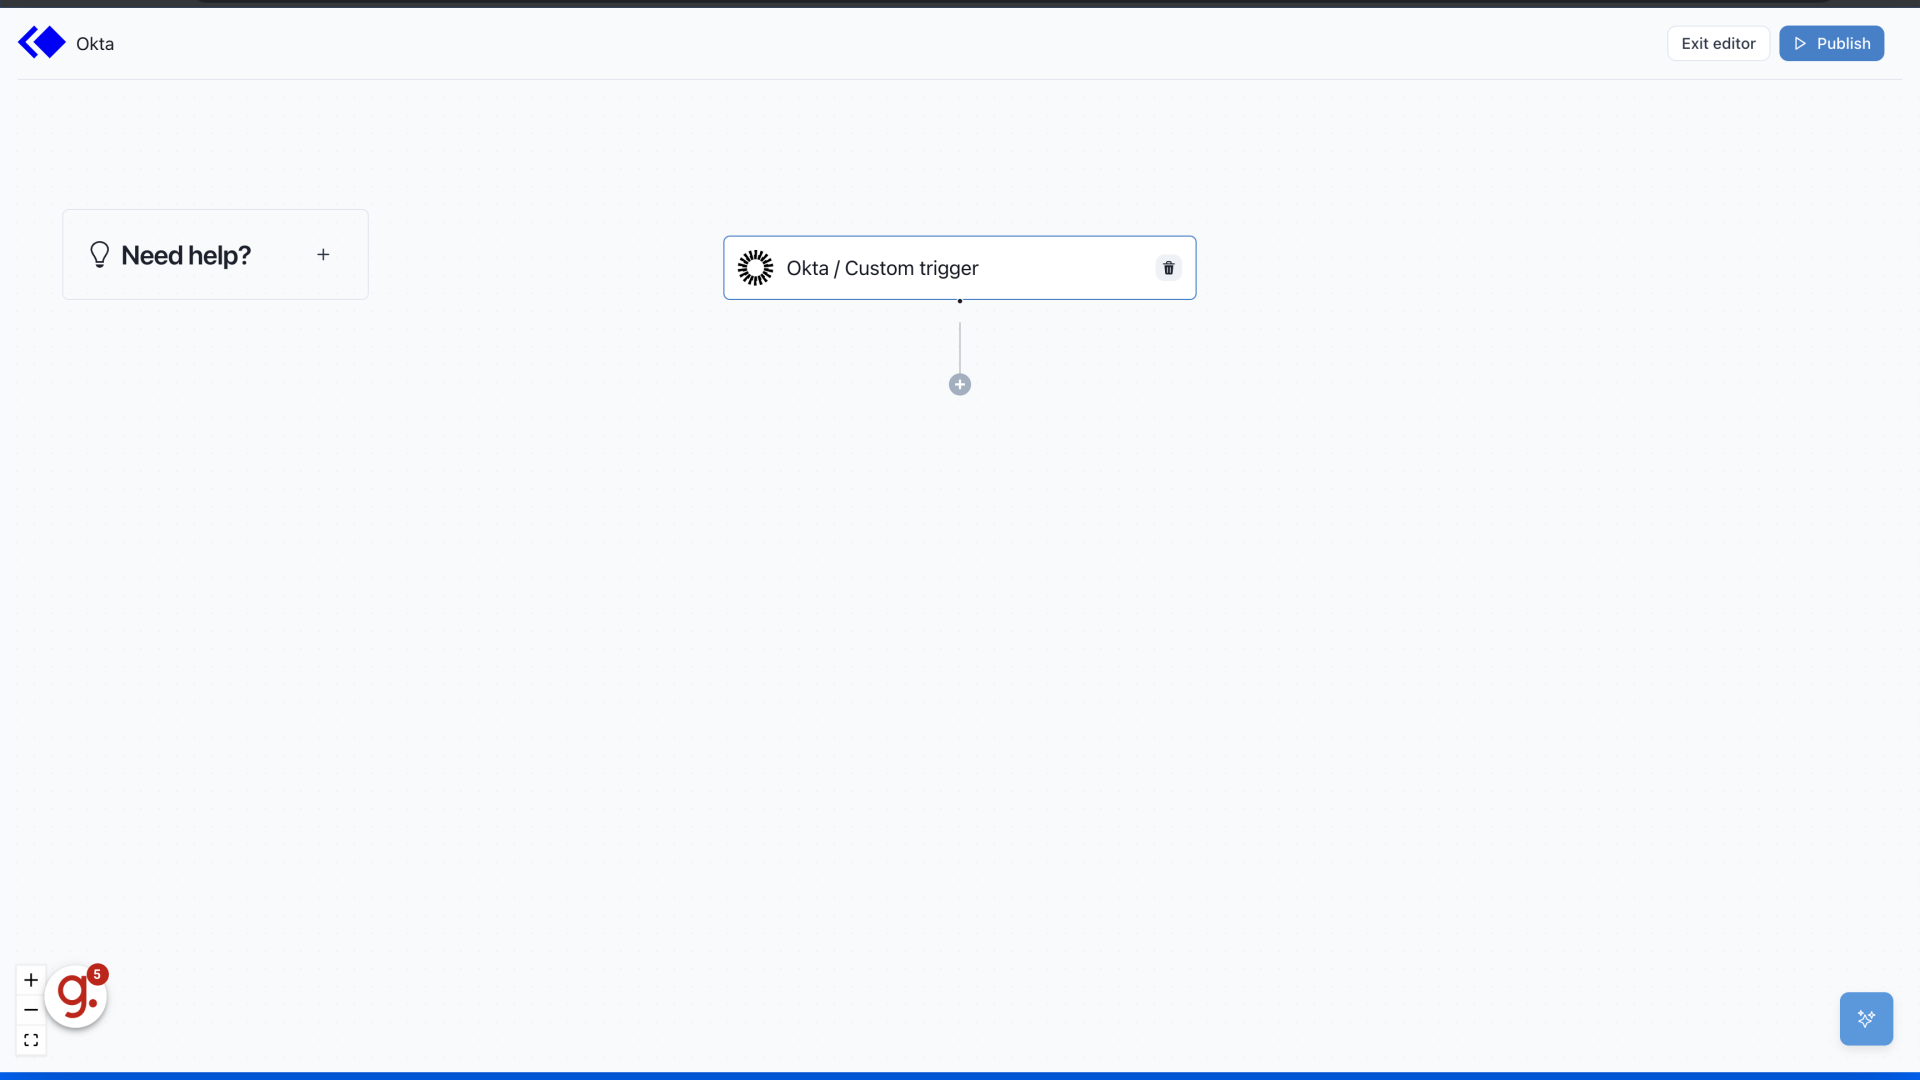
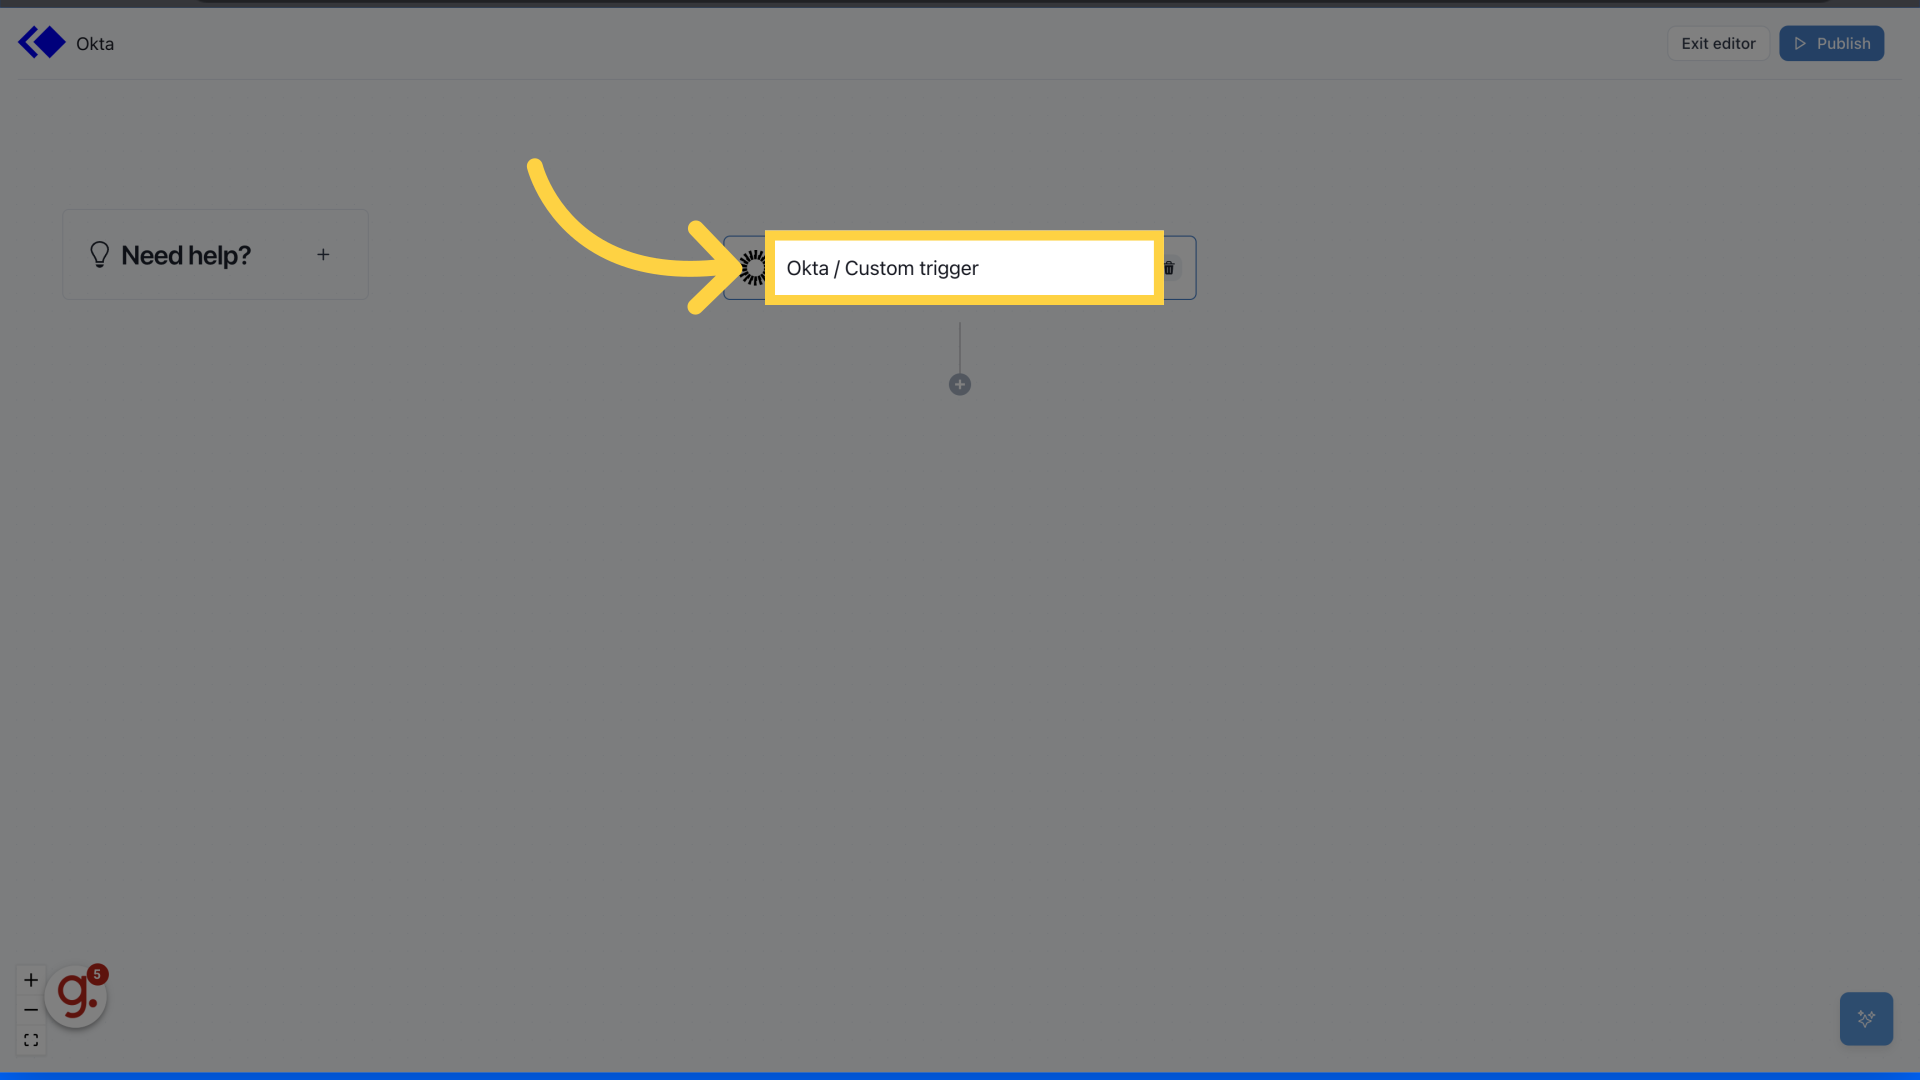
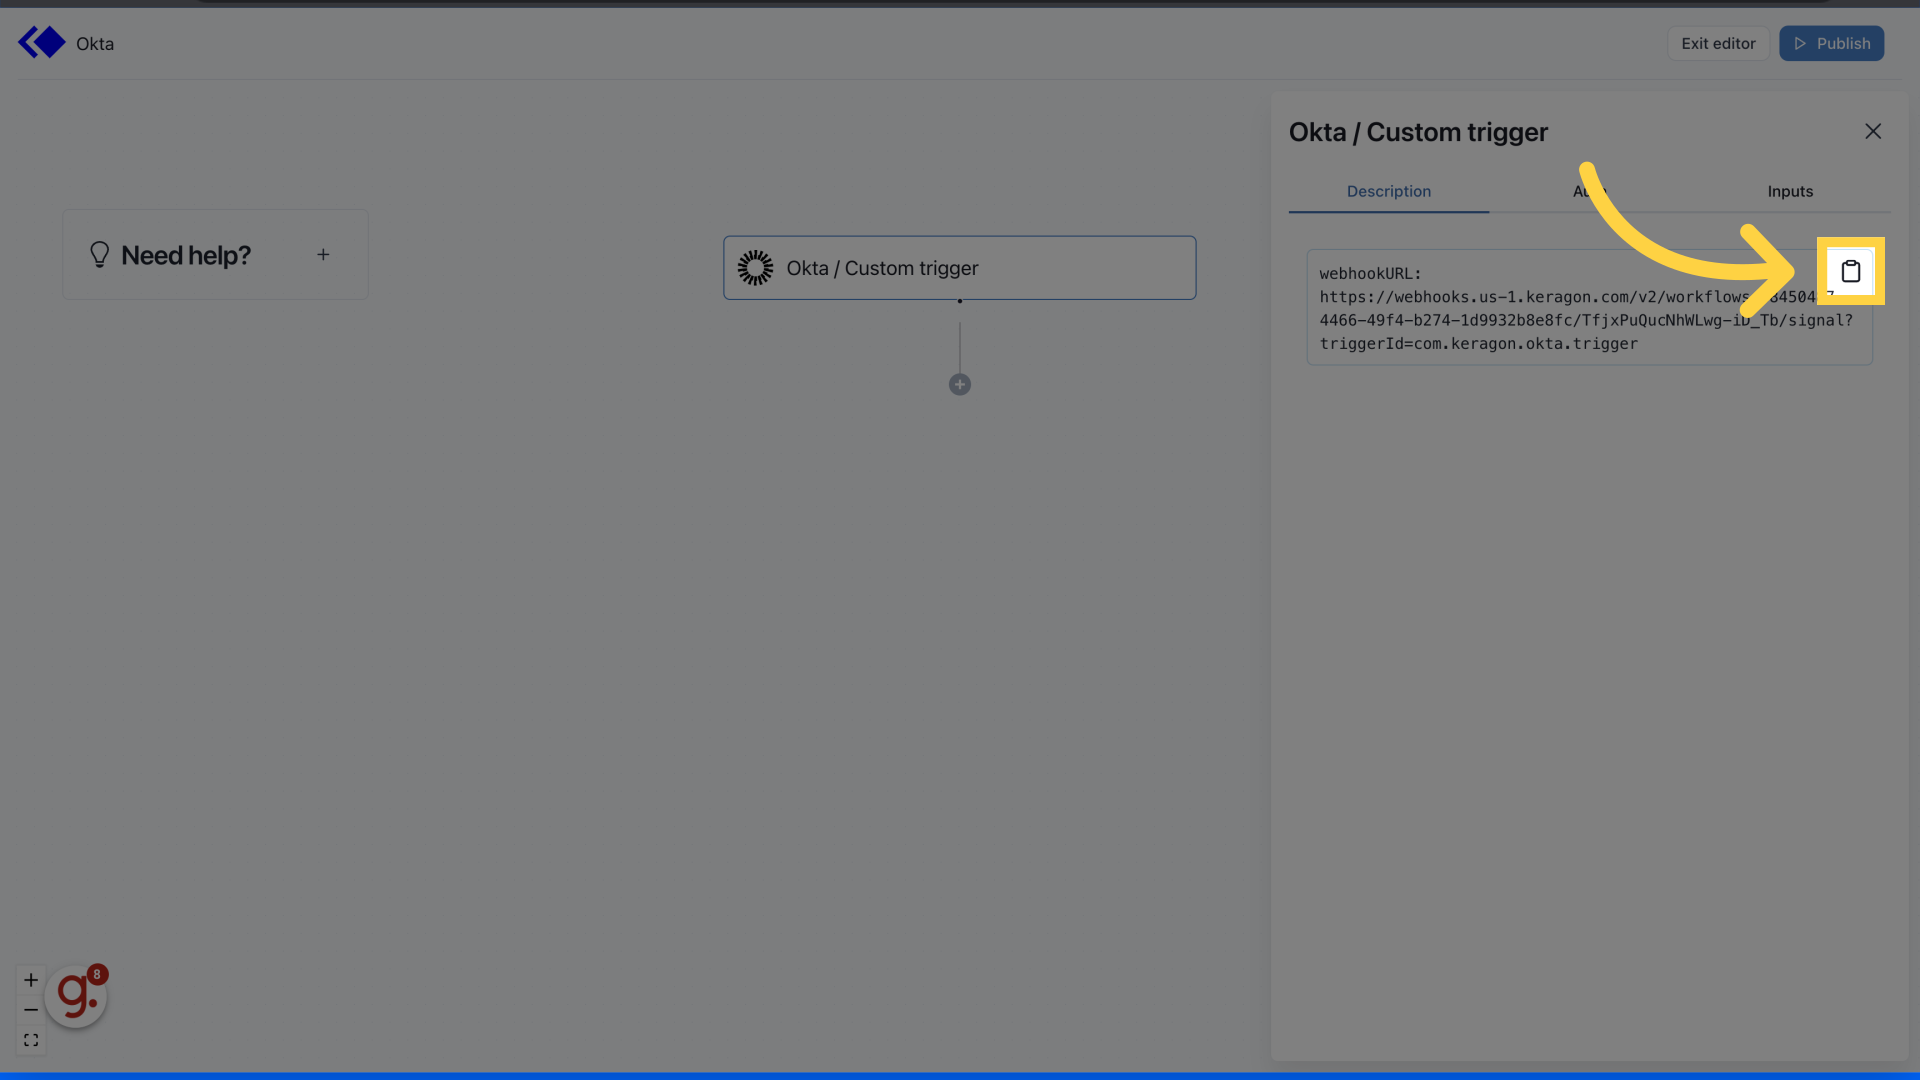
8. Click "Okta / Custom trigger"
Select "Okta / Custom trigger" option.
9. Copy the Webhook URL
Copy the Webhook URL.
10. Switch to "trial-1385130-admin.okta.com"
Switch back to the Okta admin dashboard.
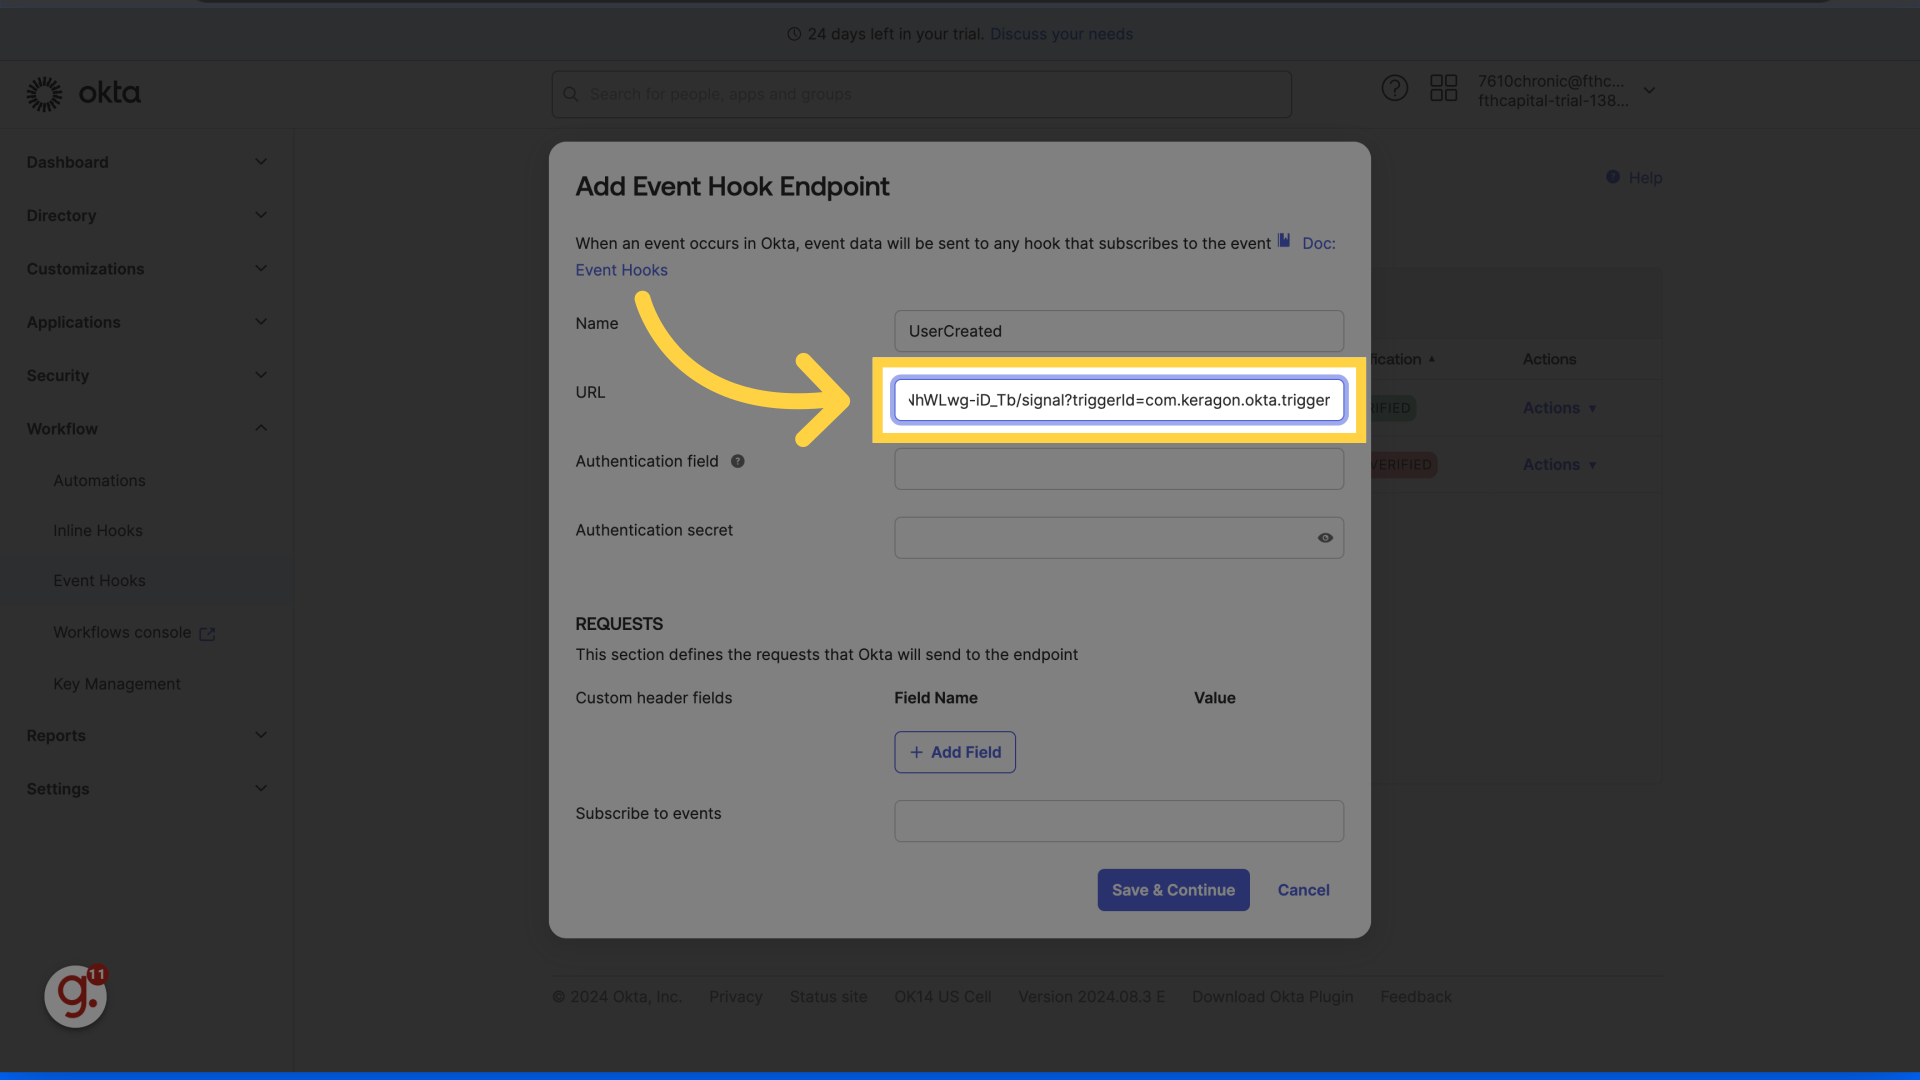
11. Paste the Webhook URL here.
Paste the Webhook URL in the URL text box.
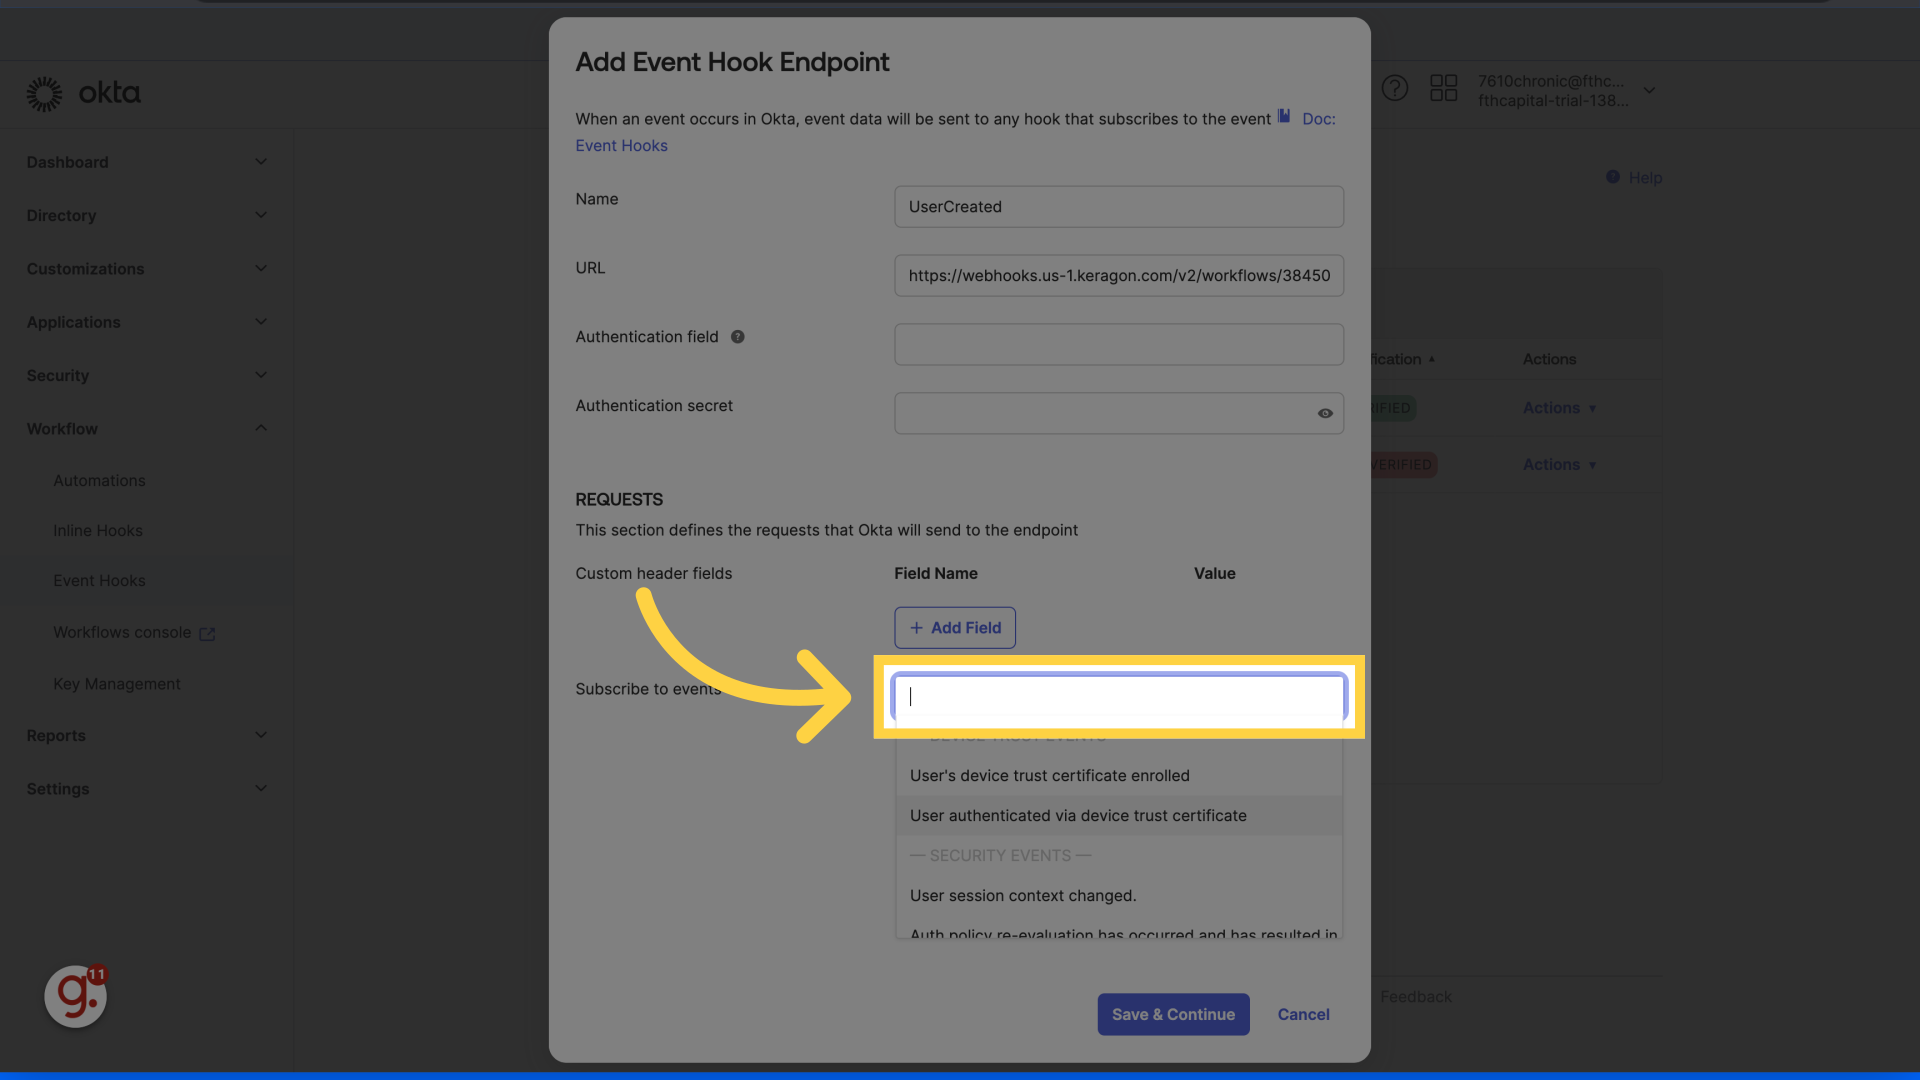
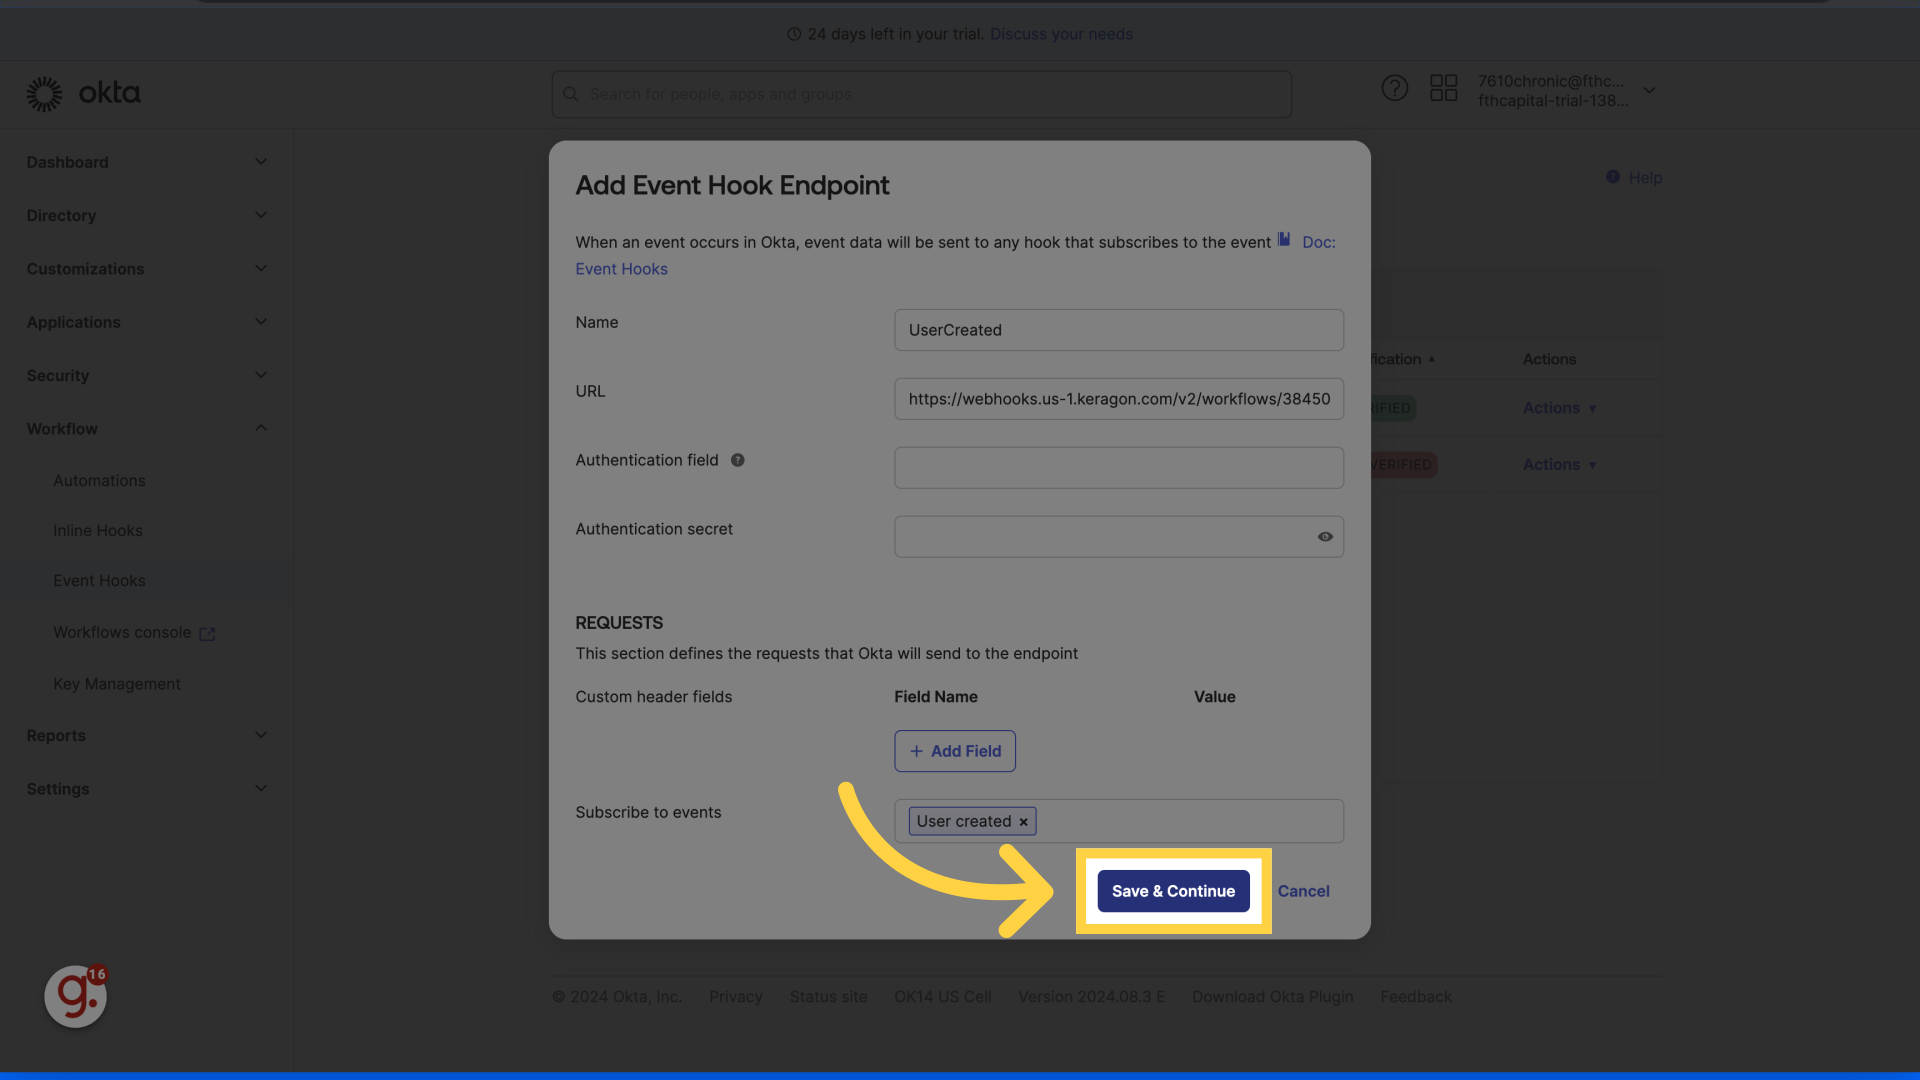
12. Select the events that will trigger the webhook
Select the events that will trigger the webhook
13. Click "Save & Continue"
Click on "Save & Continue.
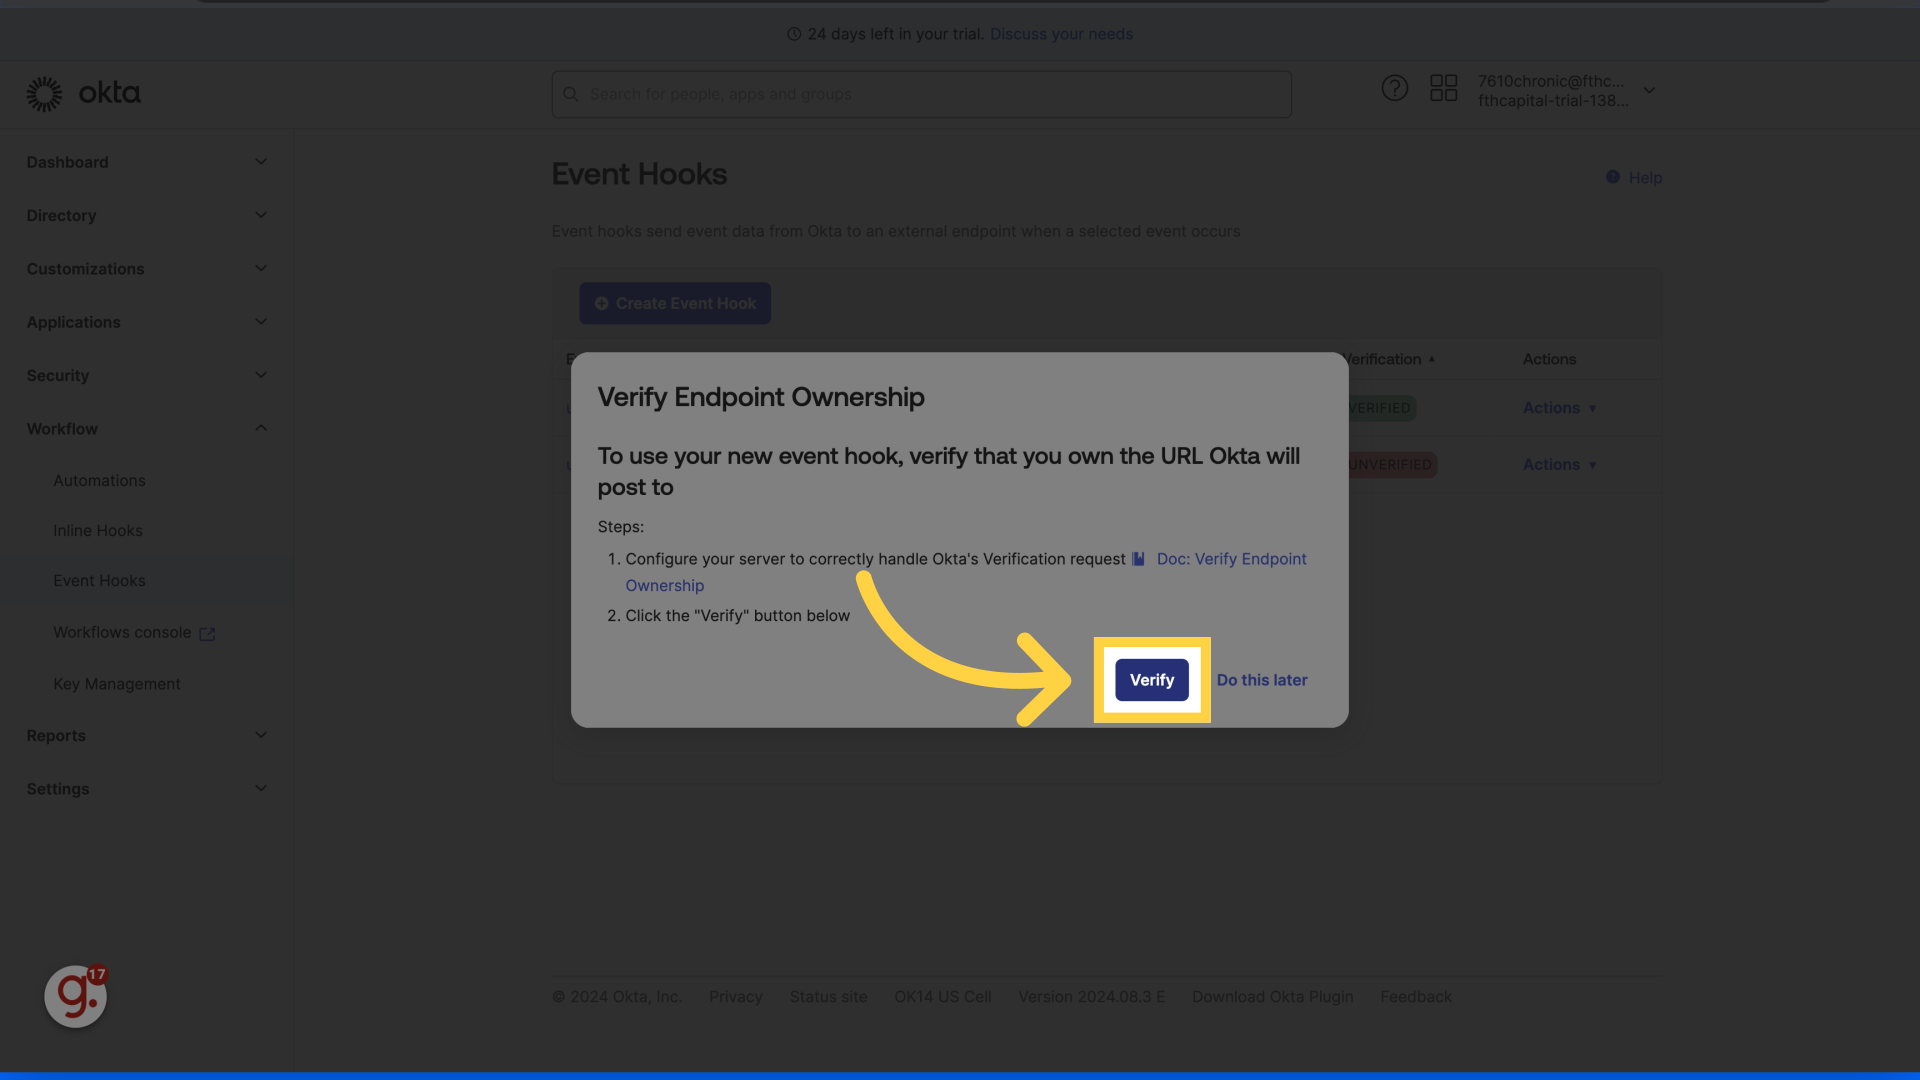
14. Click "Verify"
Click verify to verify the webhook.
15. Sending a test event to Keragon
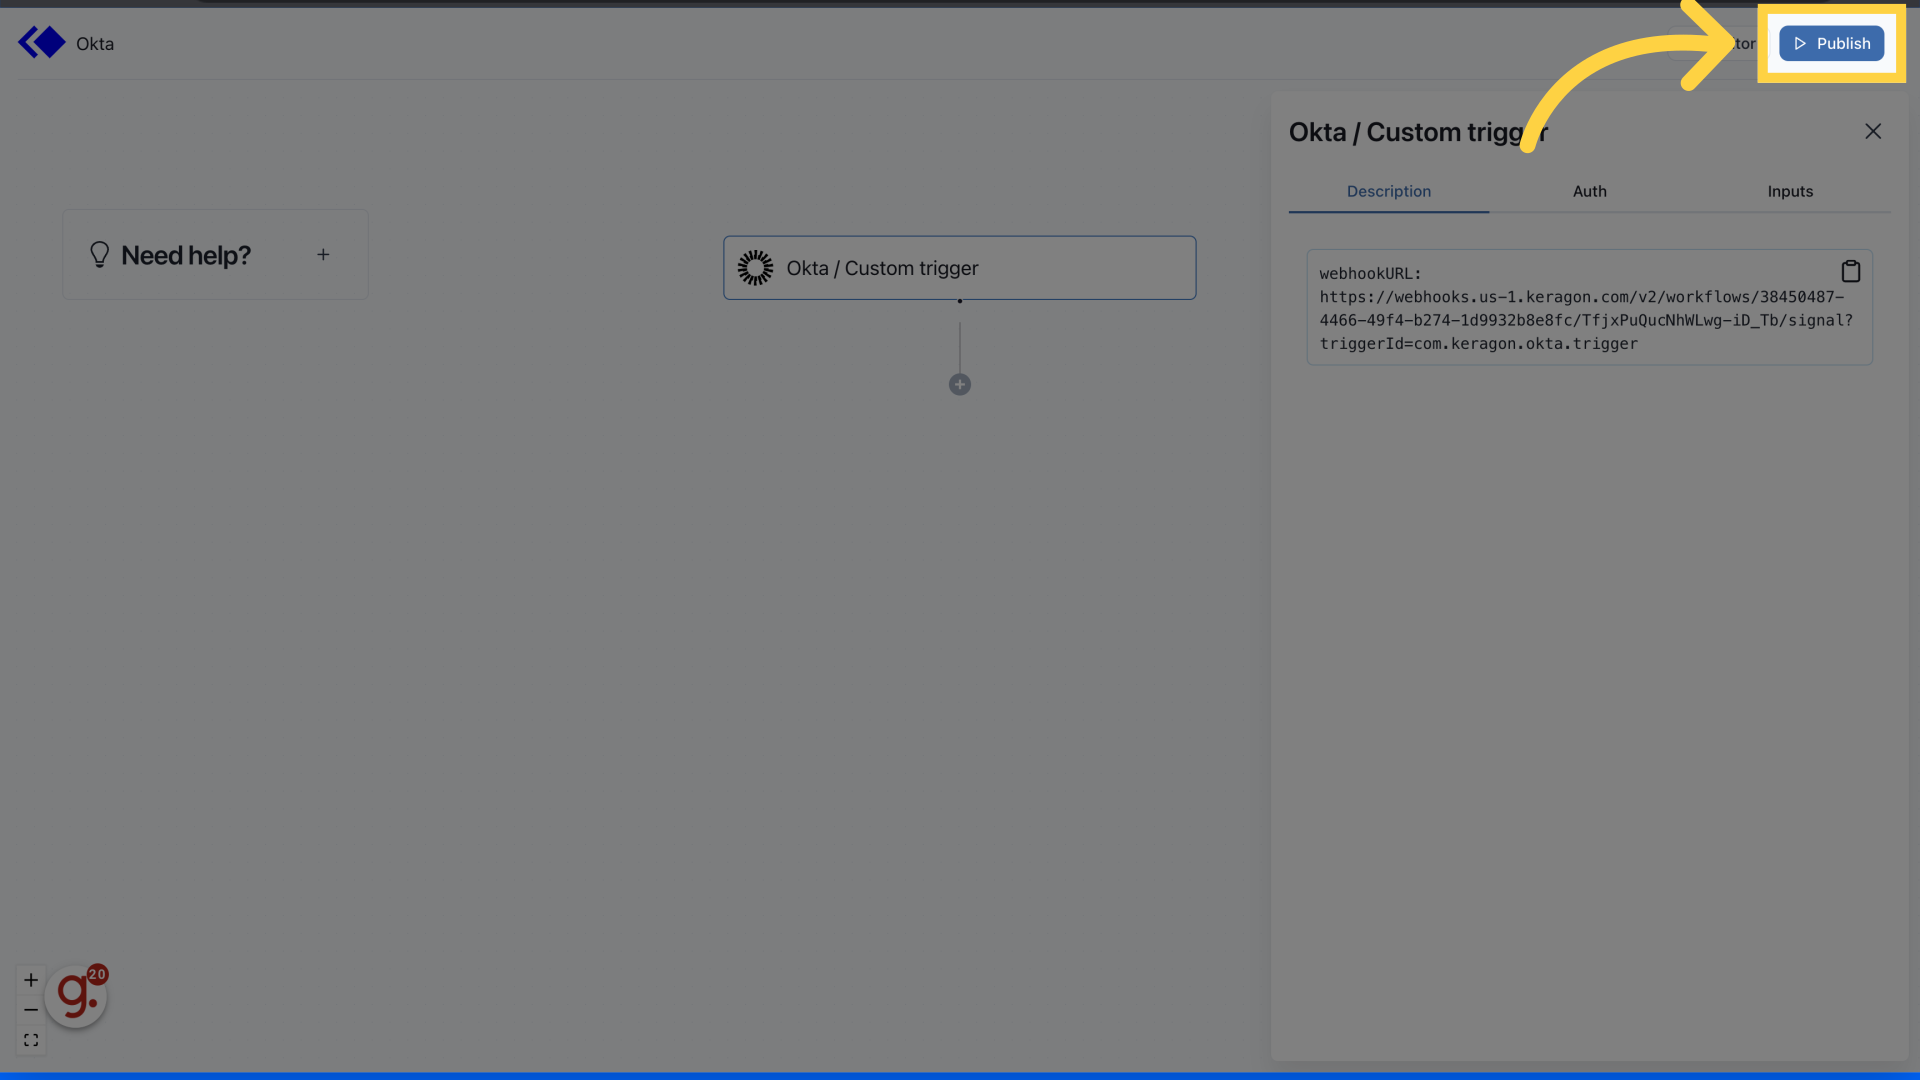
16. Click "Publish"
Make sure your Keragon workflow is published by clicking the publish button in the top right part of the dashboard.
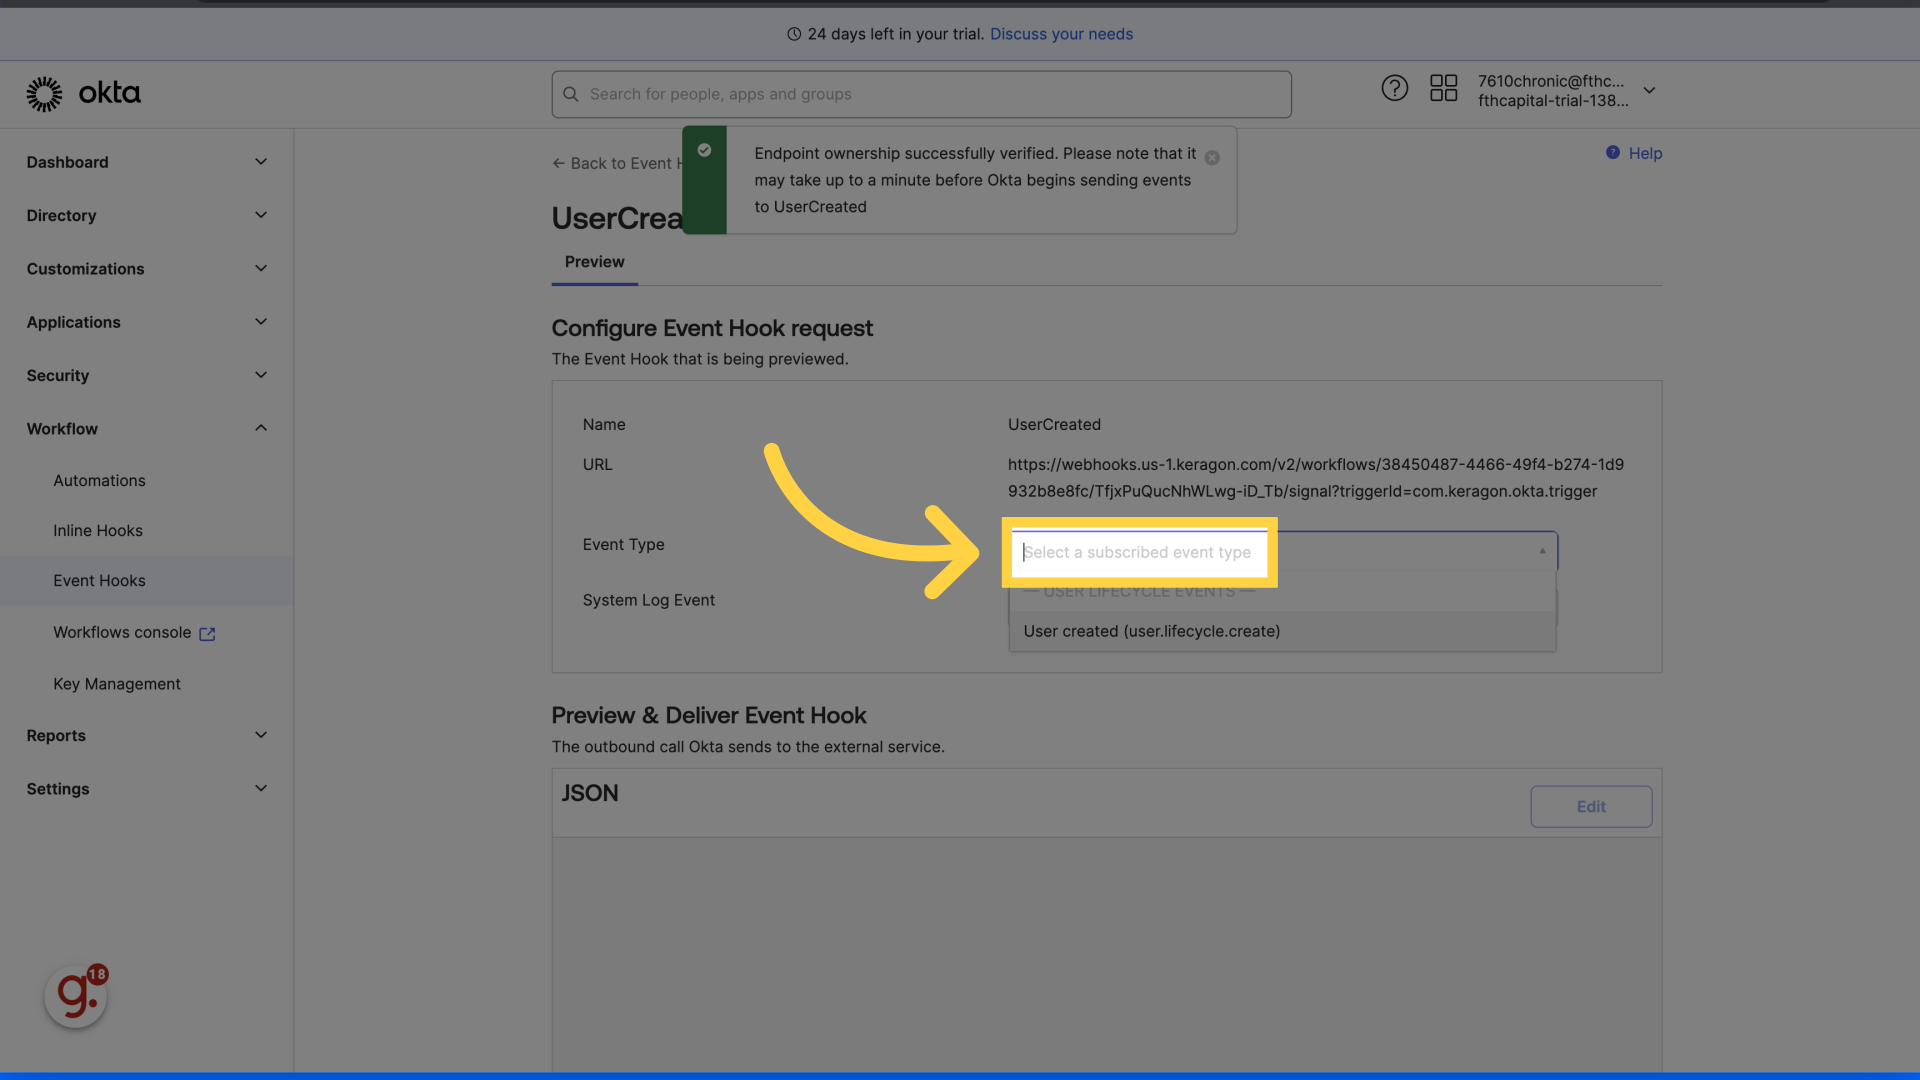
17. Select an event type
Select a subscribed event type.
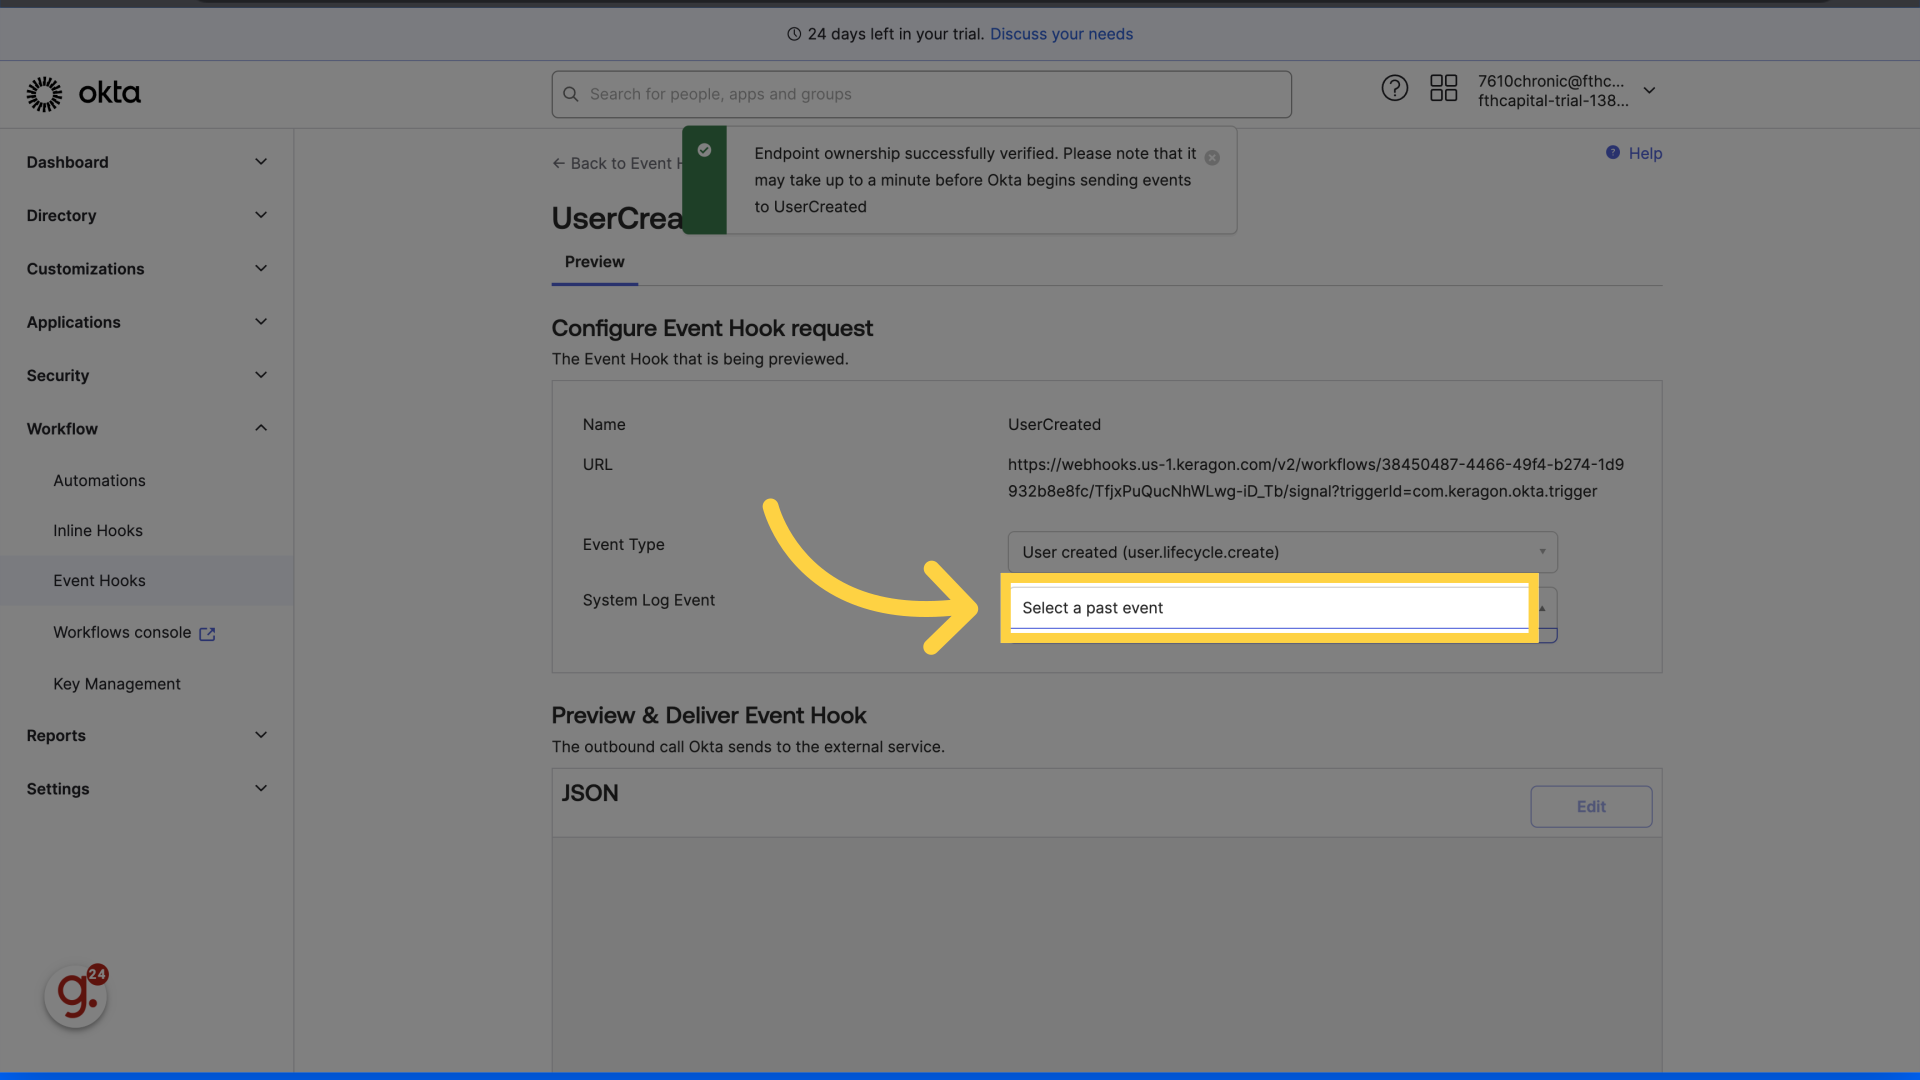
18. Click "Select a past event"
Select a past event.
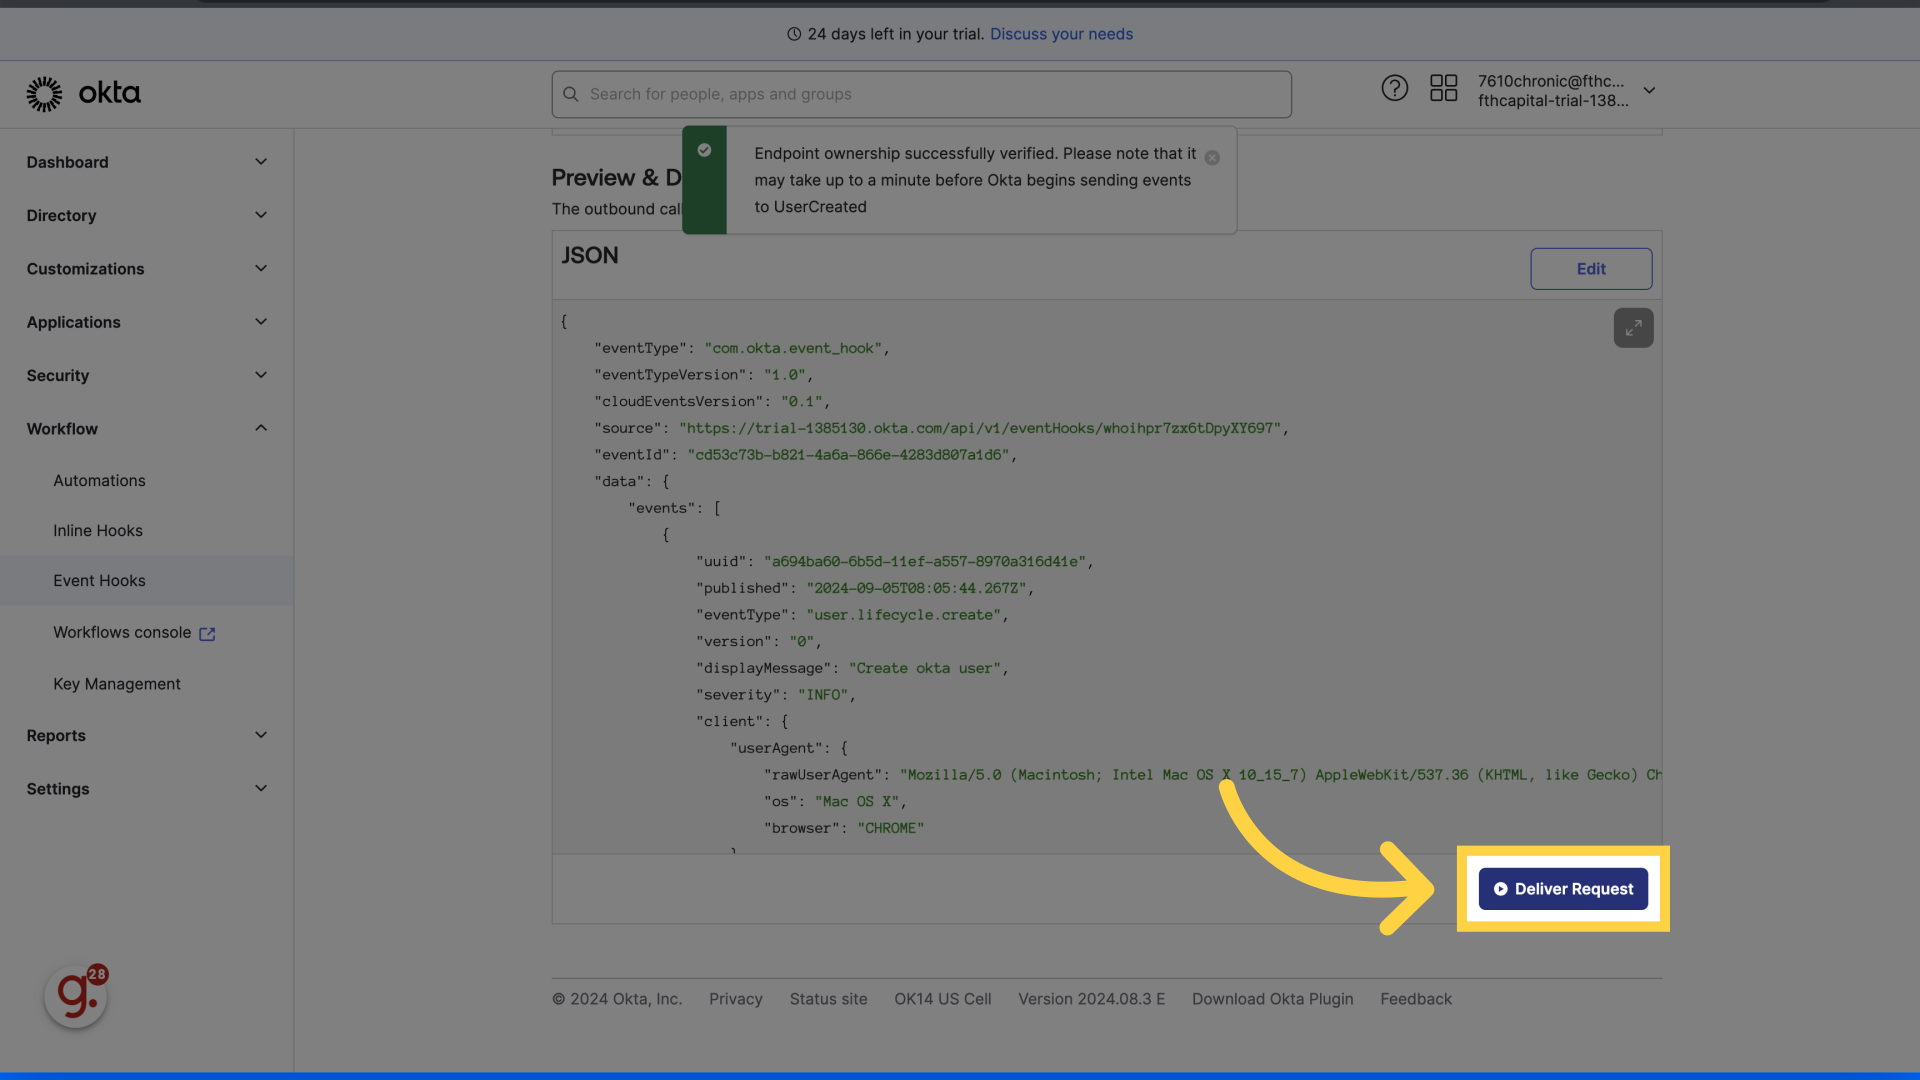
19. Click "Deliver Request"
Click on "Deliver Request.
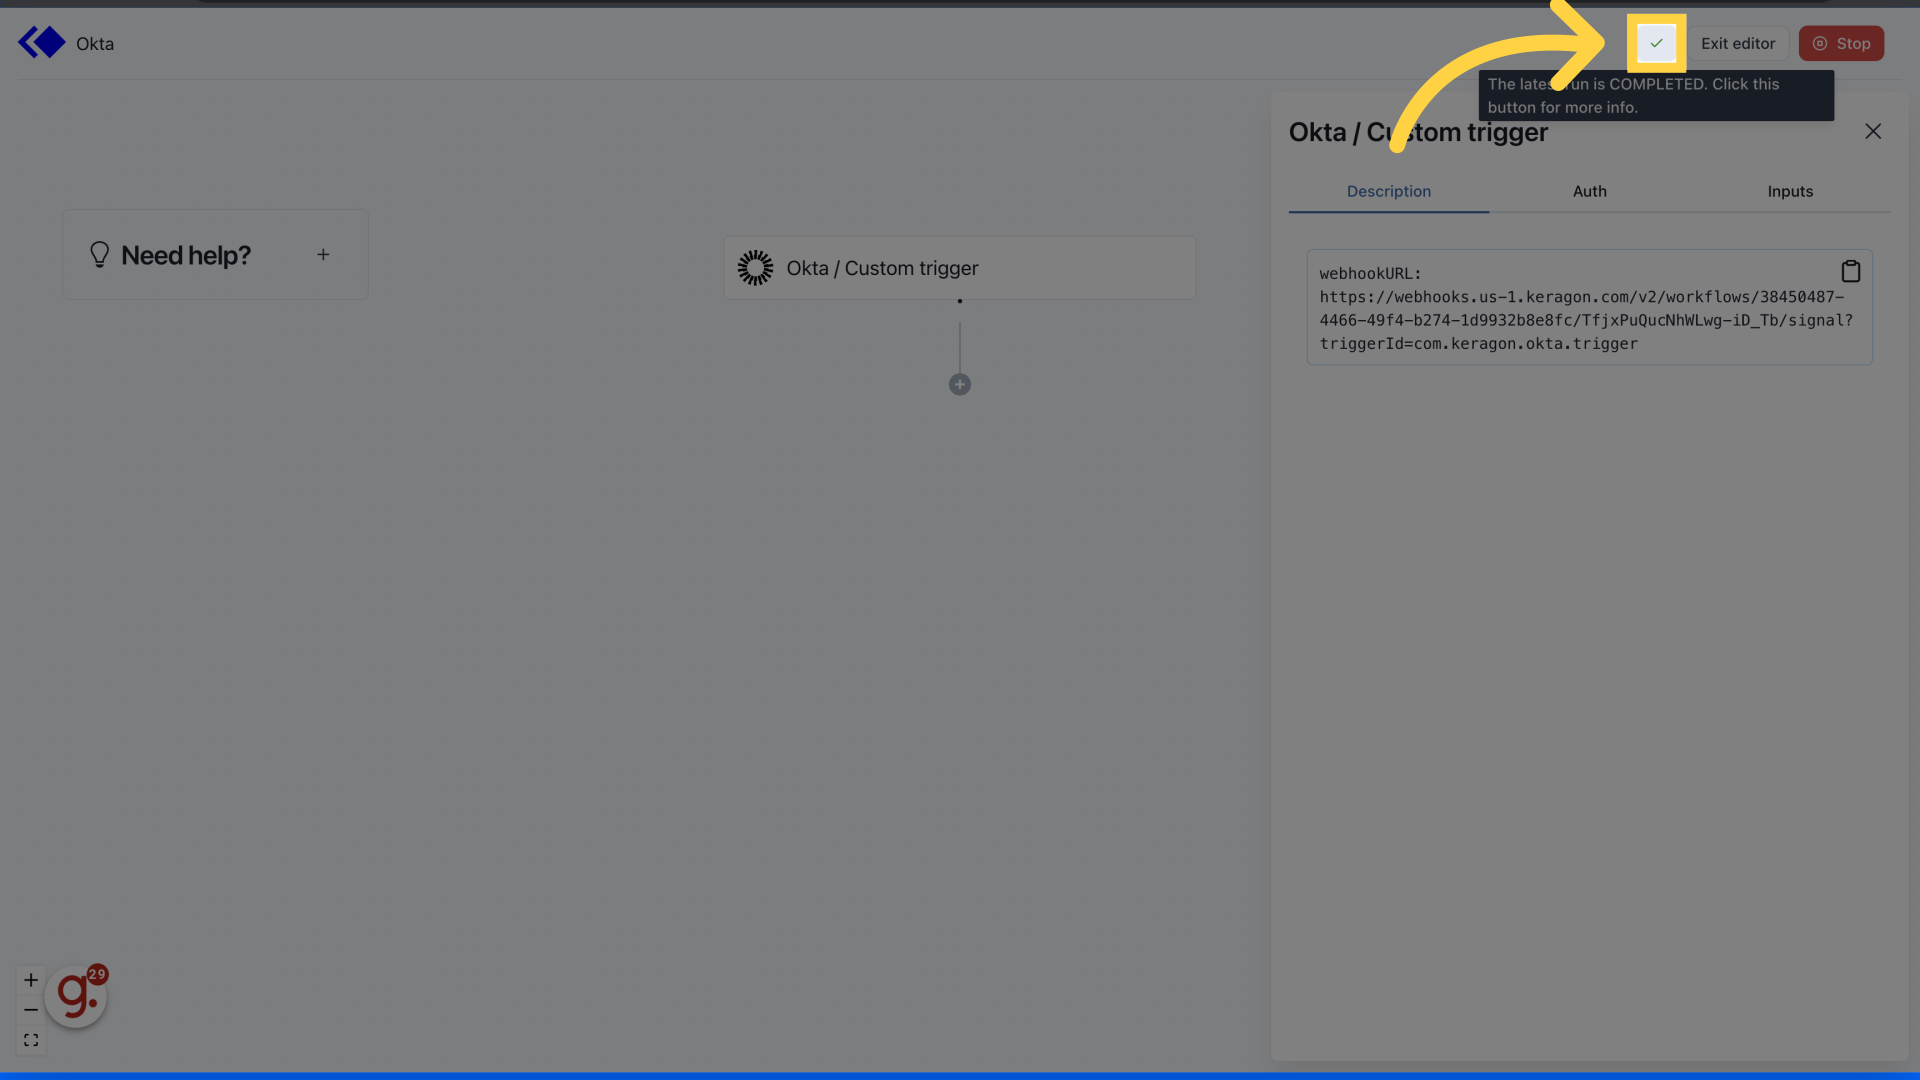
20. Click here
When the green check mark appears, click on it.
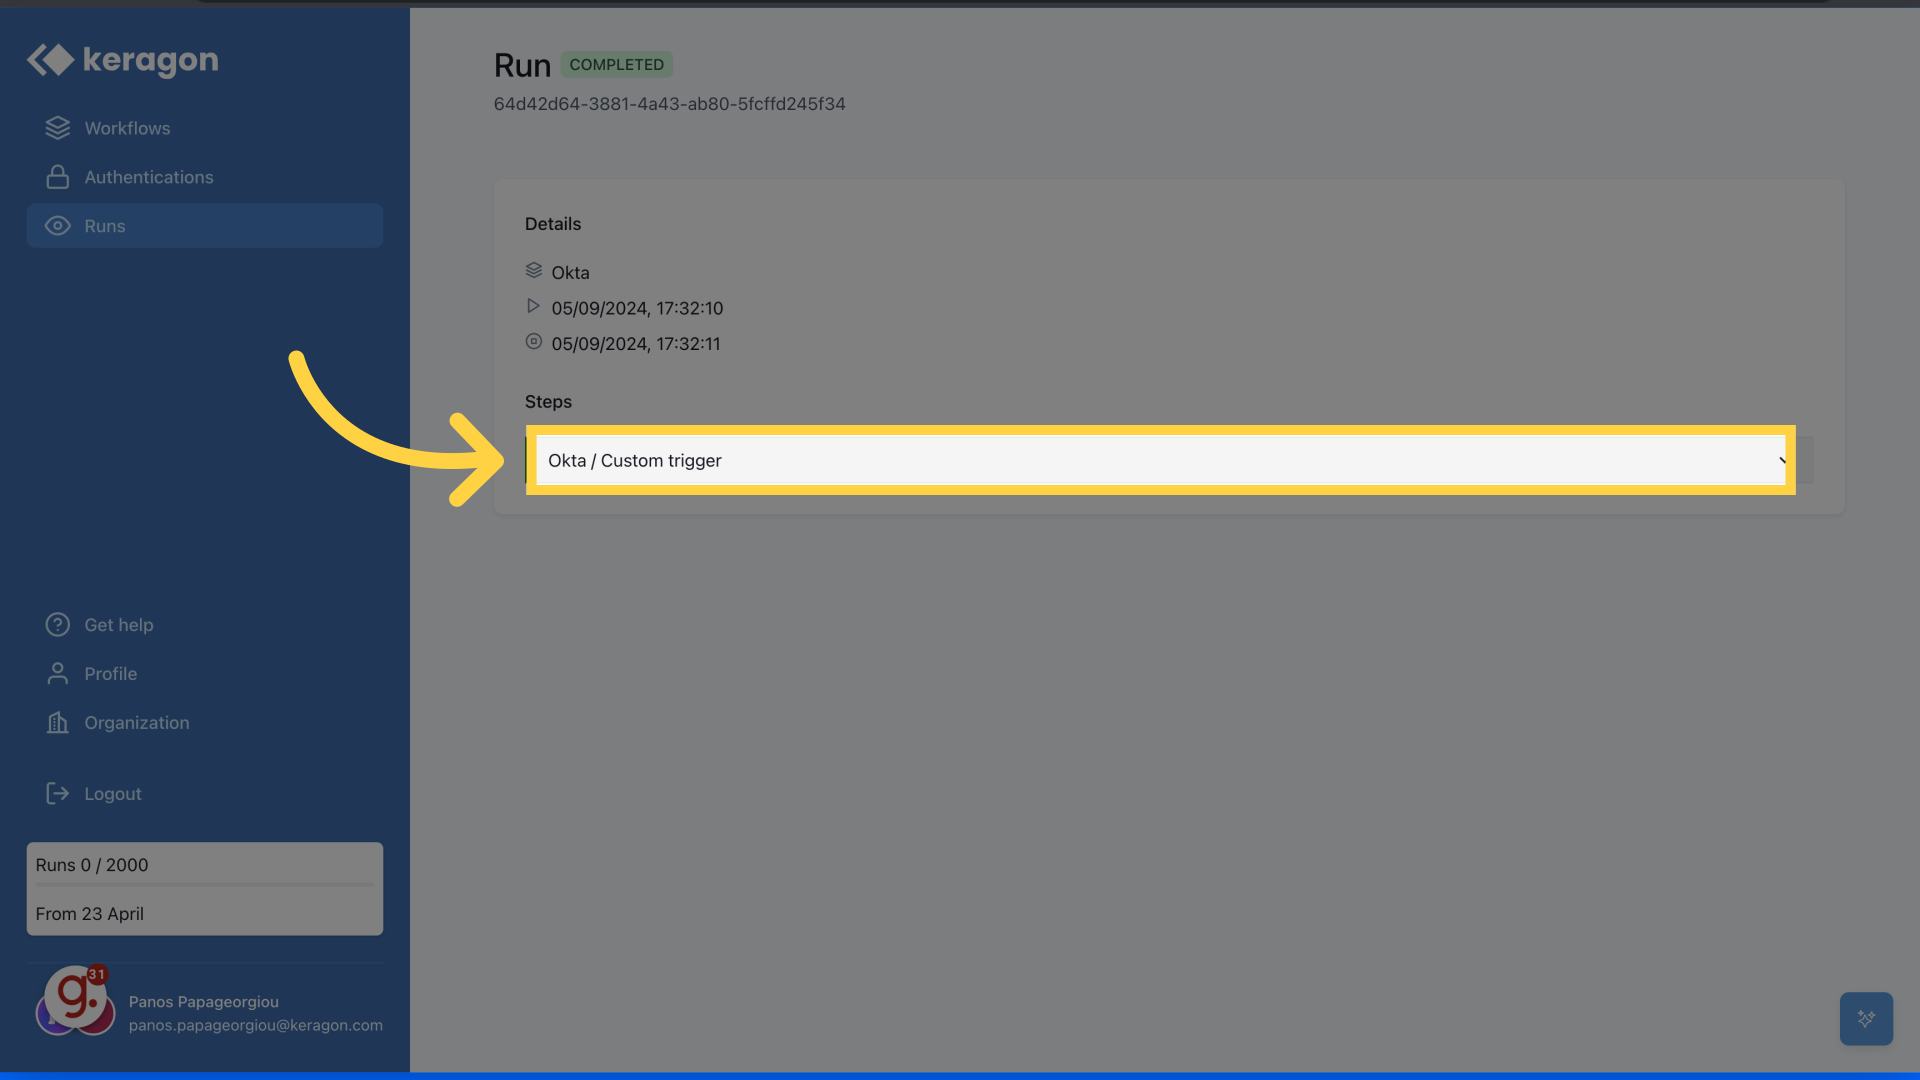
21. Click "Okta / Custom trigger"
Select "Okta / Custom trigger.
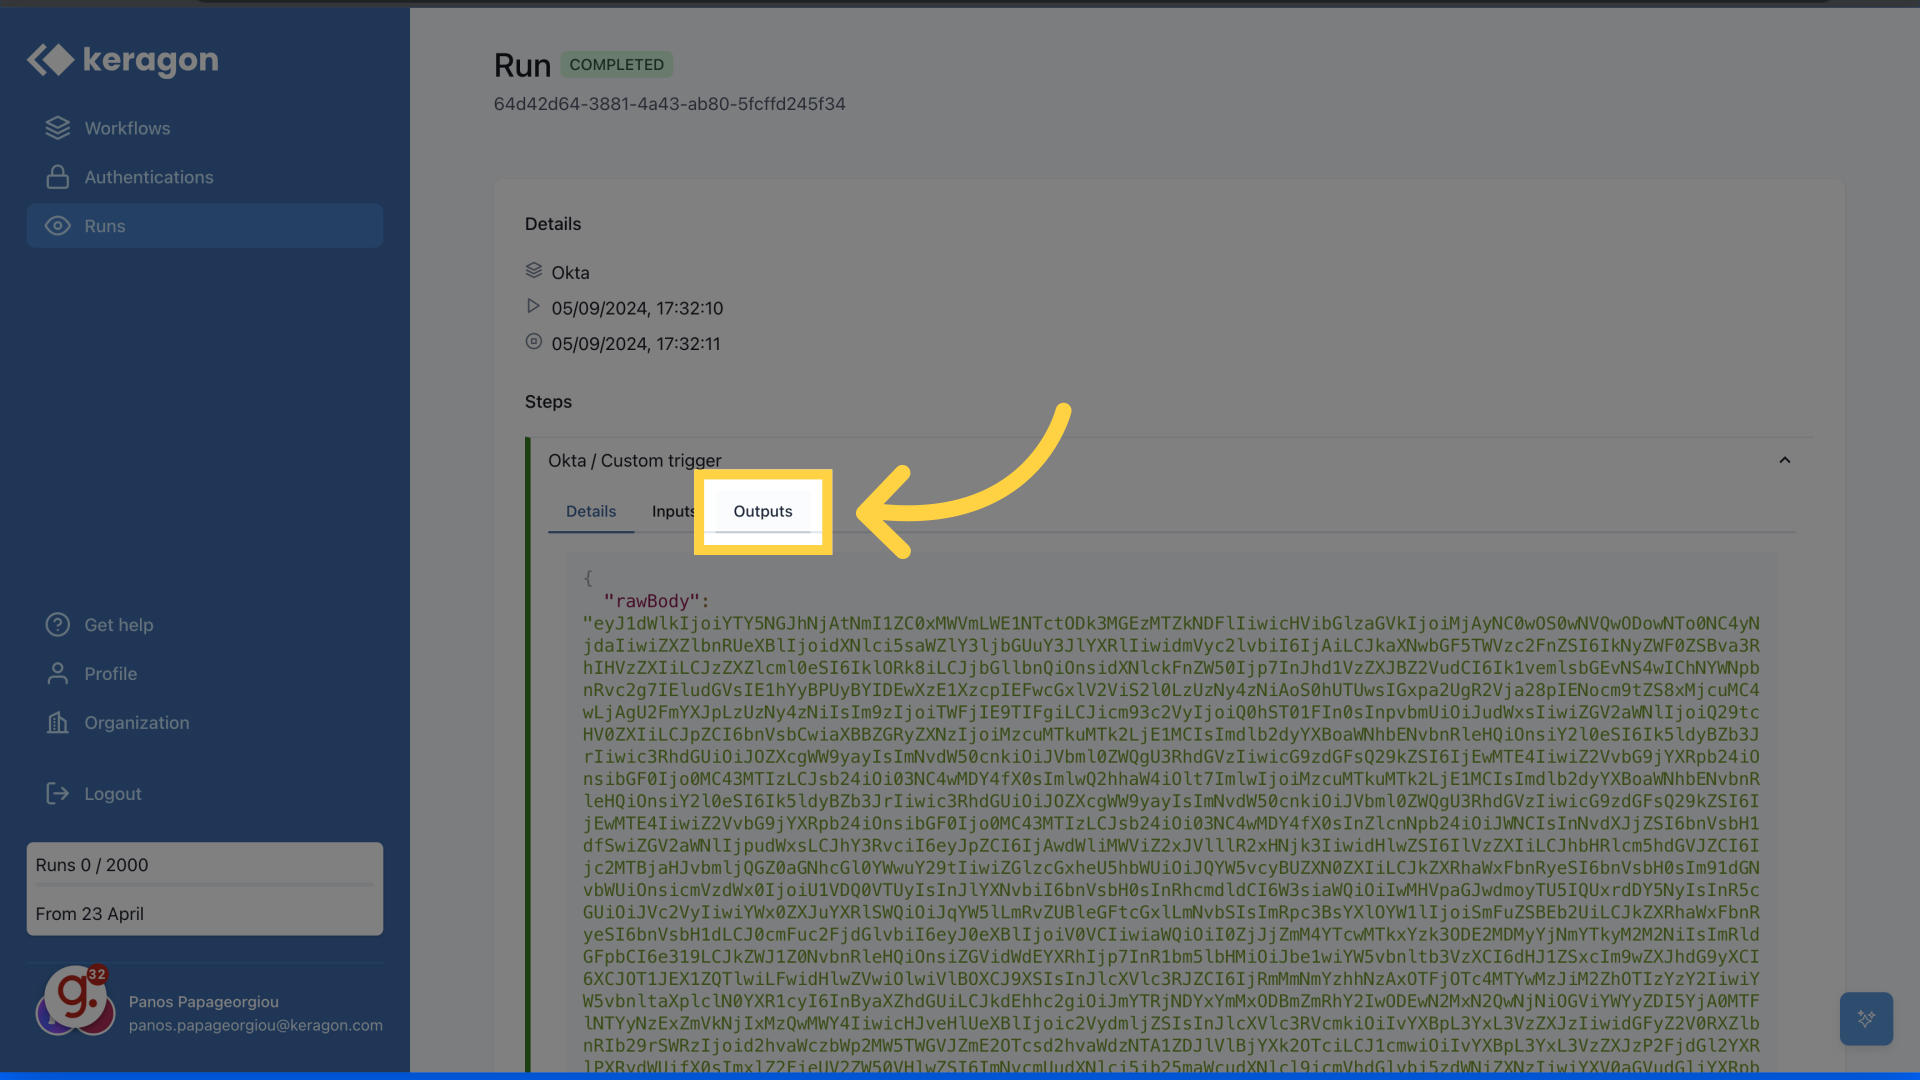
22. Click "Outputs"
Access the "Outputs" section.
This comprehensive guide covered the detailed steps to create event hooks in Okta and link them to Keragon for efficient employee training workflows.