This guide will walk you through setting up a Keragon webhook in DrChrono. From adding triggers to verifying webhooks, each step is detailed to ensure a seamless process .
Go to app.keragon.com
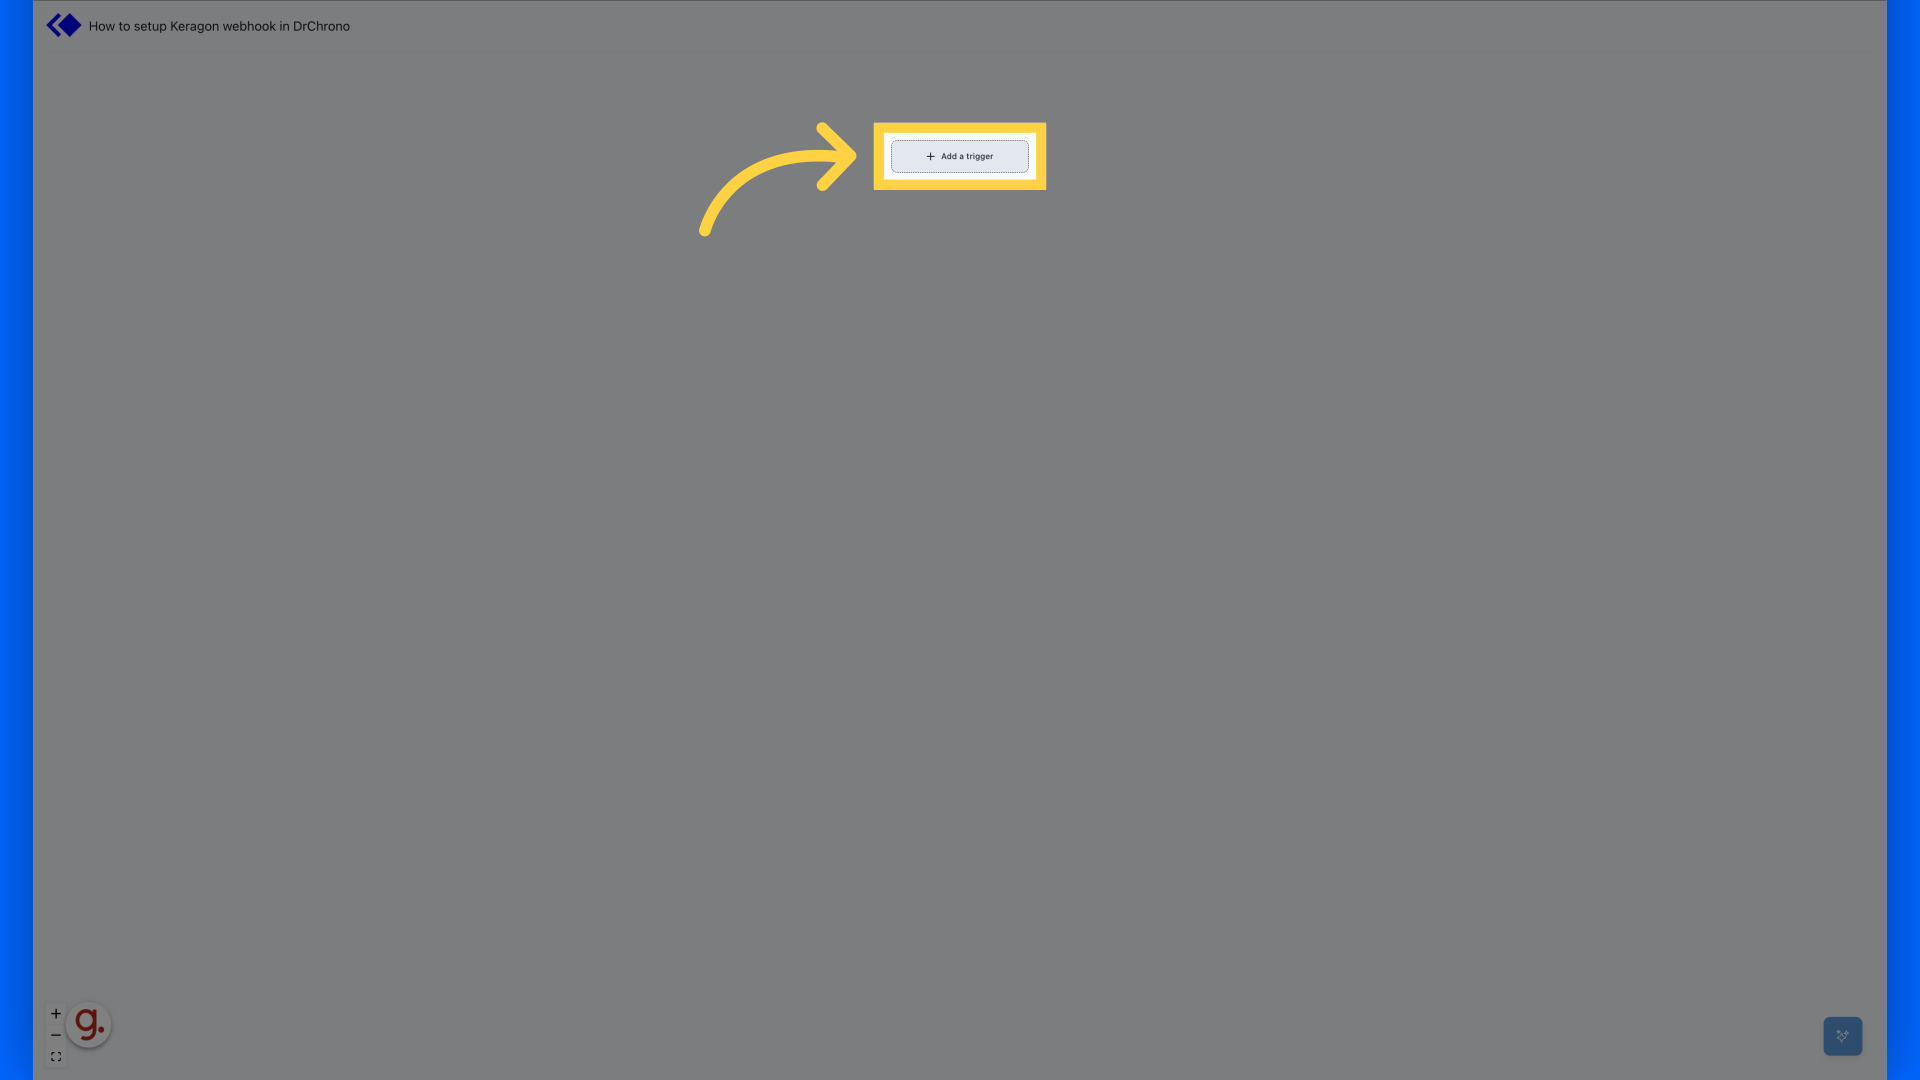
1. Click "Add a trigger"
Click on "Add a trigger."
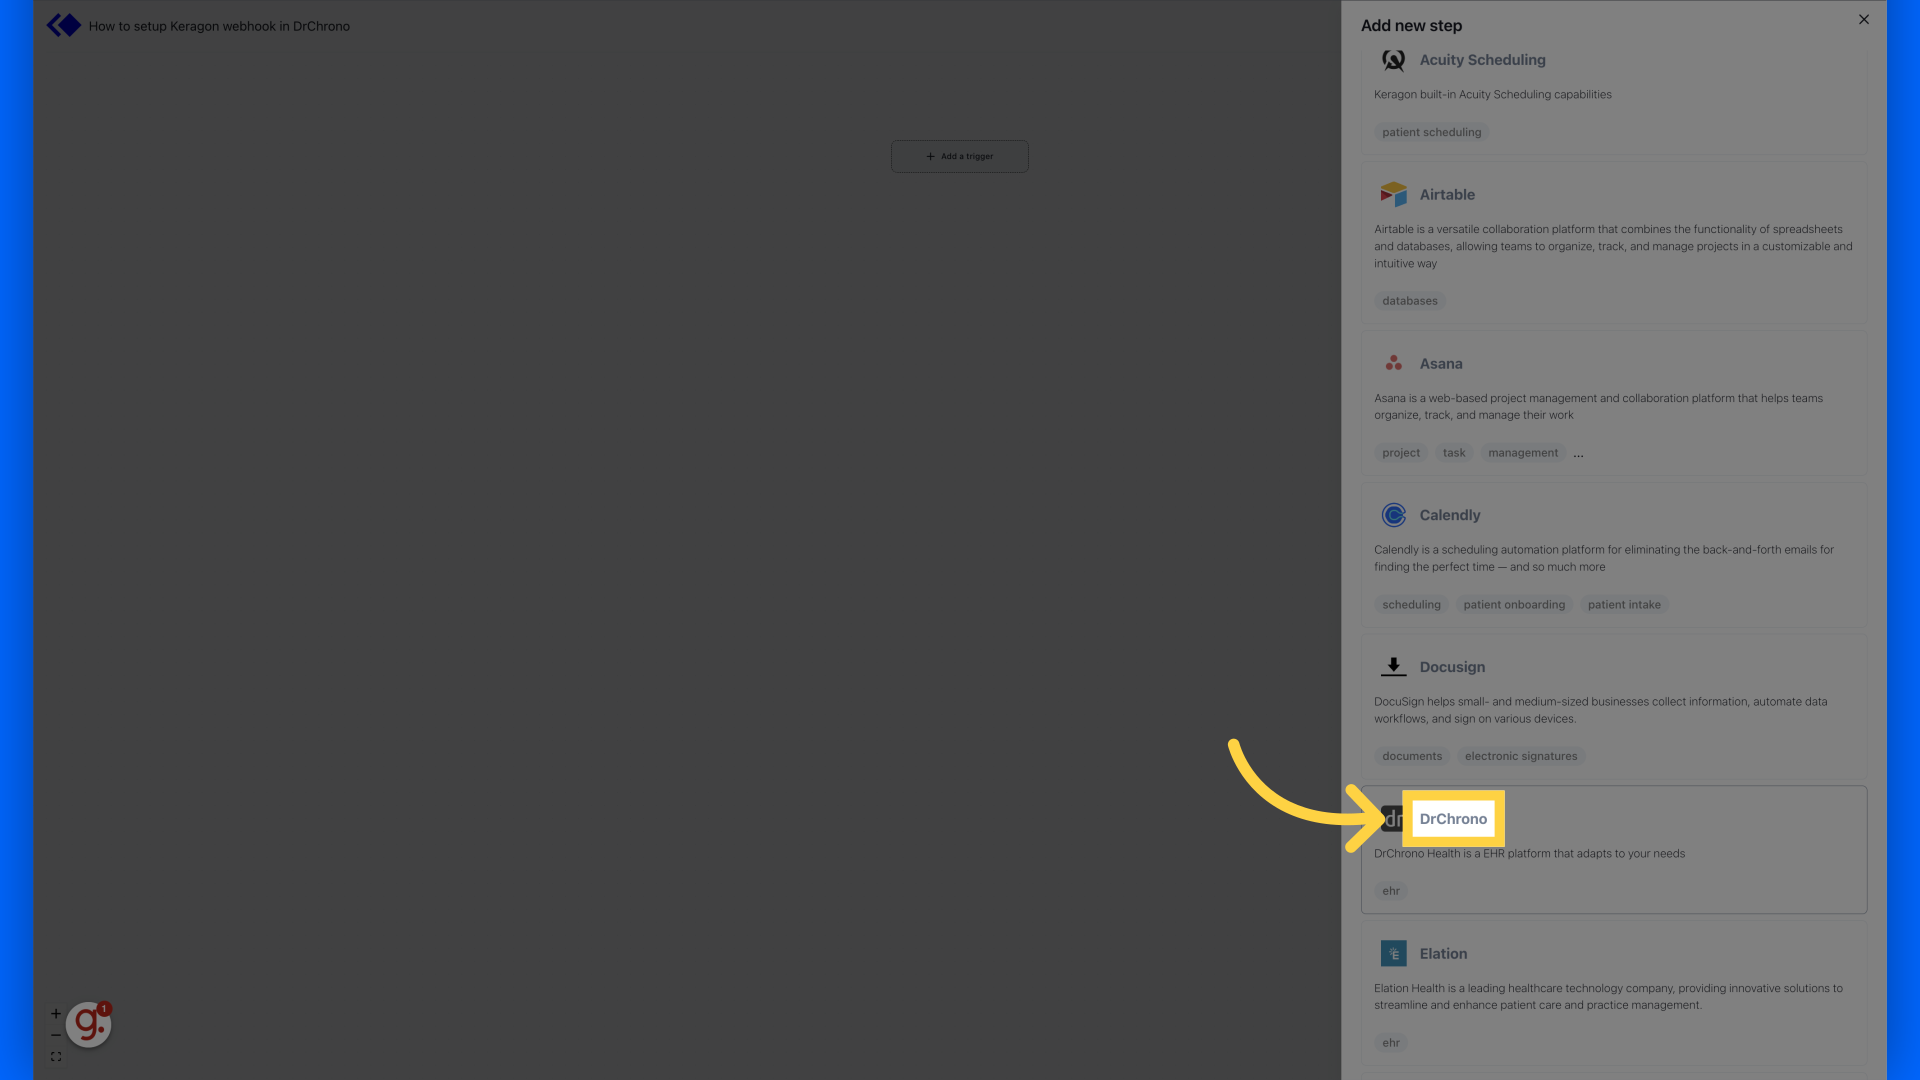
2. Click "DrChrono"
Click on "DrChrono."
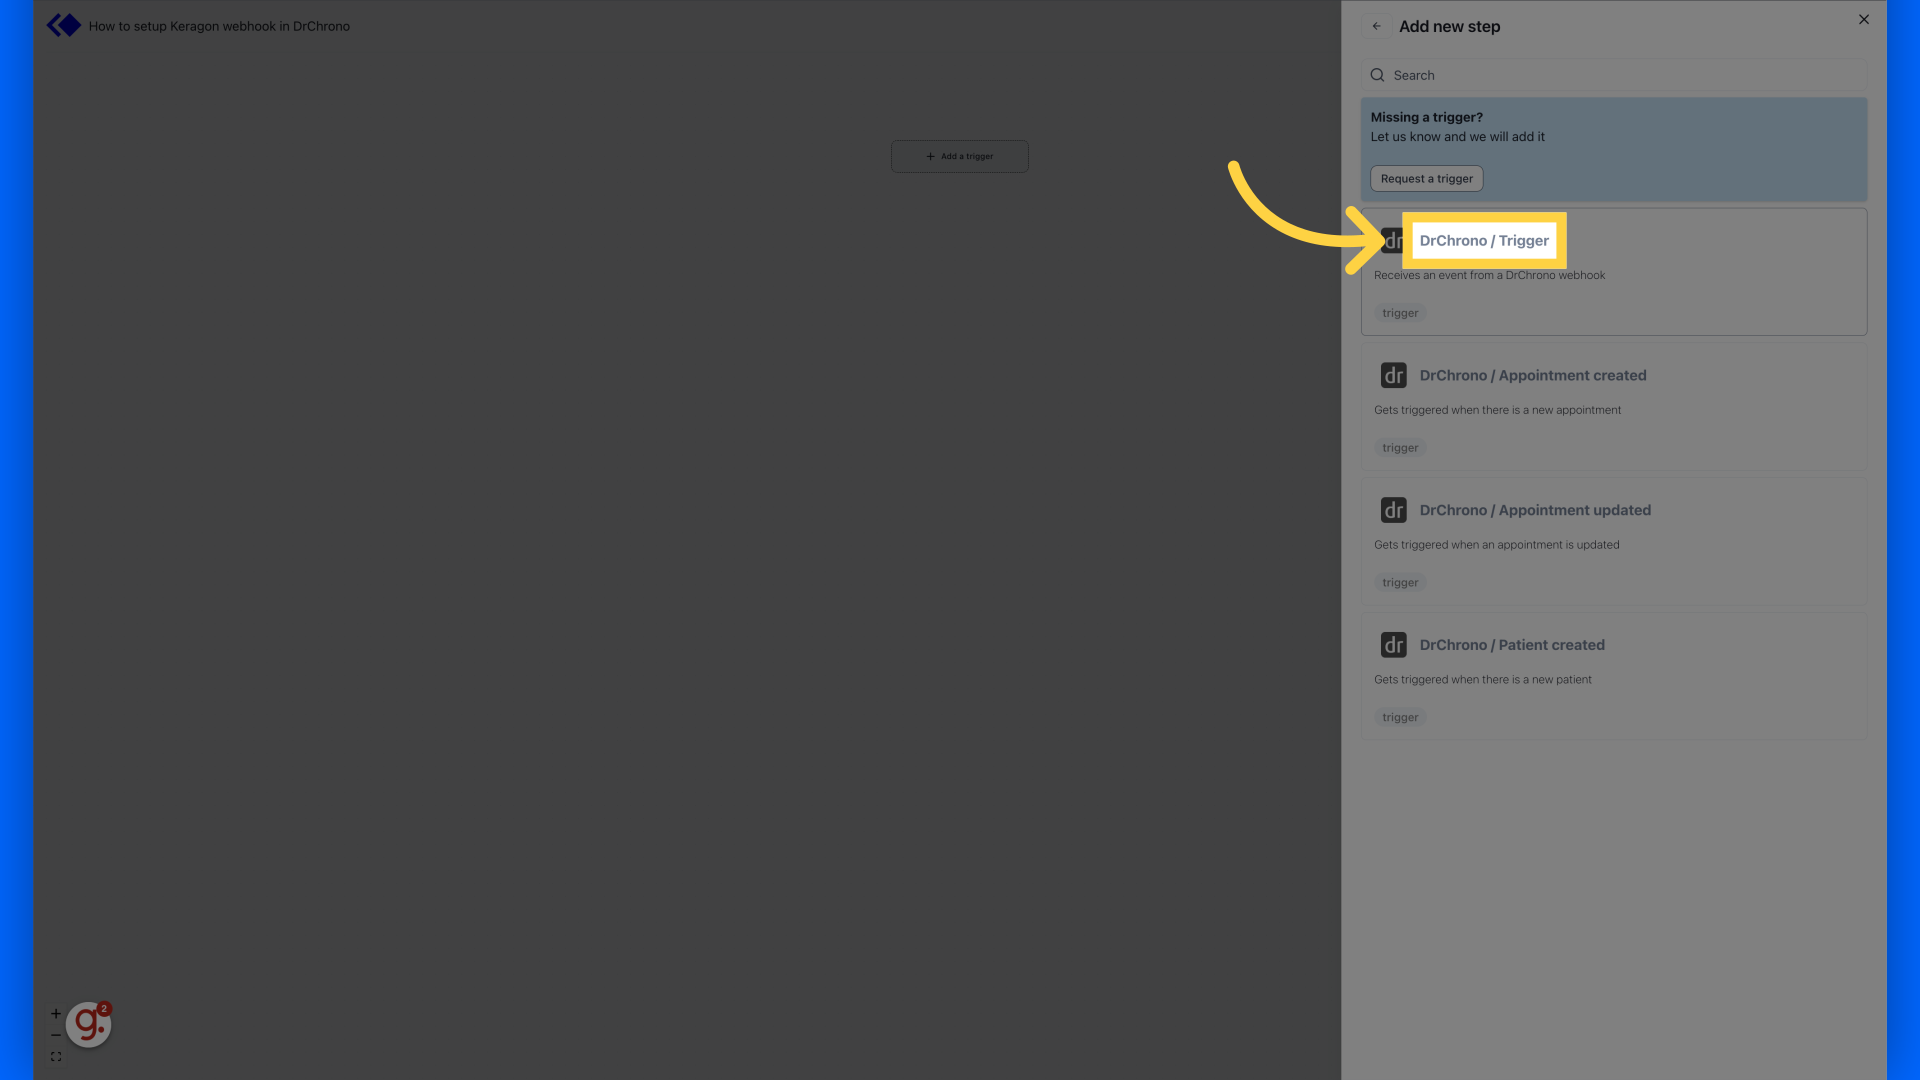
3. Click "DrChrono / Trigger"
Navigate to "DrChrono / Trigger."
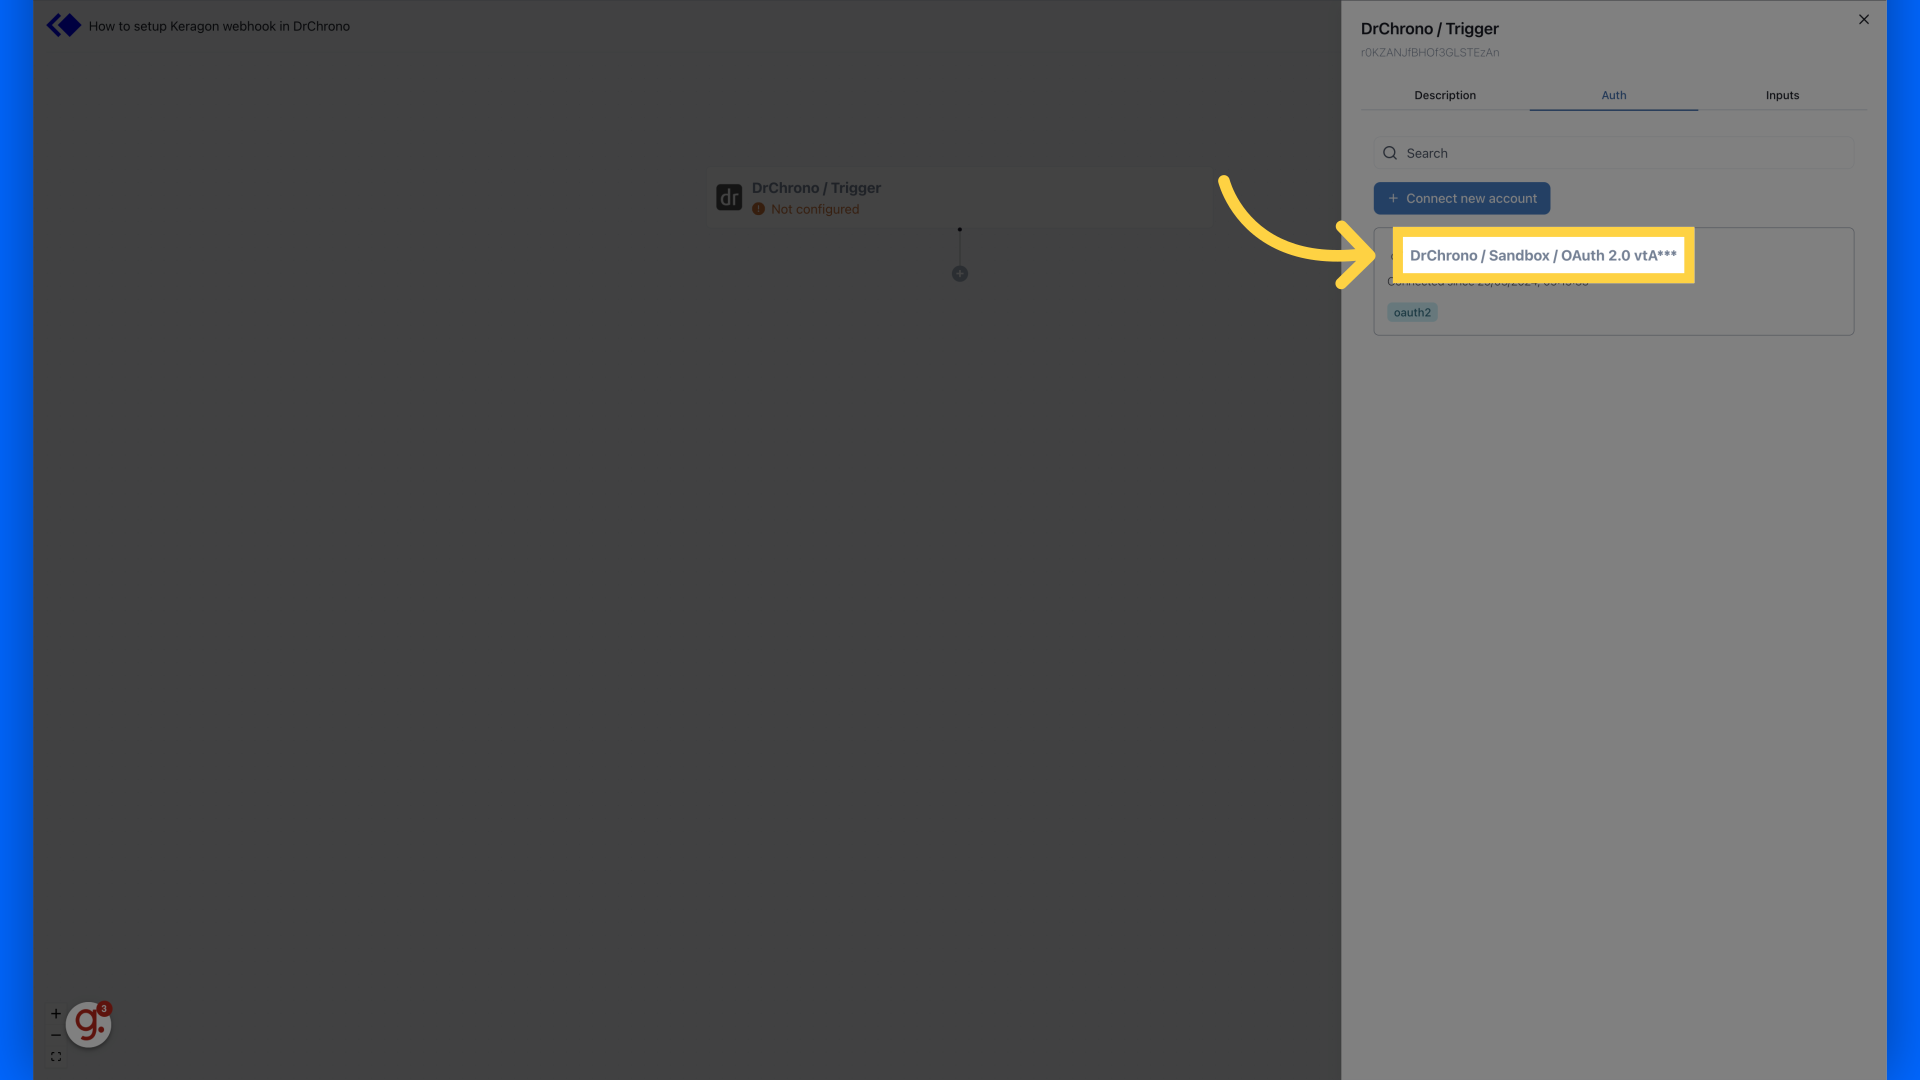
4. Click an authentication
Click an authentication from the list
Create new authentication
If you do not have already created an authentication follow this article.
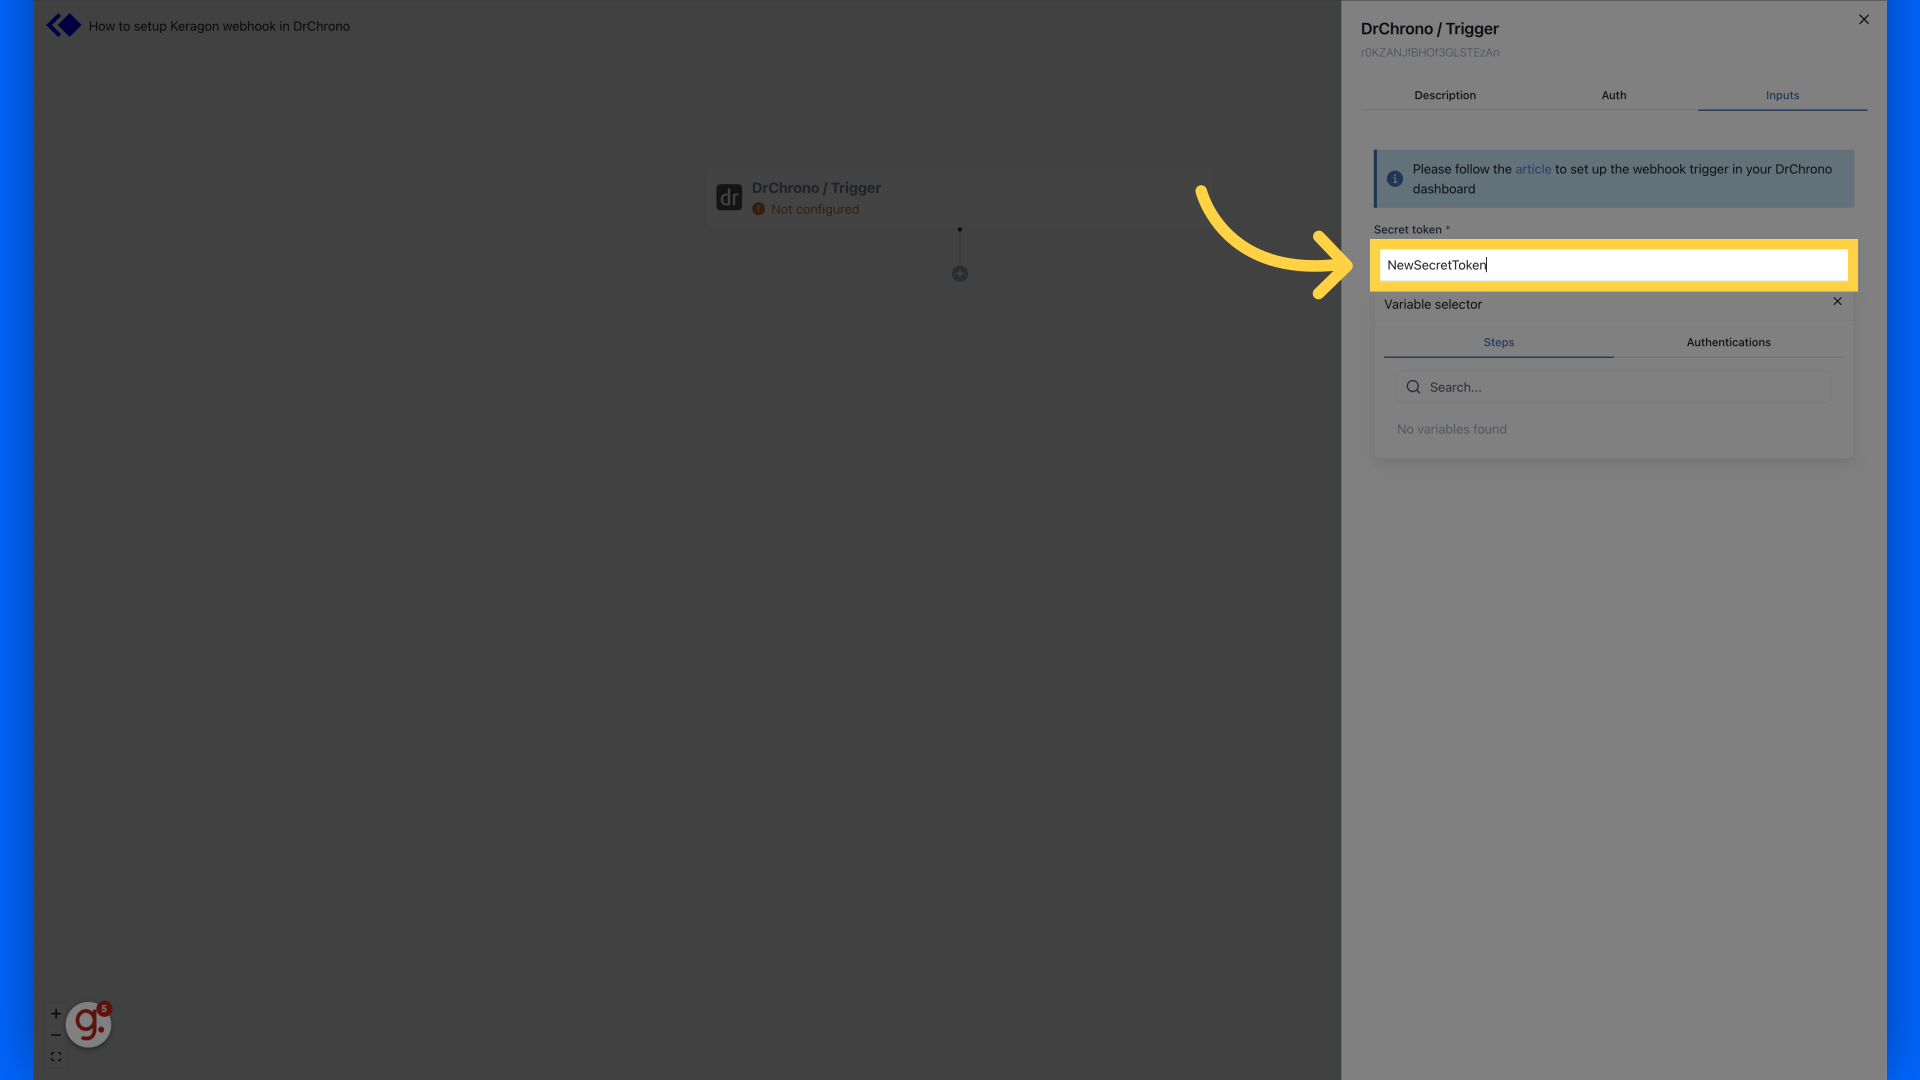
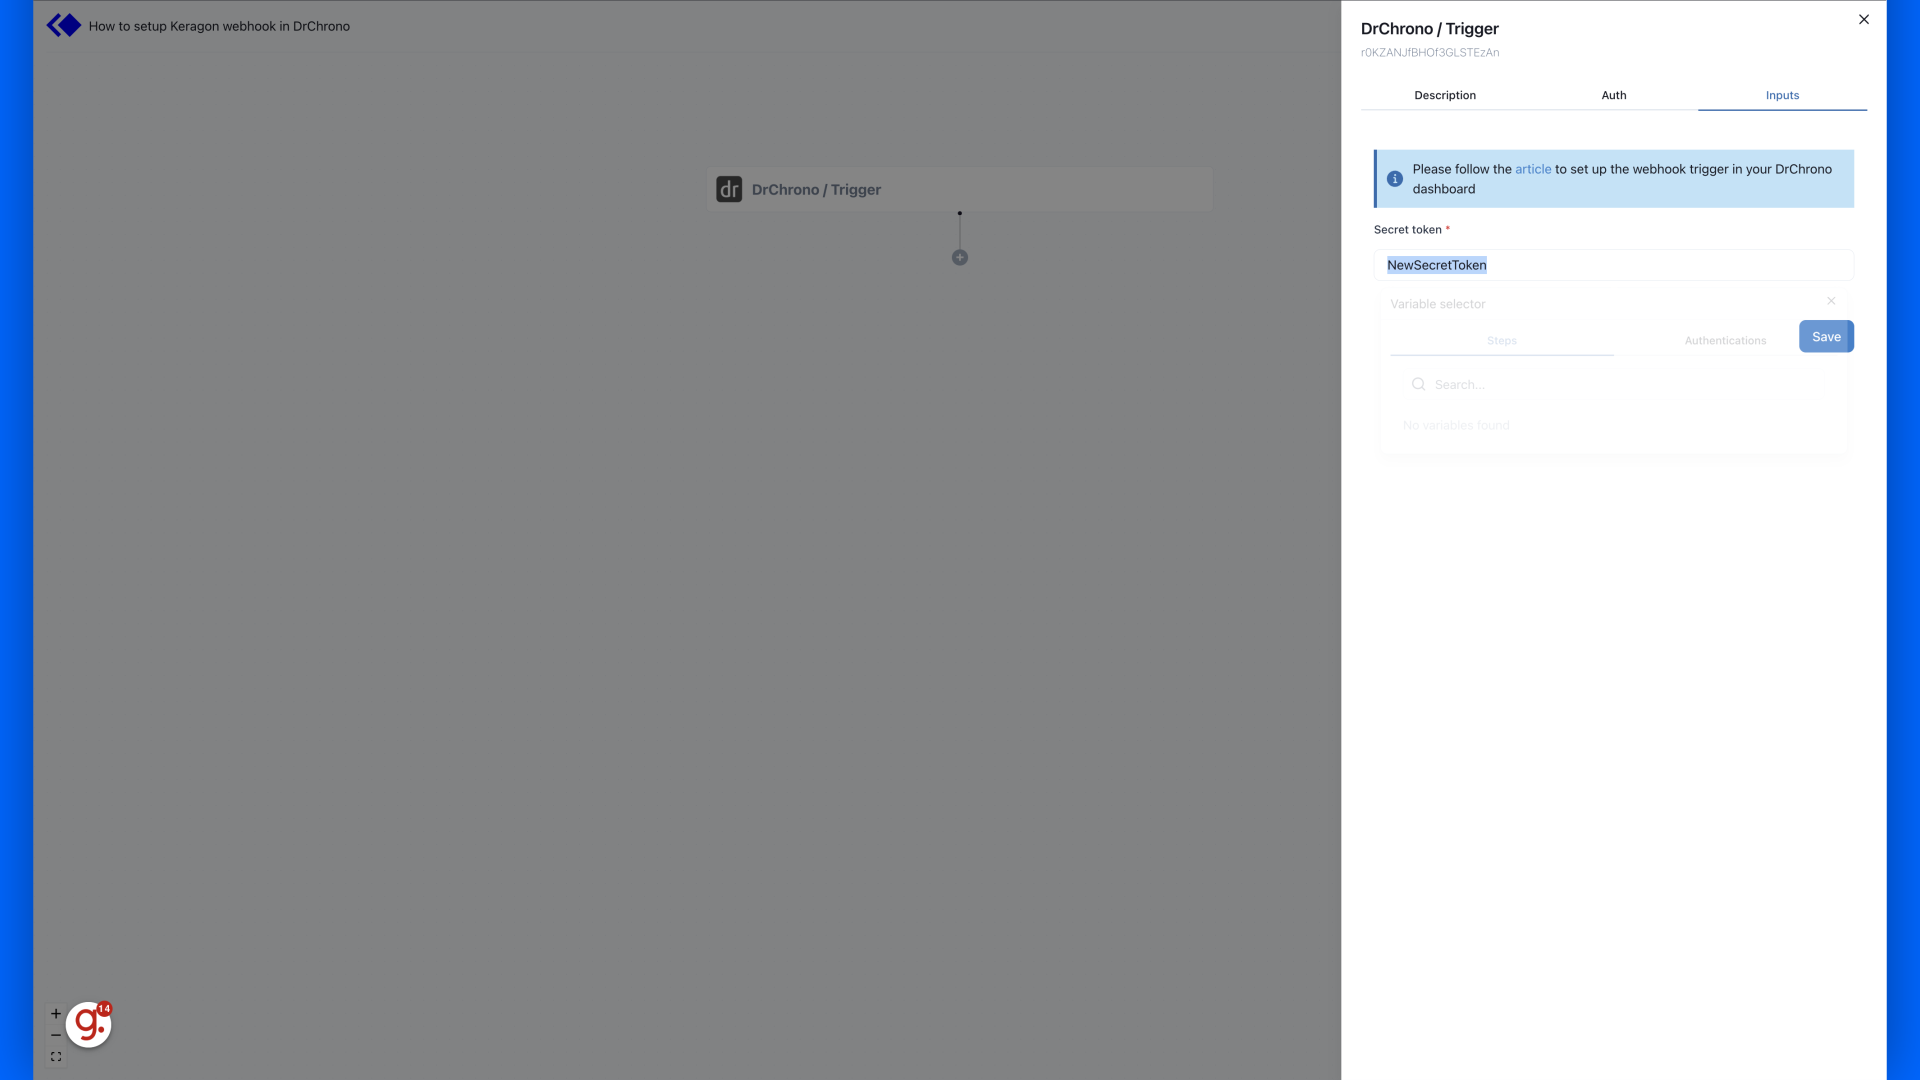
5. Type a secret token
Fill "Secret token" with your token. Enter any value you want here. It will be used later on the verification.
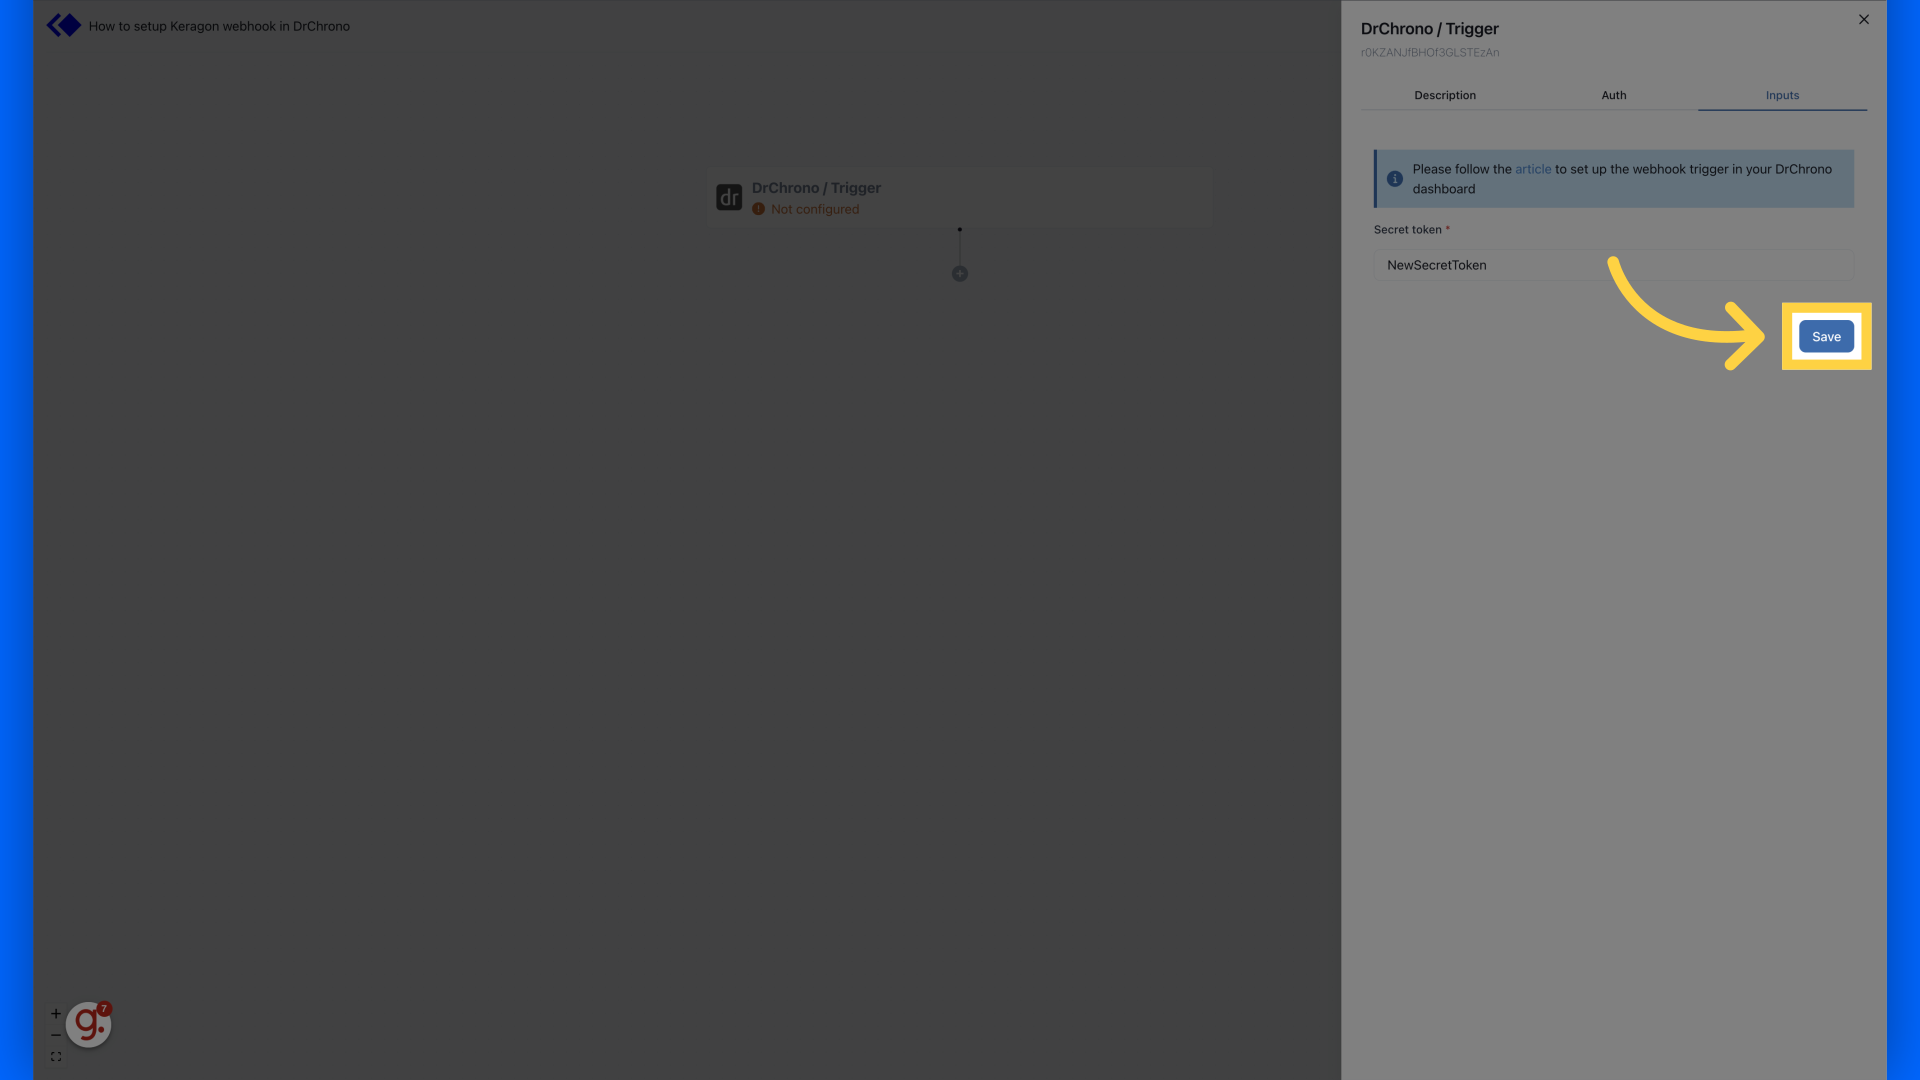
6. Click "Save"
Click on "Save" to save the changes.
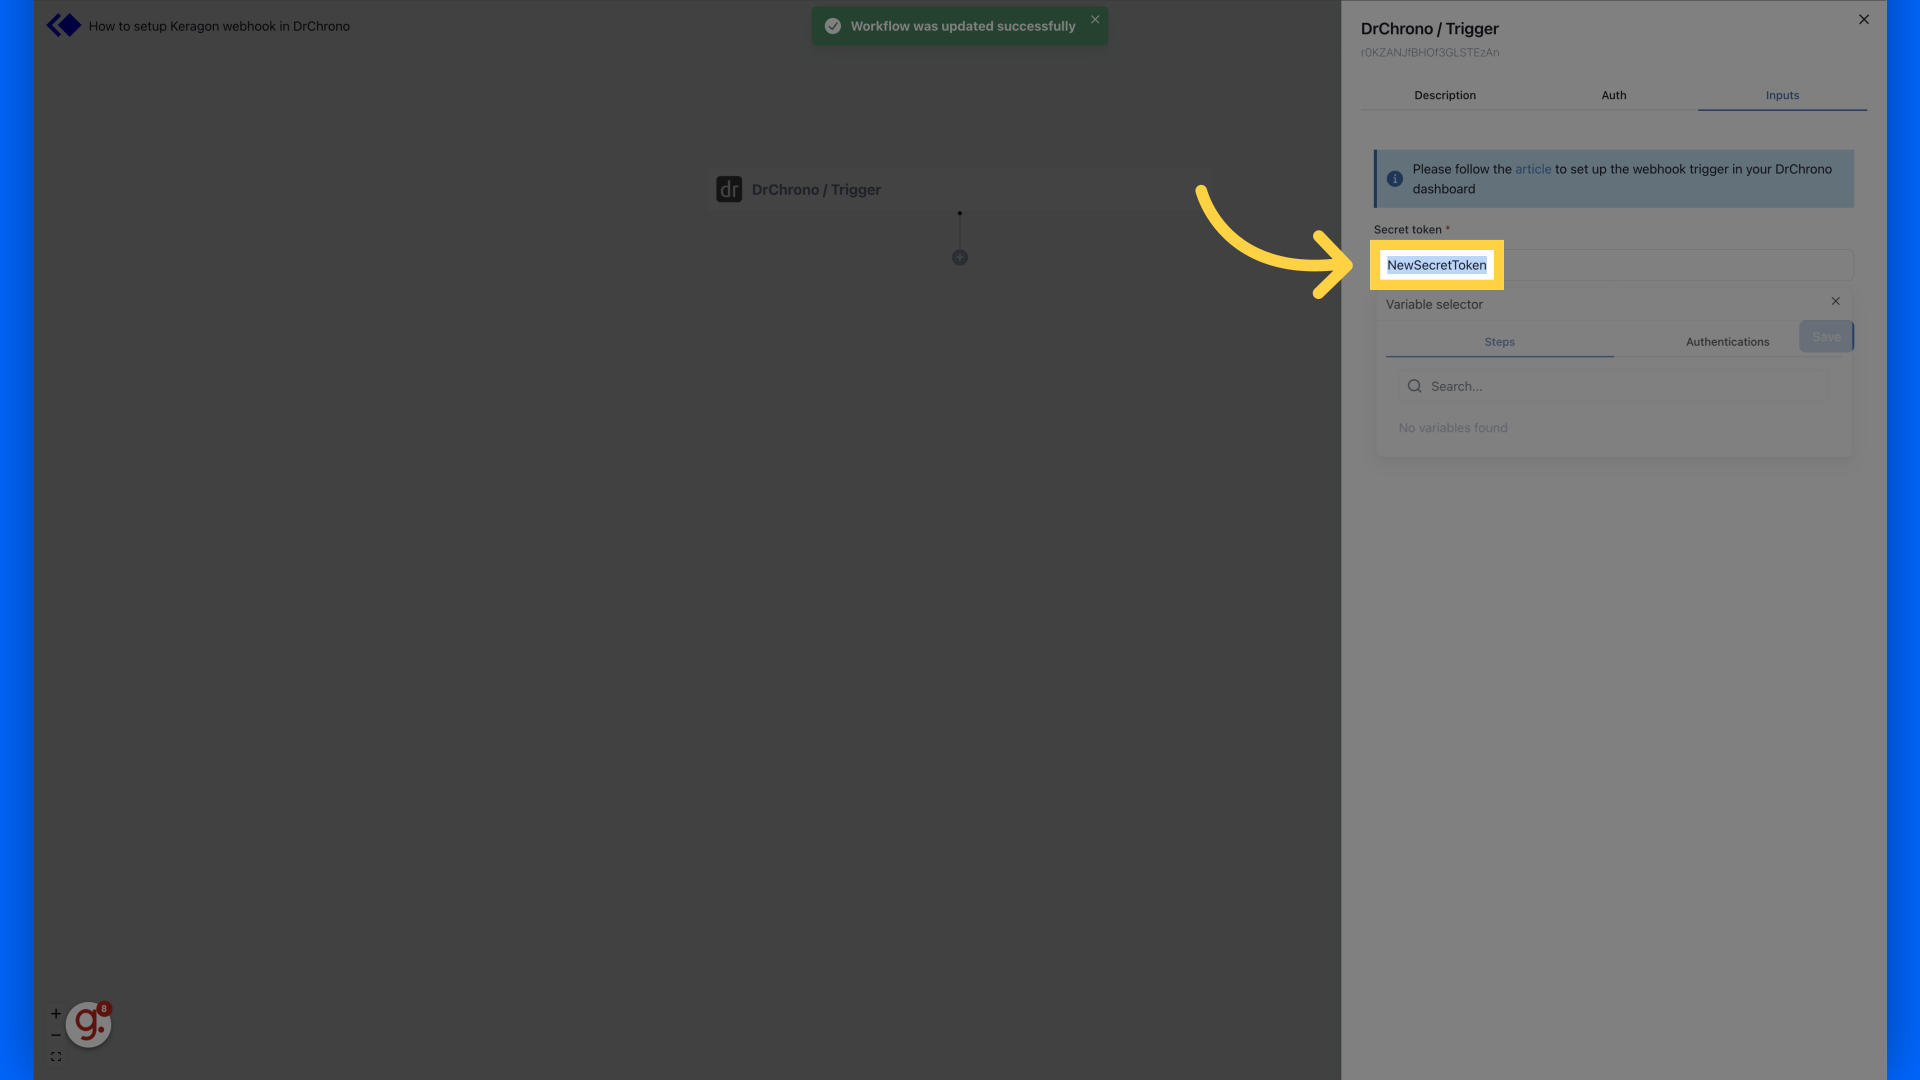
7. Click "Secret token" value
Copy the secret you fill in "Secret token" input
8. Switch to DrChrono dashboard
Switch to DrChrono dashboard
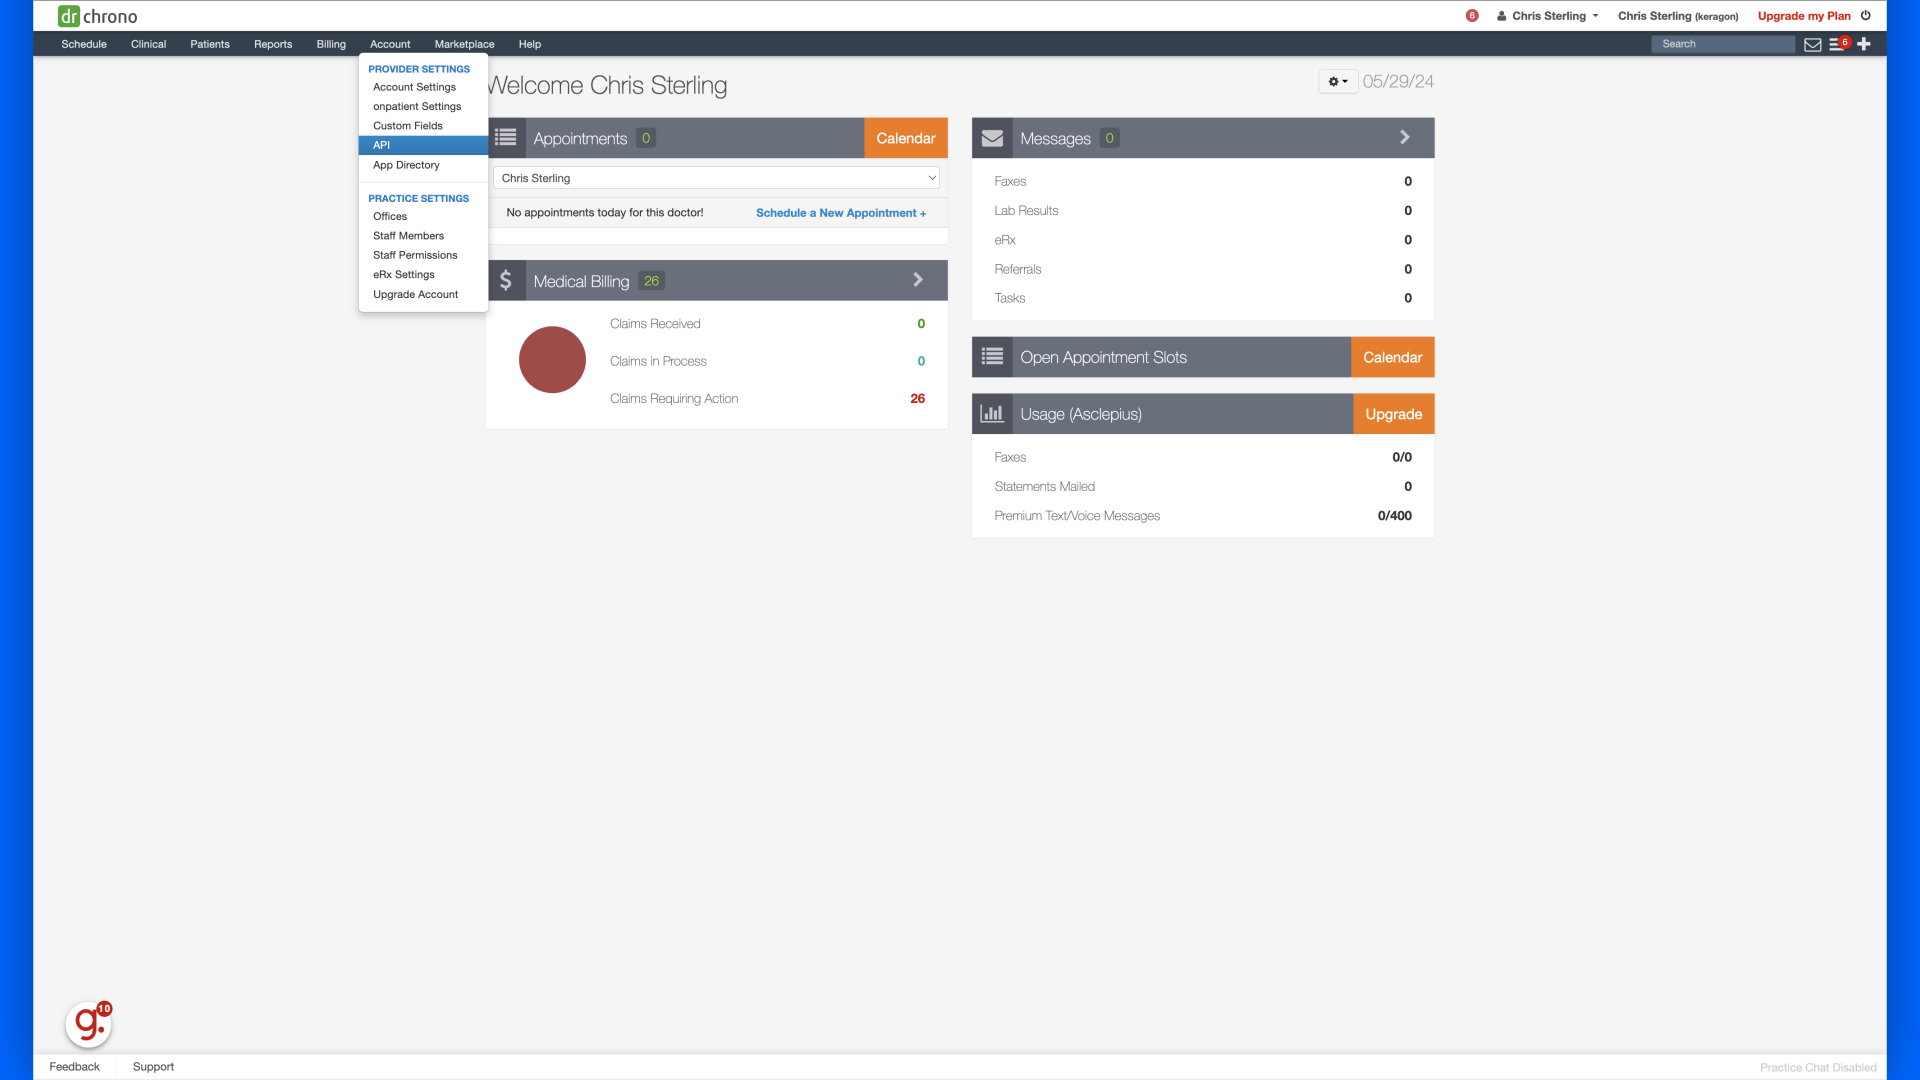
9. Click "Account" "API"
Access the "API" section under "Account"
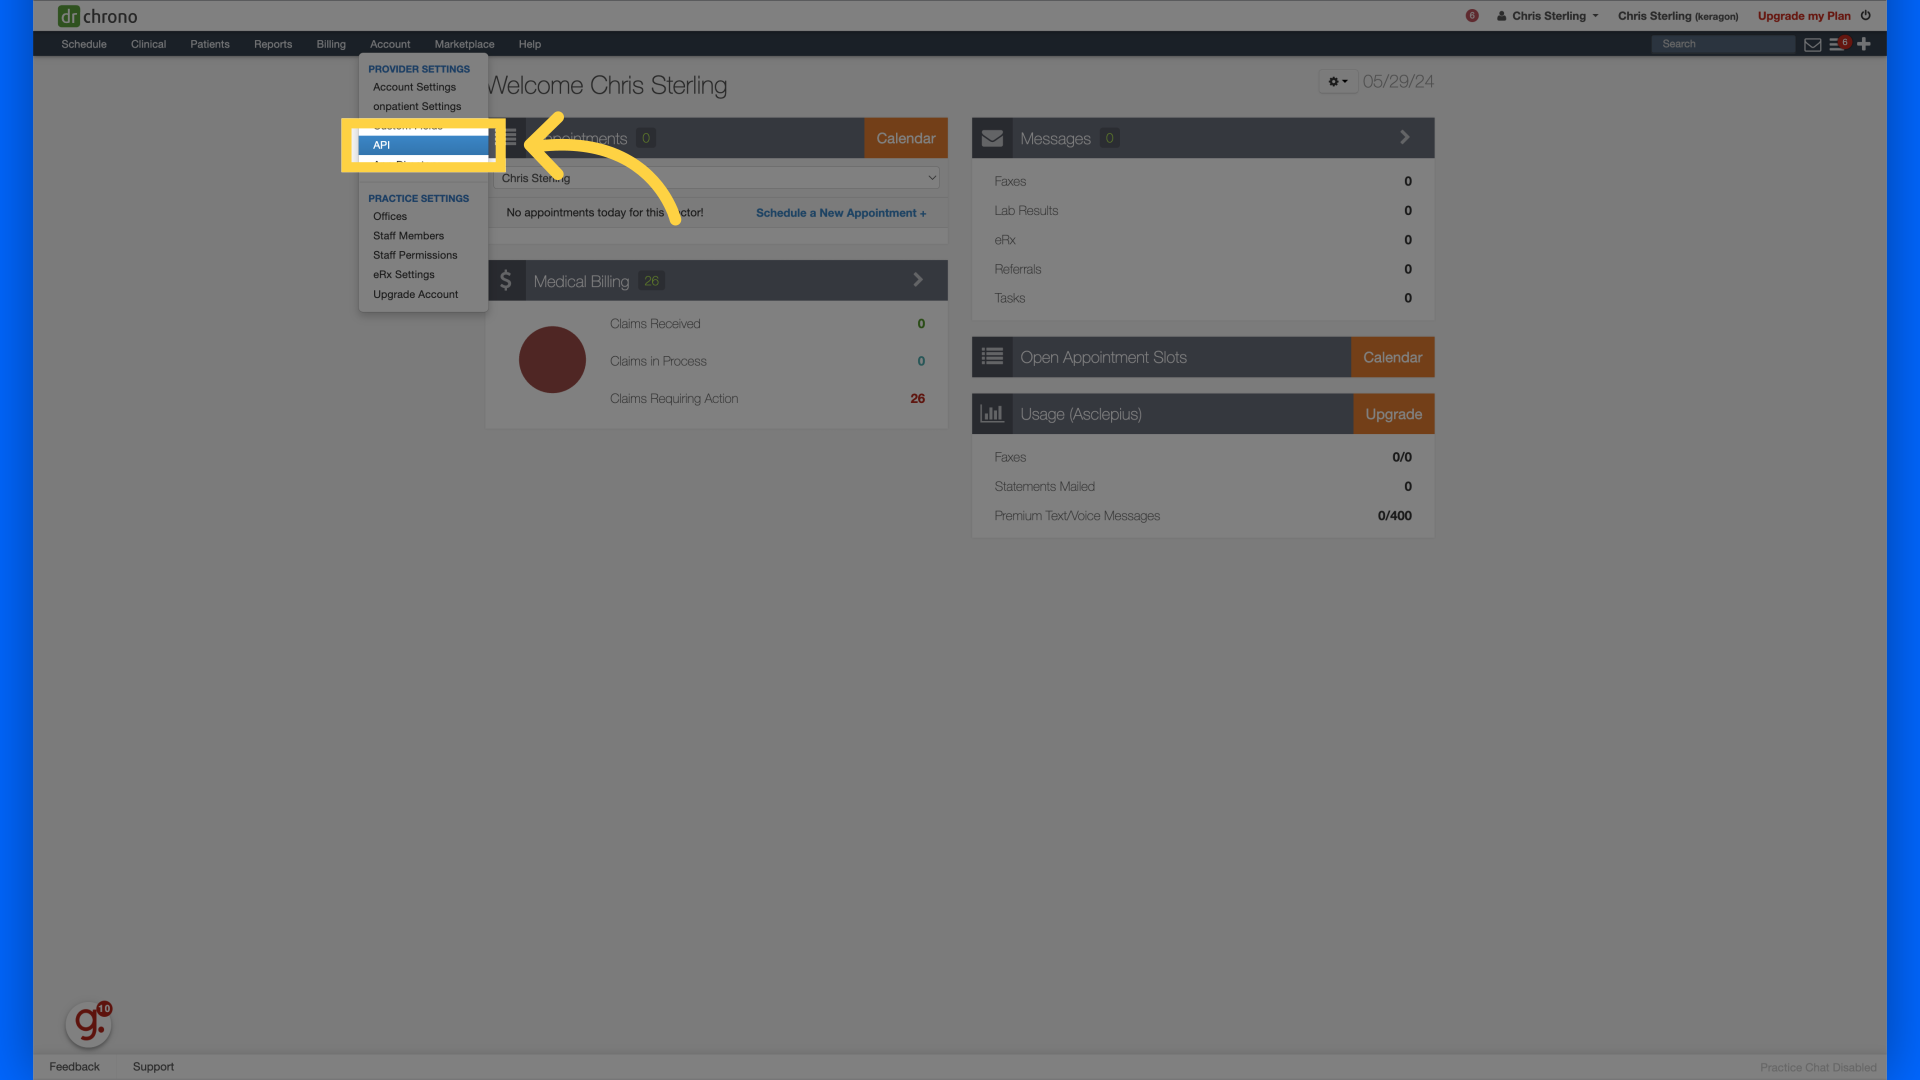 'API'" /
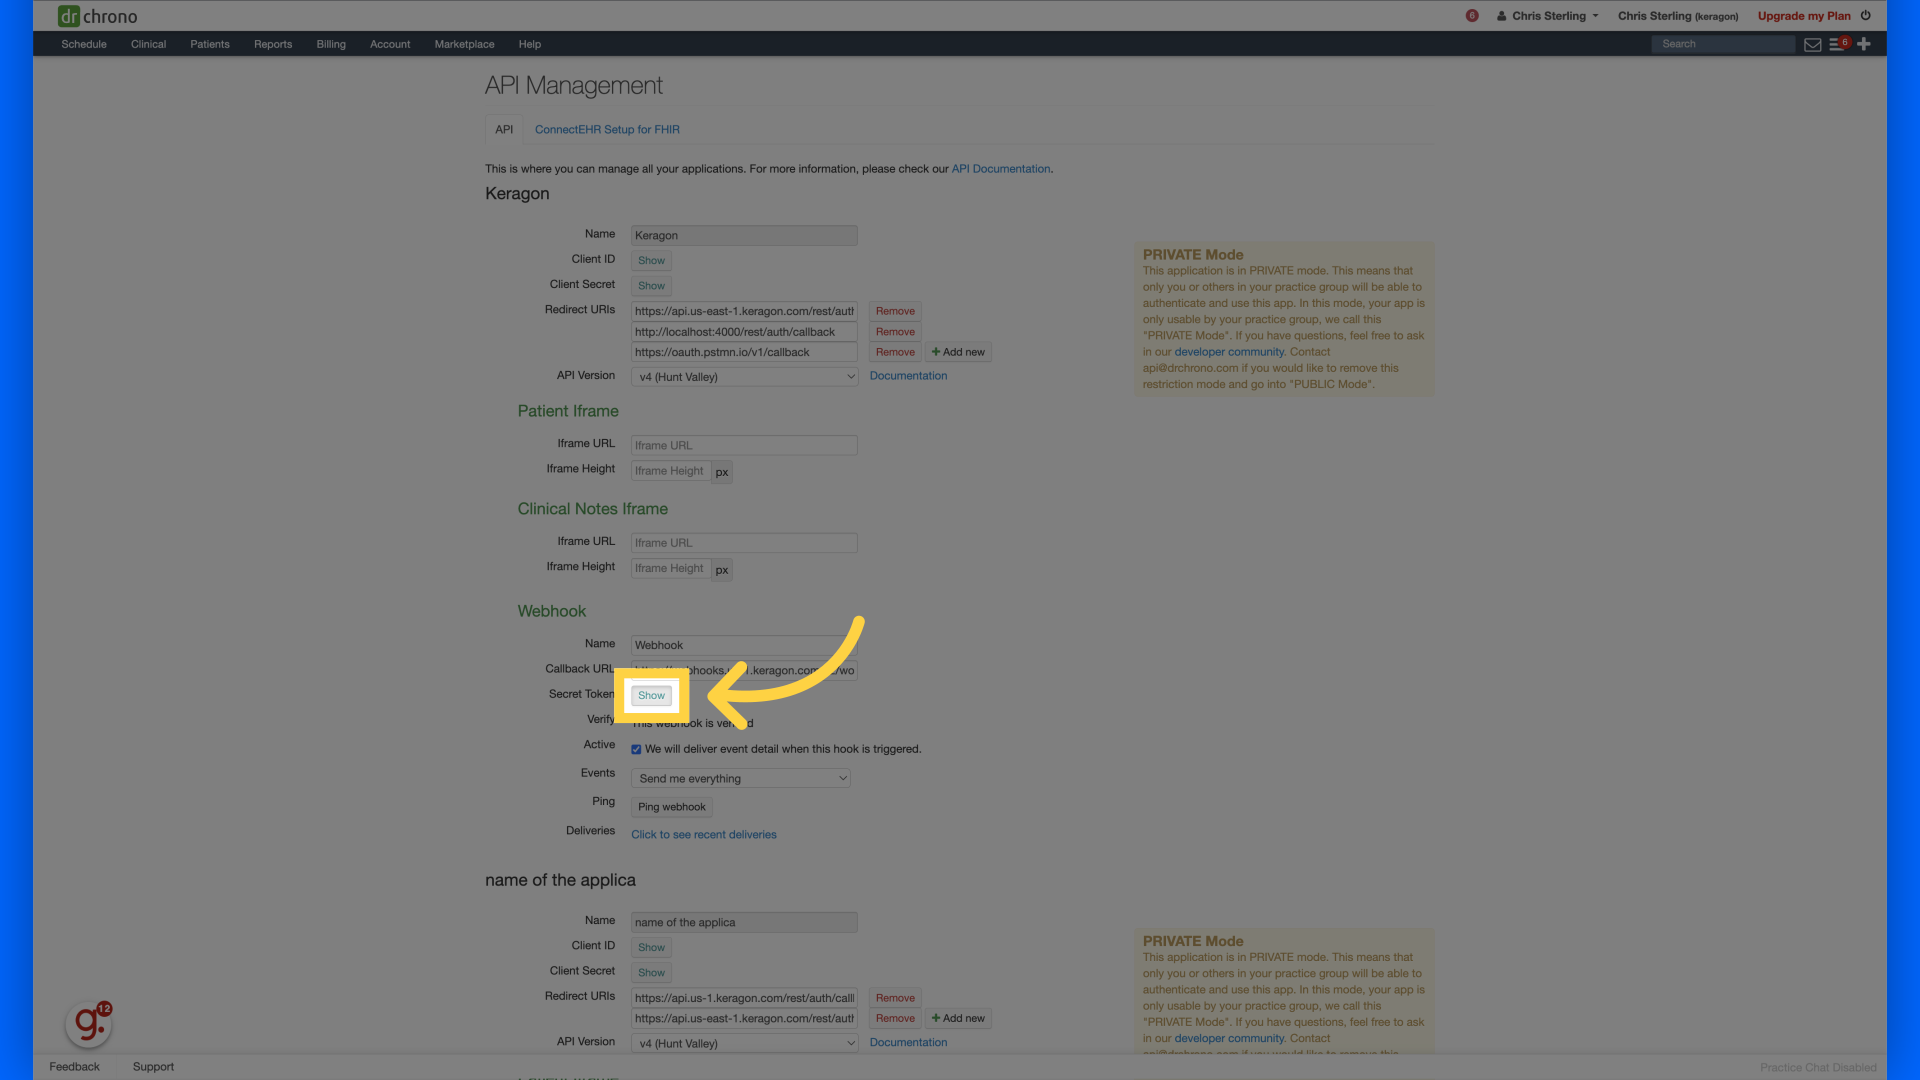
10. Click "Show" next to "Secret Token"
Click "Show" next to "Secret Token"
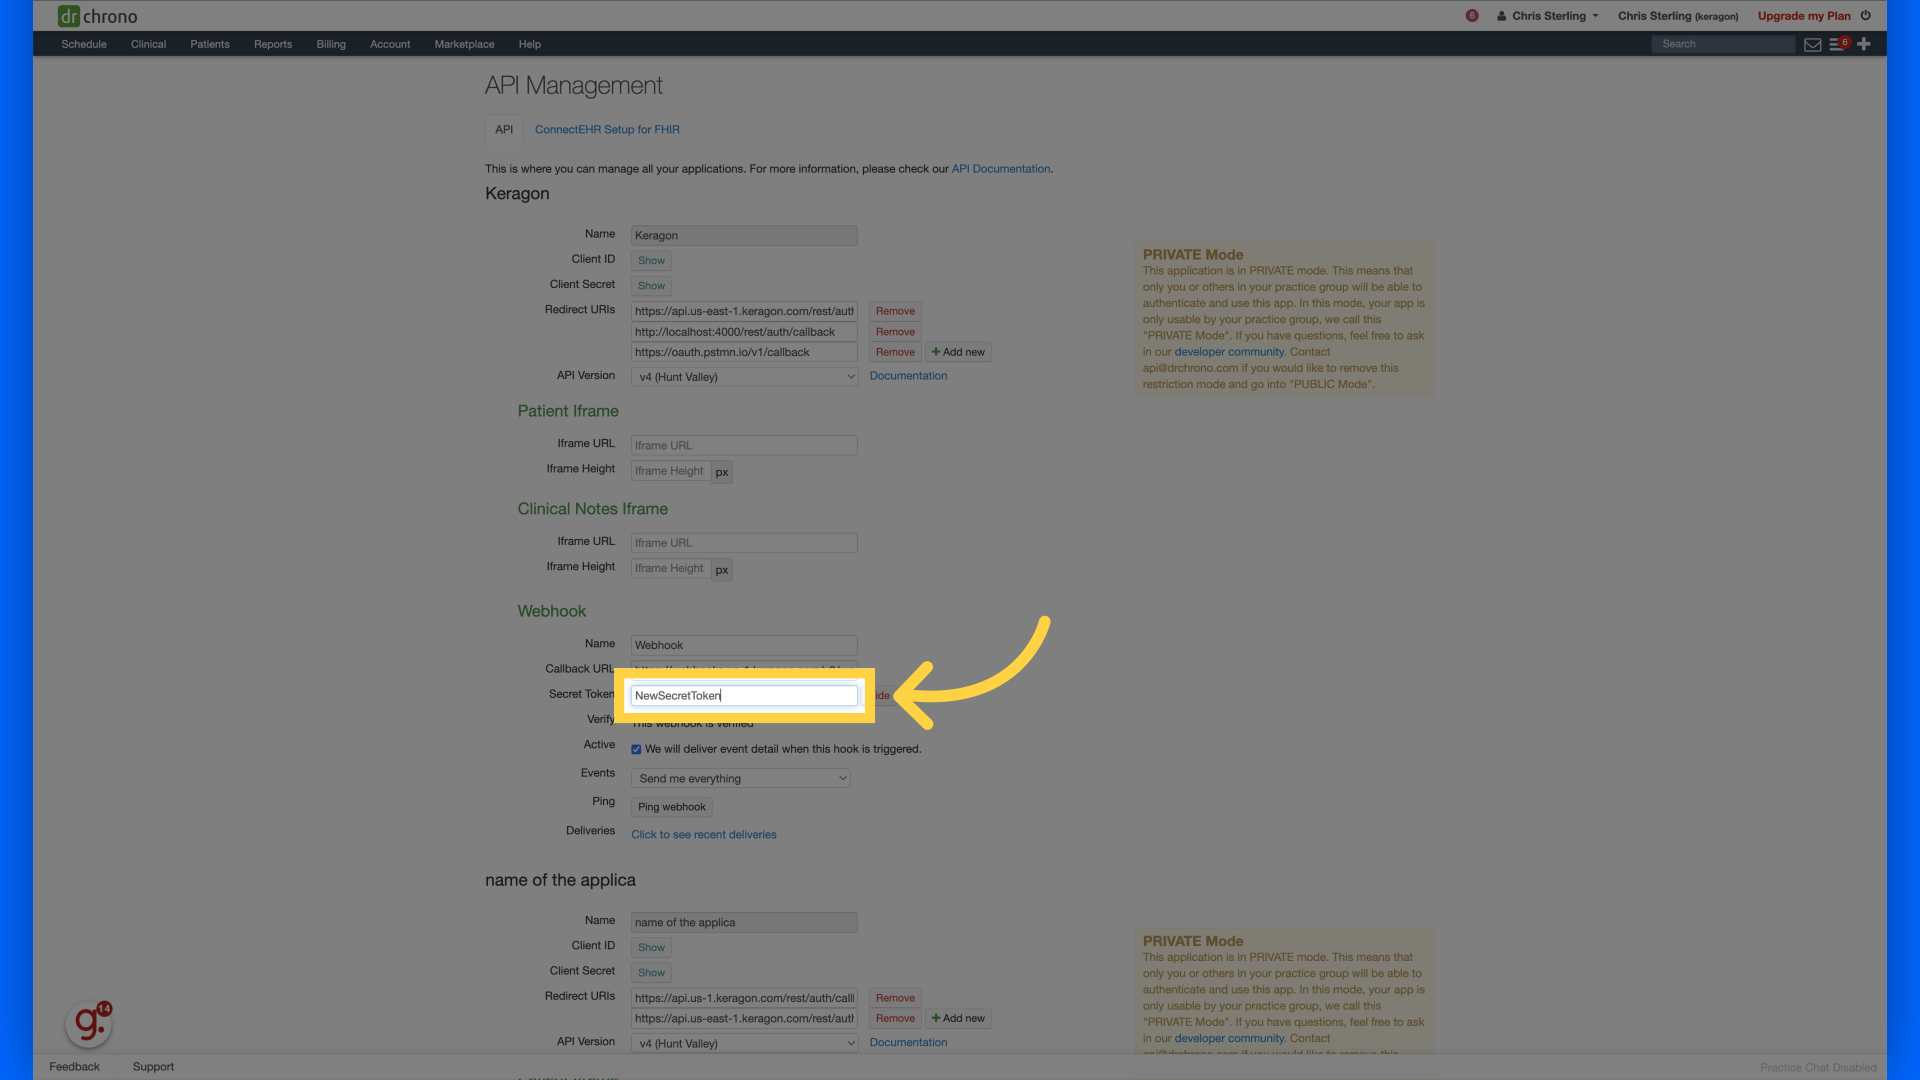
11. Paste with value that copied from Keragon dashboard
Paste with value that copied from Keragon dashboard
12. Switch to Keragon dashboard
Navigate to "app.keragon.com"
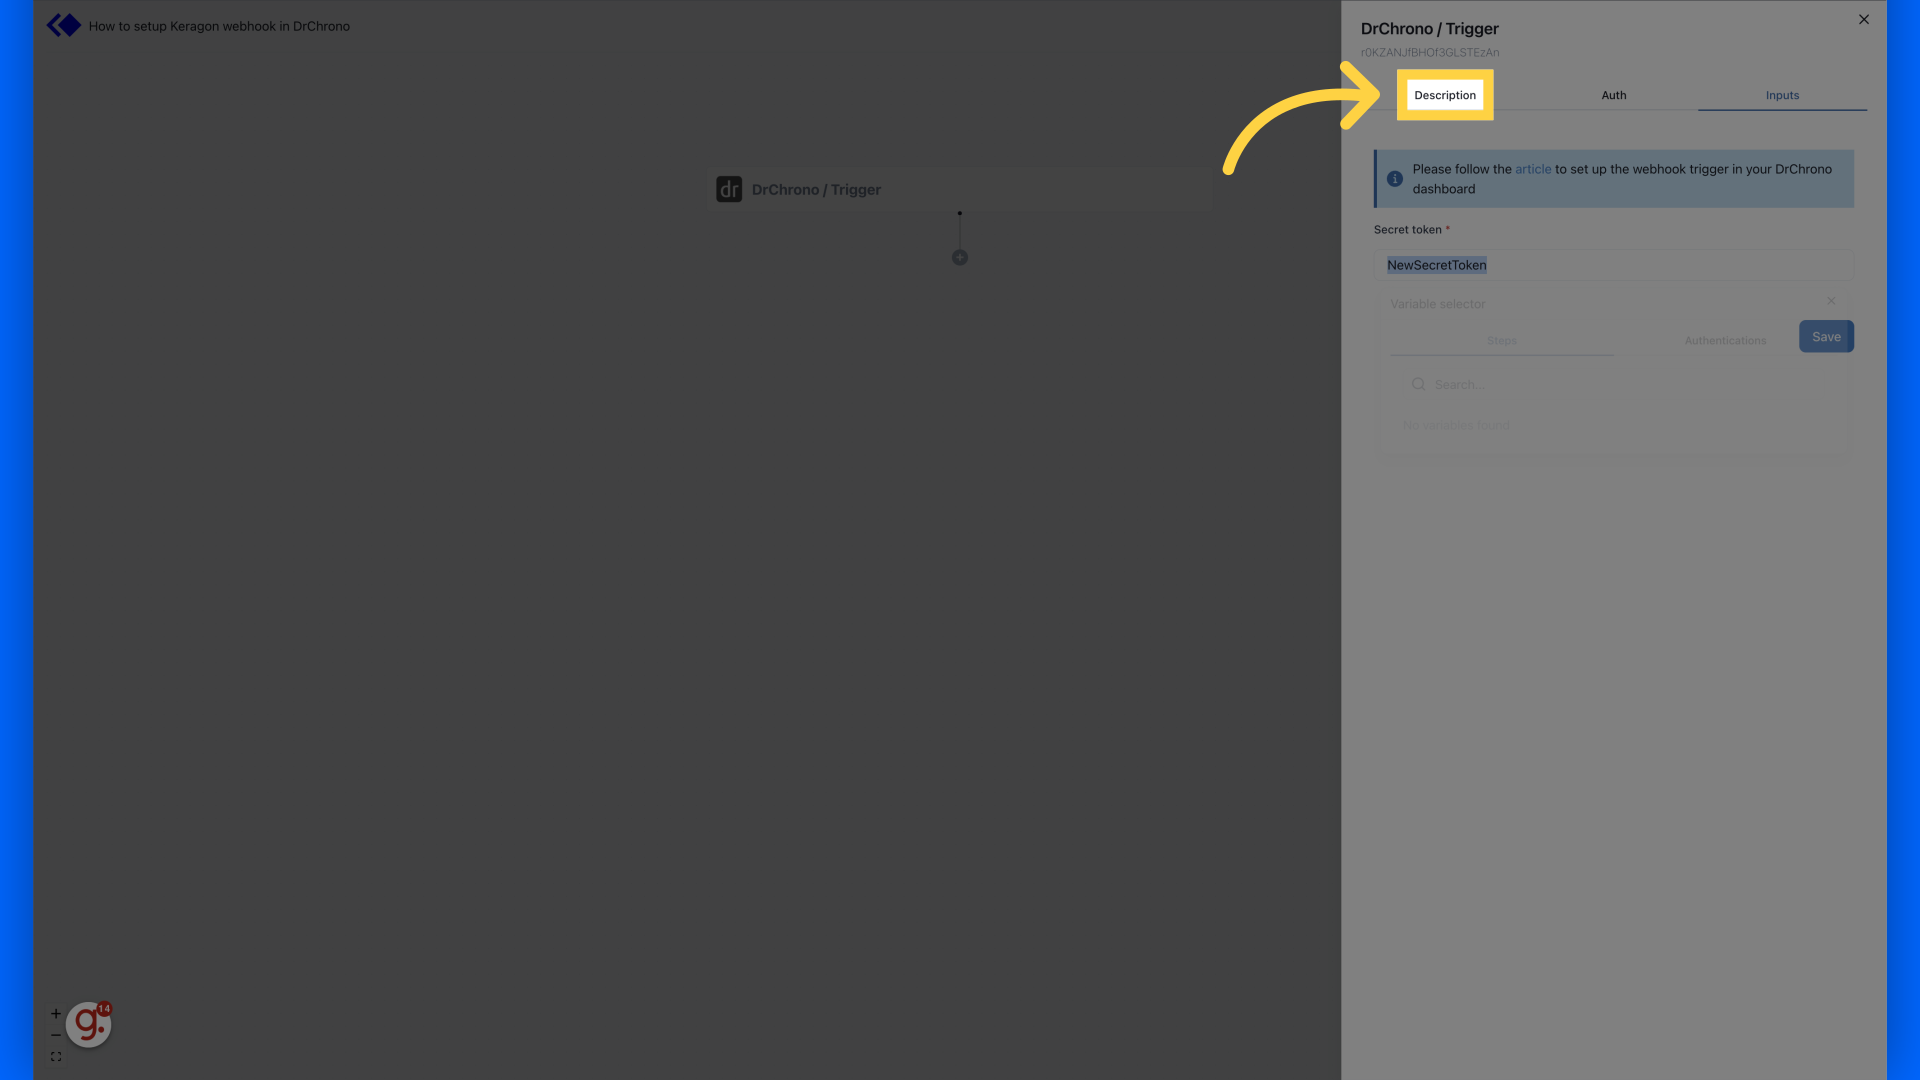
13. Click "Description"
Click on "Description."
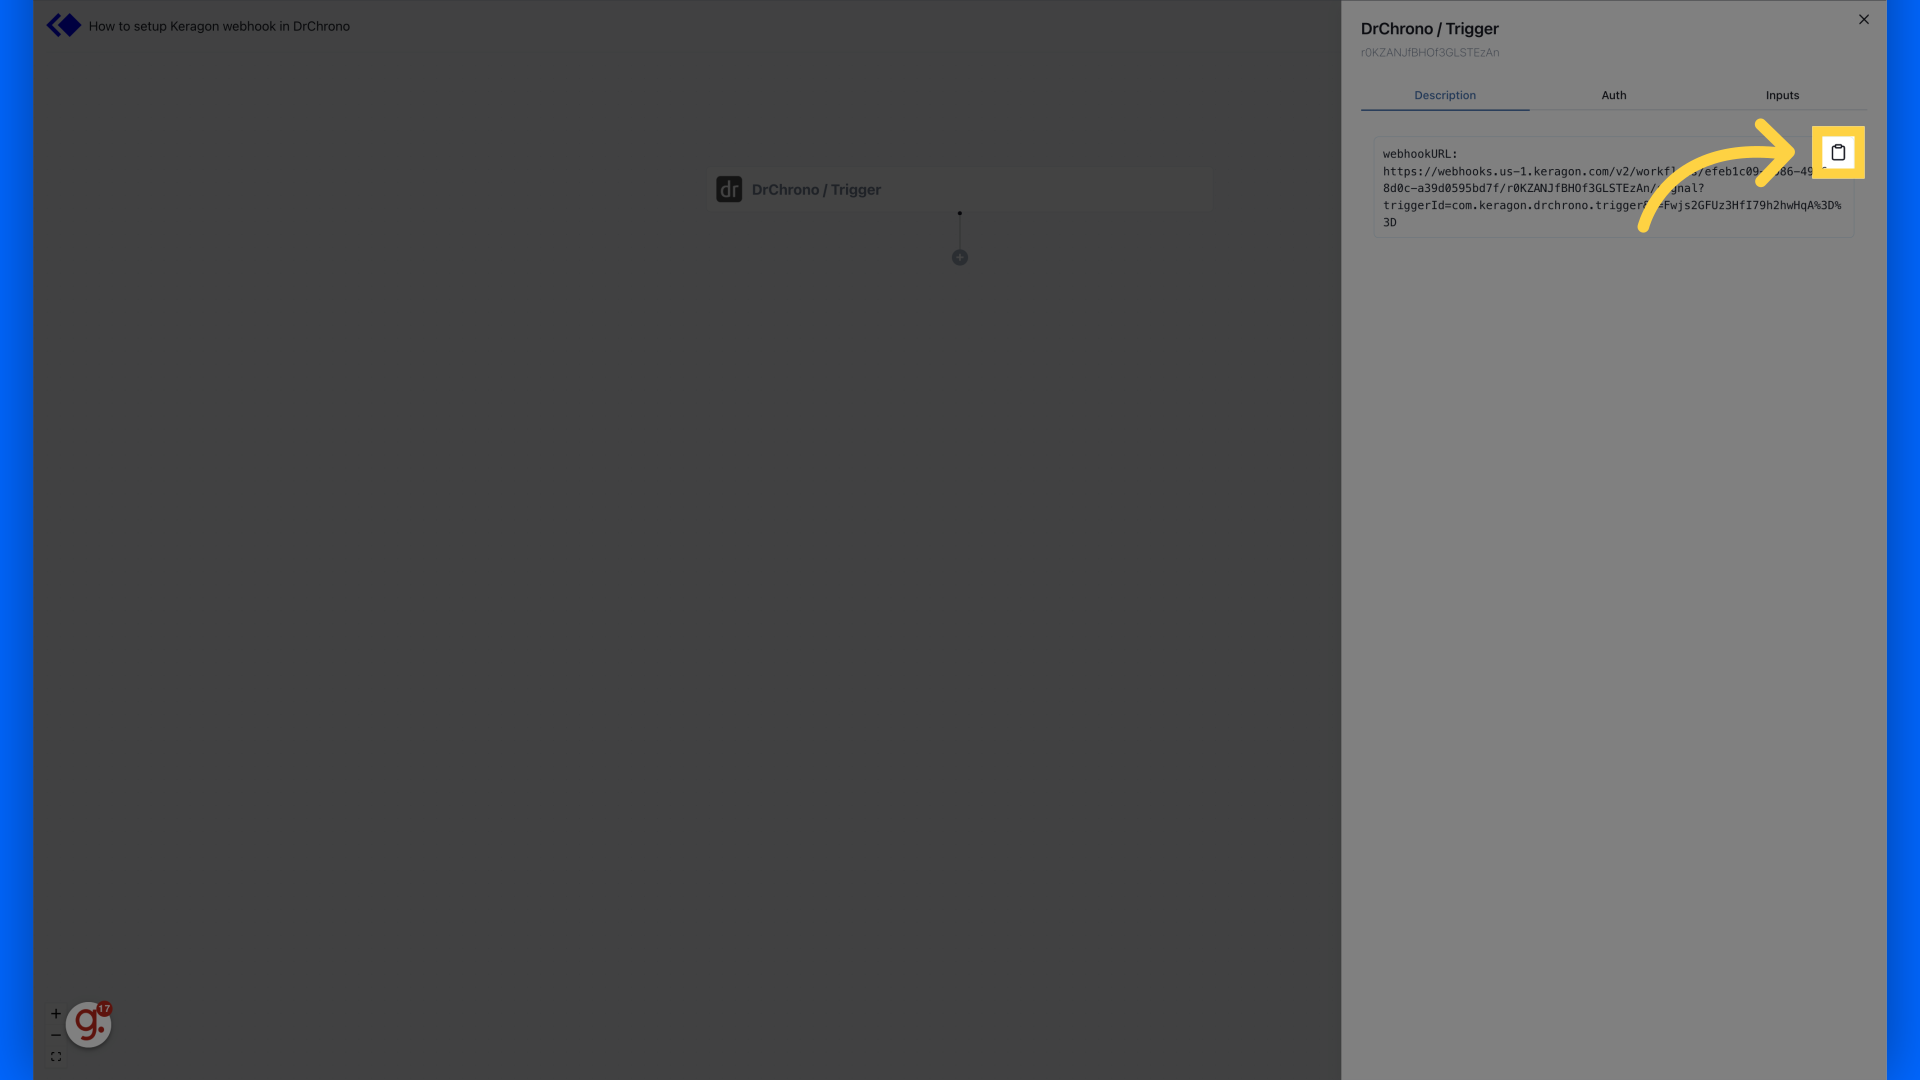
14. Click copy button on 'webhookURL'
Click copy button on 'webhookURL'
15. Switch to DrChrono dashboard
Go to DrChrono dashboard

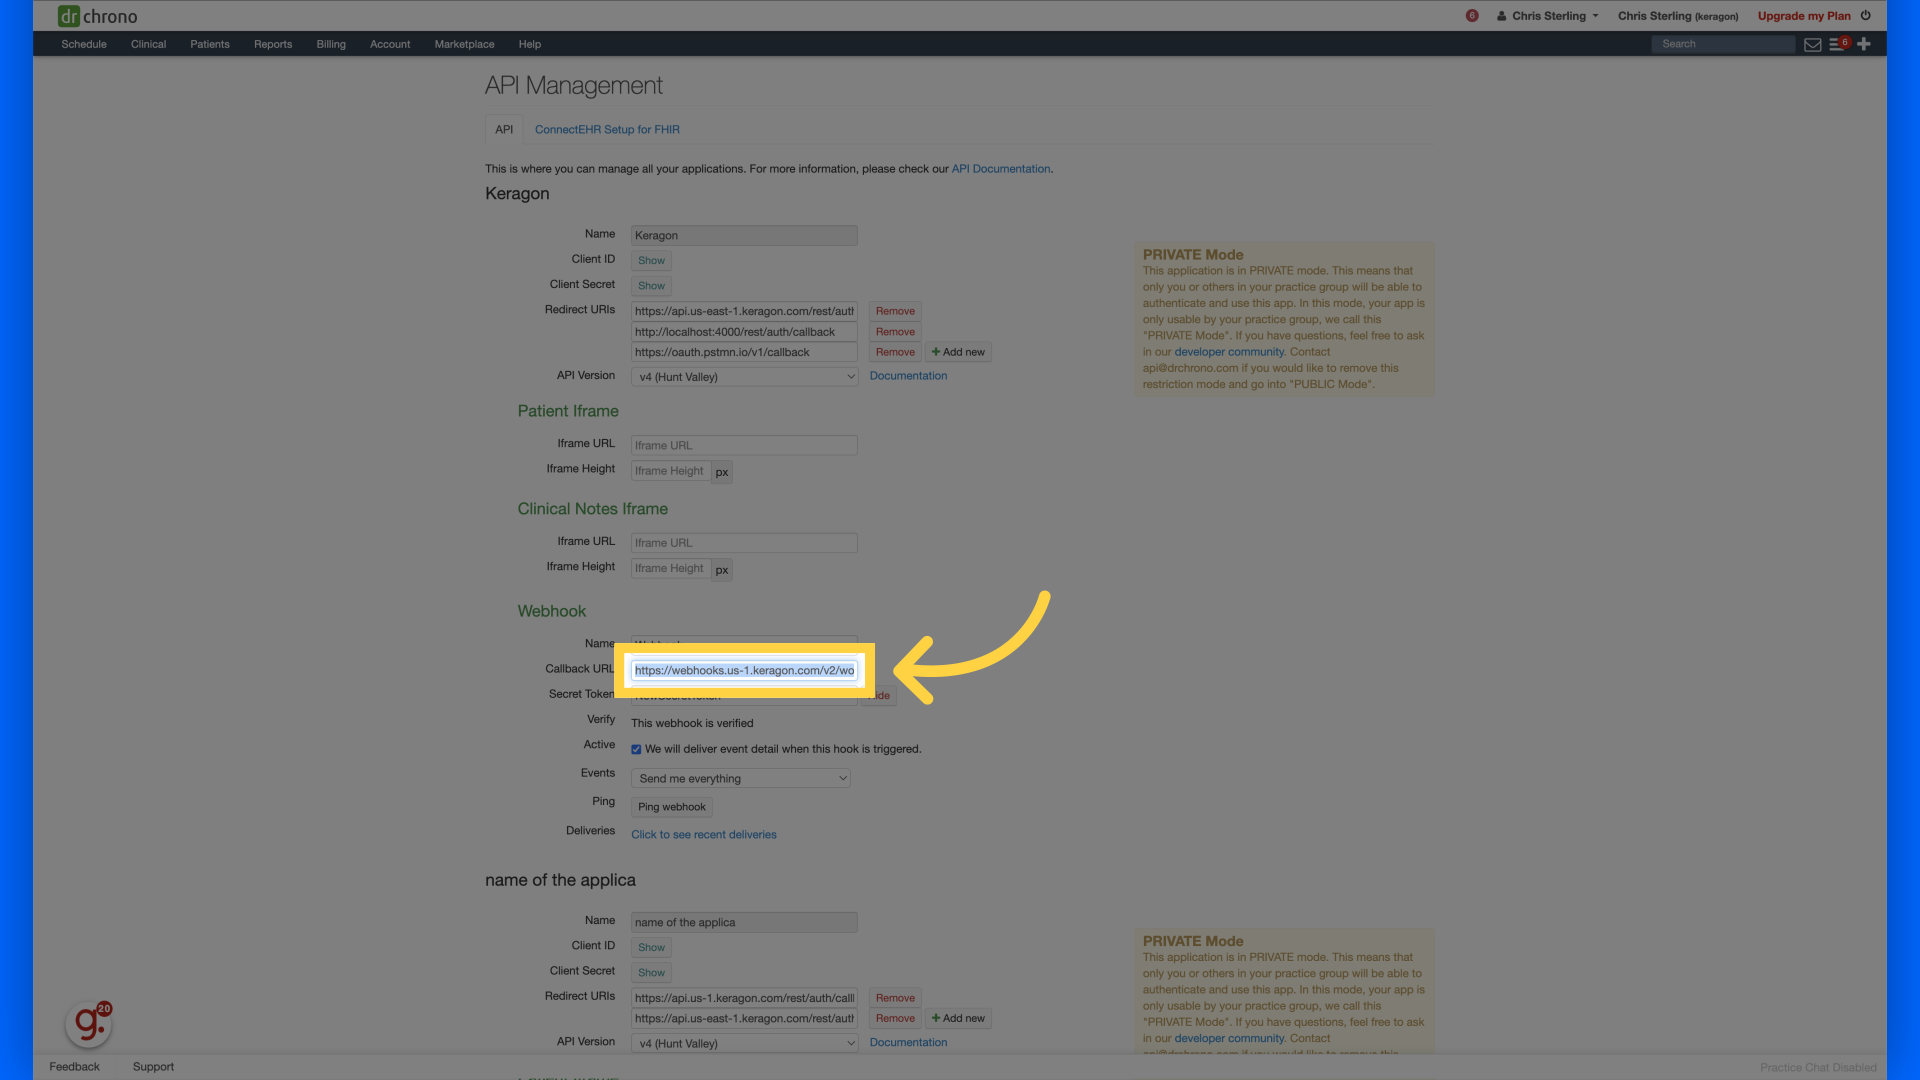
16. Paste copied webhookURL into "Callback URL"
Paste copied webhookURL into "Callback URL"
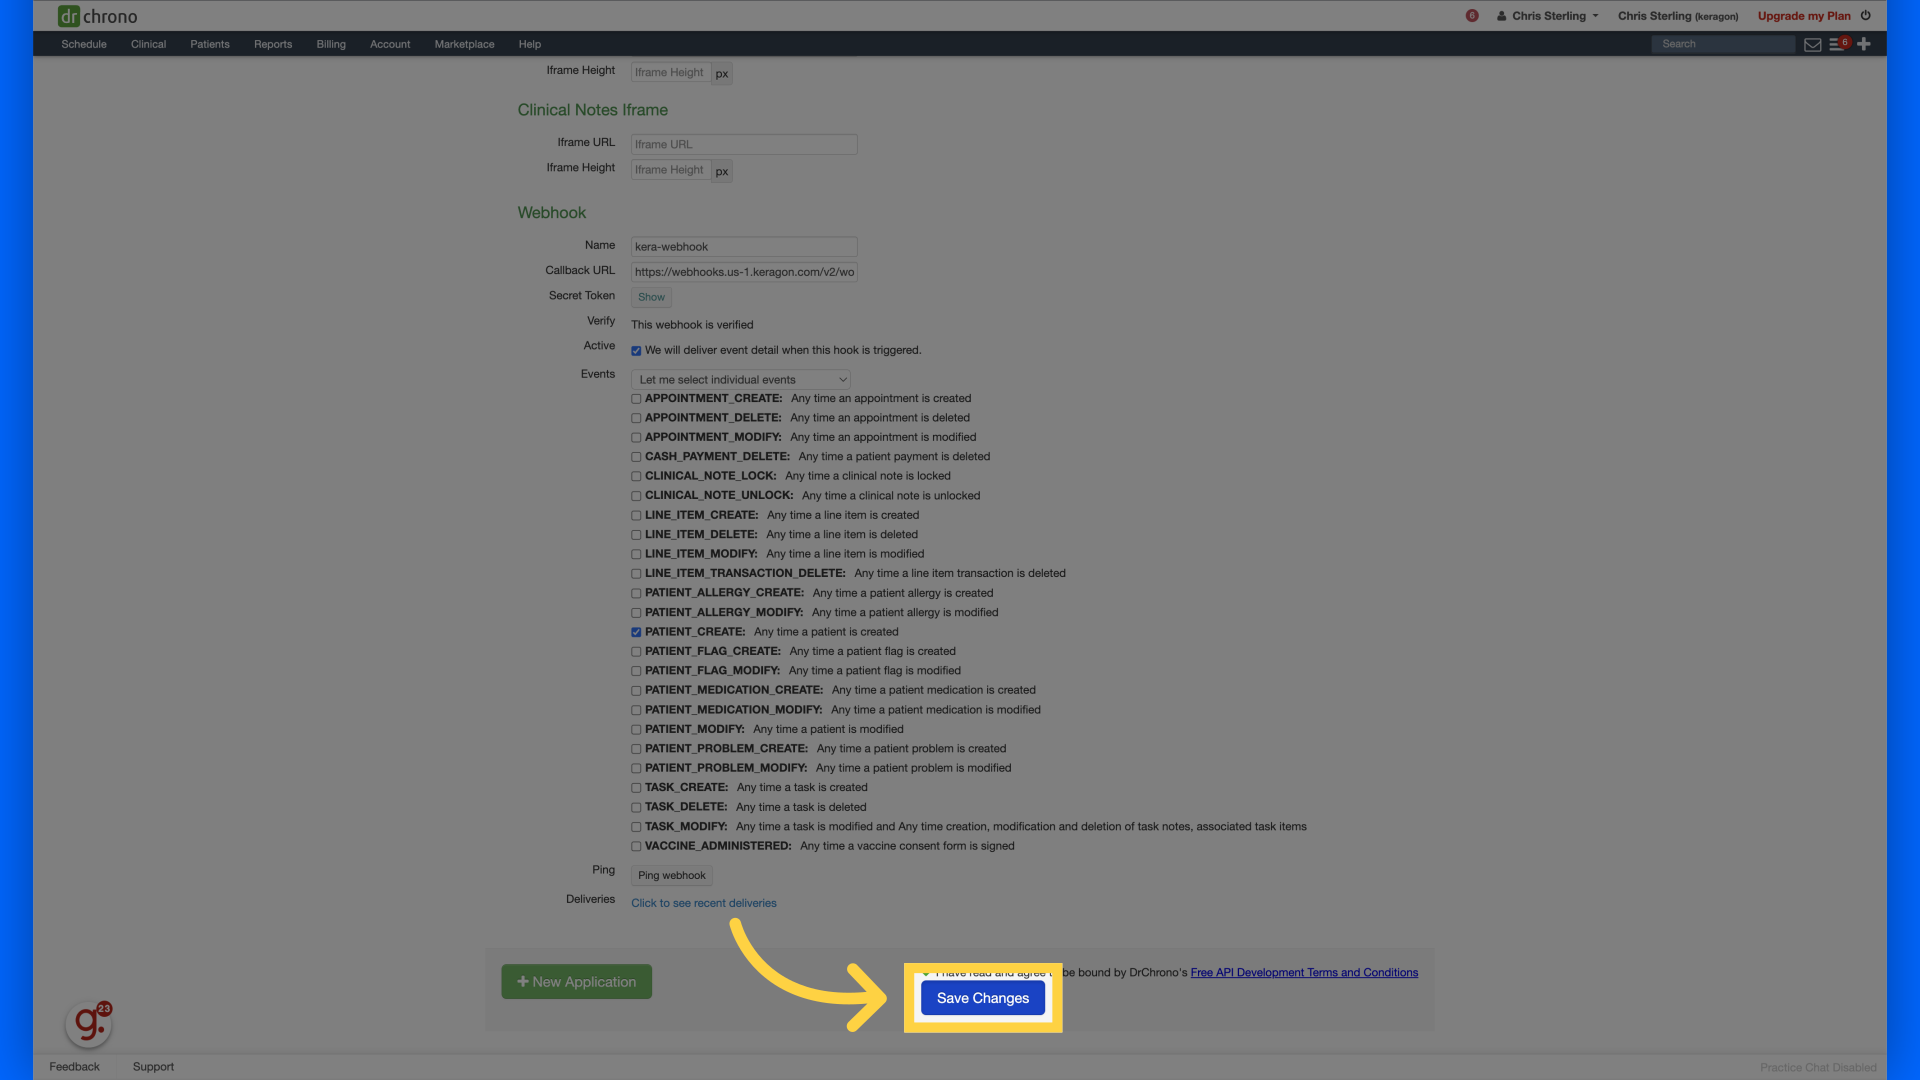
17. Click "Save Changes"
Click on "Save Changes" to save the changes.
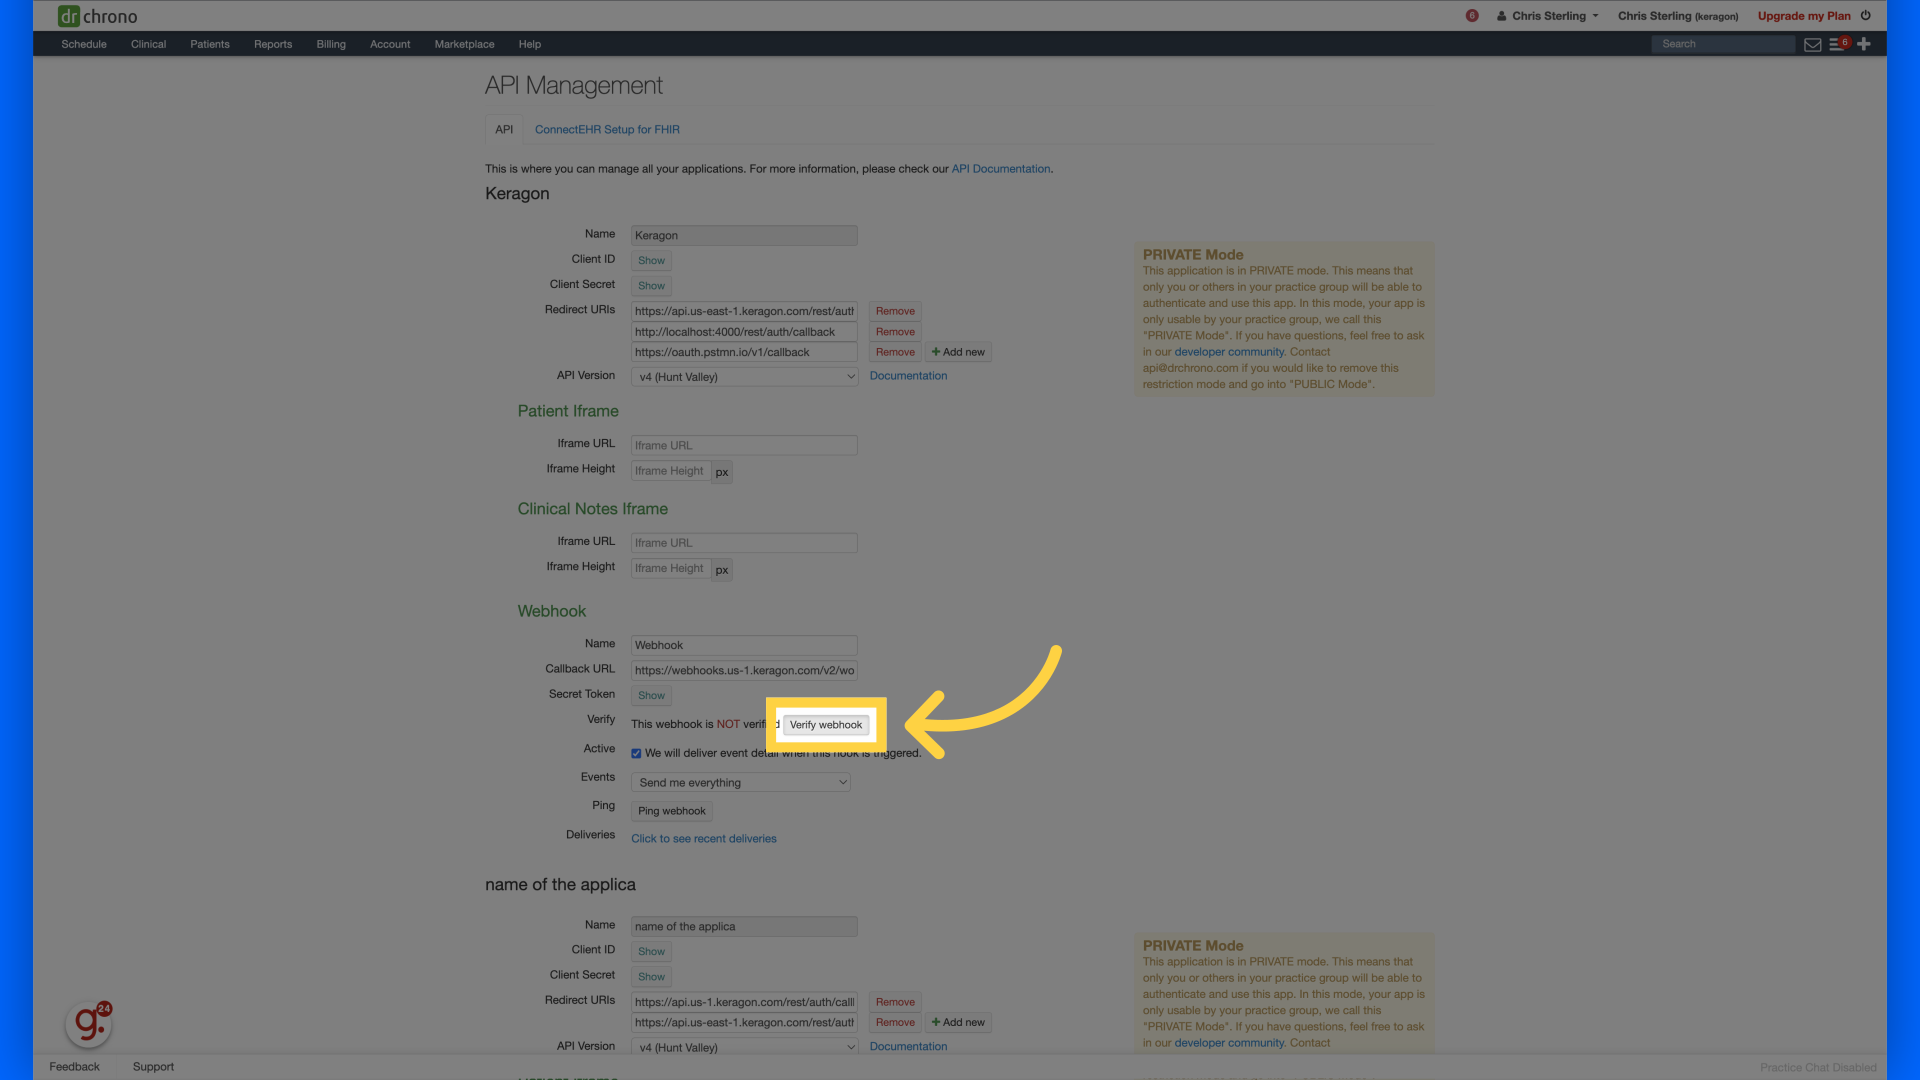
18. Click "Verify webhook"
Click on "Verify webhook."
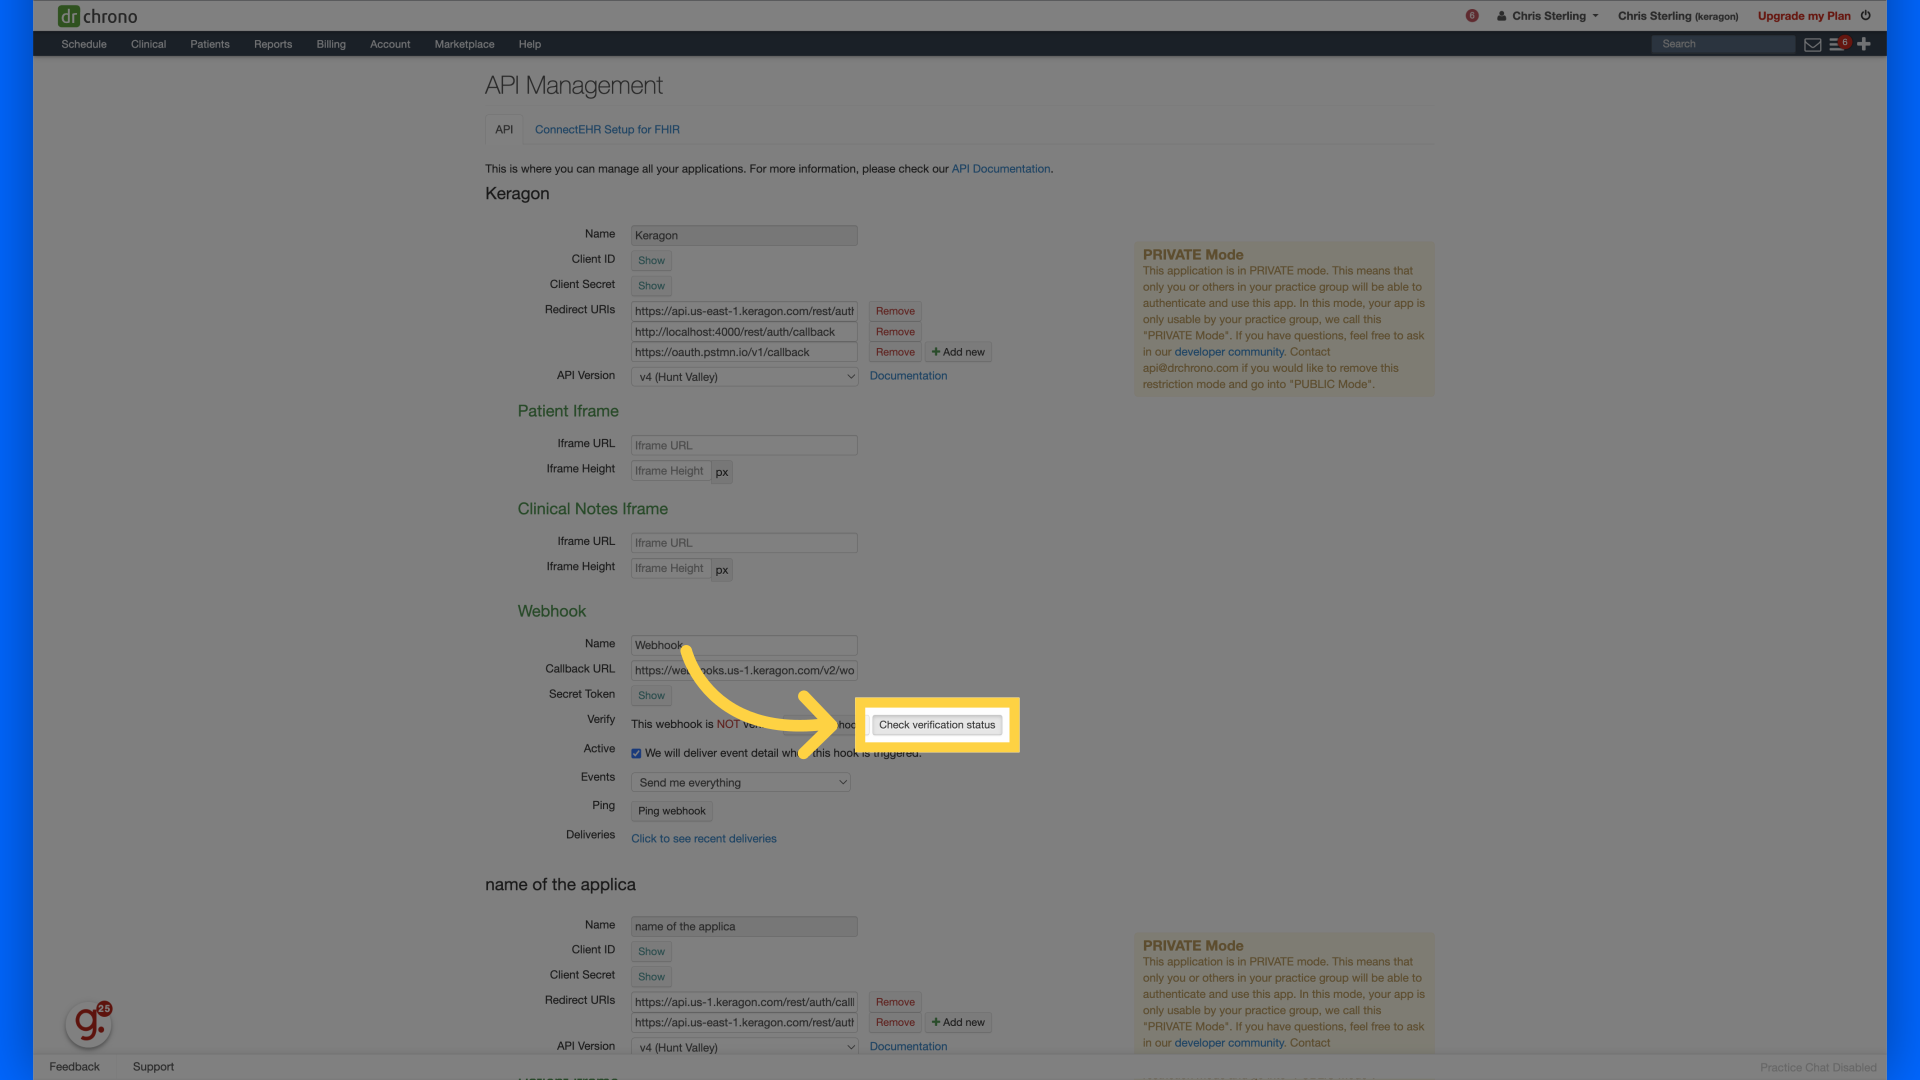
19. Click "Check verification status"
Click on "Check verification status."
The guide covered setting up a Keragon webhook in DrChrono, including adding triggers, navigating through different sections, filling in necessary information, and verifying the webhook.