Pre-Service Clearence
The Keragon connector for Availity currently only supports the "Pre-Service Clearance" module. If you need other products or modules from Availity, please request an update to the Keragon connector through your dashboard.
Go to developer.availity.com
If you do not already have an account register for a developer account
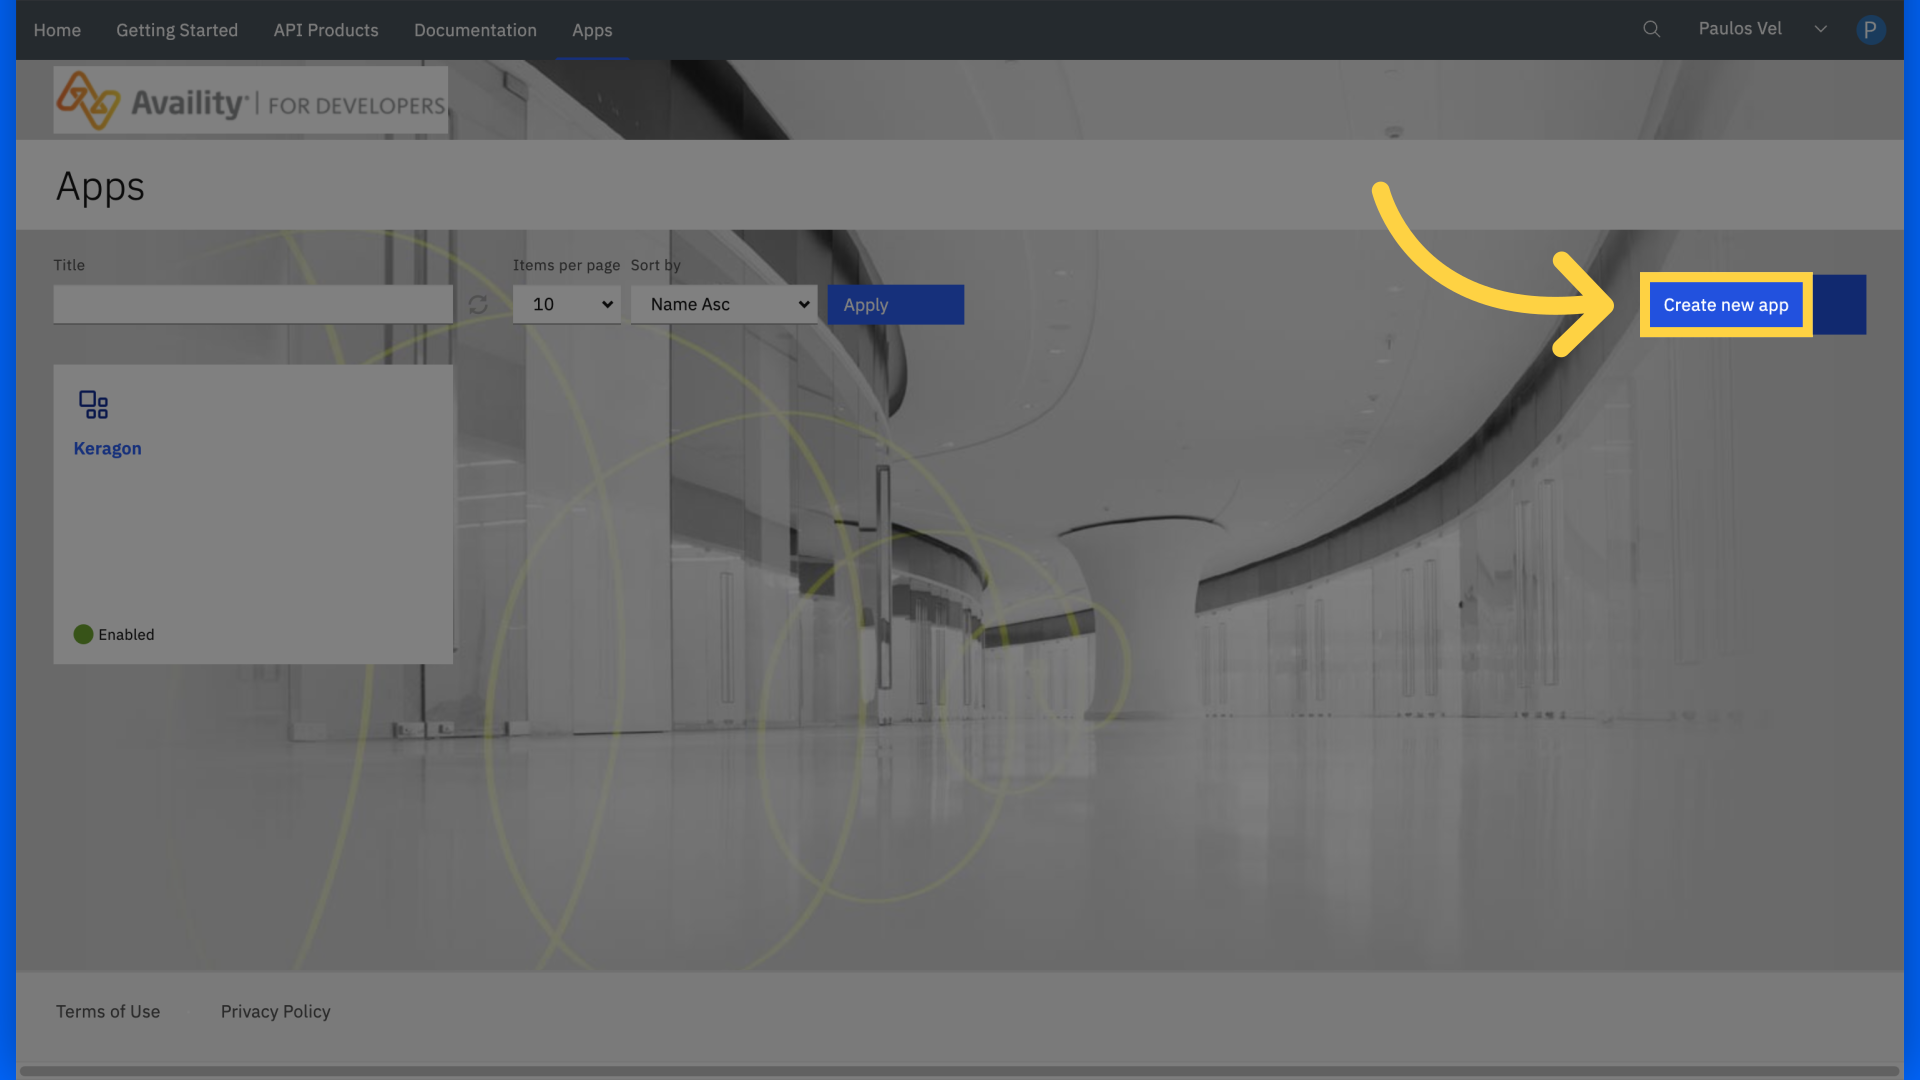
1. Click "Apps"
Navigate to the "Apps" section.

2. Click "Create new app"
Select "Create new app" option.
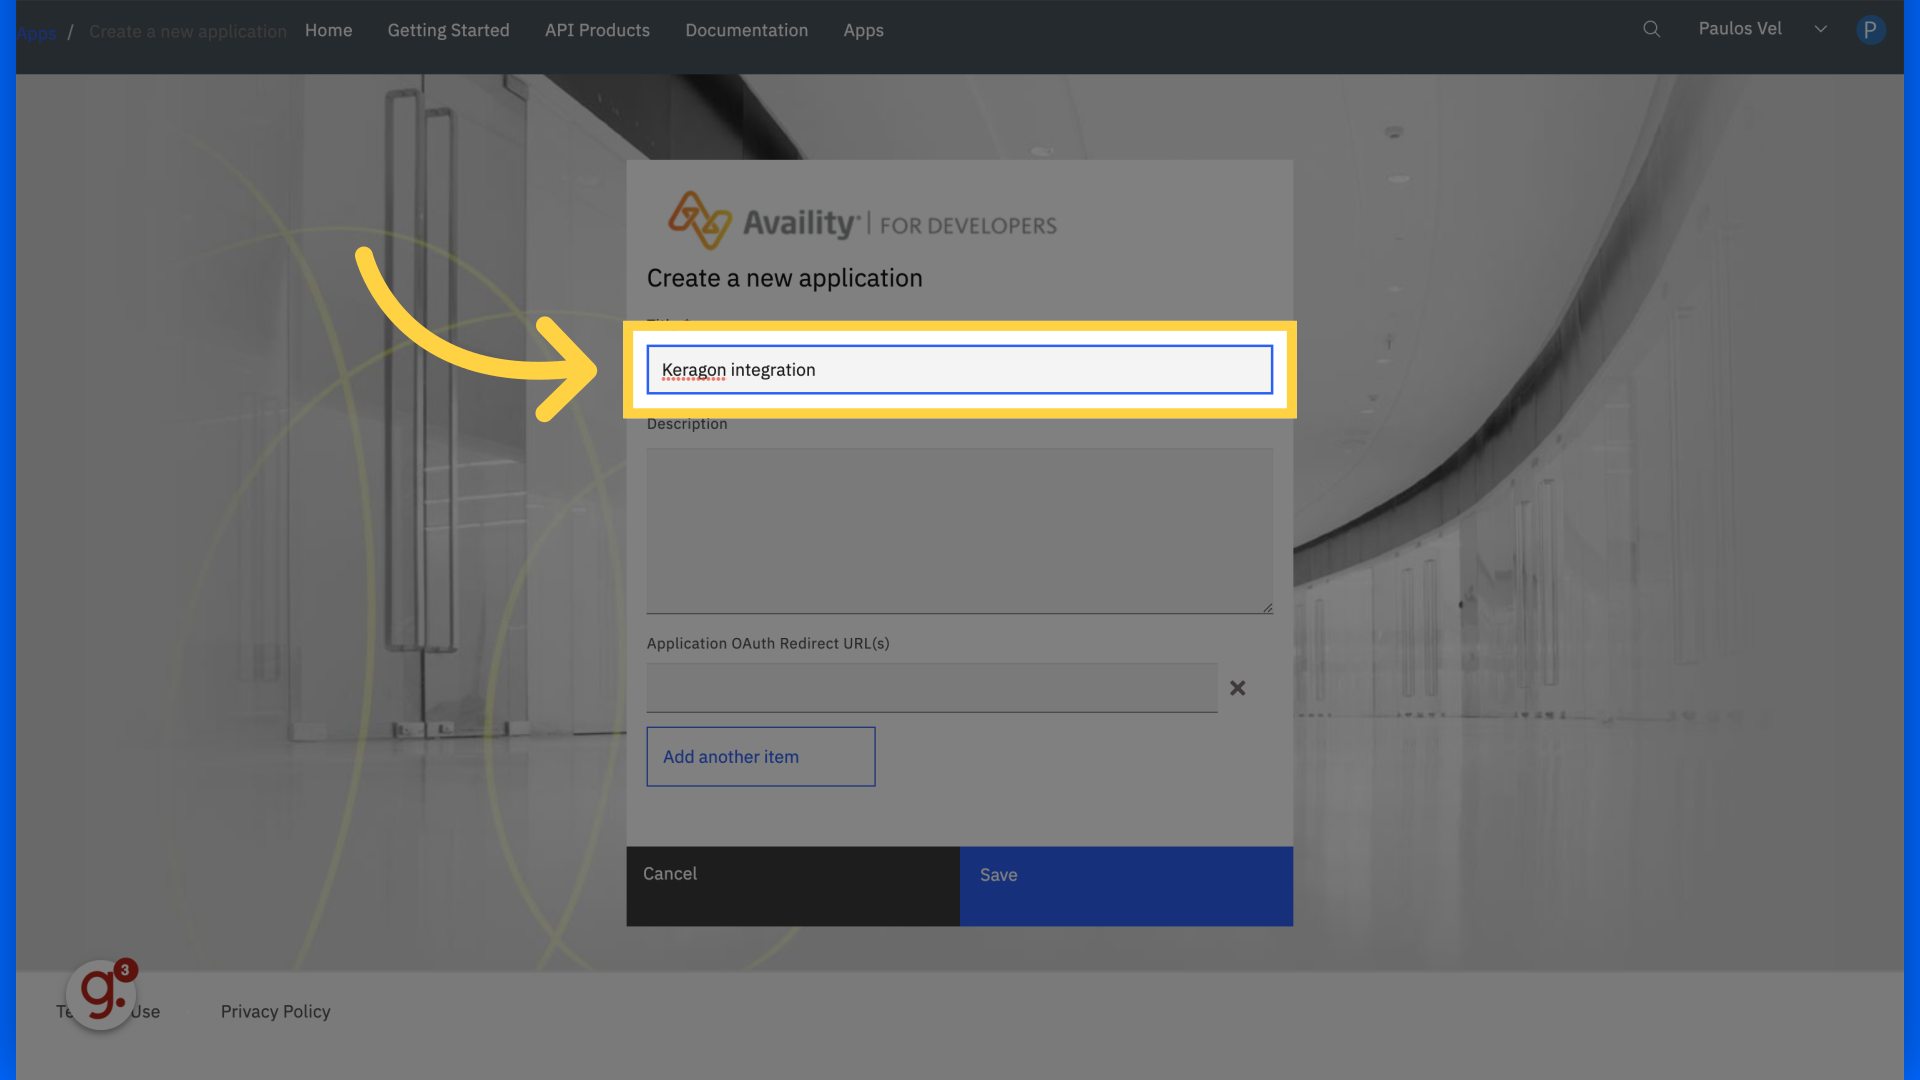
3. Fill "Keragon integration"
Enter "Keragon integration" as the title.
4. Click the OAuth redirect urls
Enter "https://api.us-1.keragon.com/rest/auth/callback".
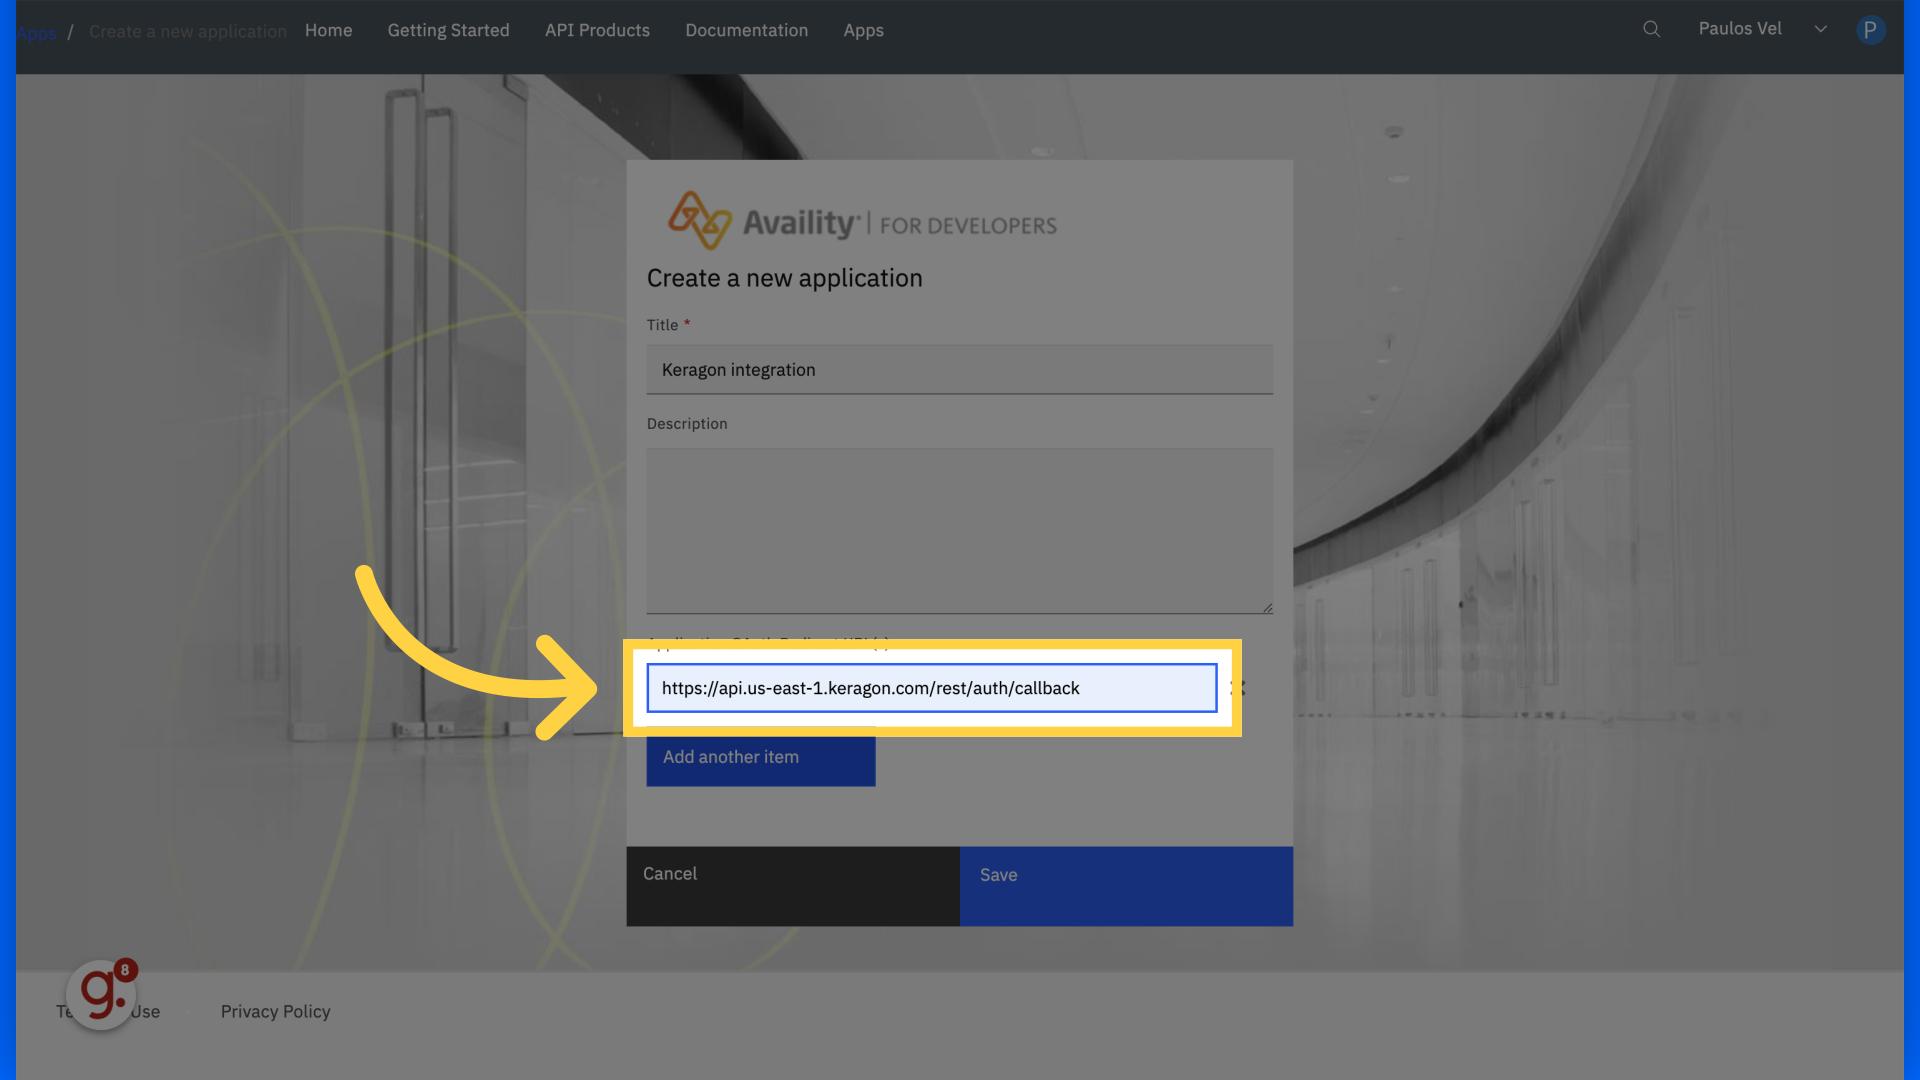
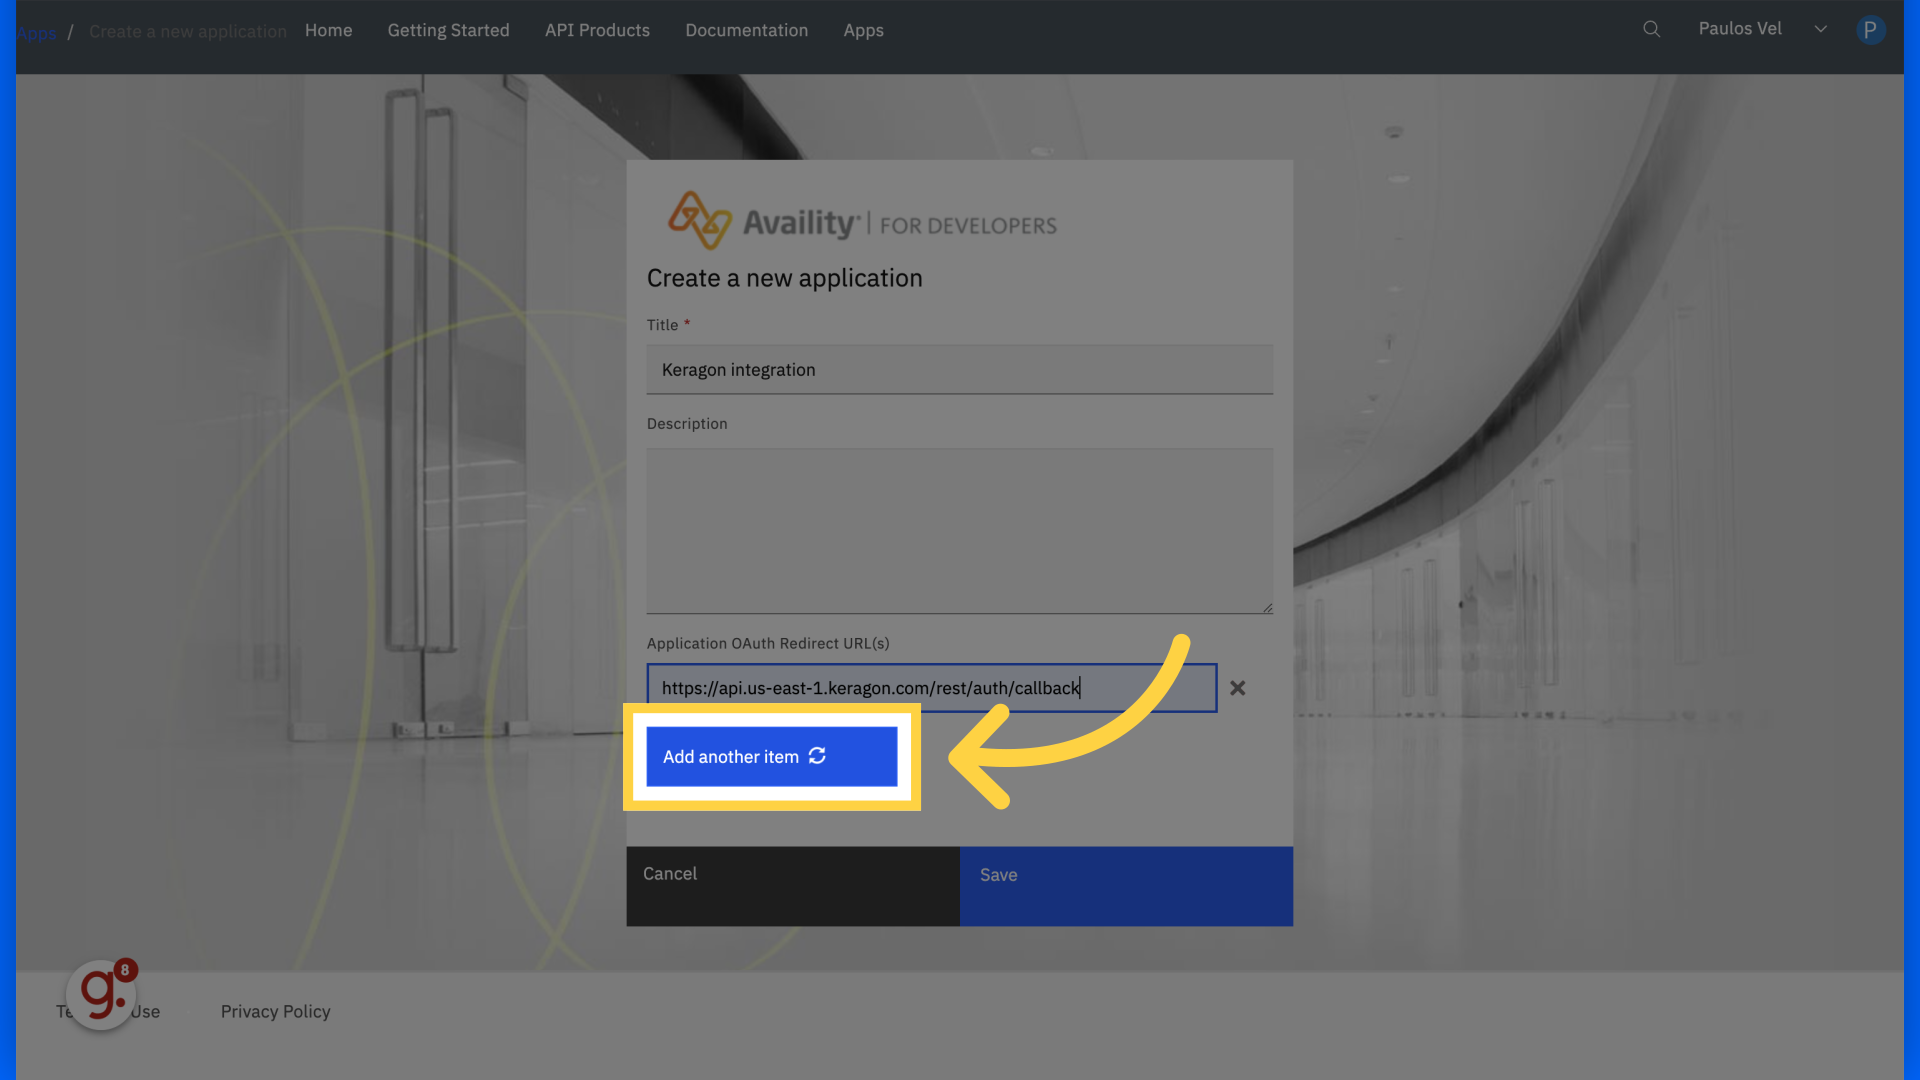
5. Click "Add another item"
Add another redirect URL.
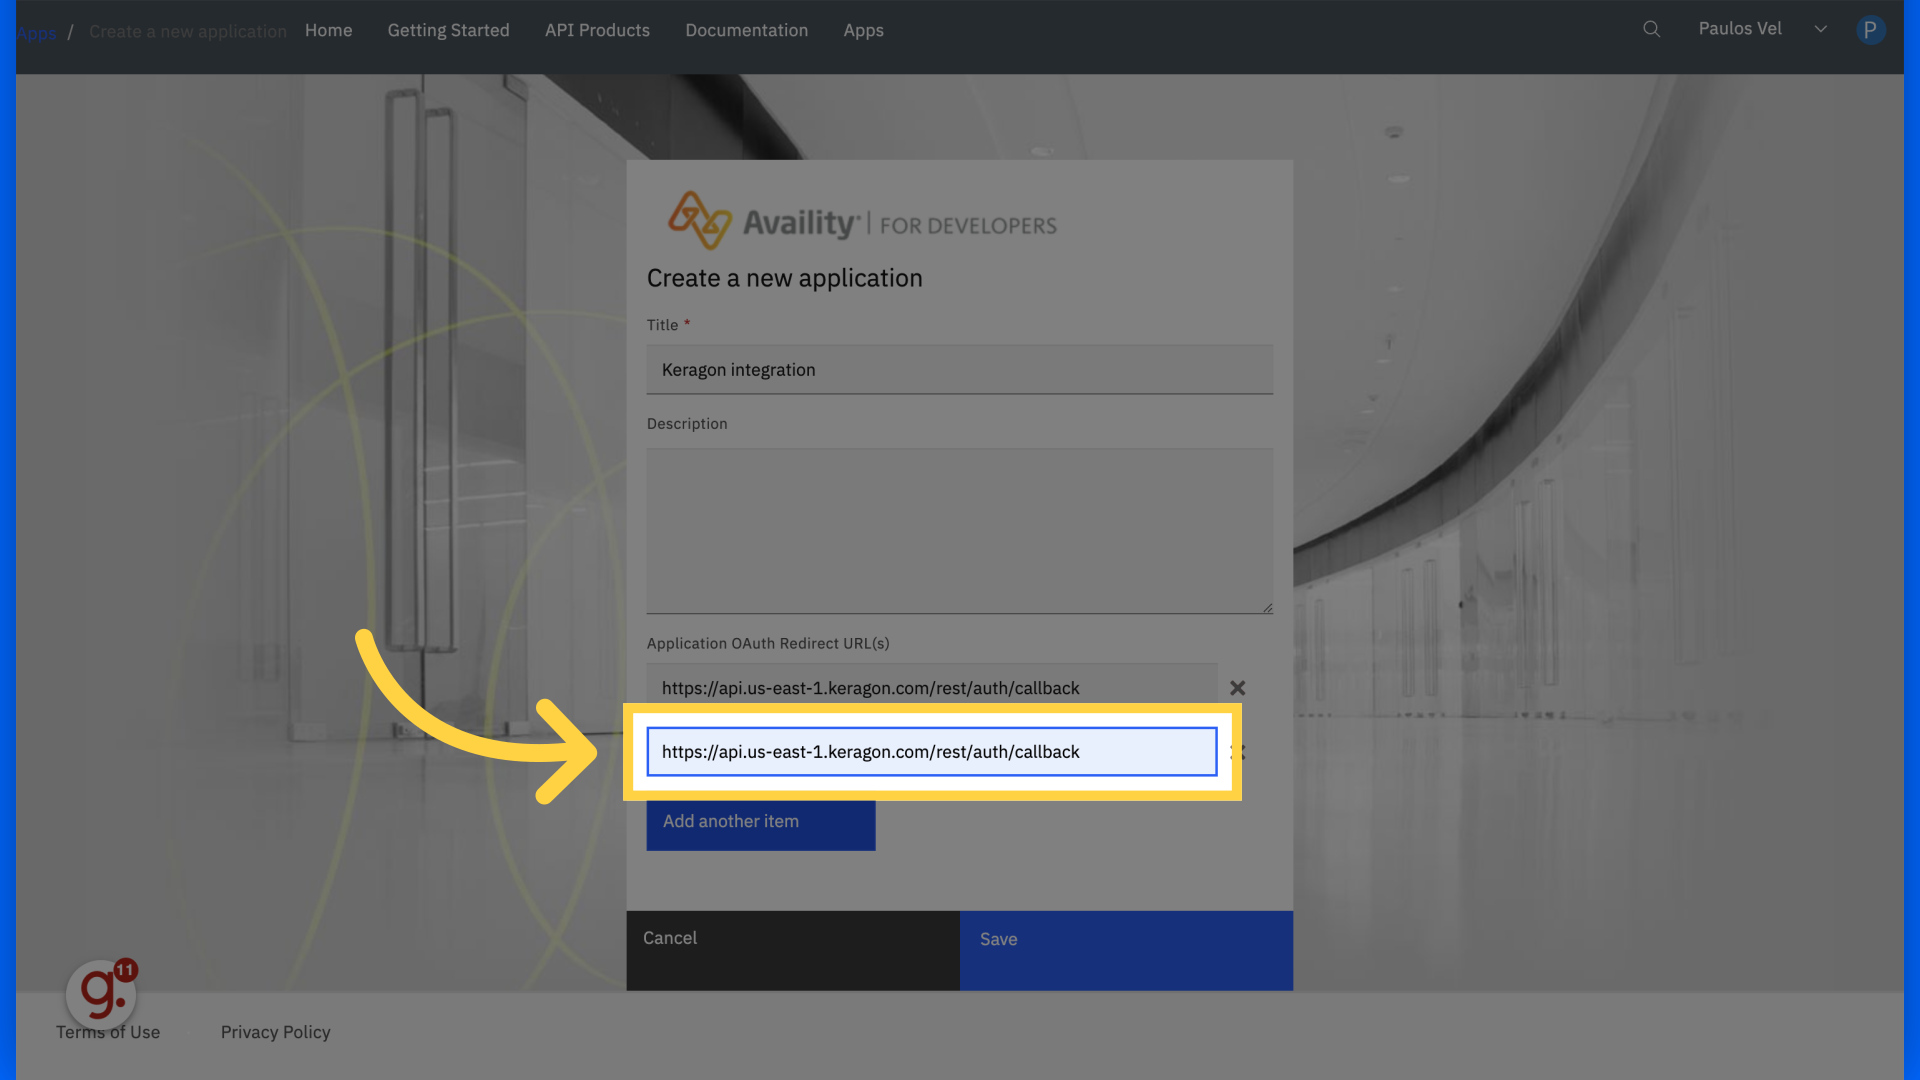
6. Enter the second redirect url
Fill "https://api.us-east-1.keragon.com/rest/auth/callback"
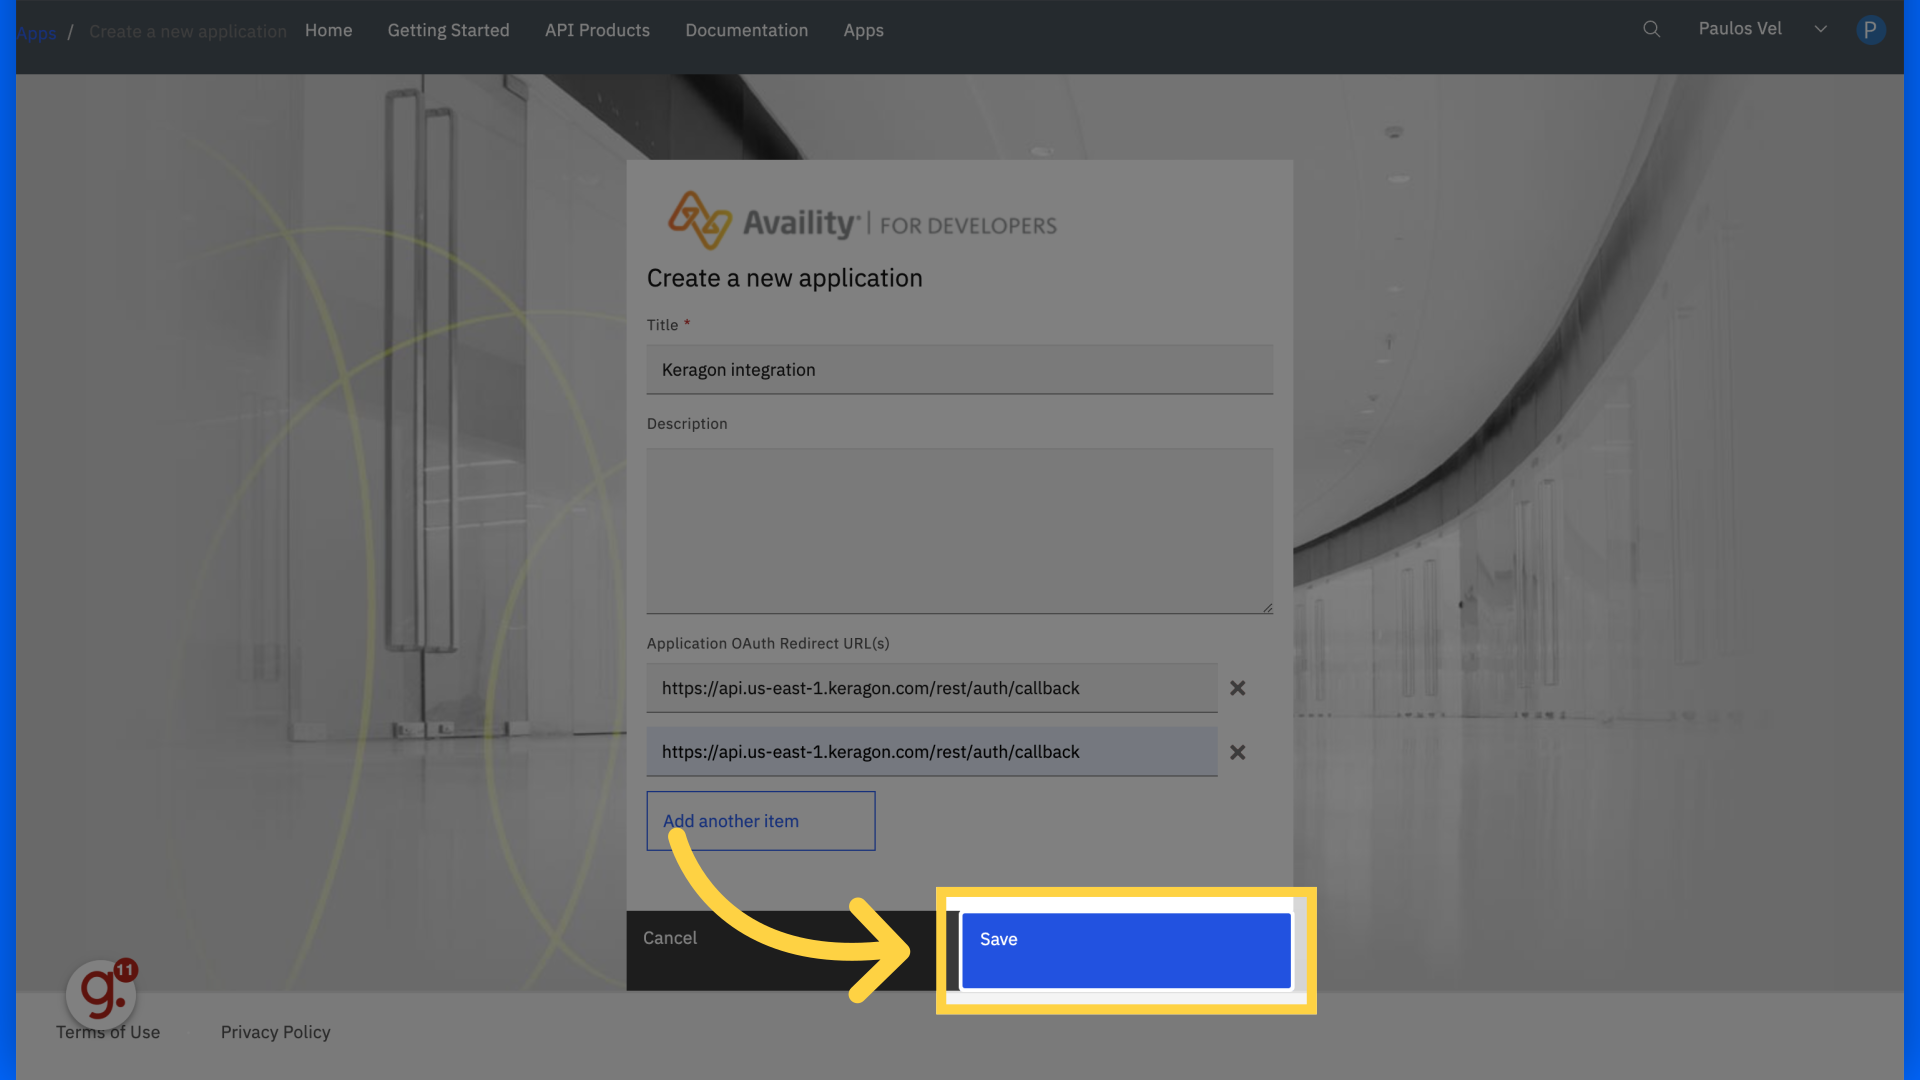
7. Click "Save"
Save the changes made.
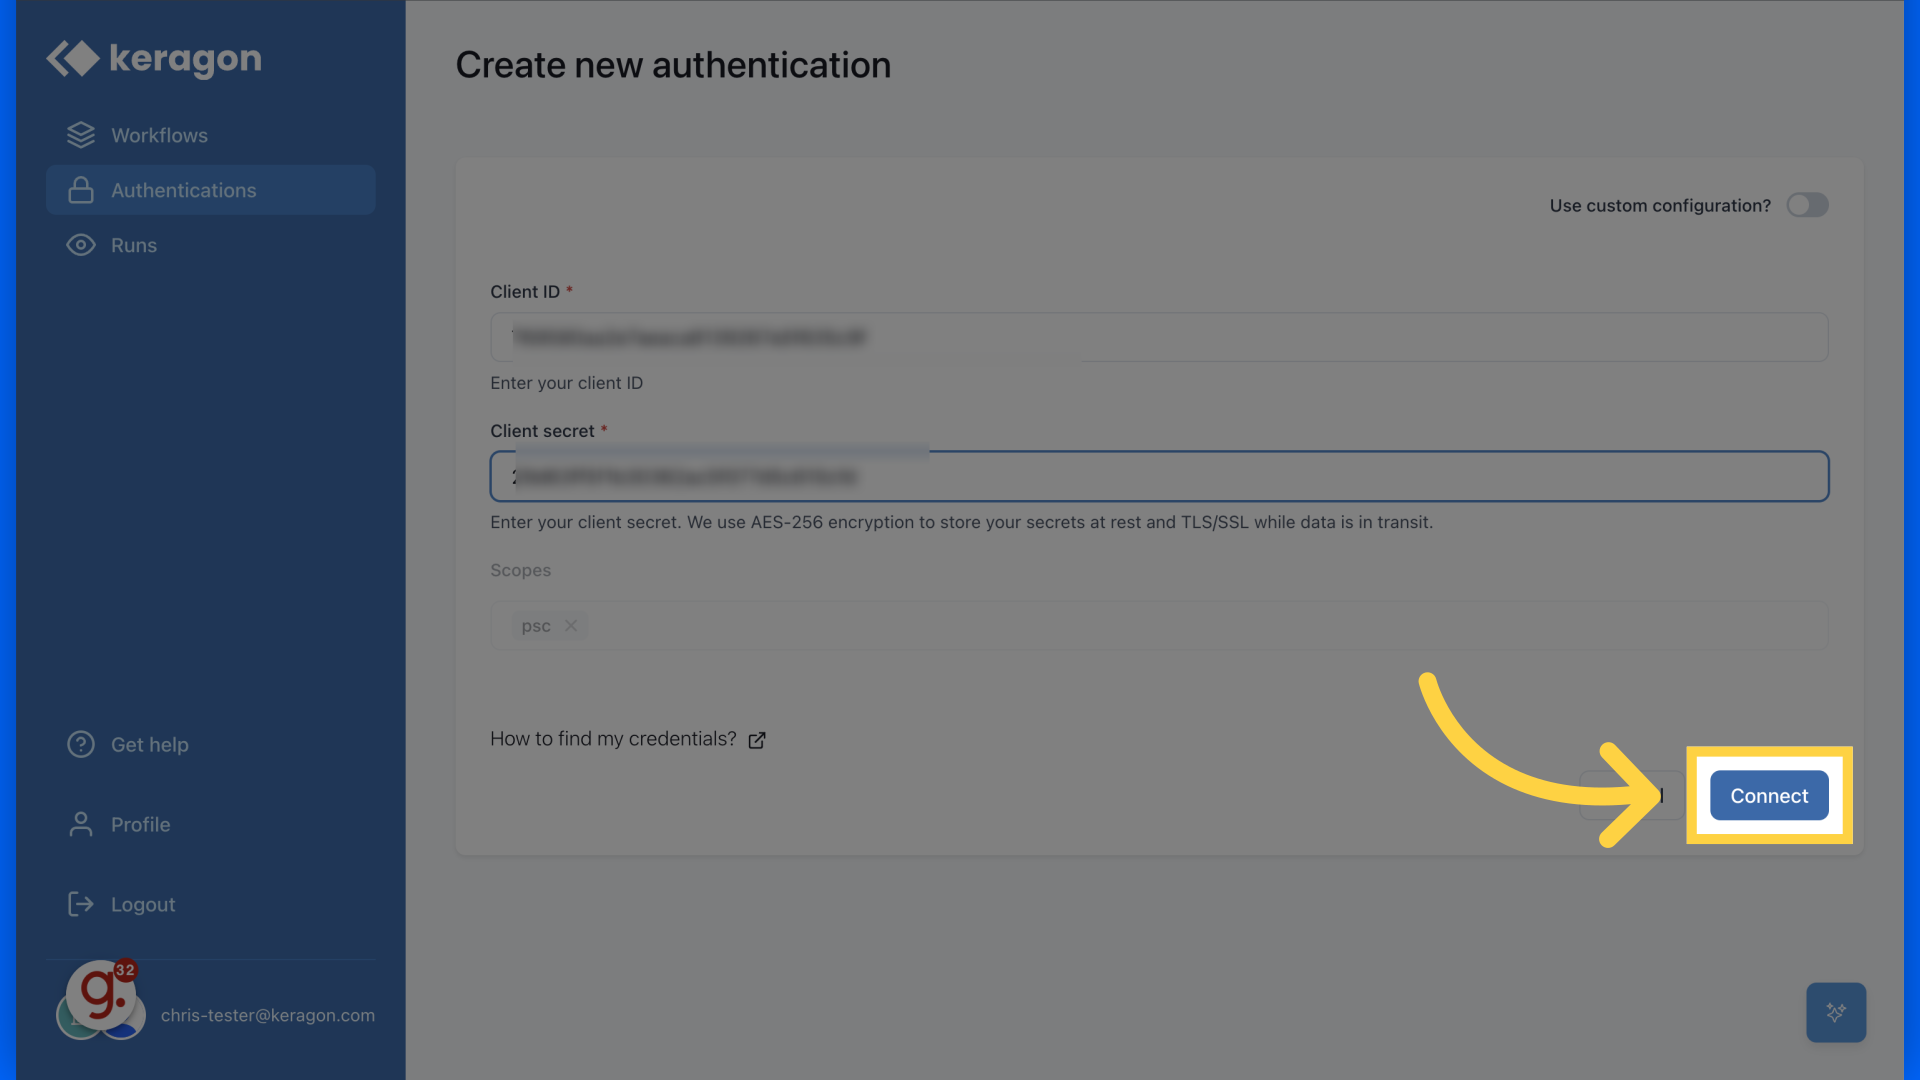
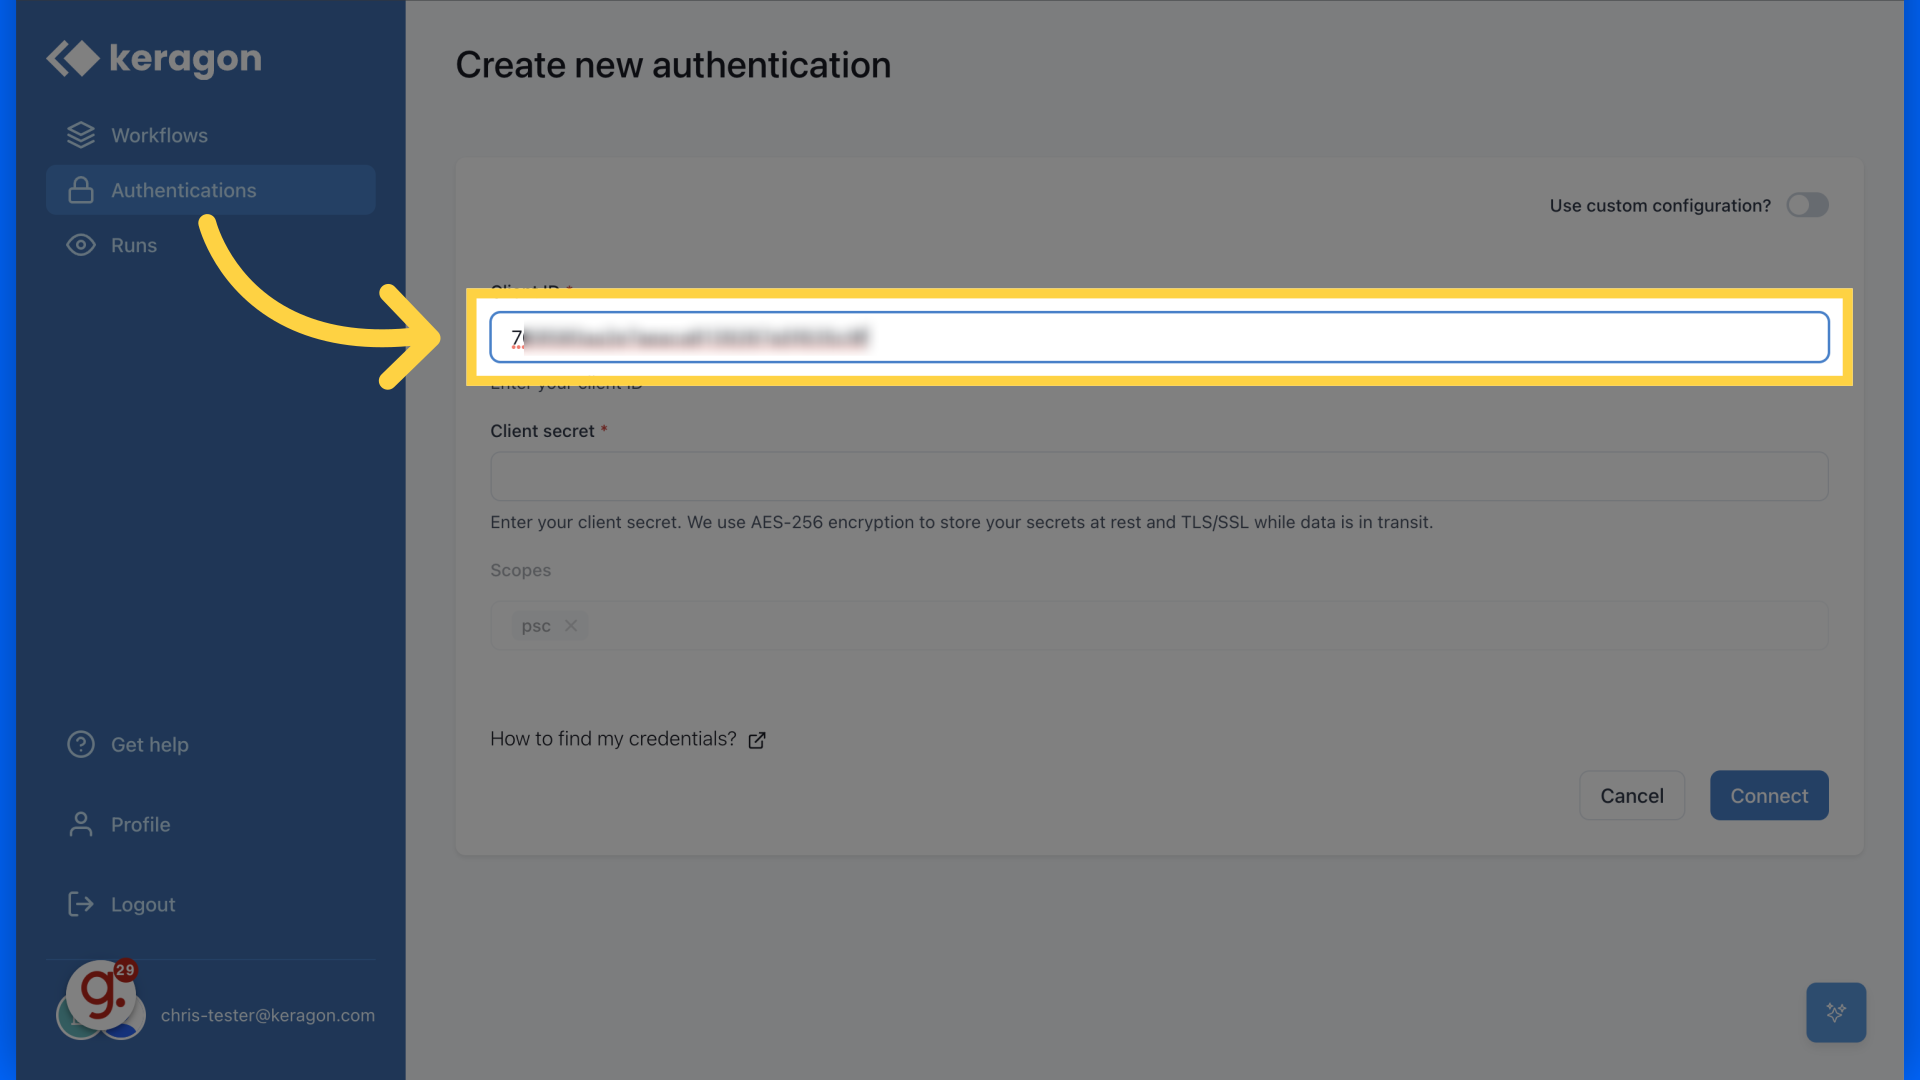
8. Copy the Key
Copy the client id presented and paste it somewhere as it will be needed in next steps.

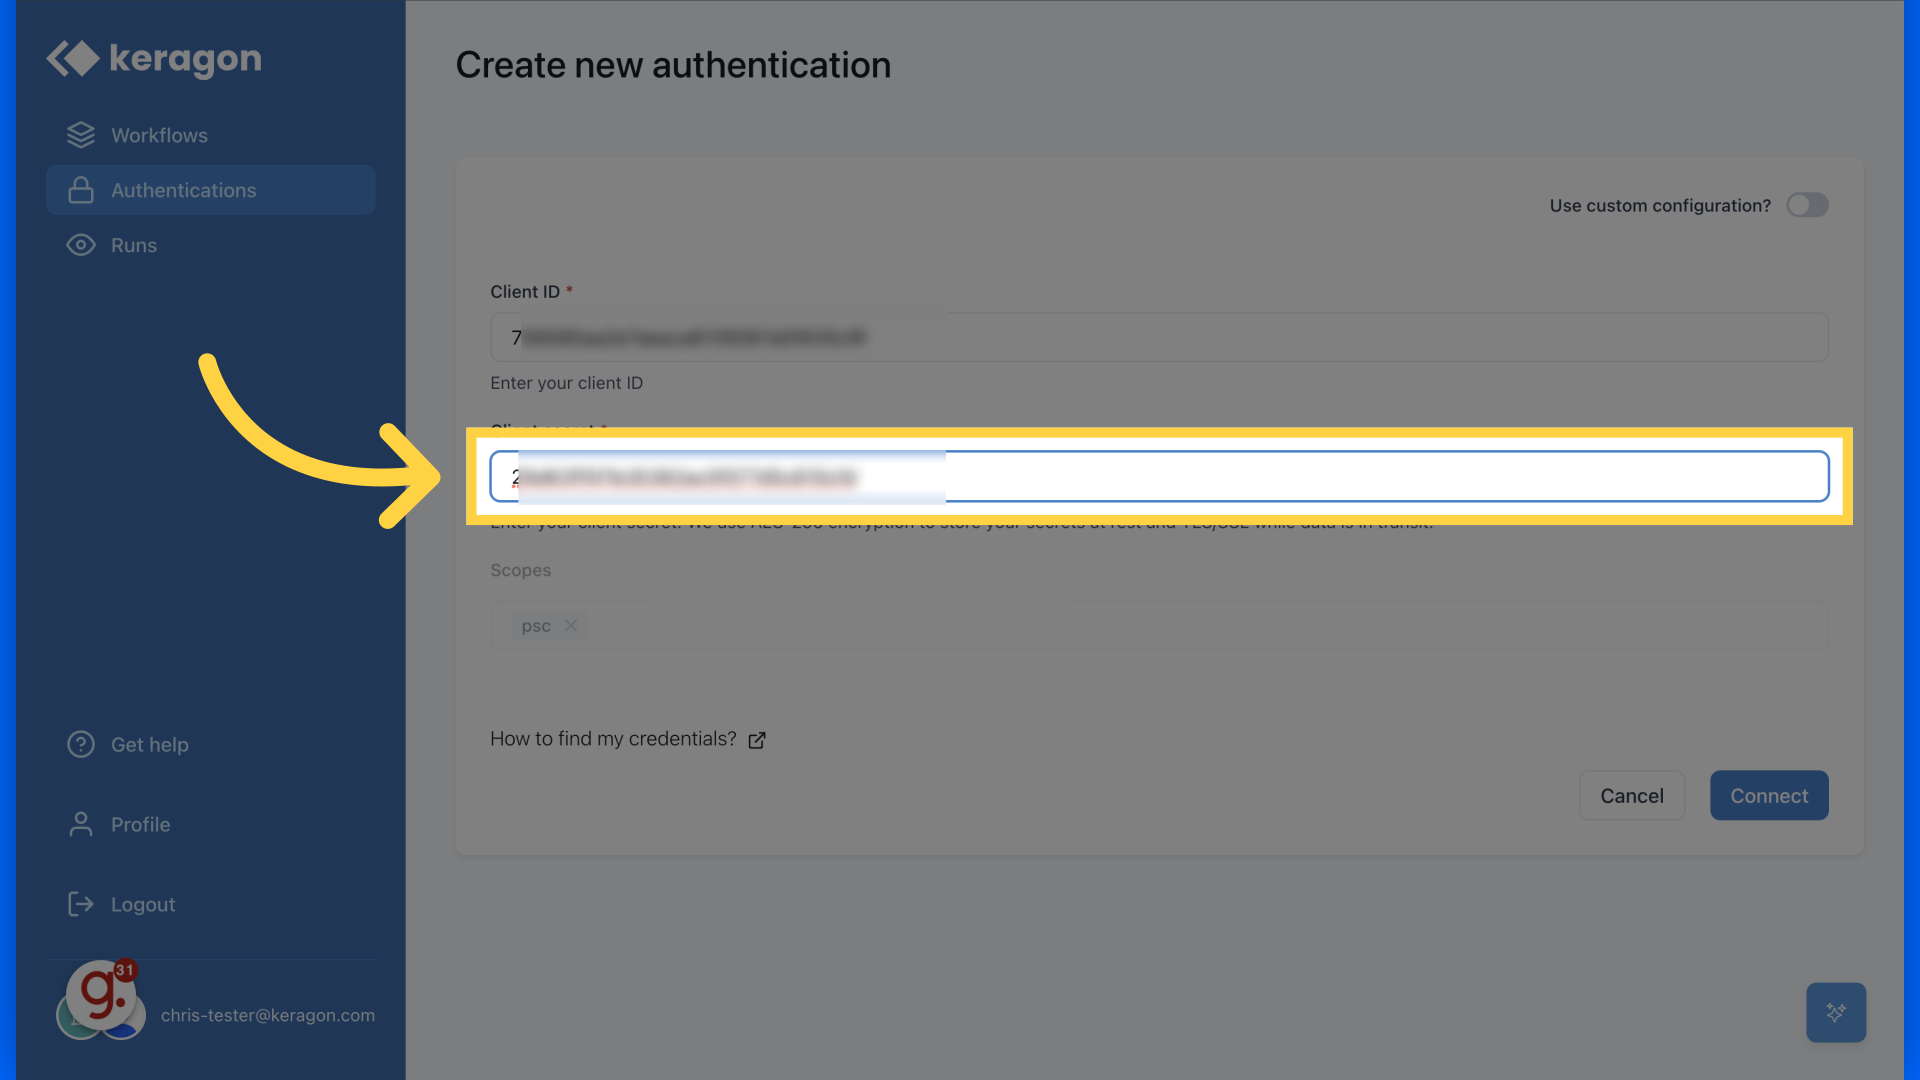
9. Copy the secret
Copy the secret presented and paste it somewhere as it will be needed in next steps.
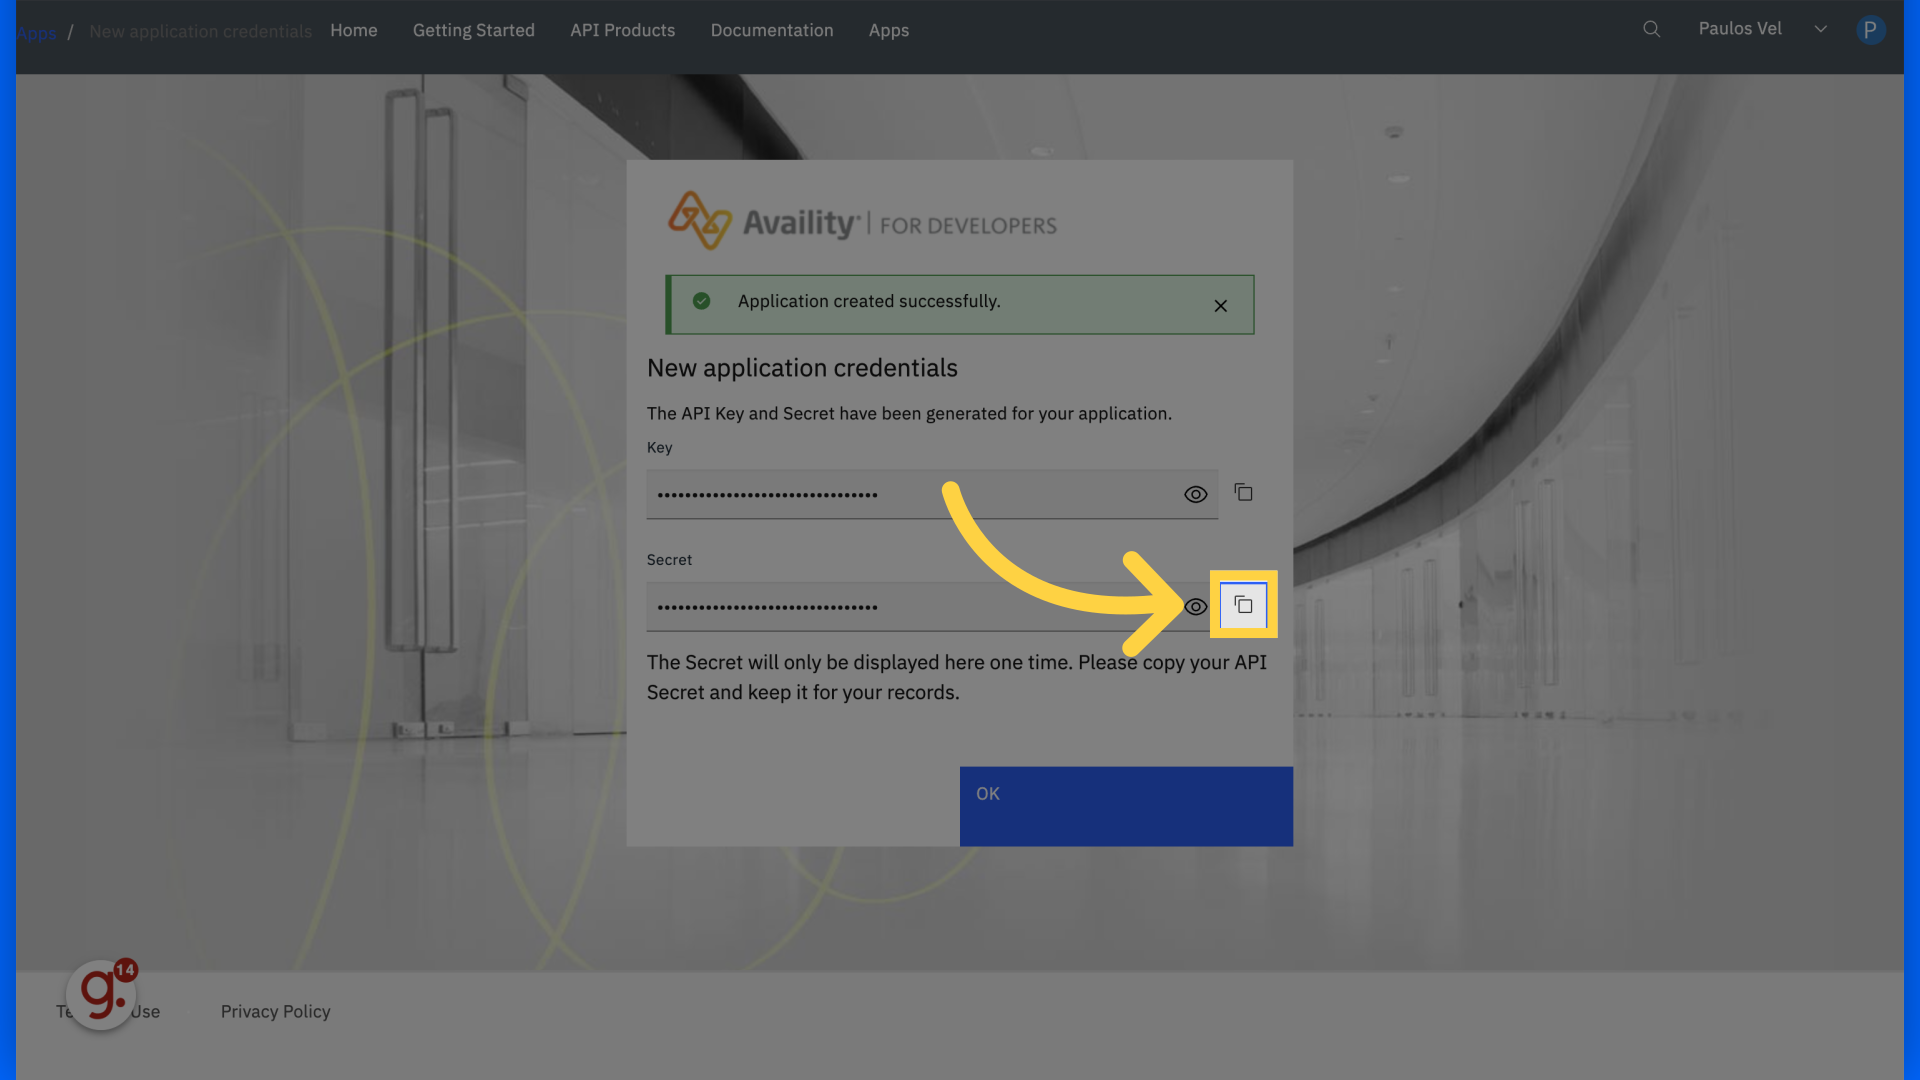
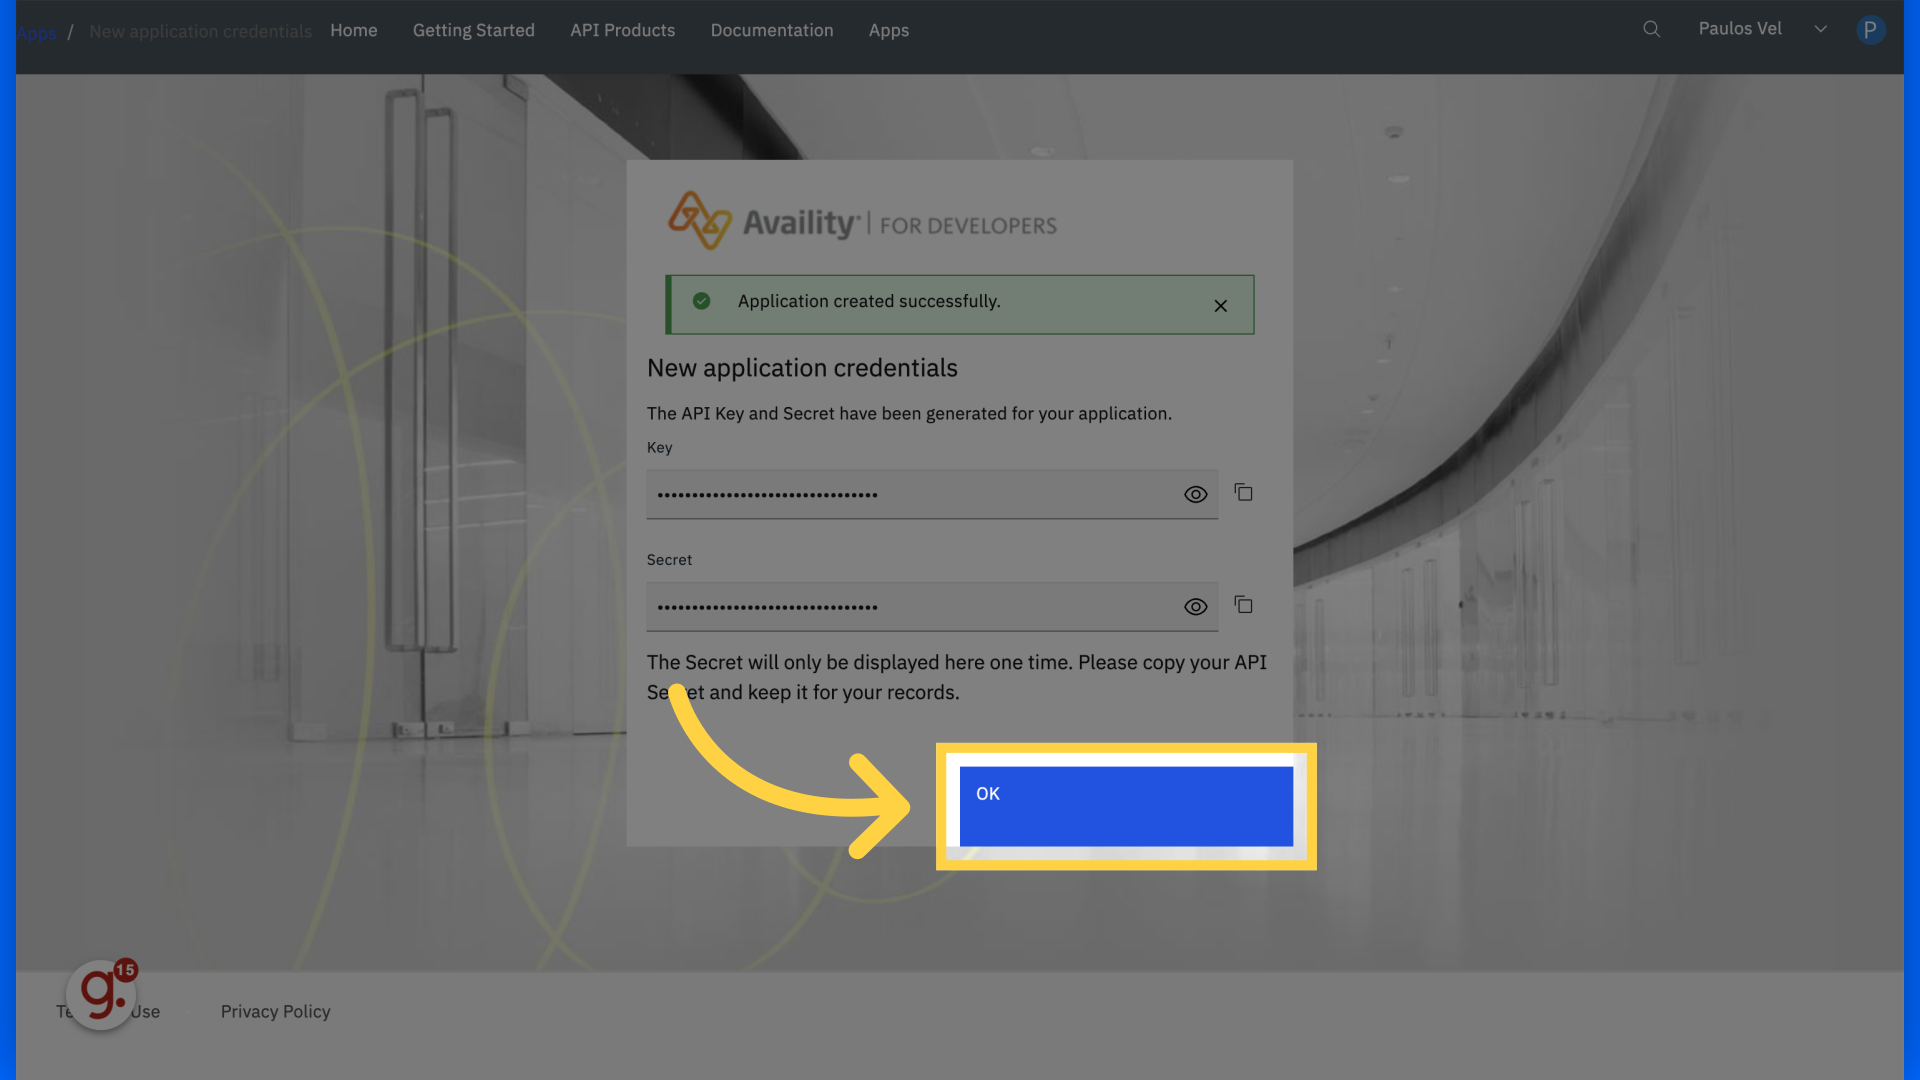
10. Click "OK"
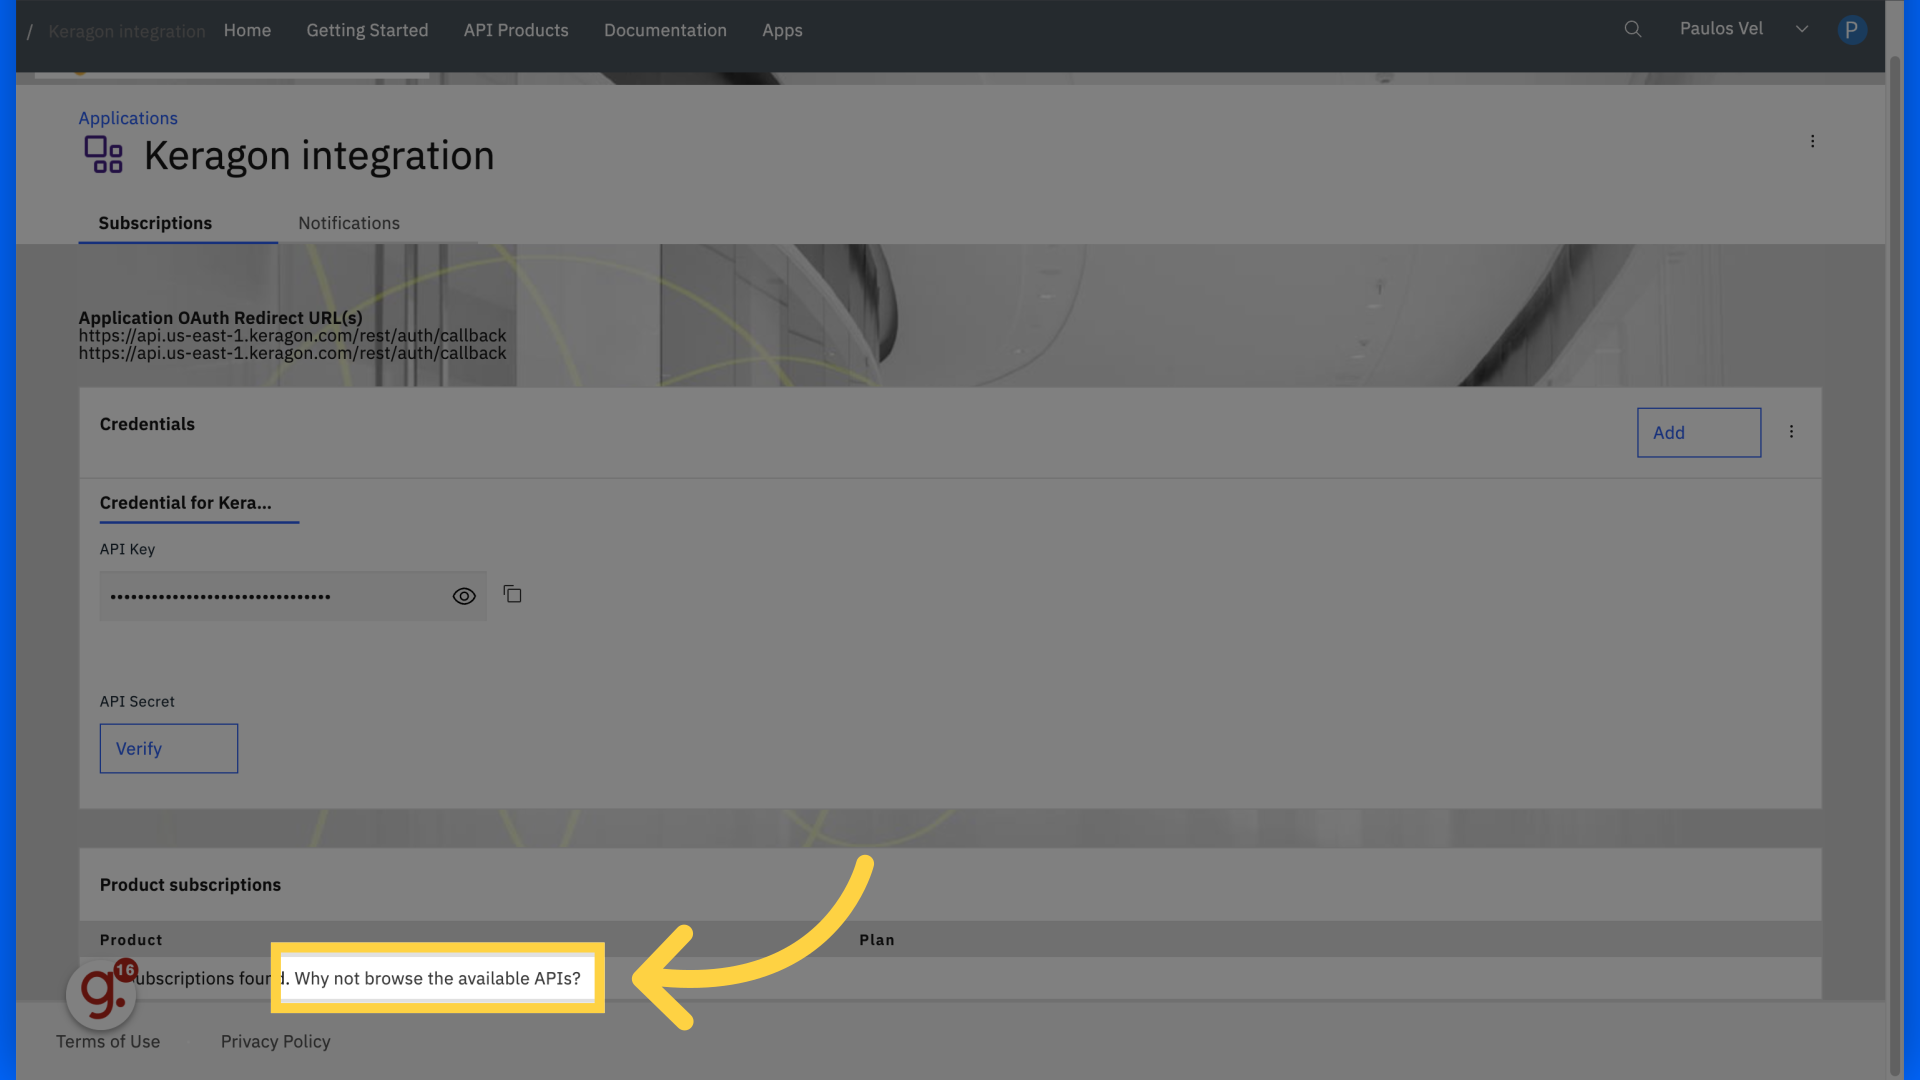
11. Click "Why not browse the available APIs?"
Choose to browse the available APIs.
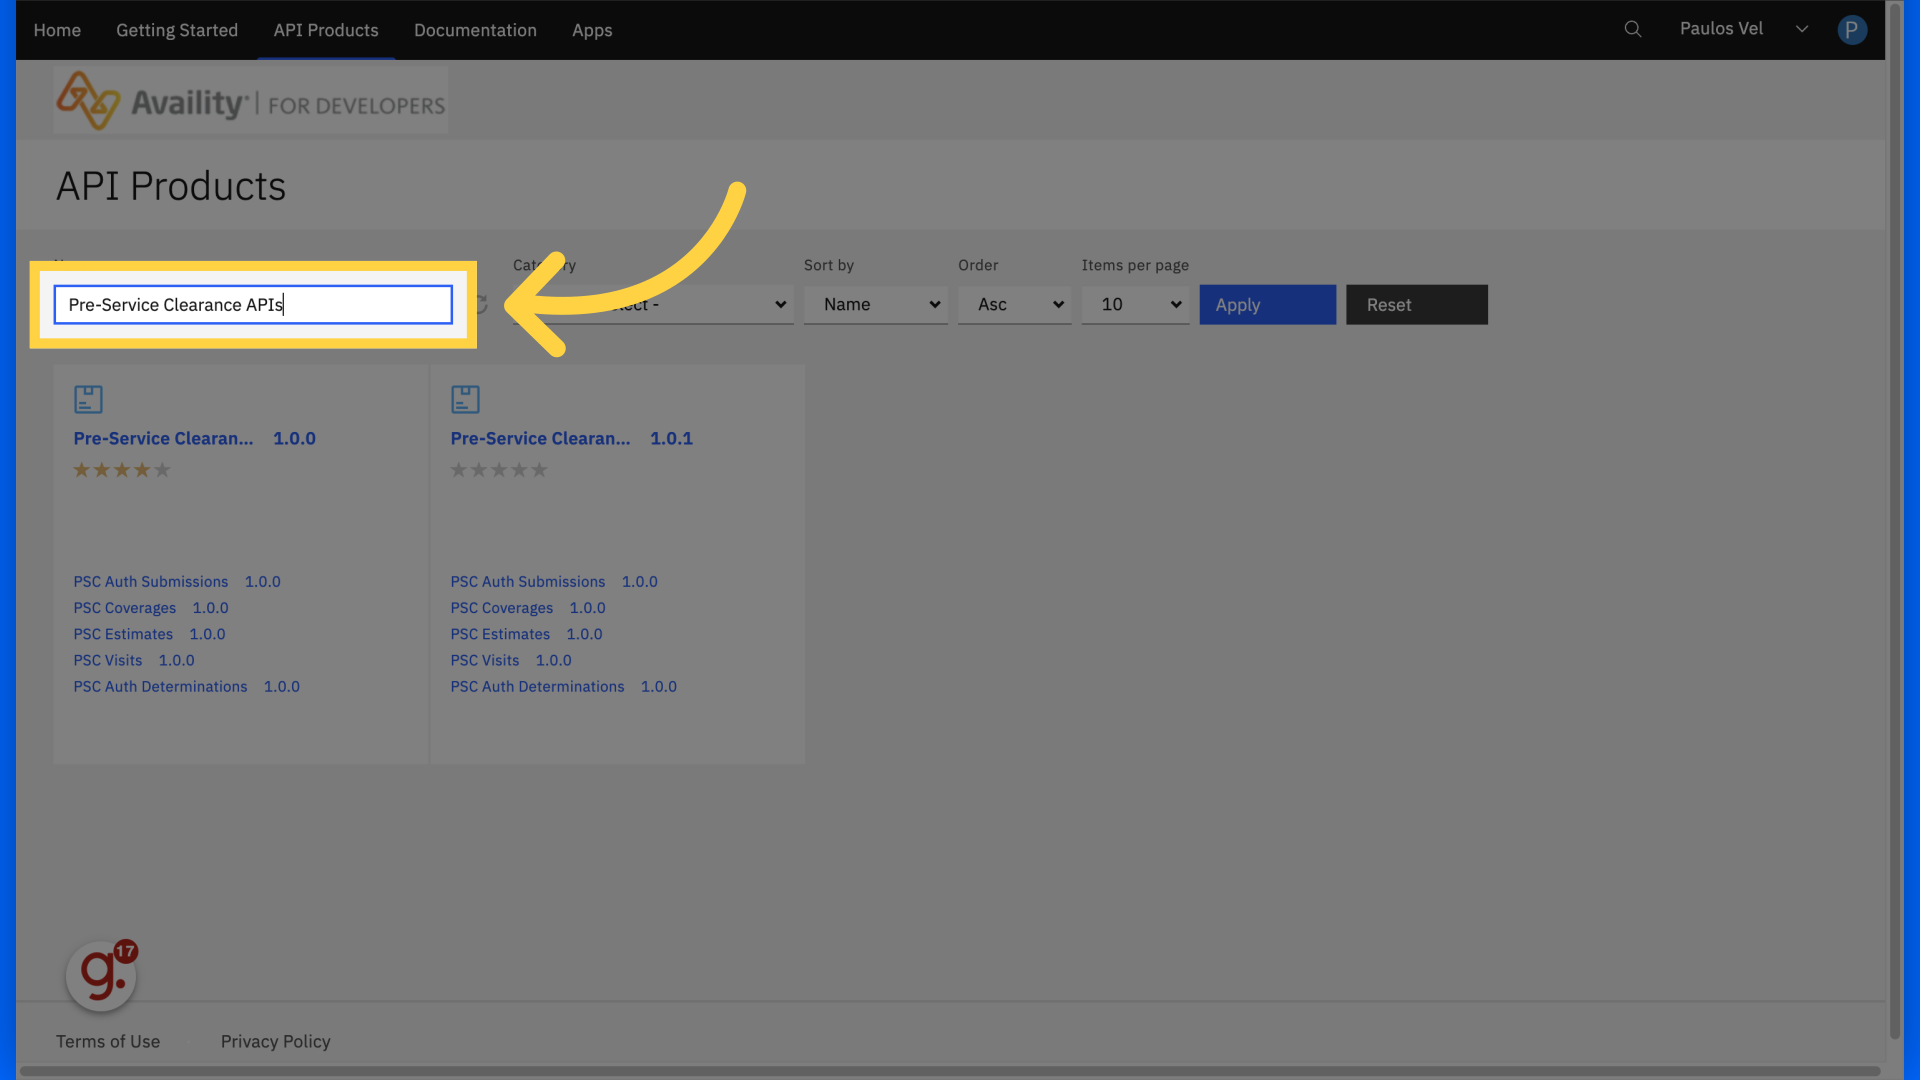
12. Search for "Pre-Service Clearance APIs"
Access the "Pre-Service Clearance APIs".
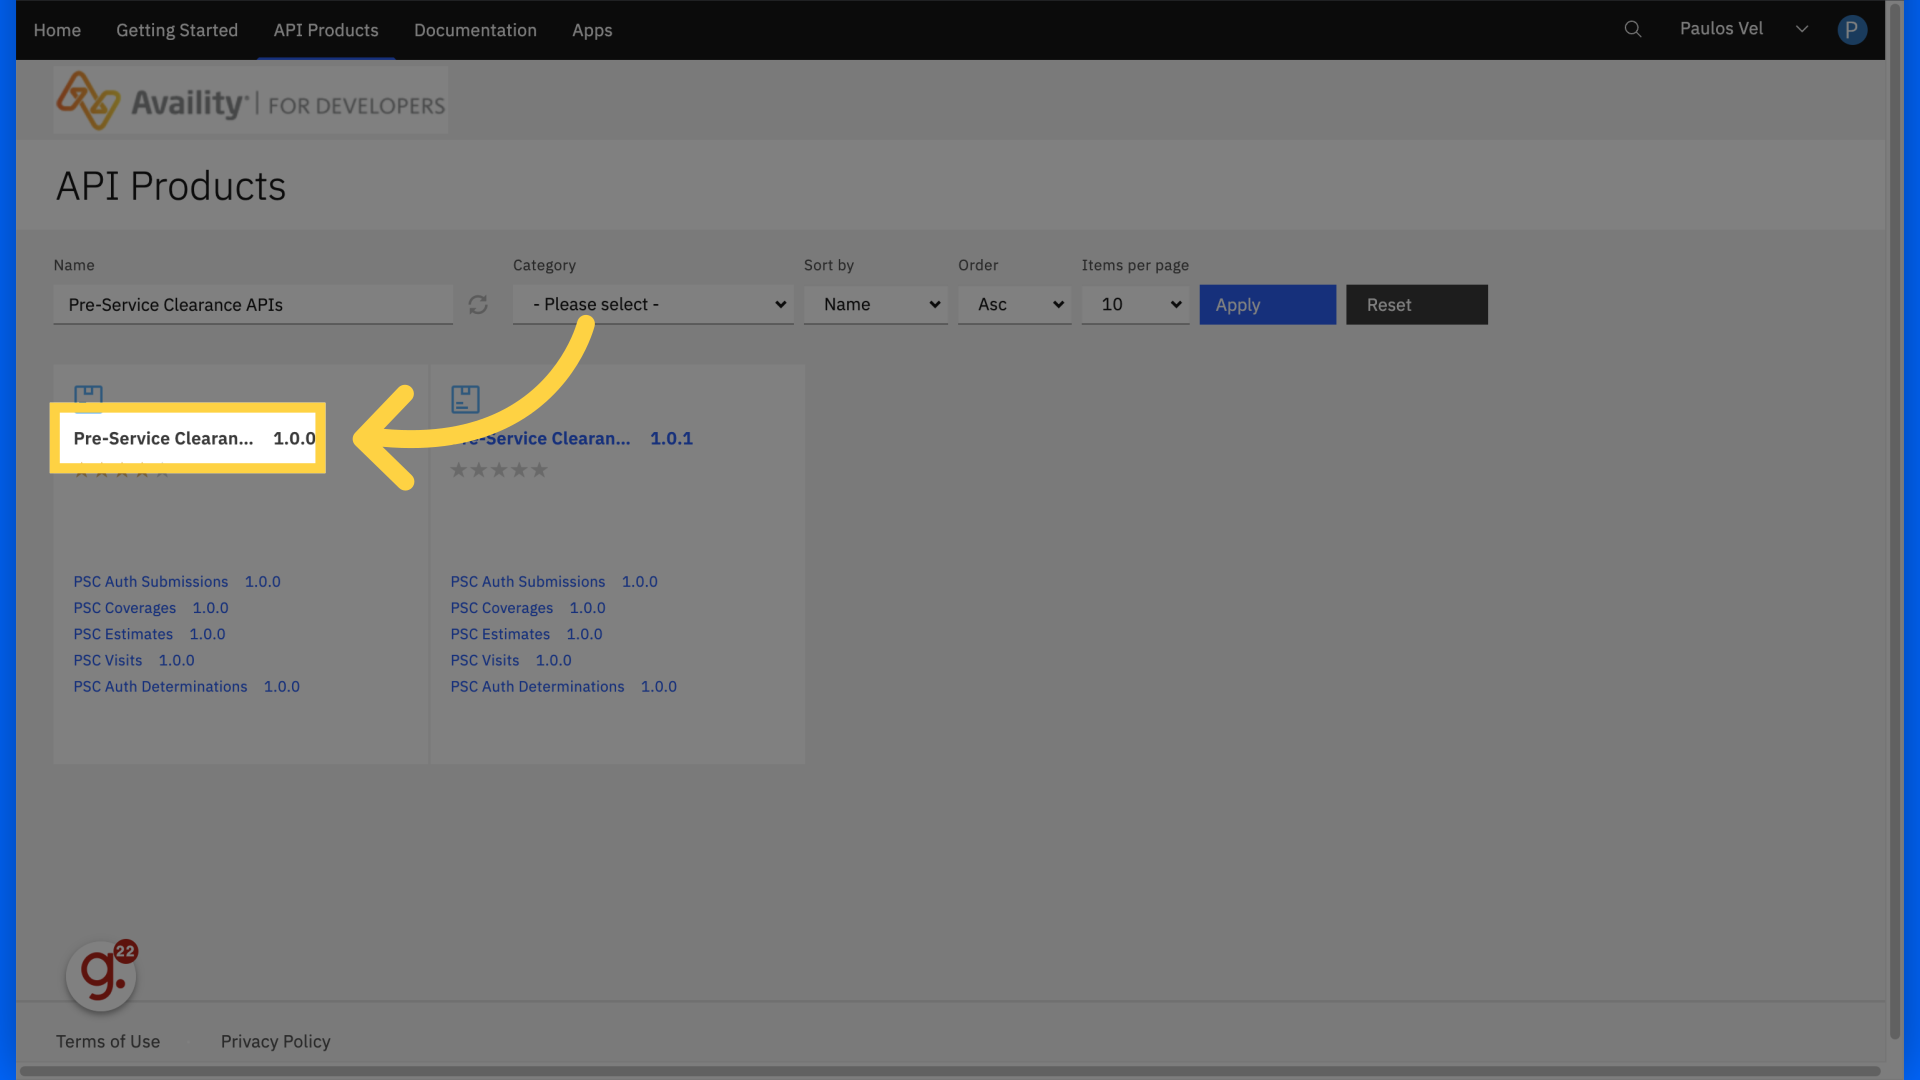
13. Click "Pre-Service Clearance APIs"
Select "Pre-Service Clearance APIs".
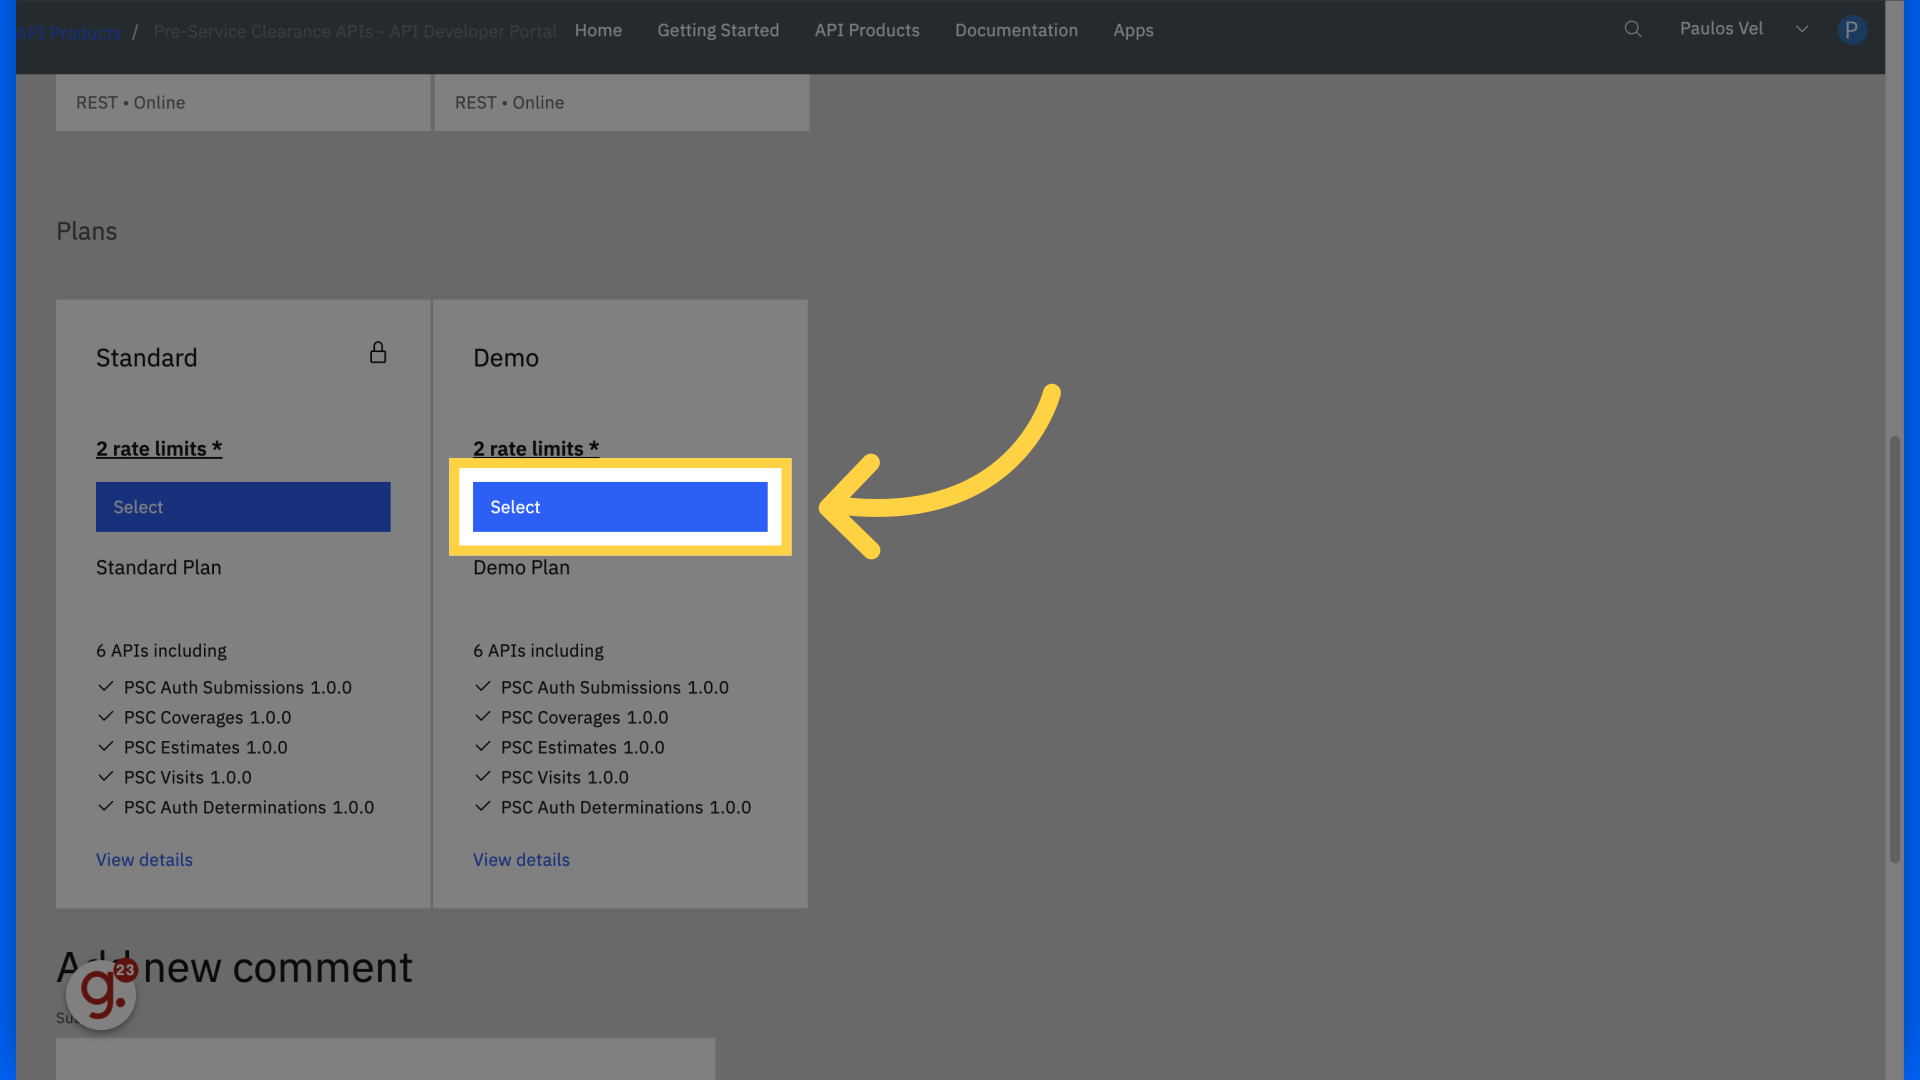
14. Select the "Standard" or the "Demo" Plan
Wait for approval
If you need to connect to your production data, you should select the "Standard" plan and wait for approval before continuing to the next steps.
If you just need to test the connector with demo data, simply select the "Demo" plan as seen below and proceed to the next steps.
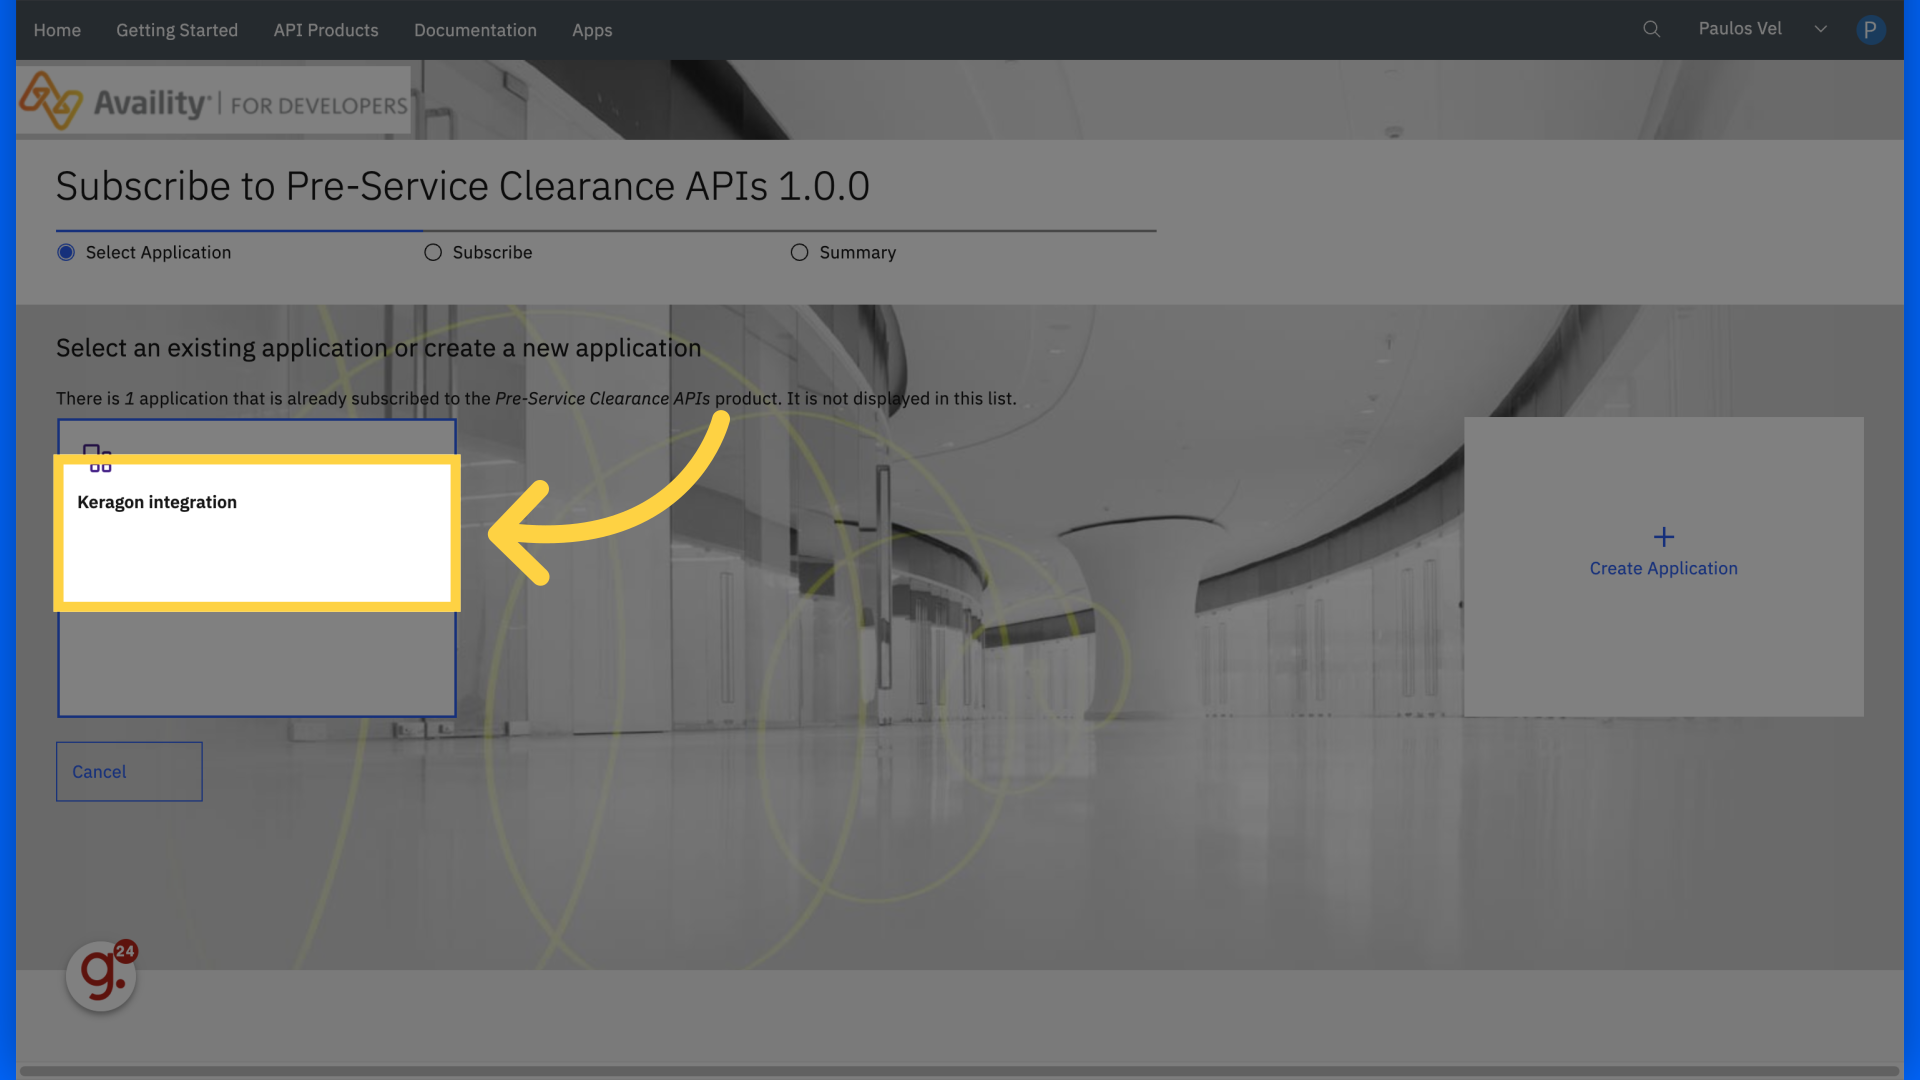
15. Add it to your app "Keragon integration"
Select "Keragon integration".
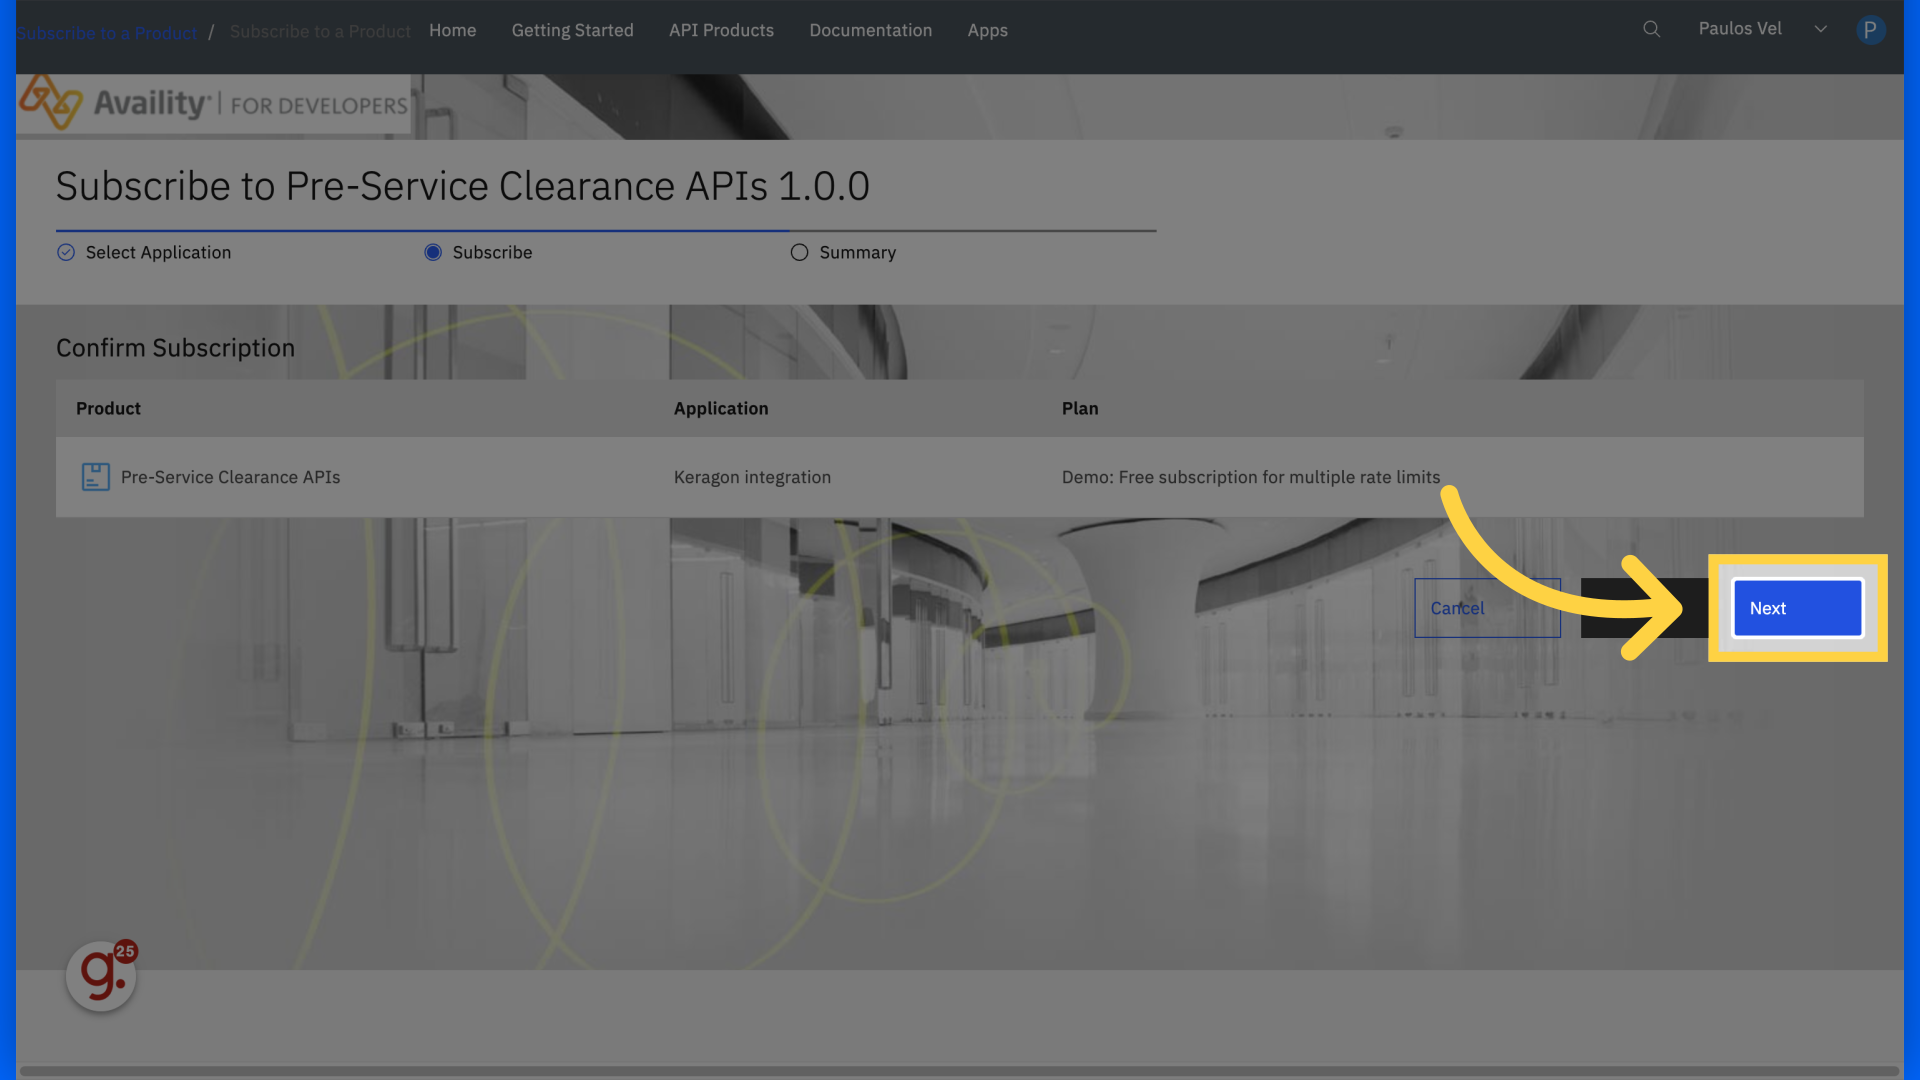
16. Click "Next"
Proceed by selecting "Next".
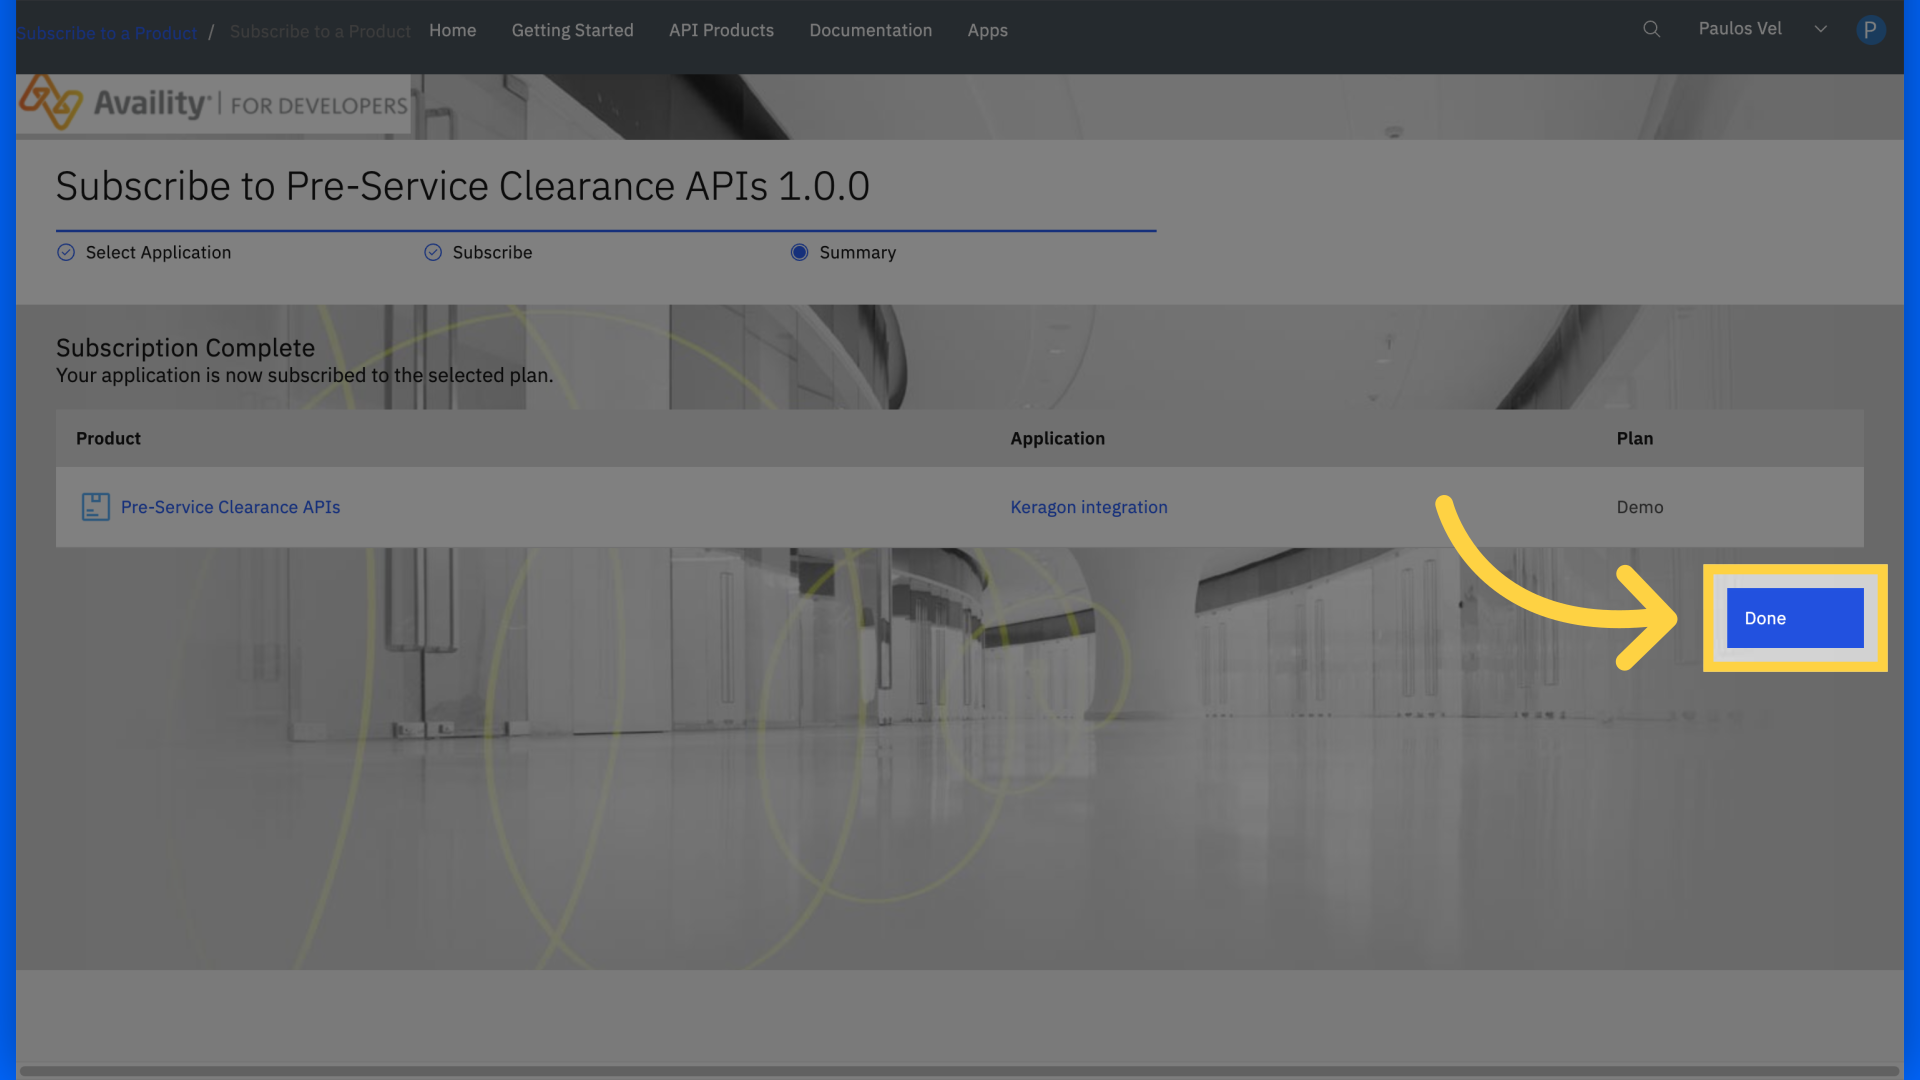
17. Click "Done"
Complete the process by clicking "Done".
18. Paste your Key from step 8
Enter the provided client ID.
19. Paste the secret from step 9
Enter the provided client secret.
20. Click "Connect"
Establish the connection.