This guide provides detailed steps on adding triggers in a Go High Level workflow.
Go to app.keragon.com
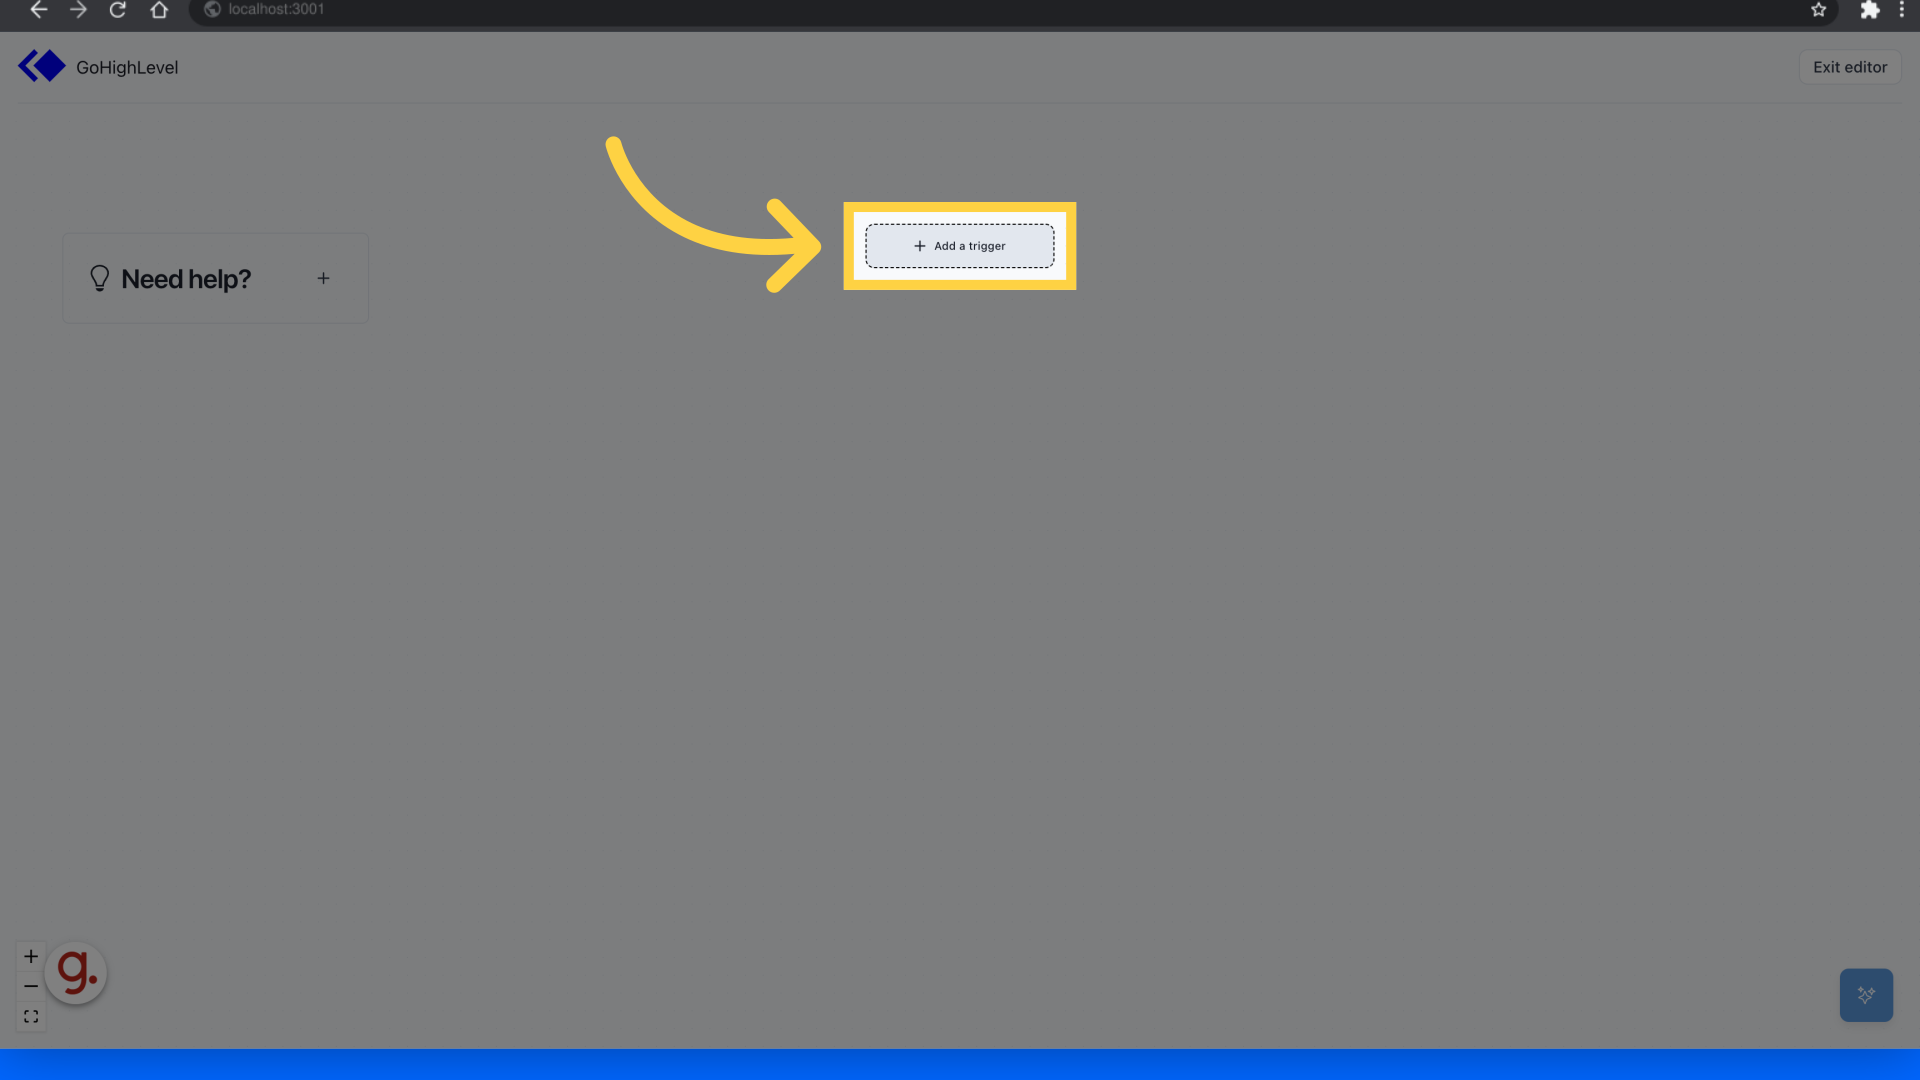
1. Click "Add a trigger"
Click on "Add a trigger"
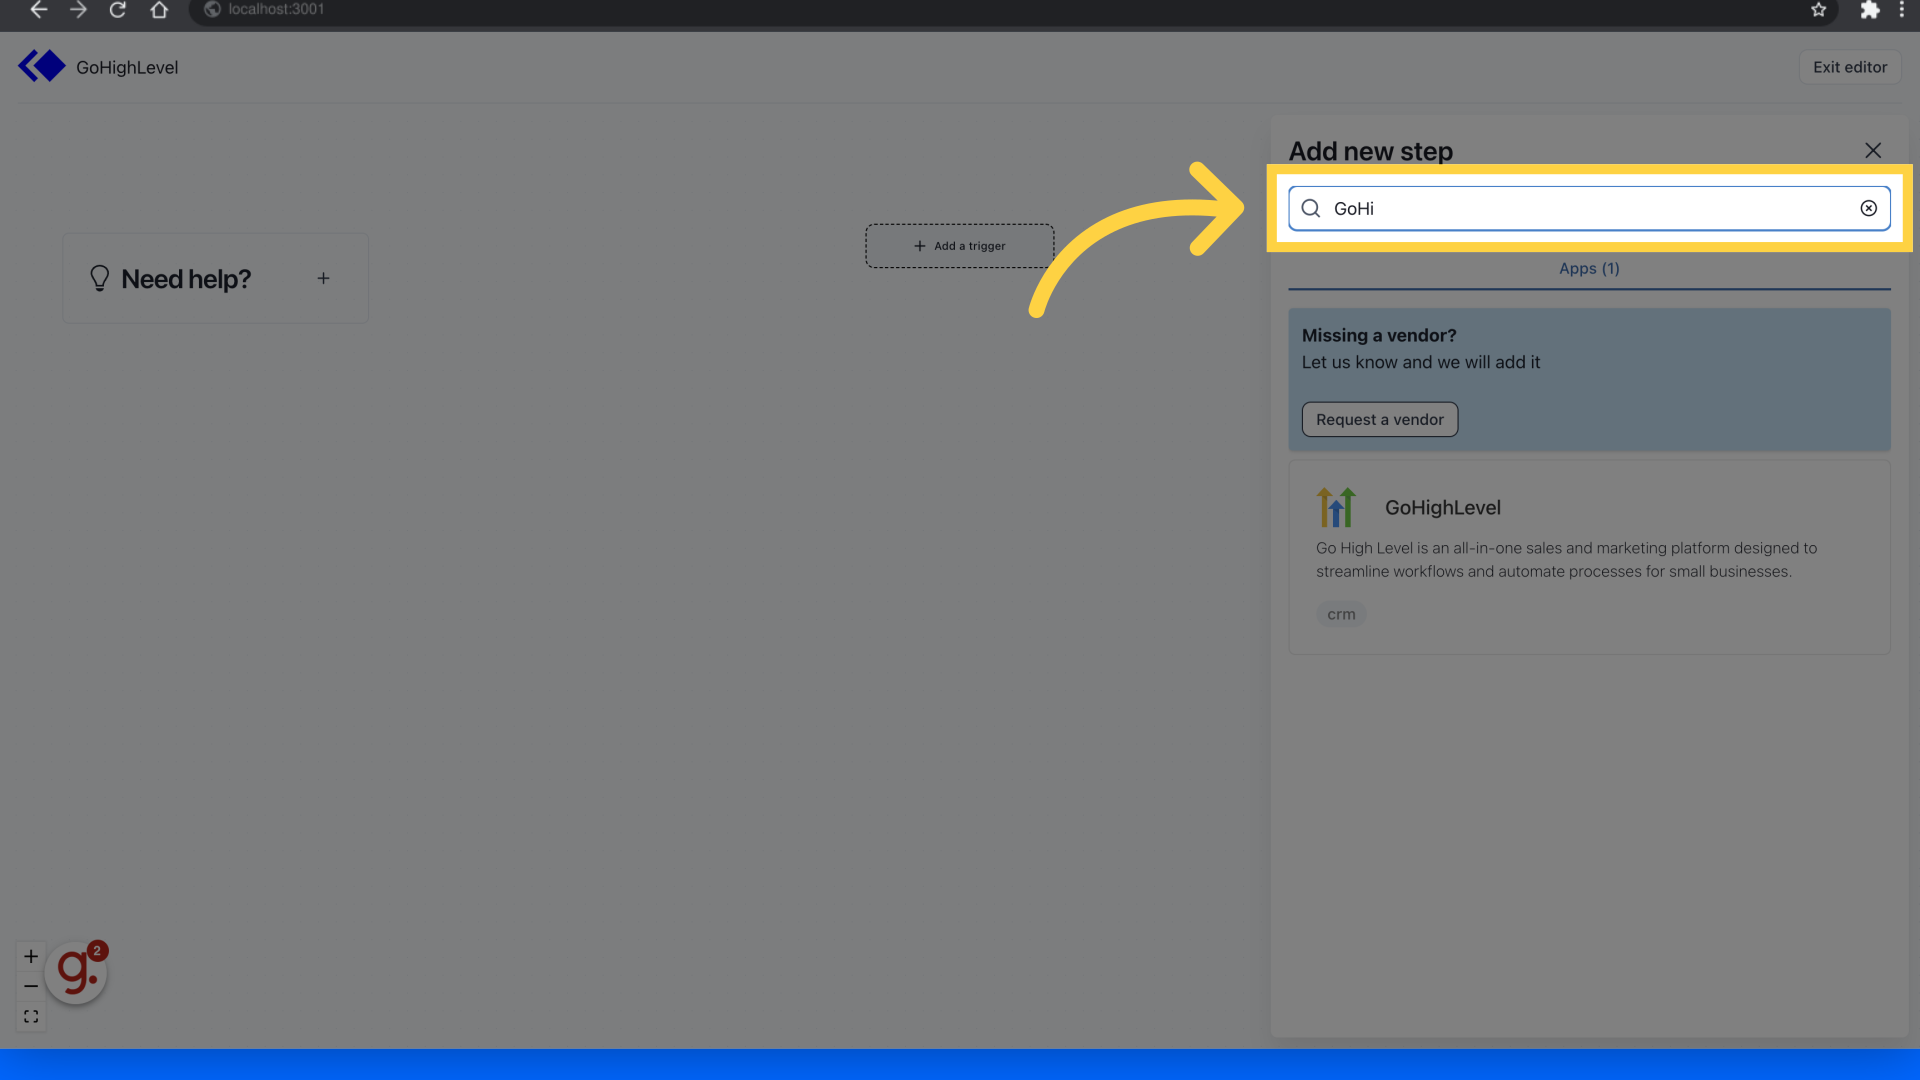
2. Search for the trigger
Search for the Go High Level app
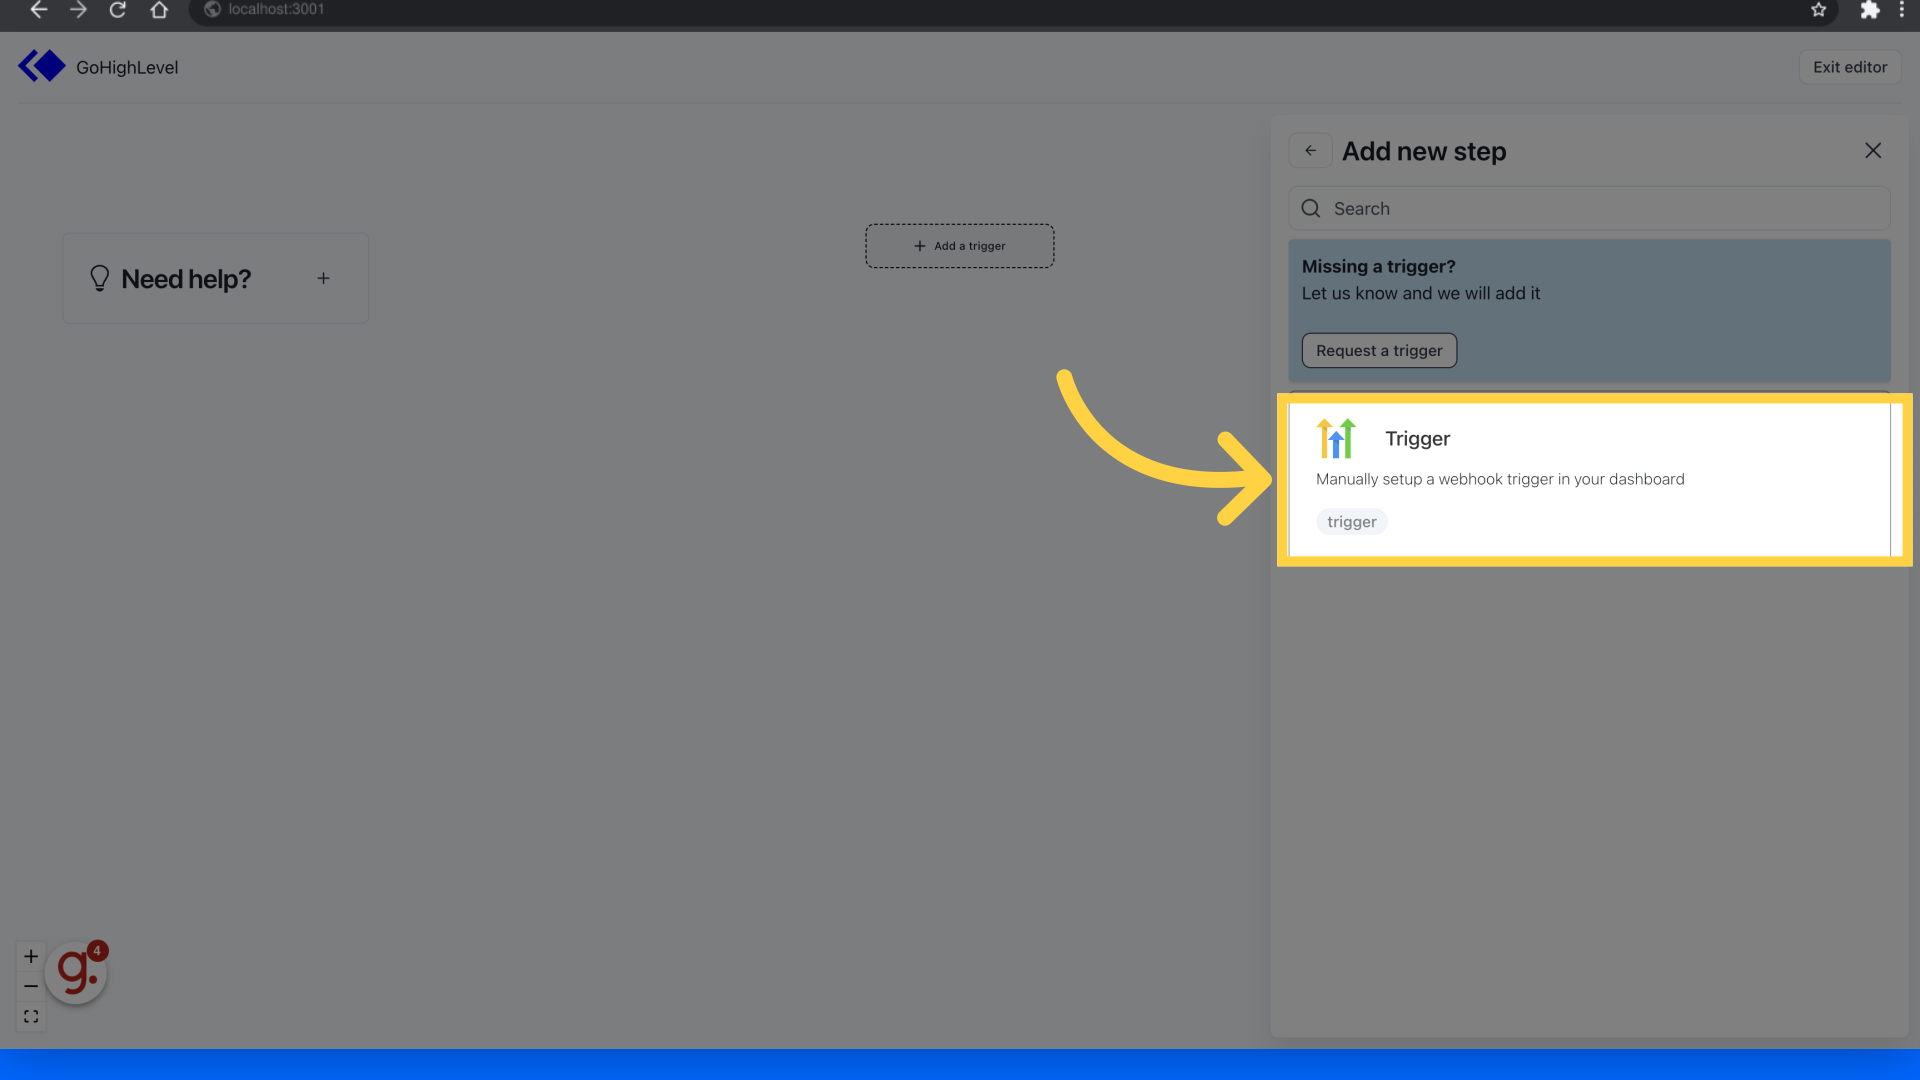
3. Select "Trigger"
Choose the "Trigger" option
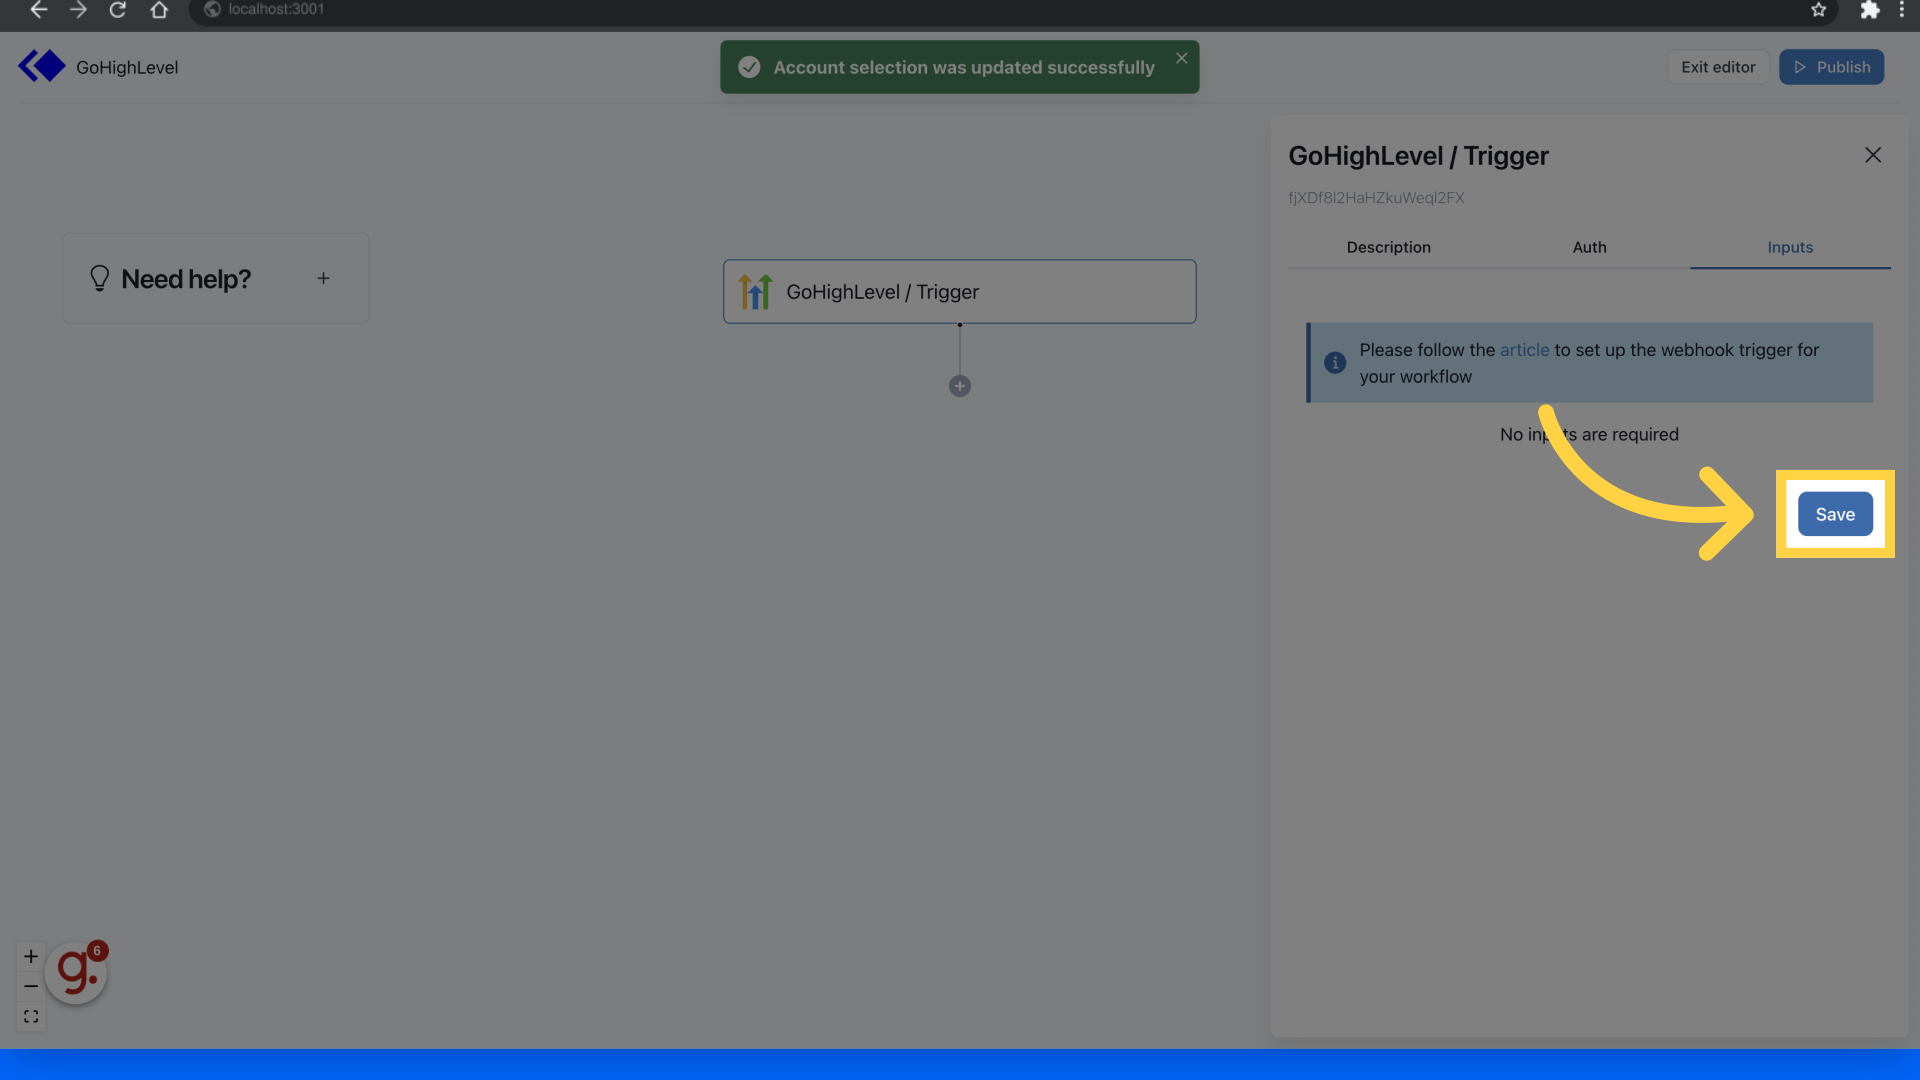
4. Click "Save"
Select the option to "Save"
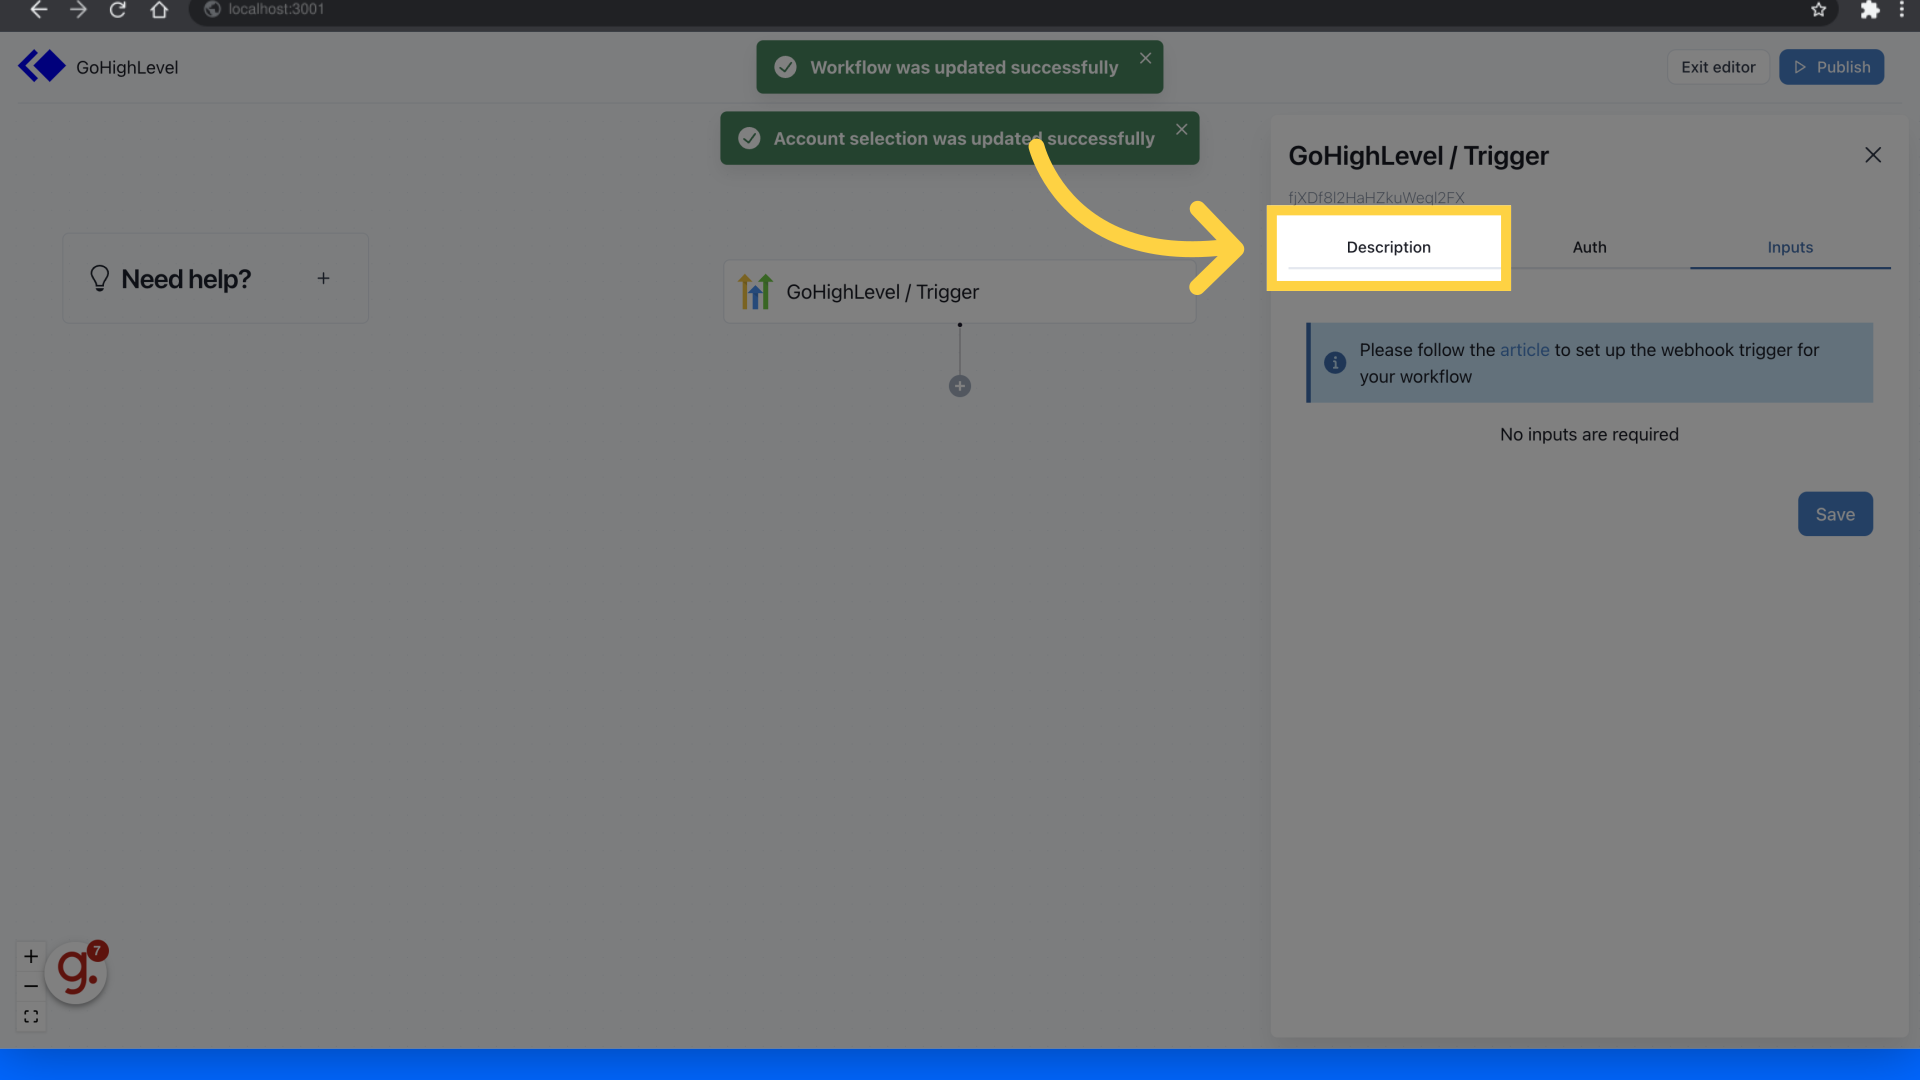
5. Click "Description"
Navigate to the "Description" section
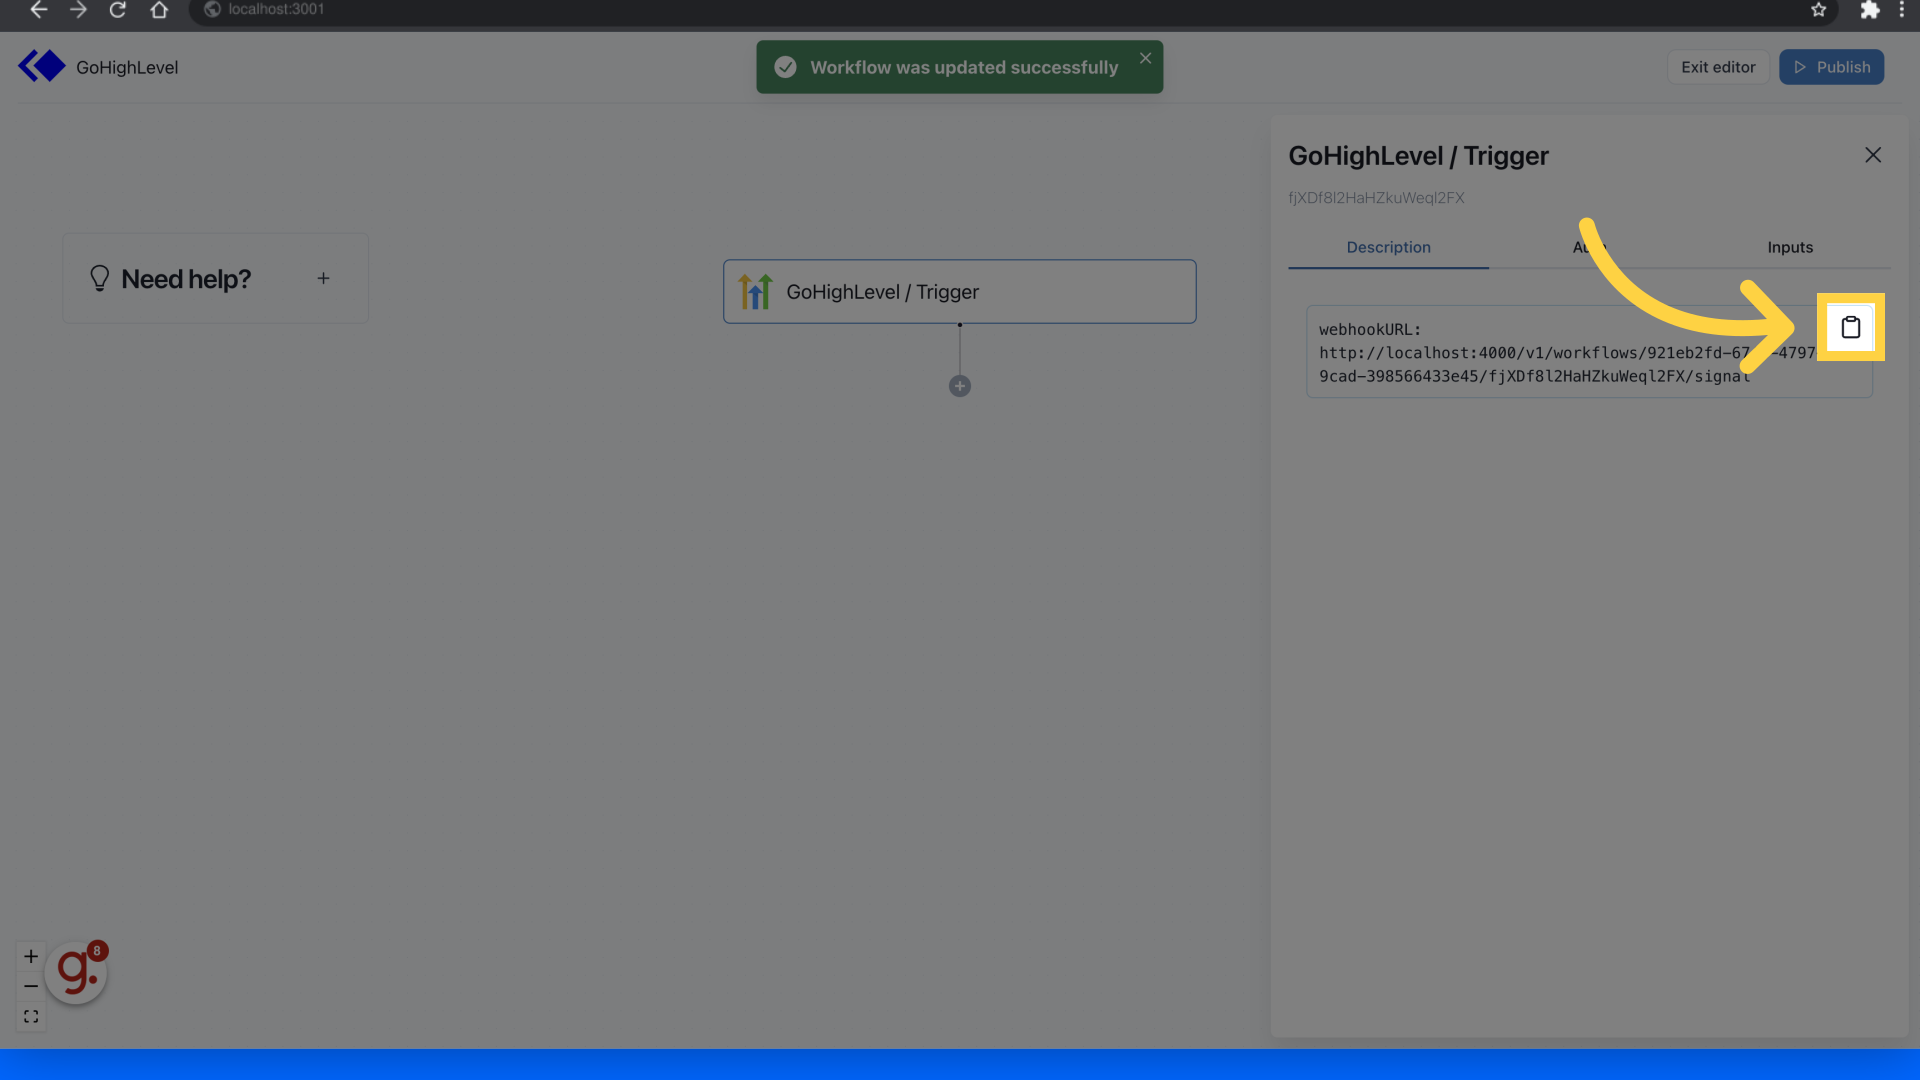
6. Click here
Click the icon to copy the webhook URL
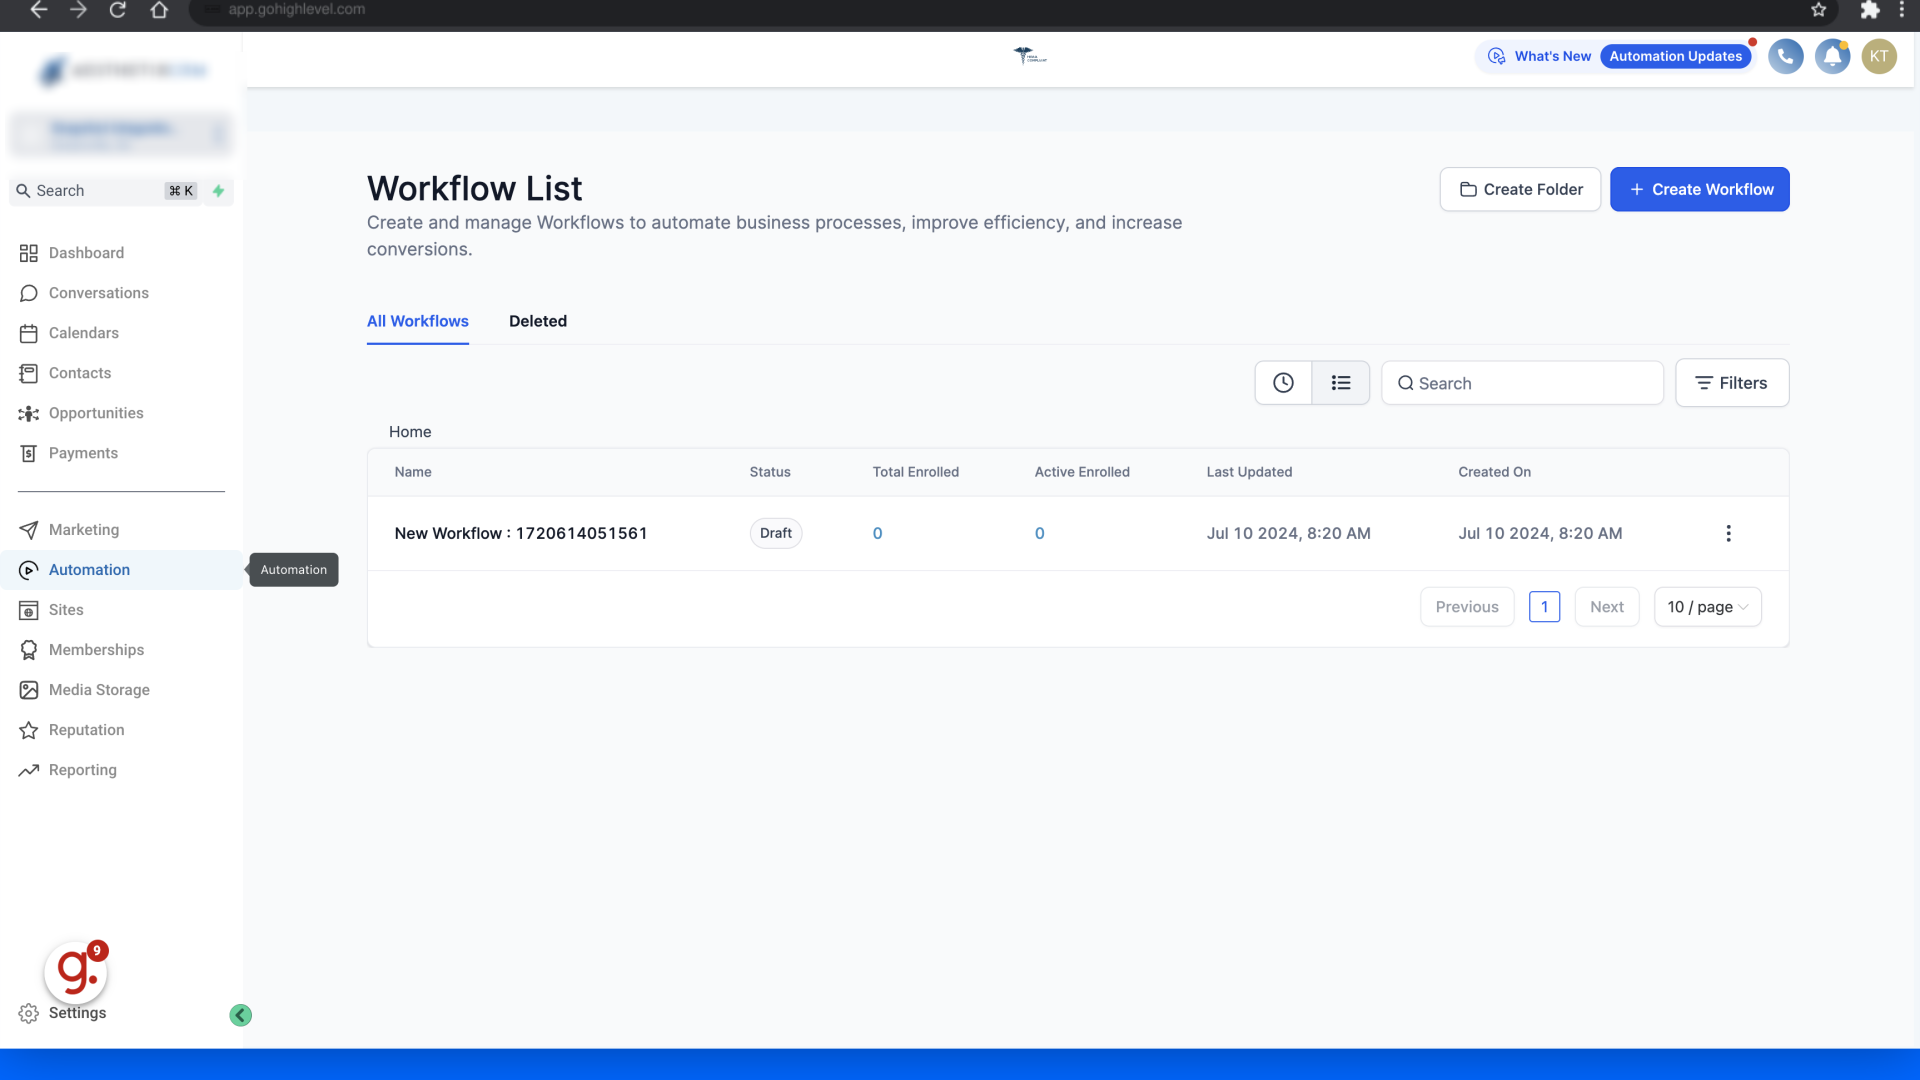
7. Switch to "app.gohighlevel.com"
Switch to "app.gohighlevel.com"
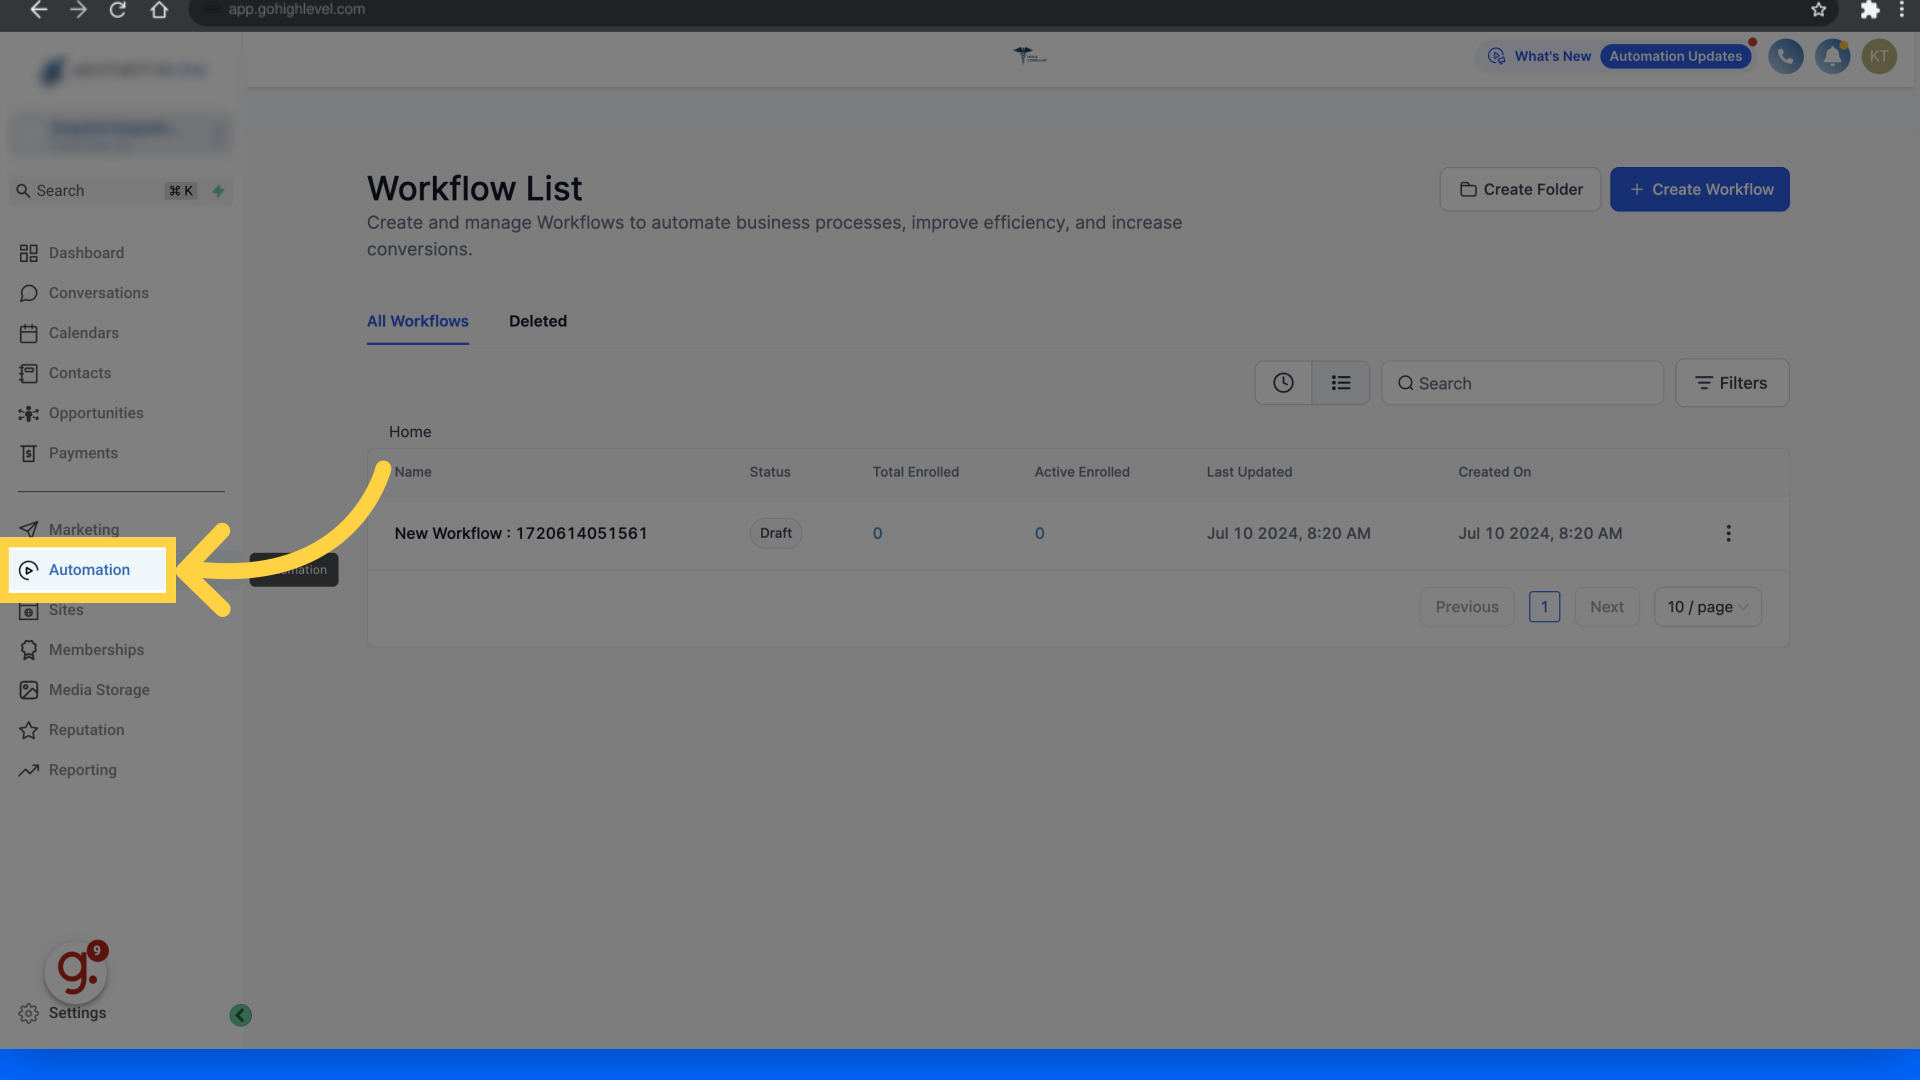
8. Click "Automation"
Access the Automation section.
9. Click "New Workflow : 1720614051561"
Select the specific workflow.

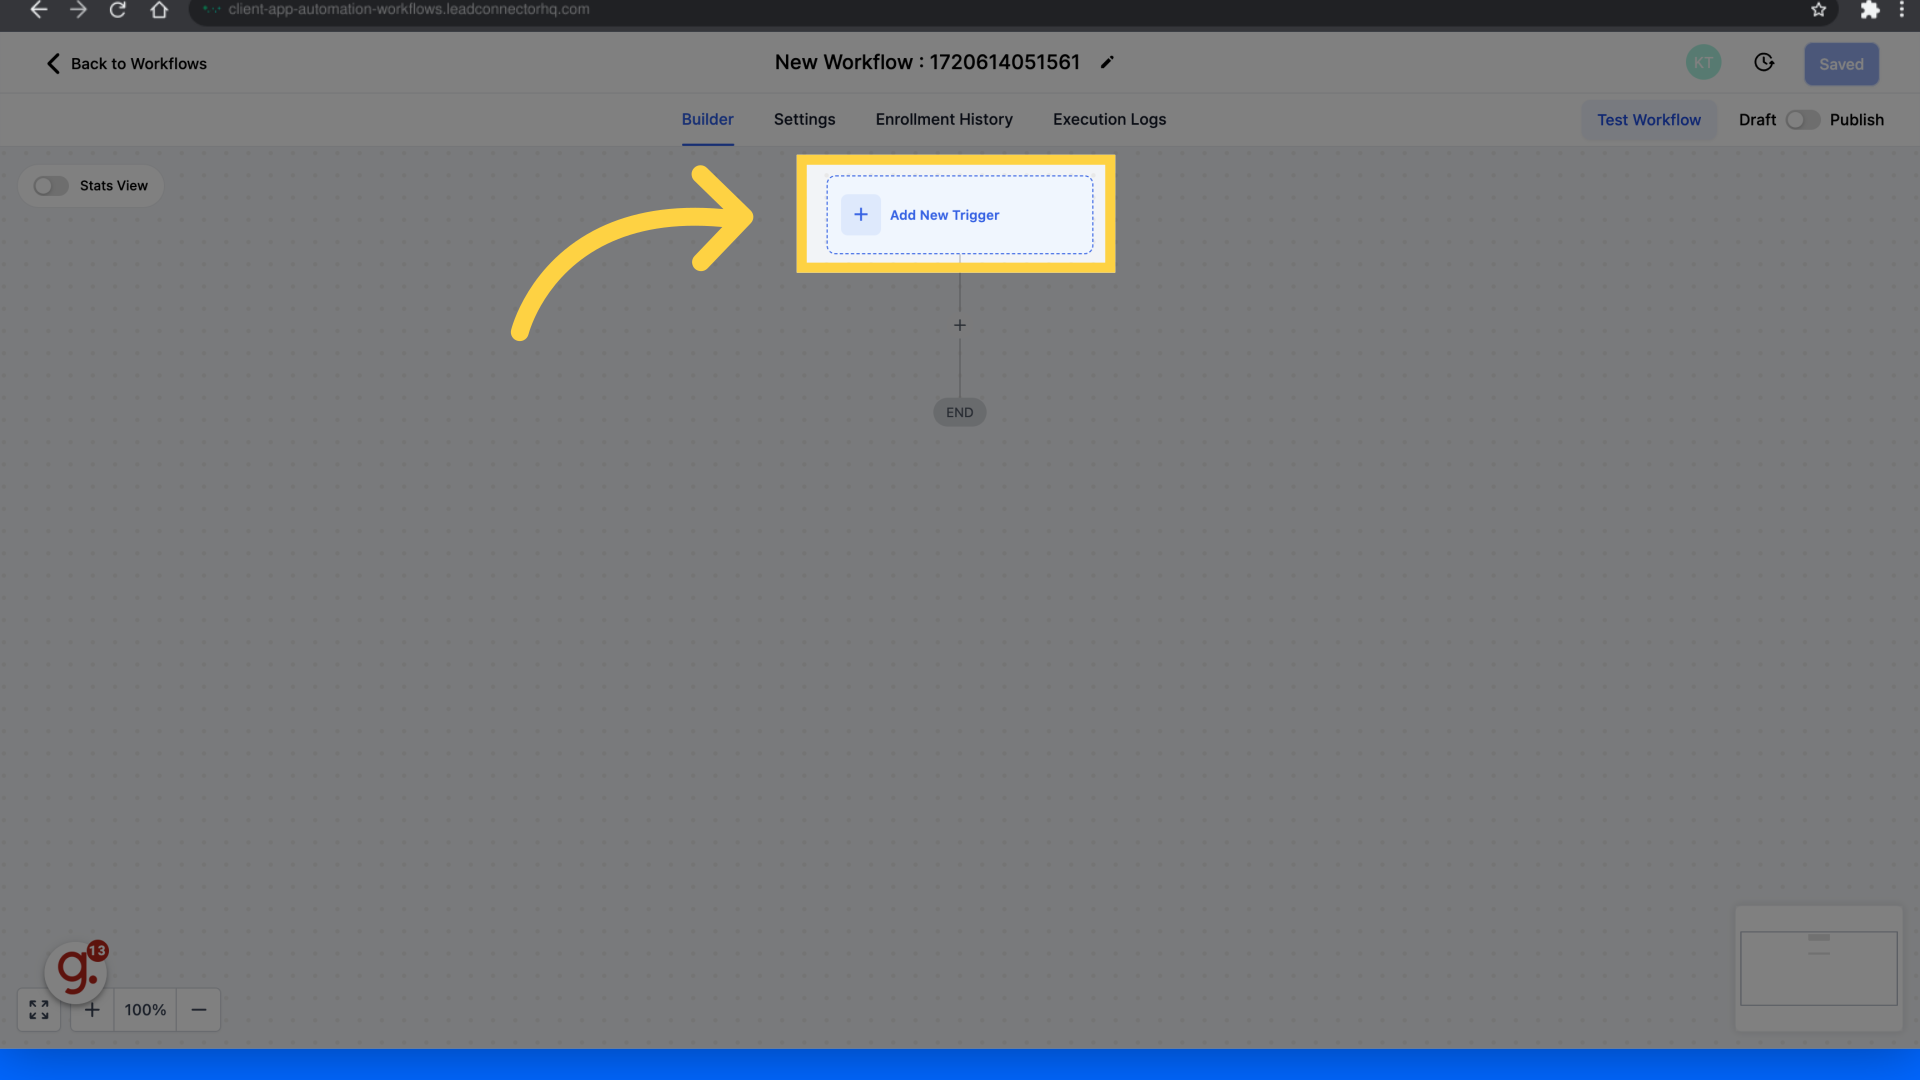
10. Click "Add New Trigger"
Add a new trigger to the workflow.
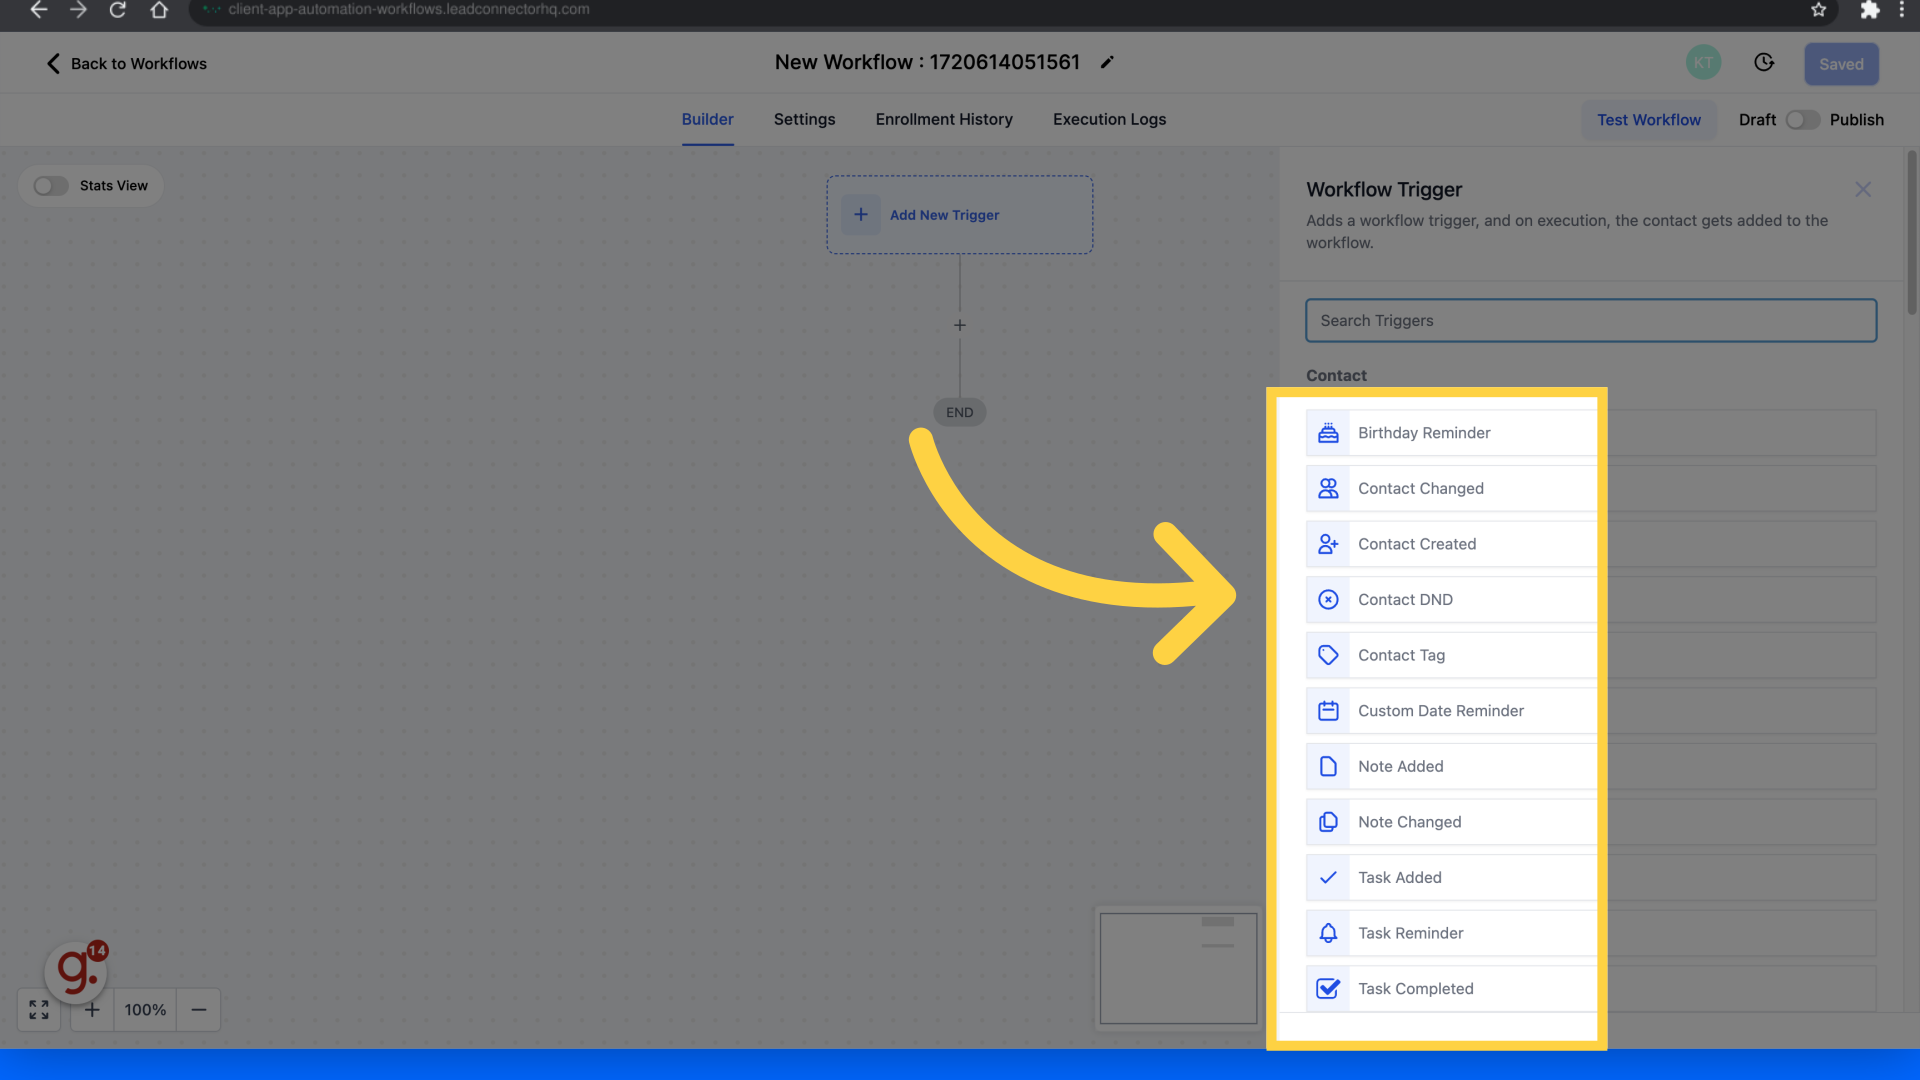
11. Click an option
Choose the desired option to receive webhooks for. For example "Contact Changed."
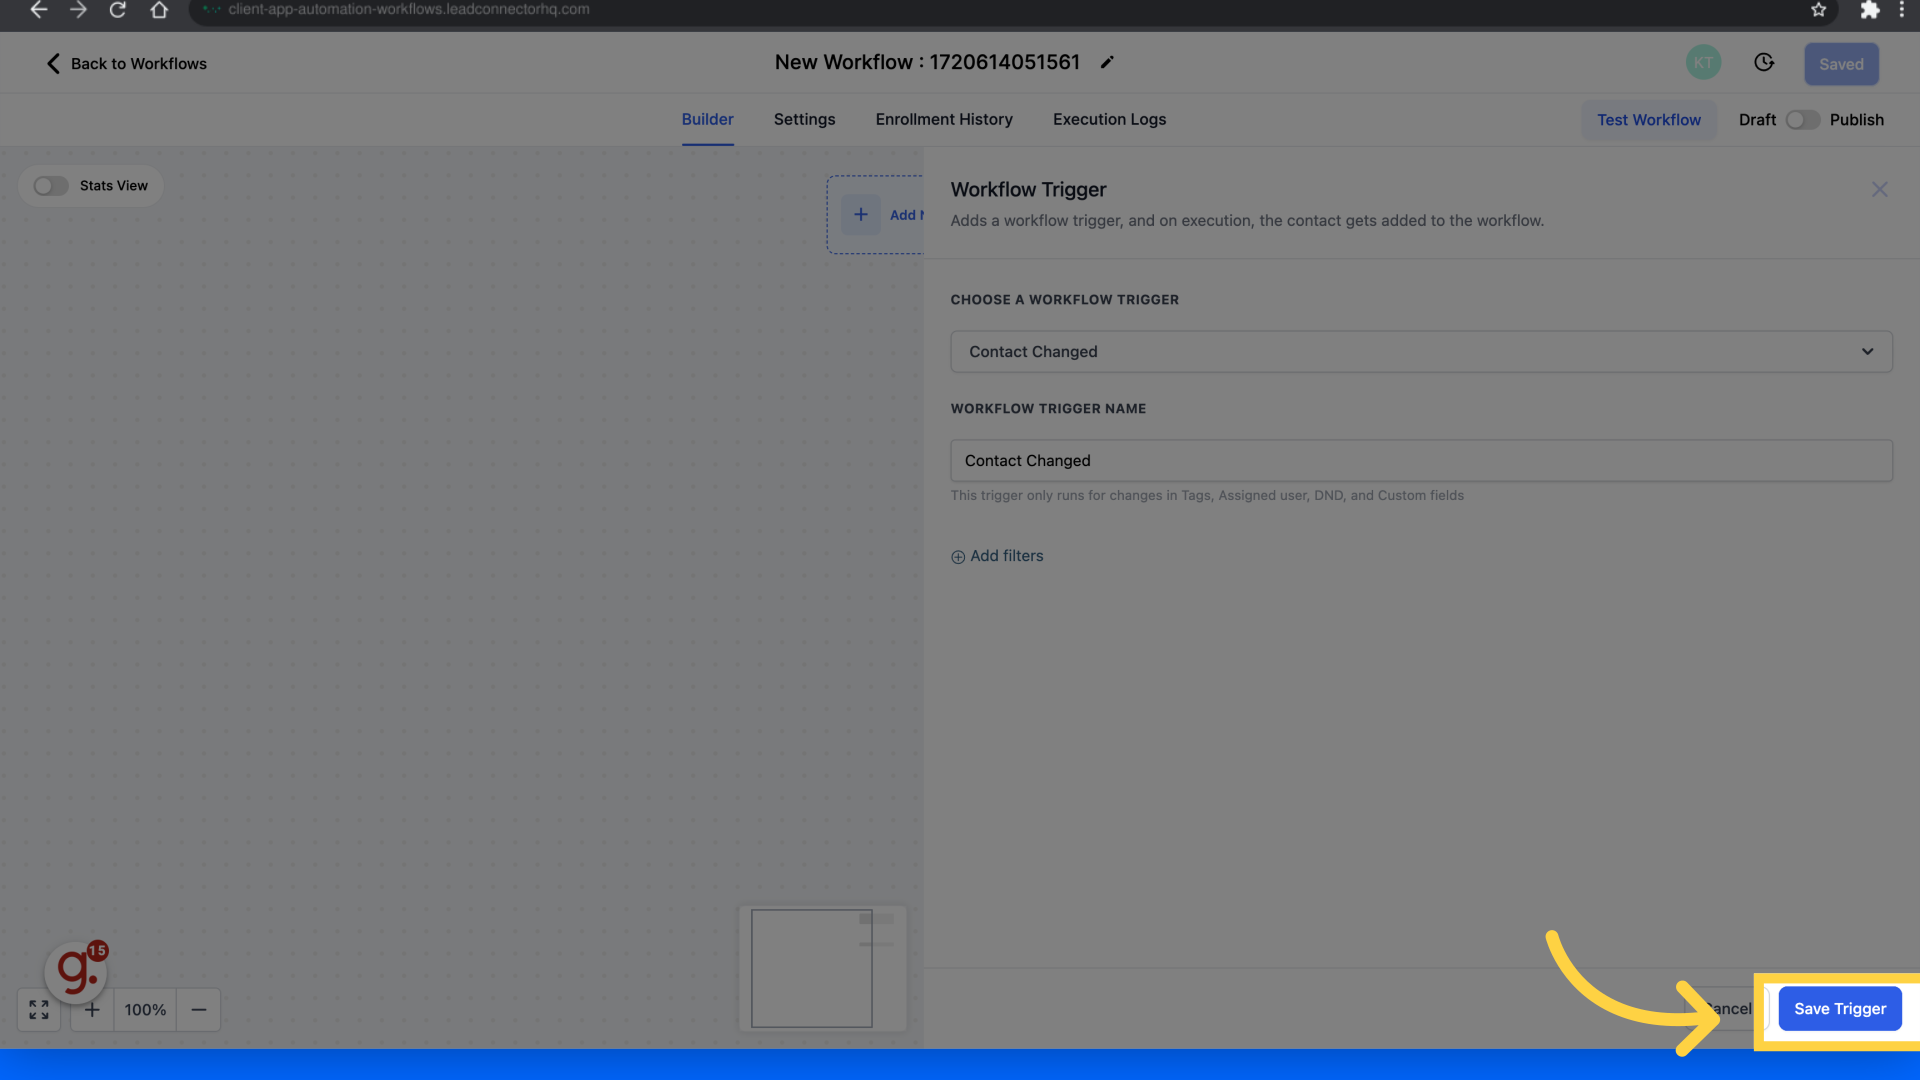
12. Click "Save Trigger"
Save the trigger configuration.
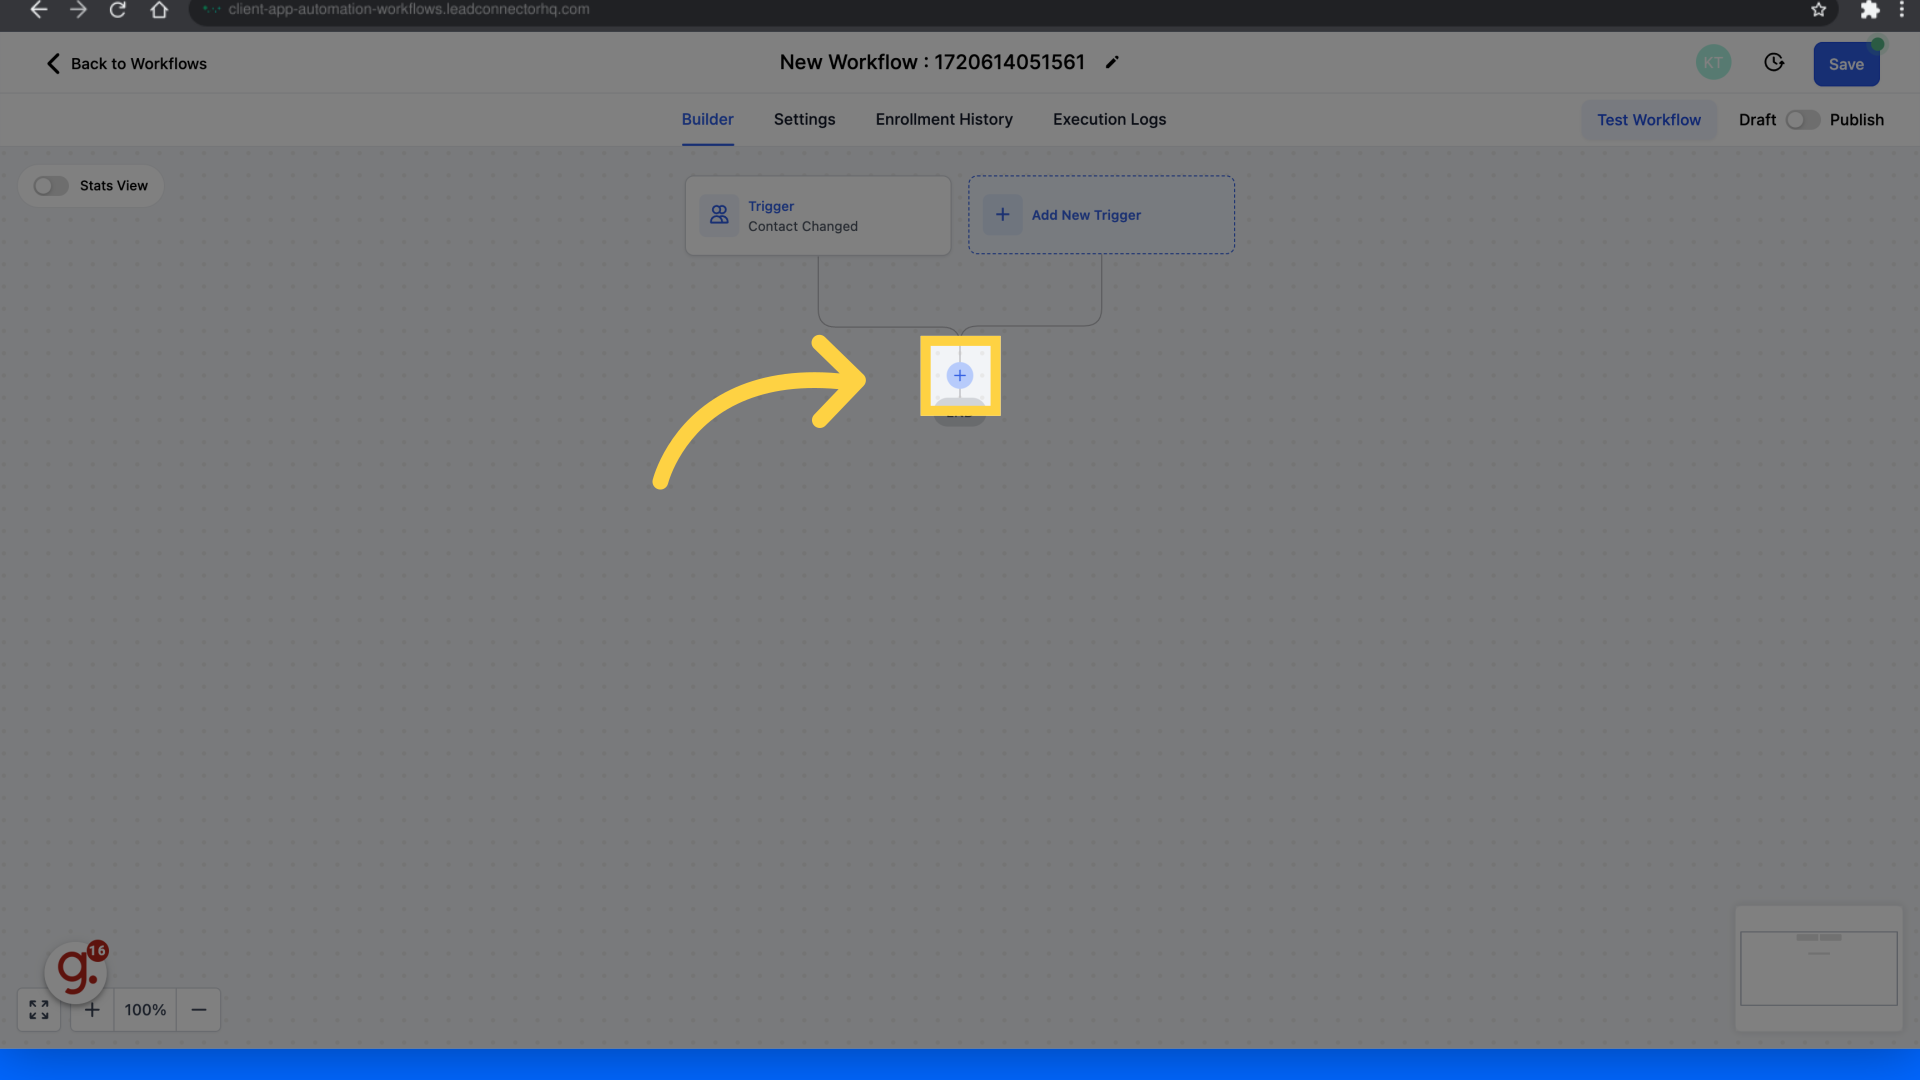
13. Click here
Click the "+" button to add an action
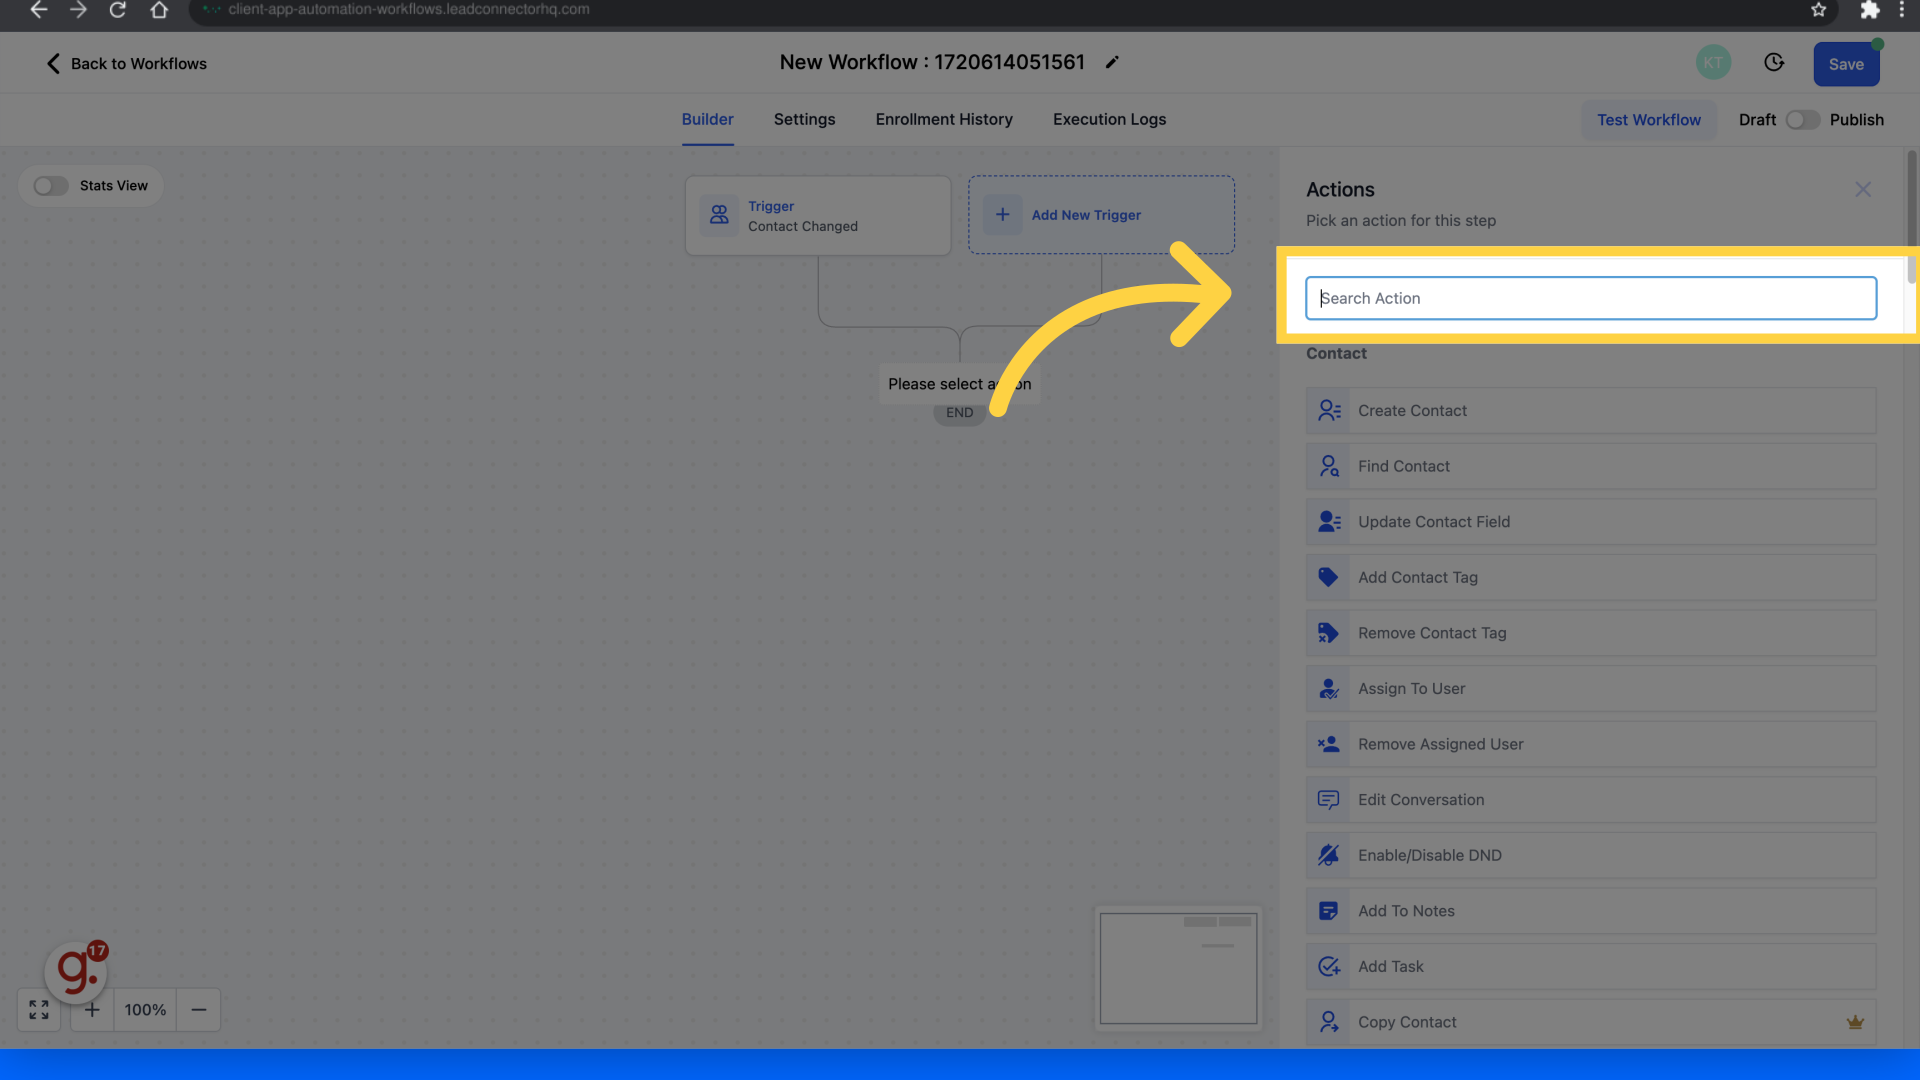
14. Click "Search Action"
Look for the action "Webhook".
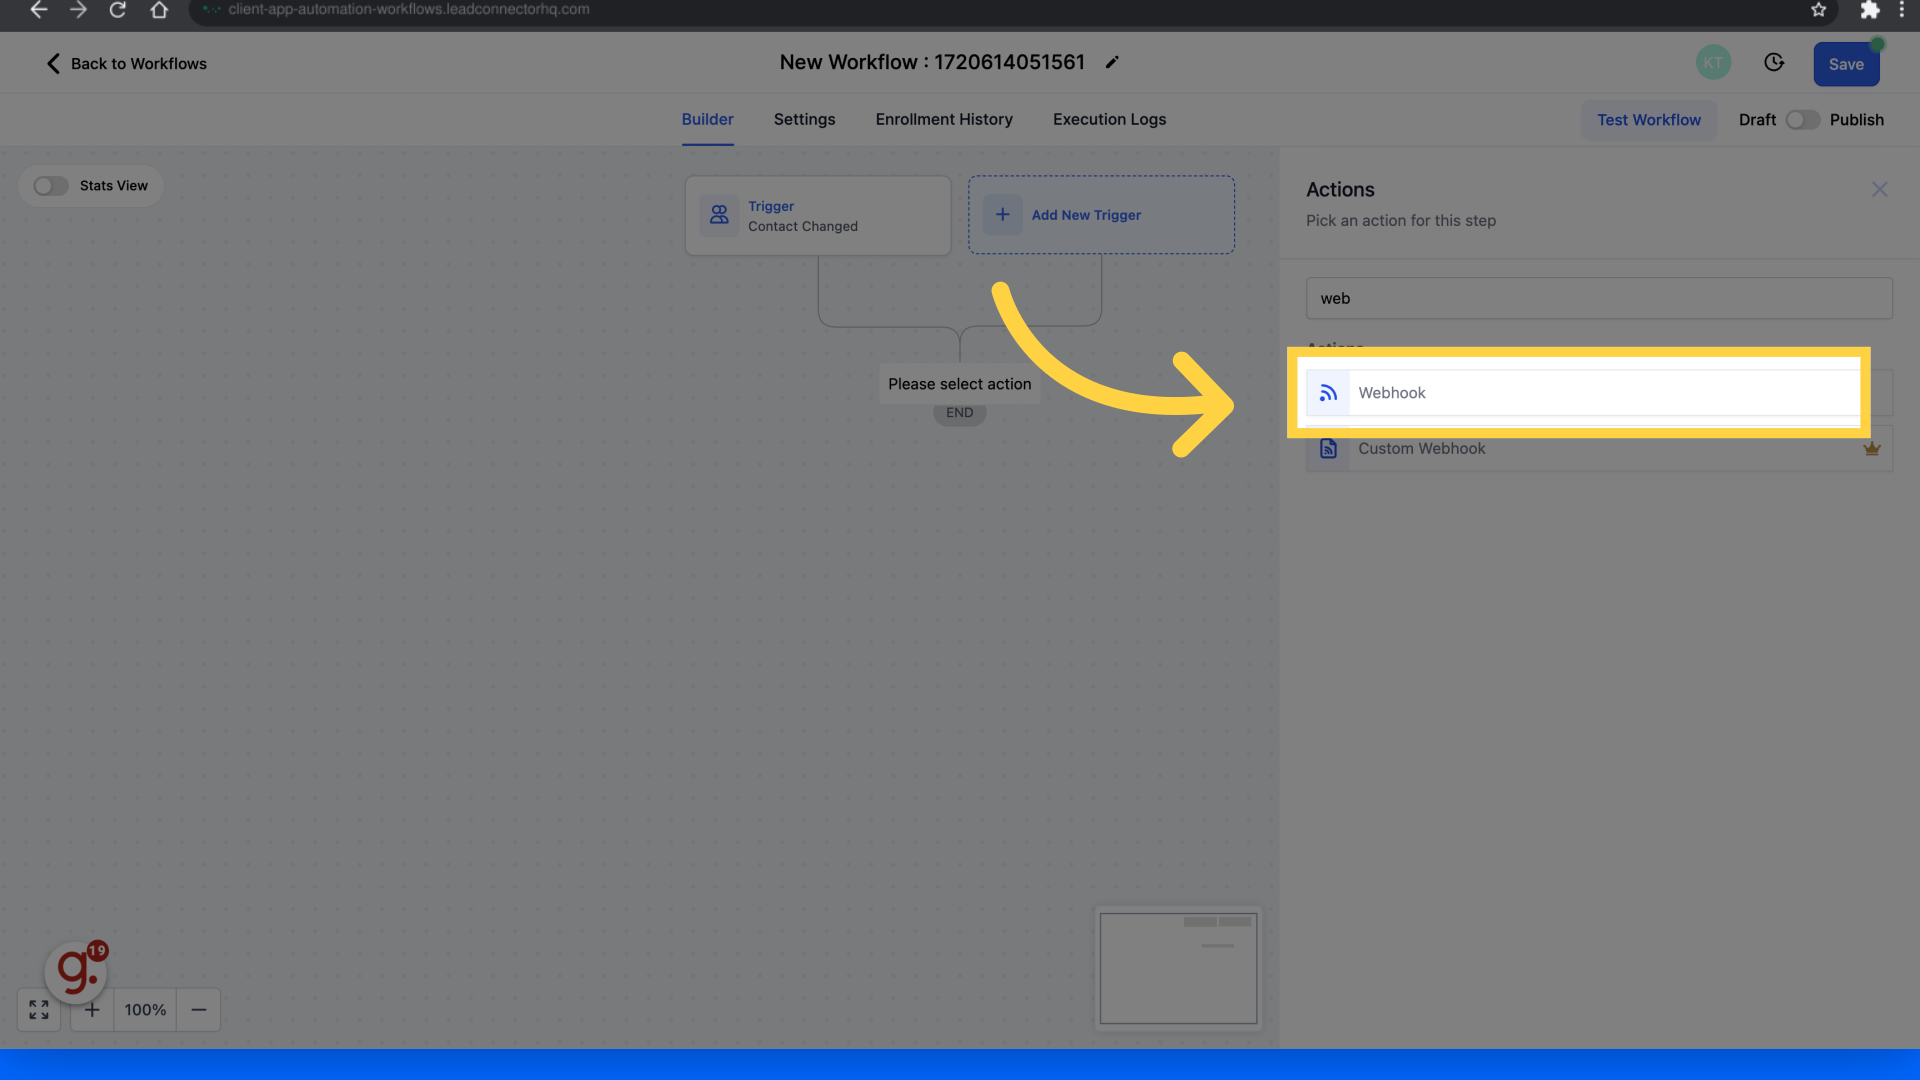
15. Click "Webhook"
Select the "Webhook" option.
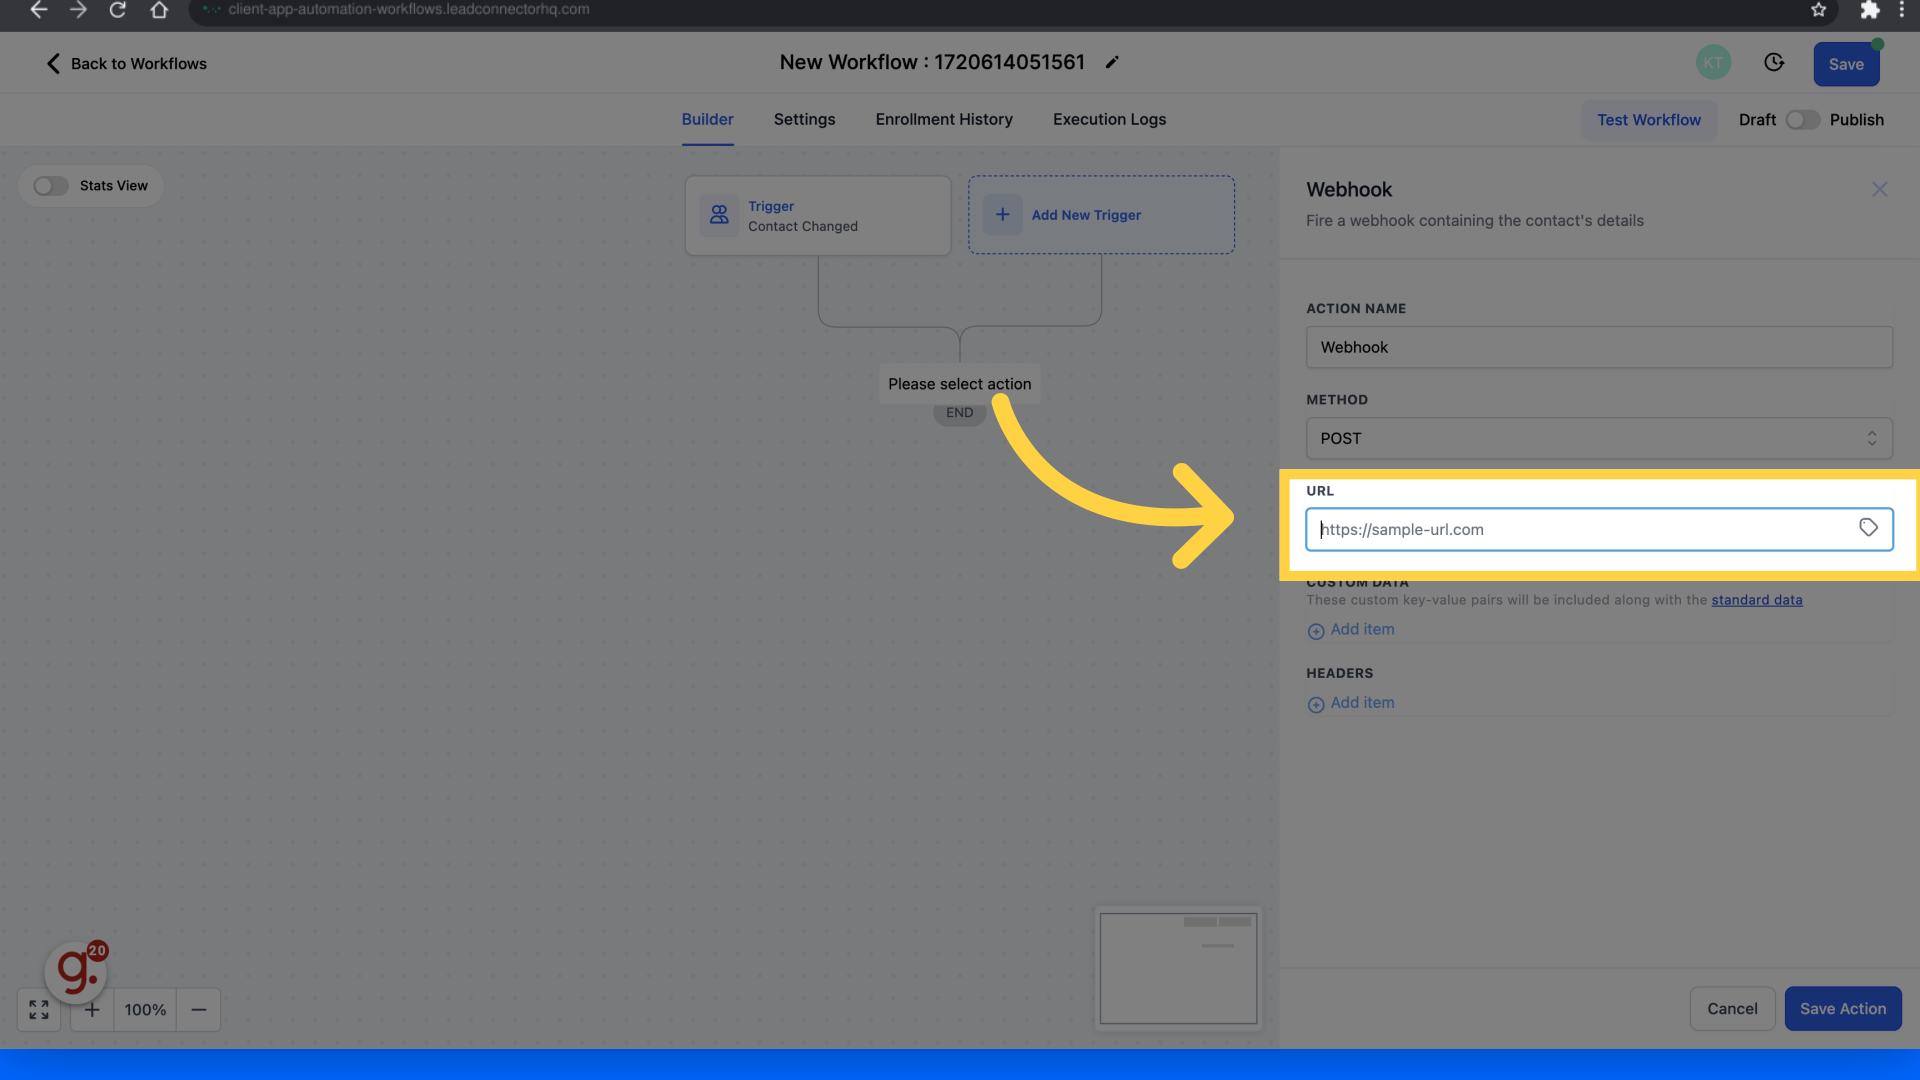
16. Click here
Choose the provided URL.
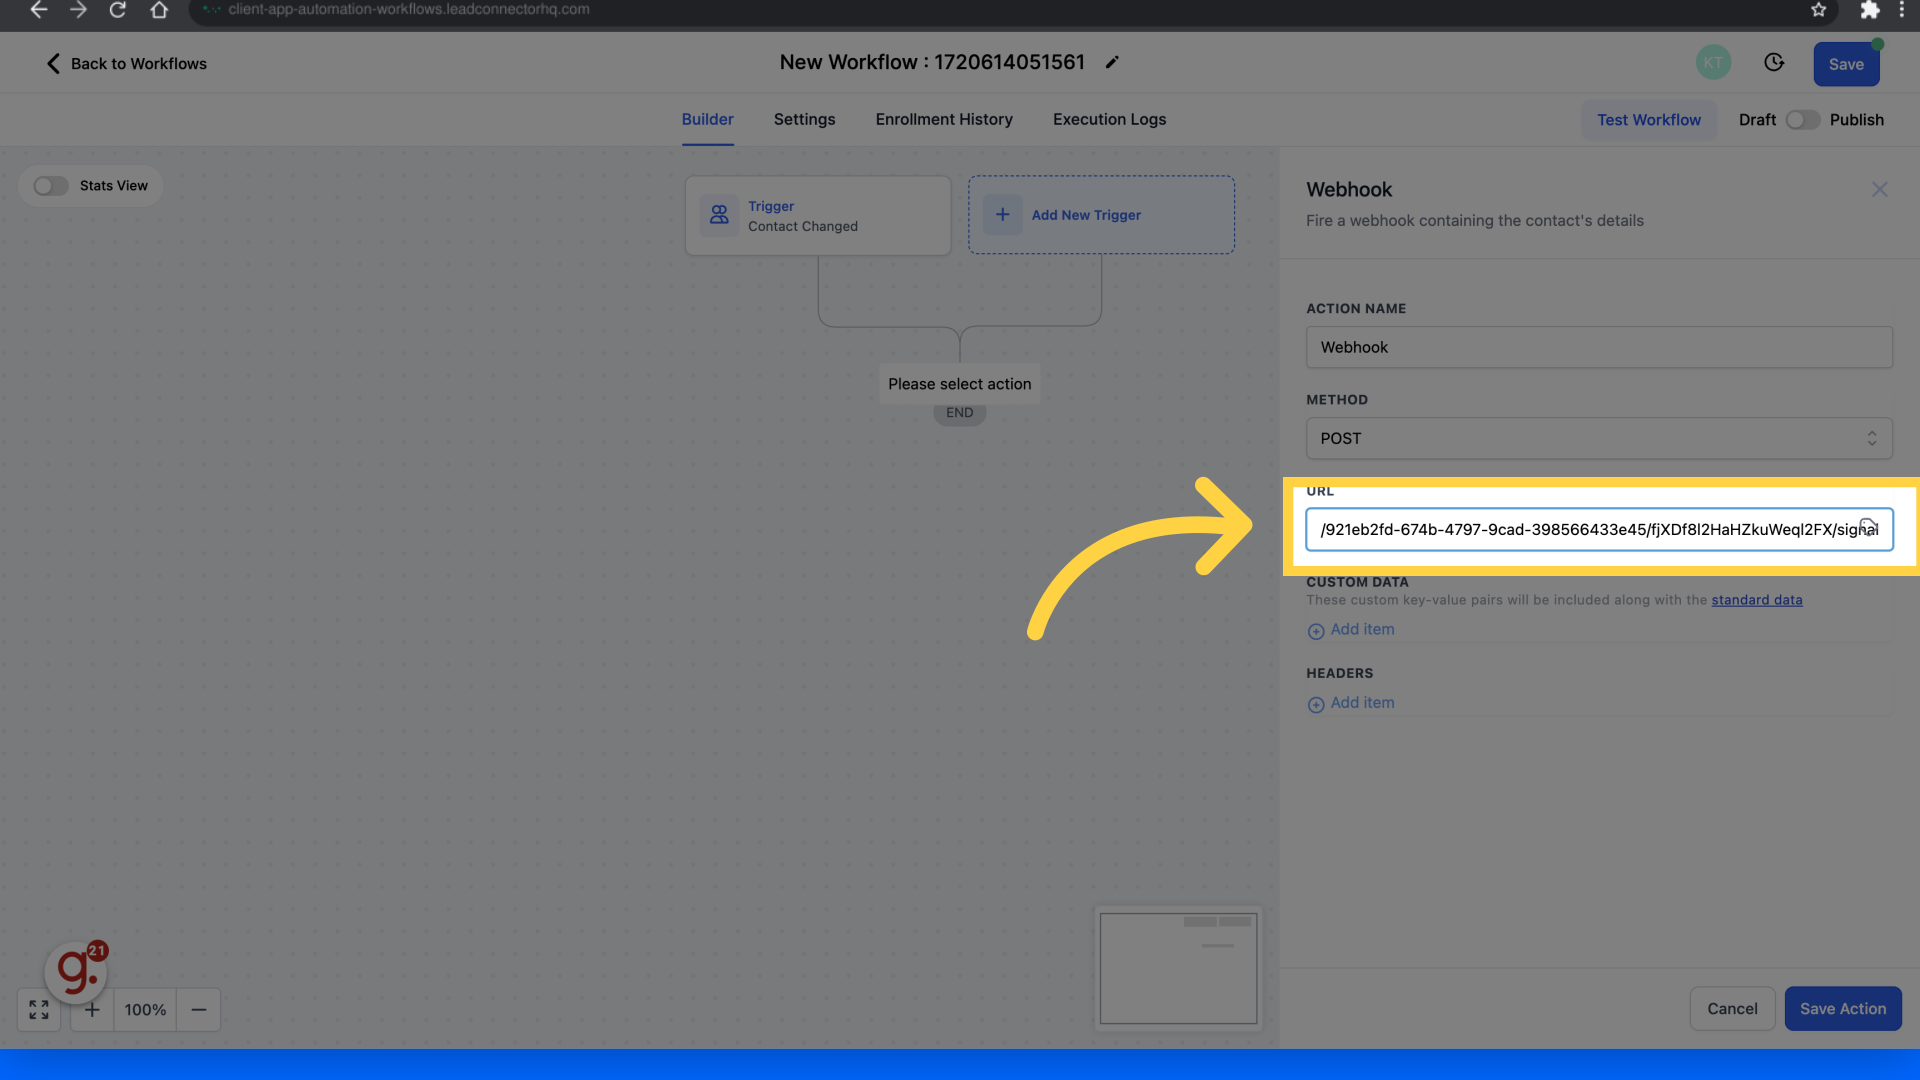
17. Paste the url
Paste the webhook URL you copied from Keragon's Dashboard.
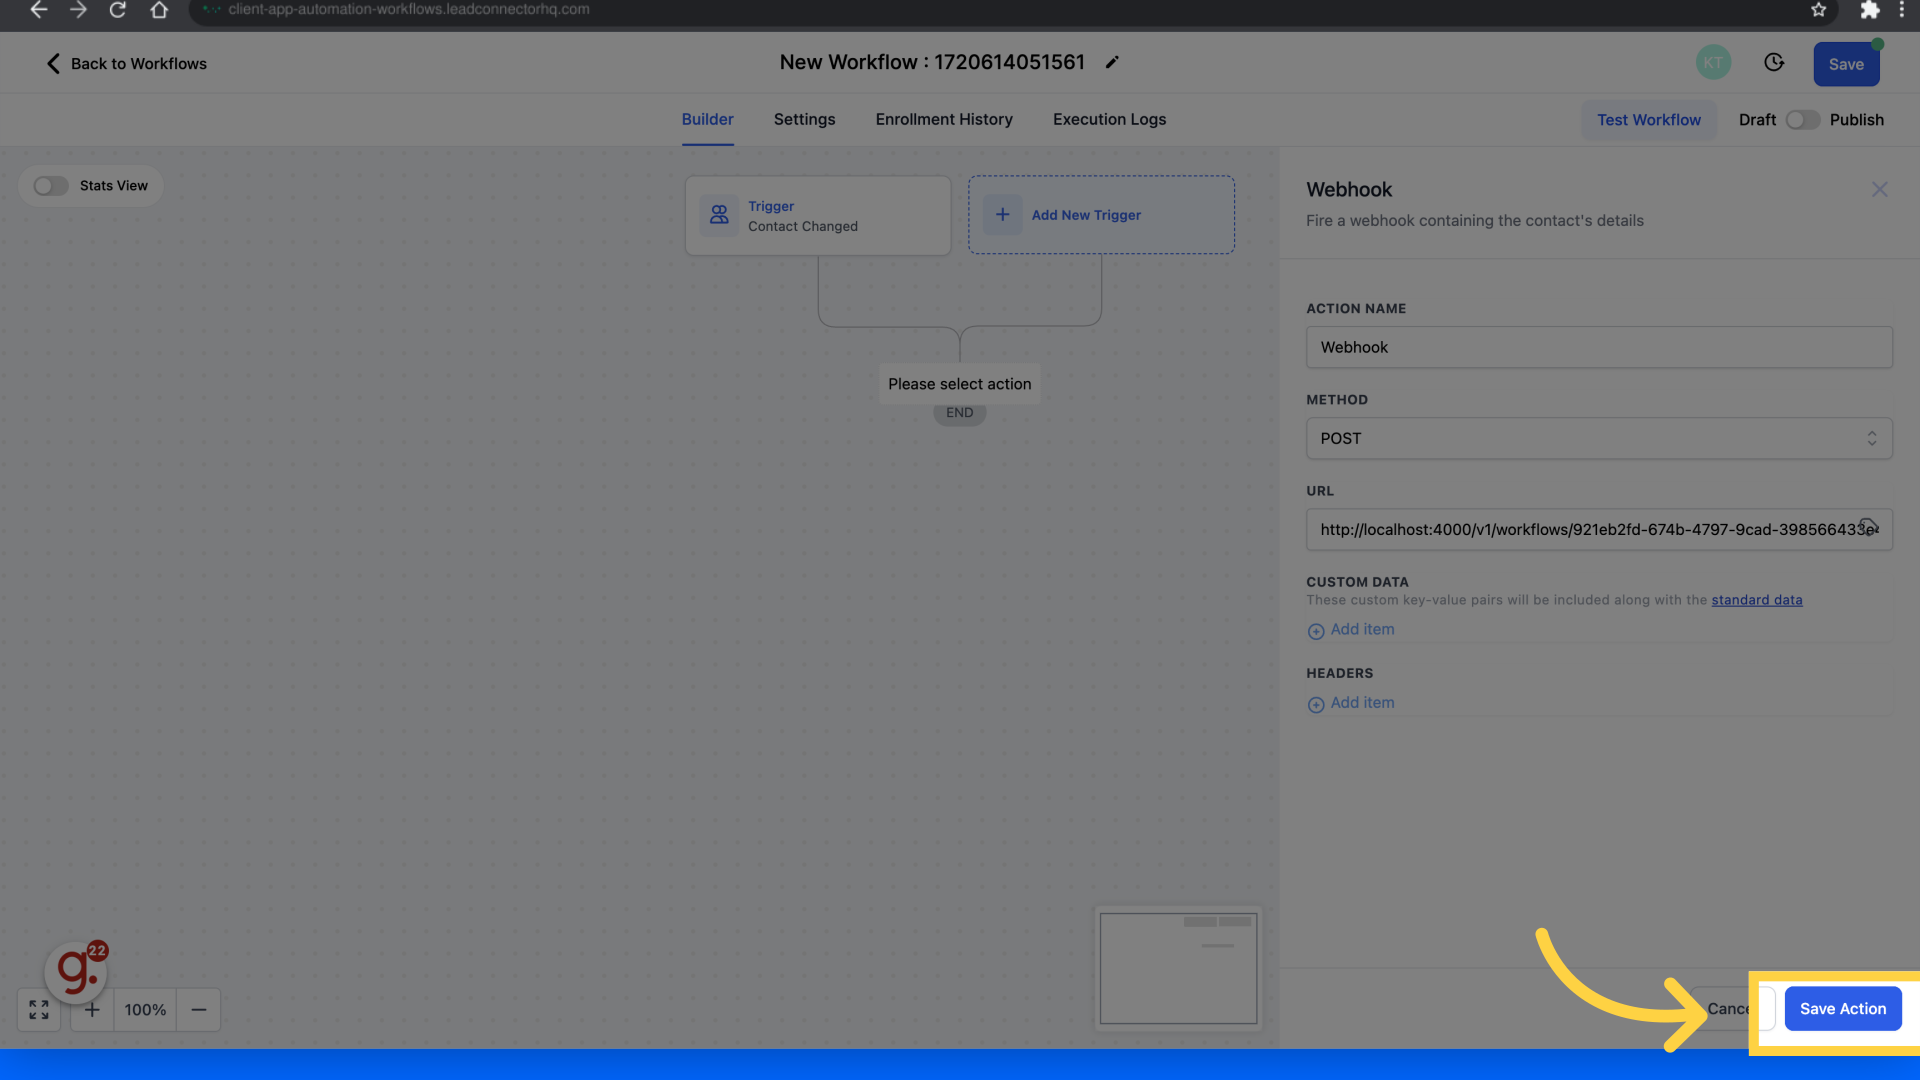
18. Click "Save Action"
Save the configured action.
The guide covered adding triggers in Go High Level application. By following these steps, you can receive webhooks from Go High Level on your Keragon workflows.