This guide will walk you through creating a Google Auth client for Gmail in a structured manner, and use the credentials created on Keragon dashboard.
Go to console.cloud.google.com
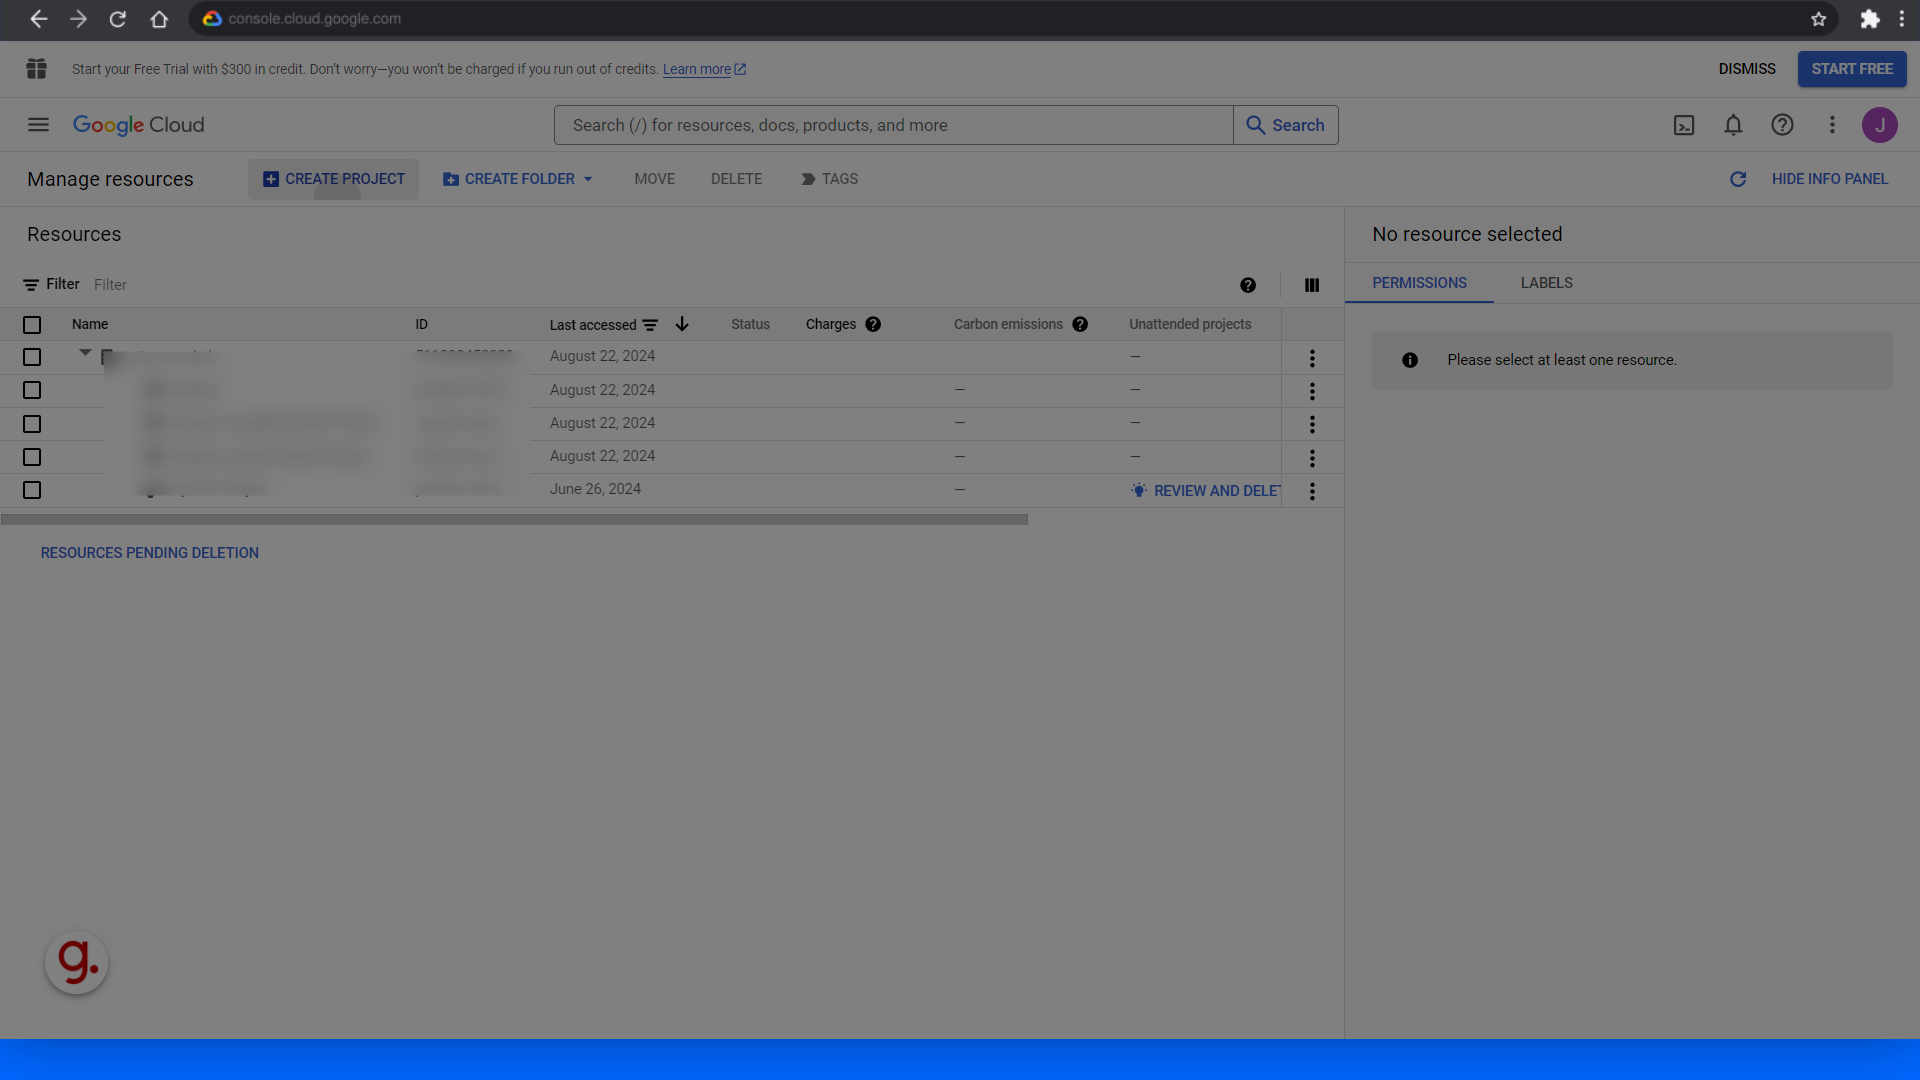
1. Go to console.cloud.google.com
First, visit the console.cloud.google.com page.
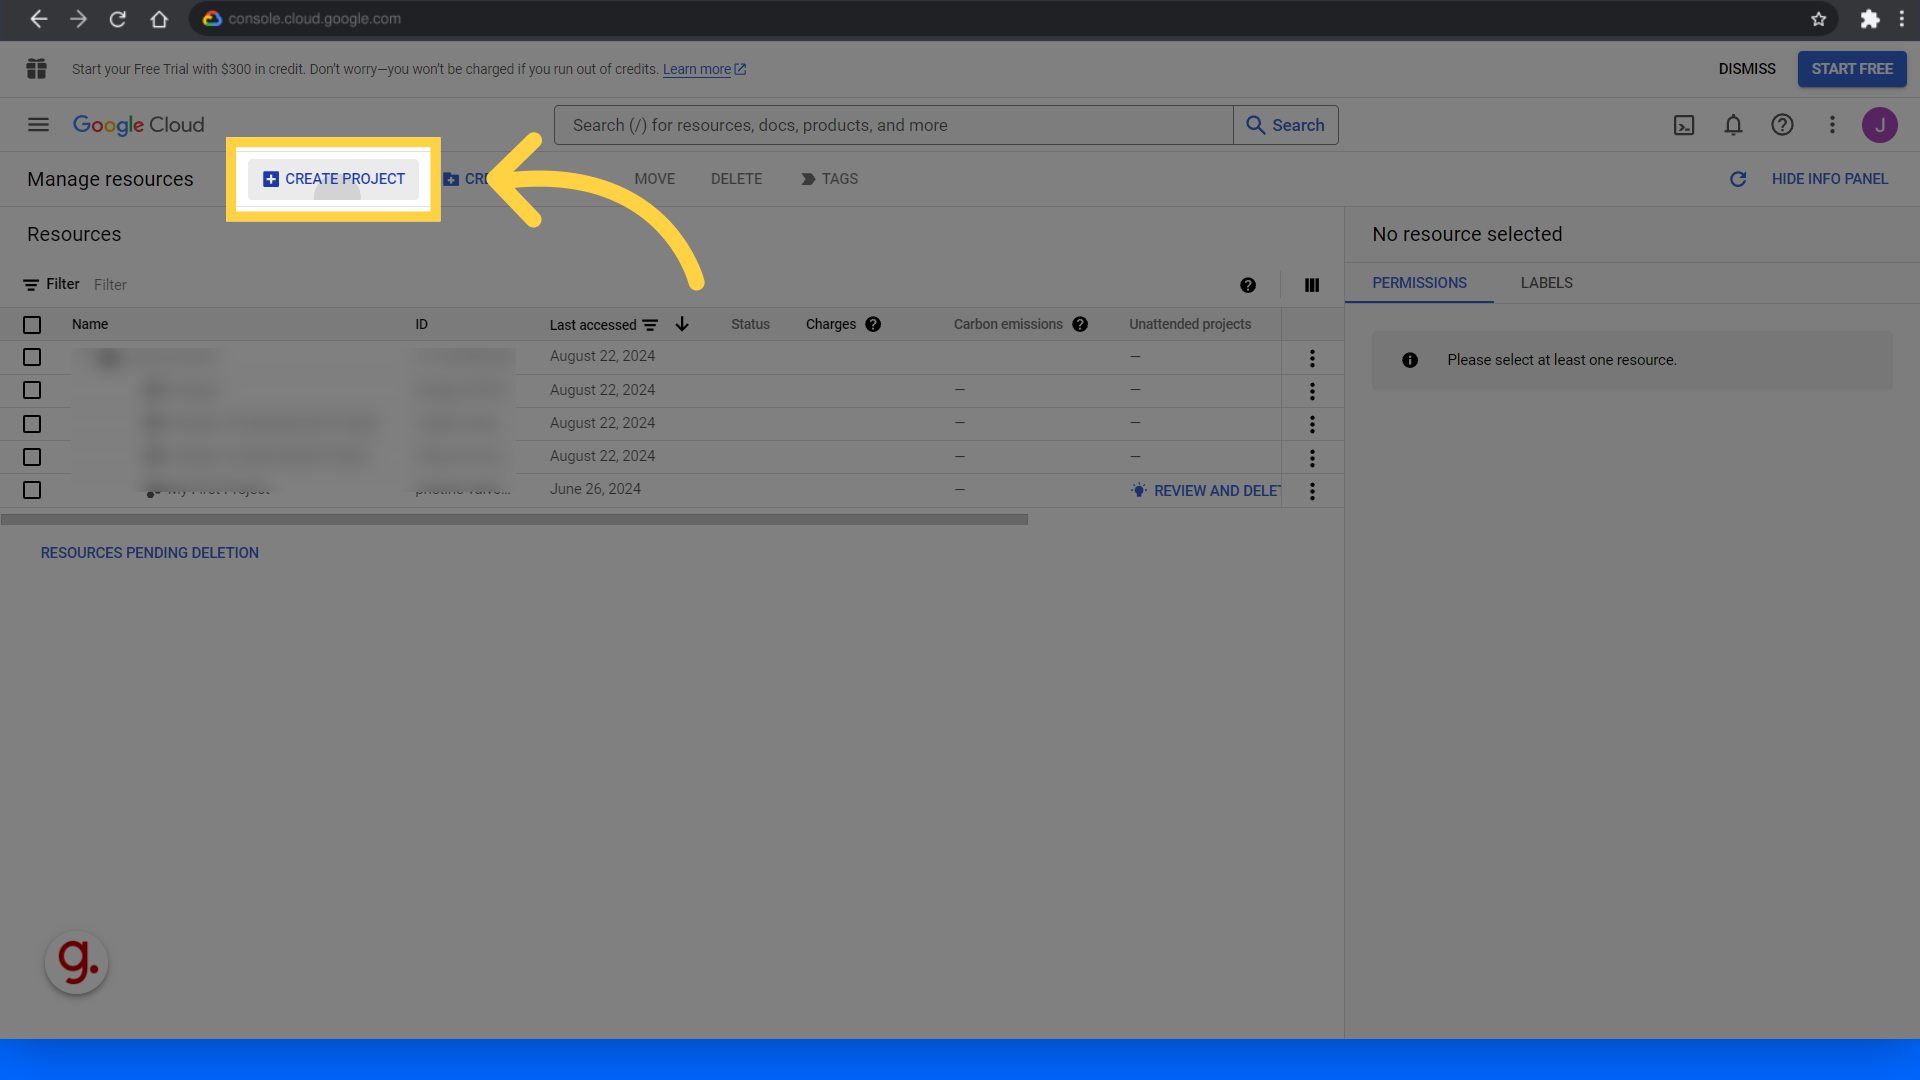
2. Click "Create project"
Go to Google developer console, cloud resource manager, and start by creating a new project.
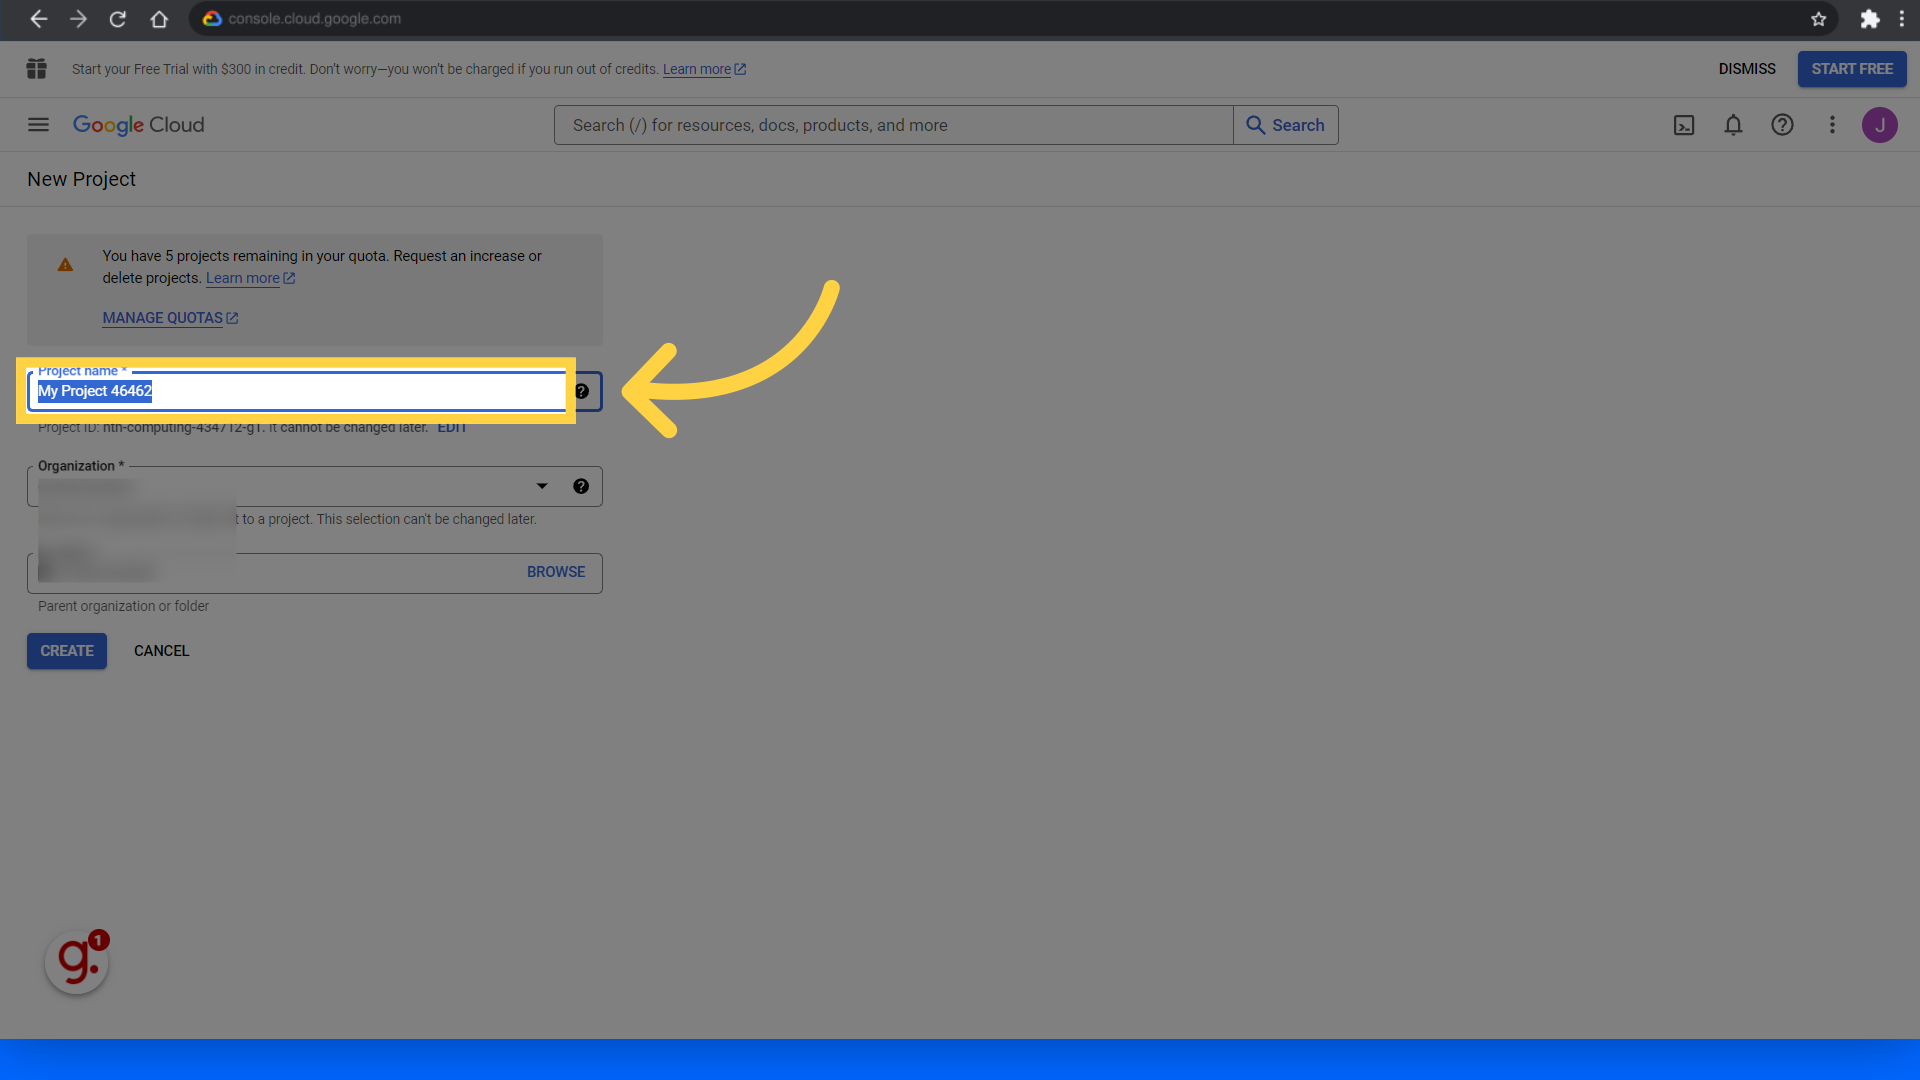
3. Fill in the "Project name" field
Enter your desired project name, for example, "Keragon Gmail Project".
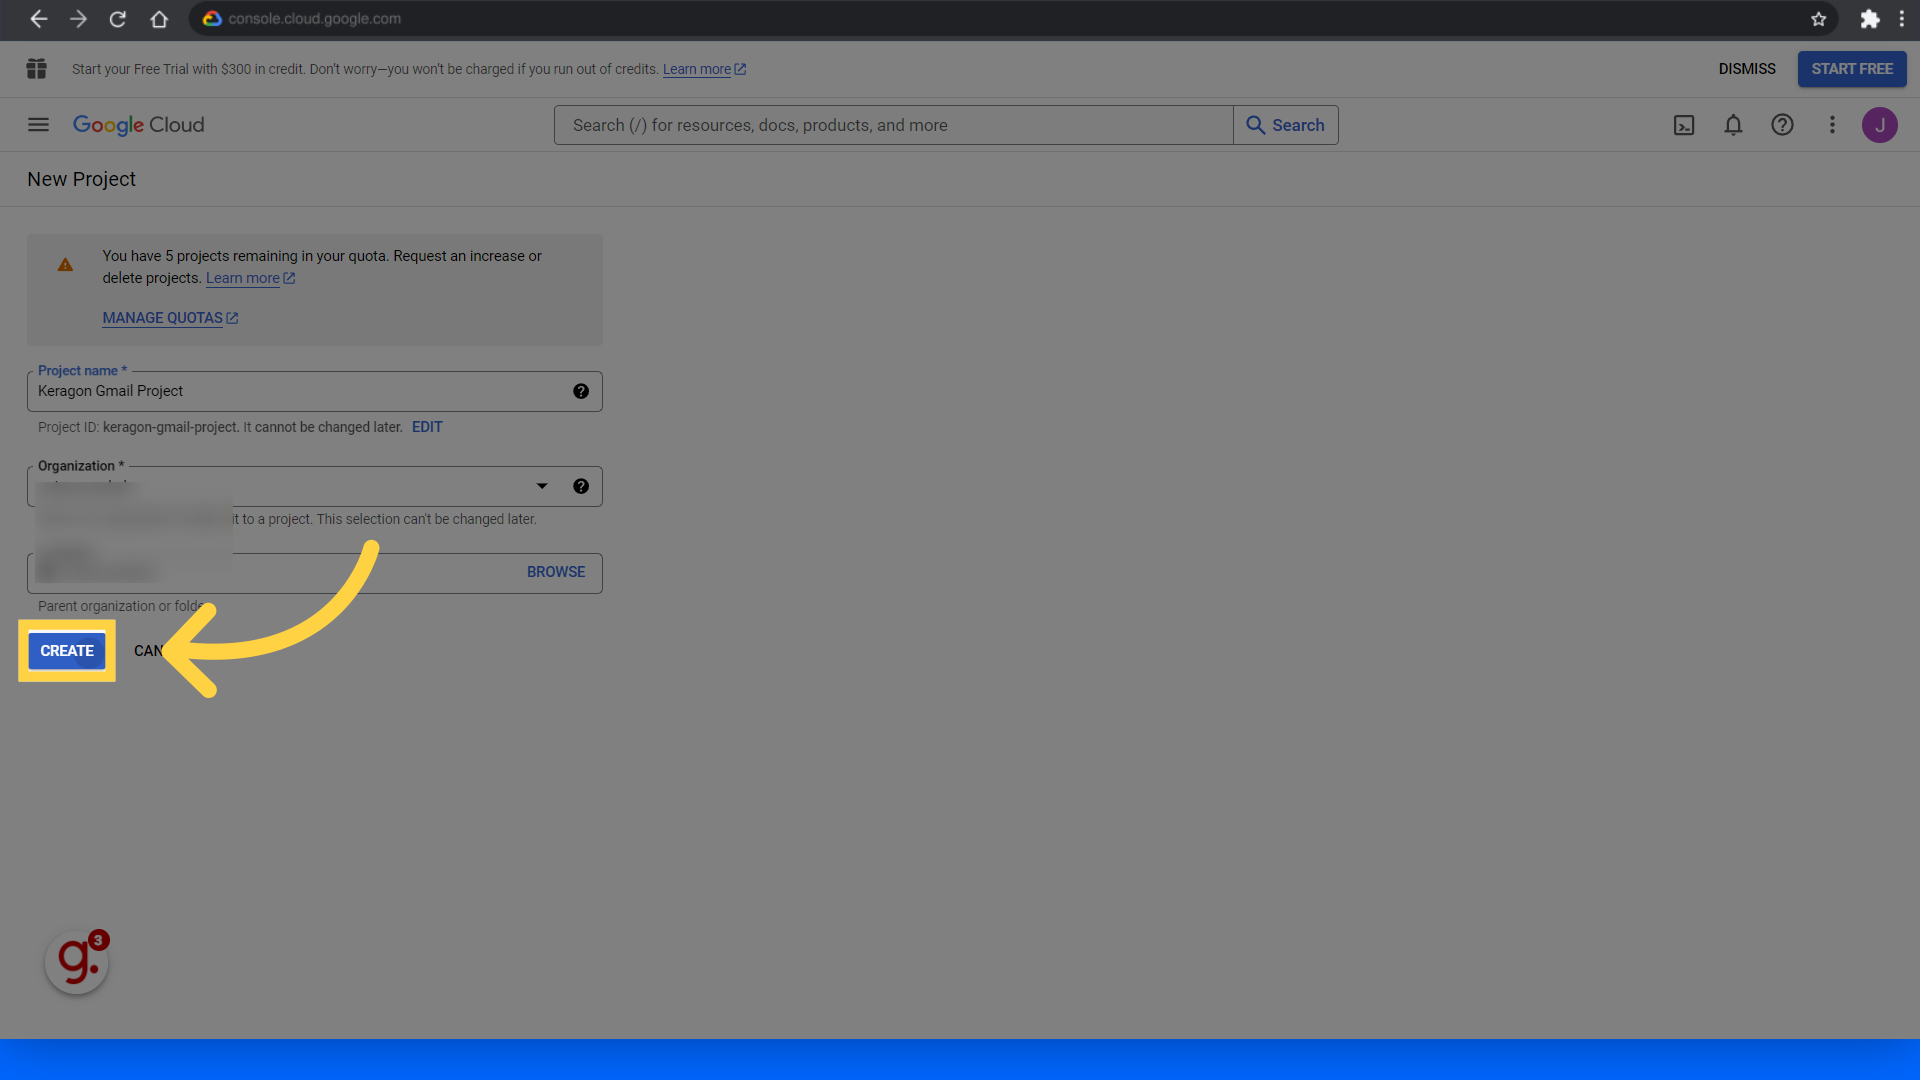
4. Click "Create"
Proceed by clicking the Create button.
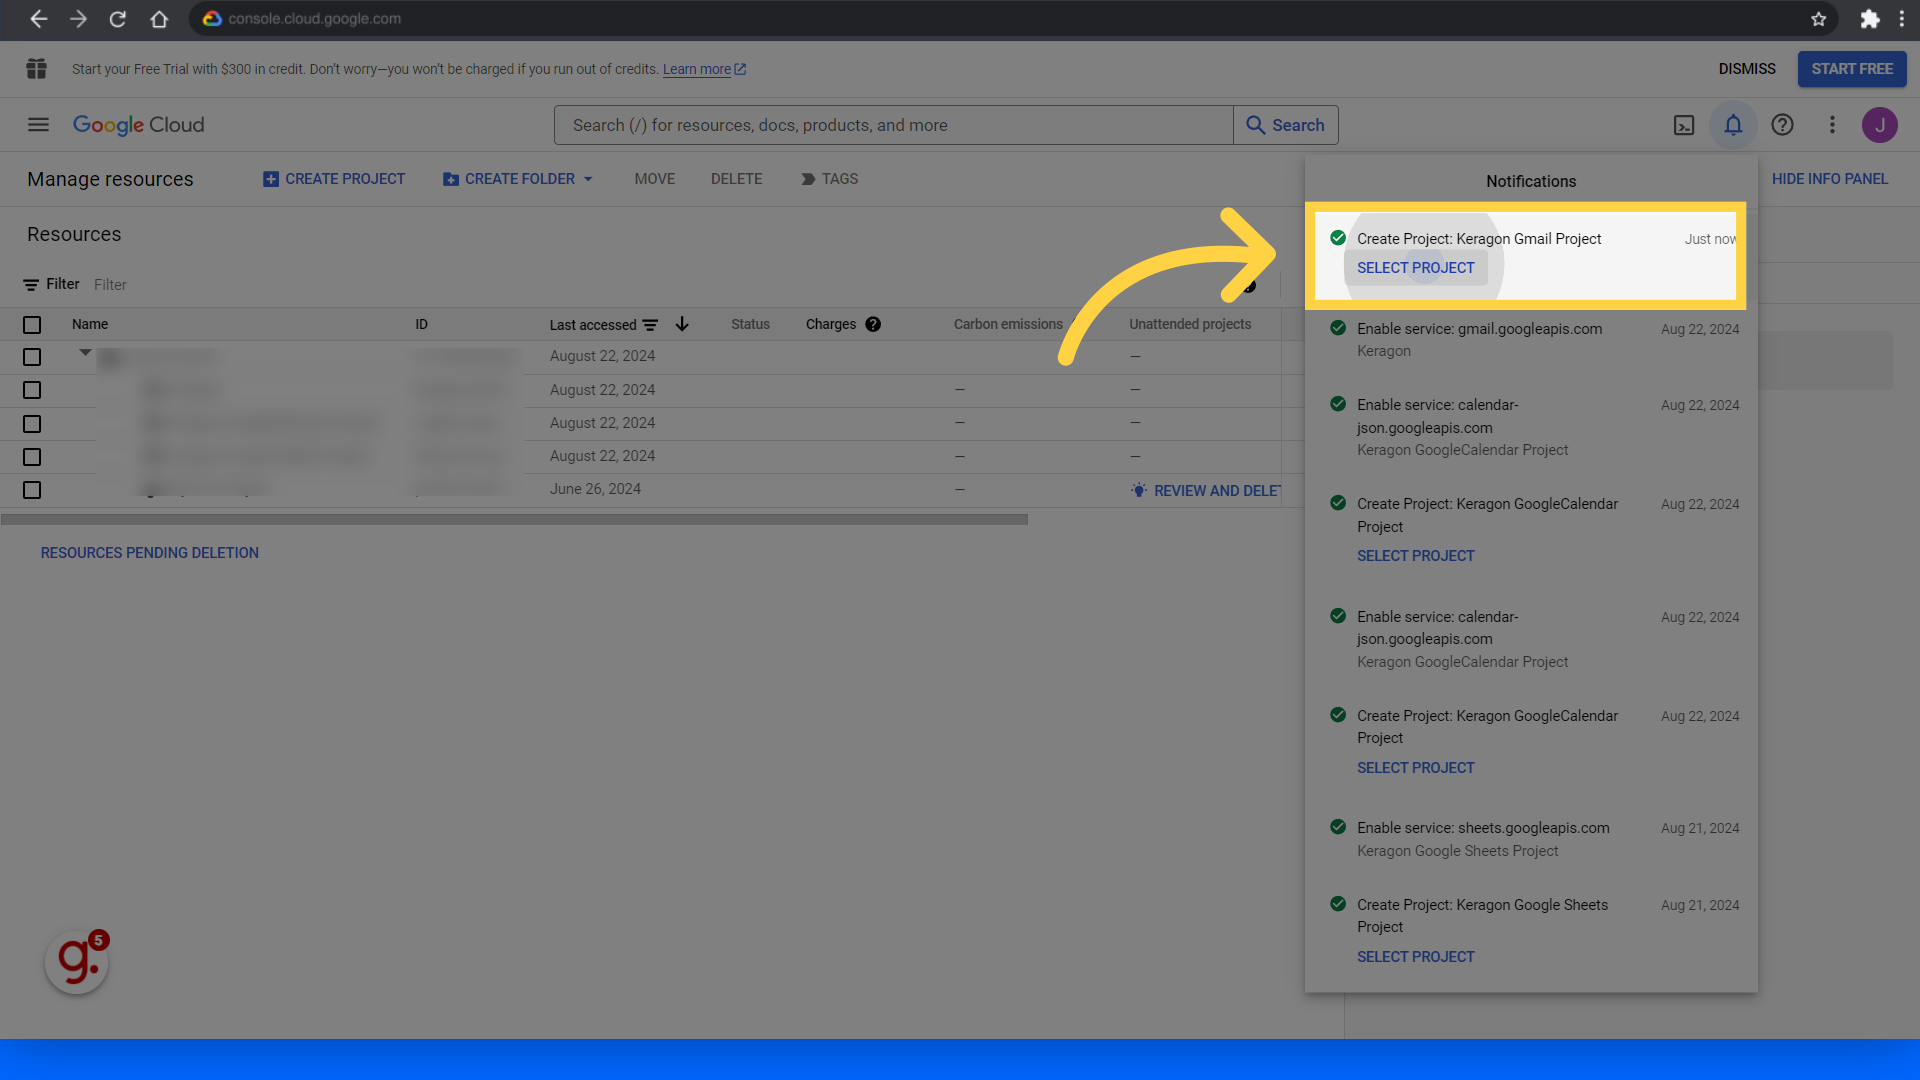
5. Click "Select Project"
Select the newly created project.
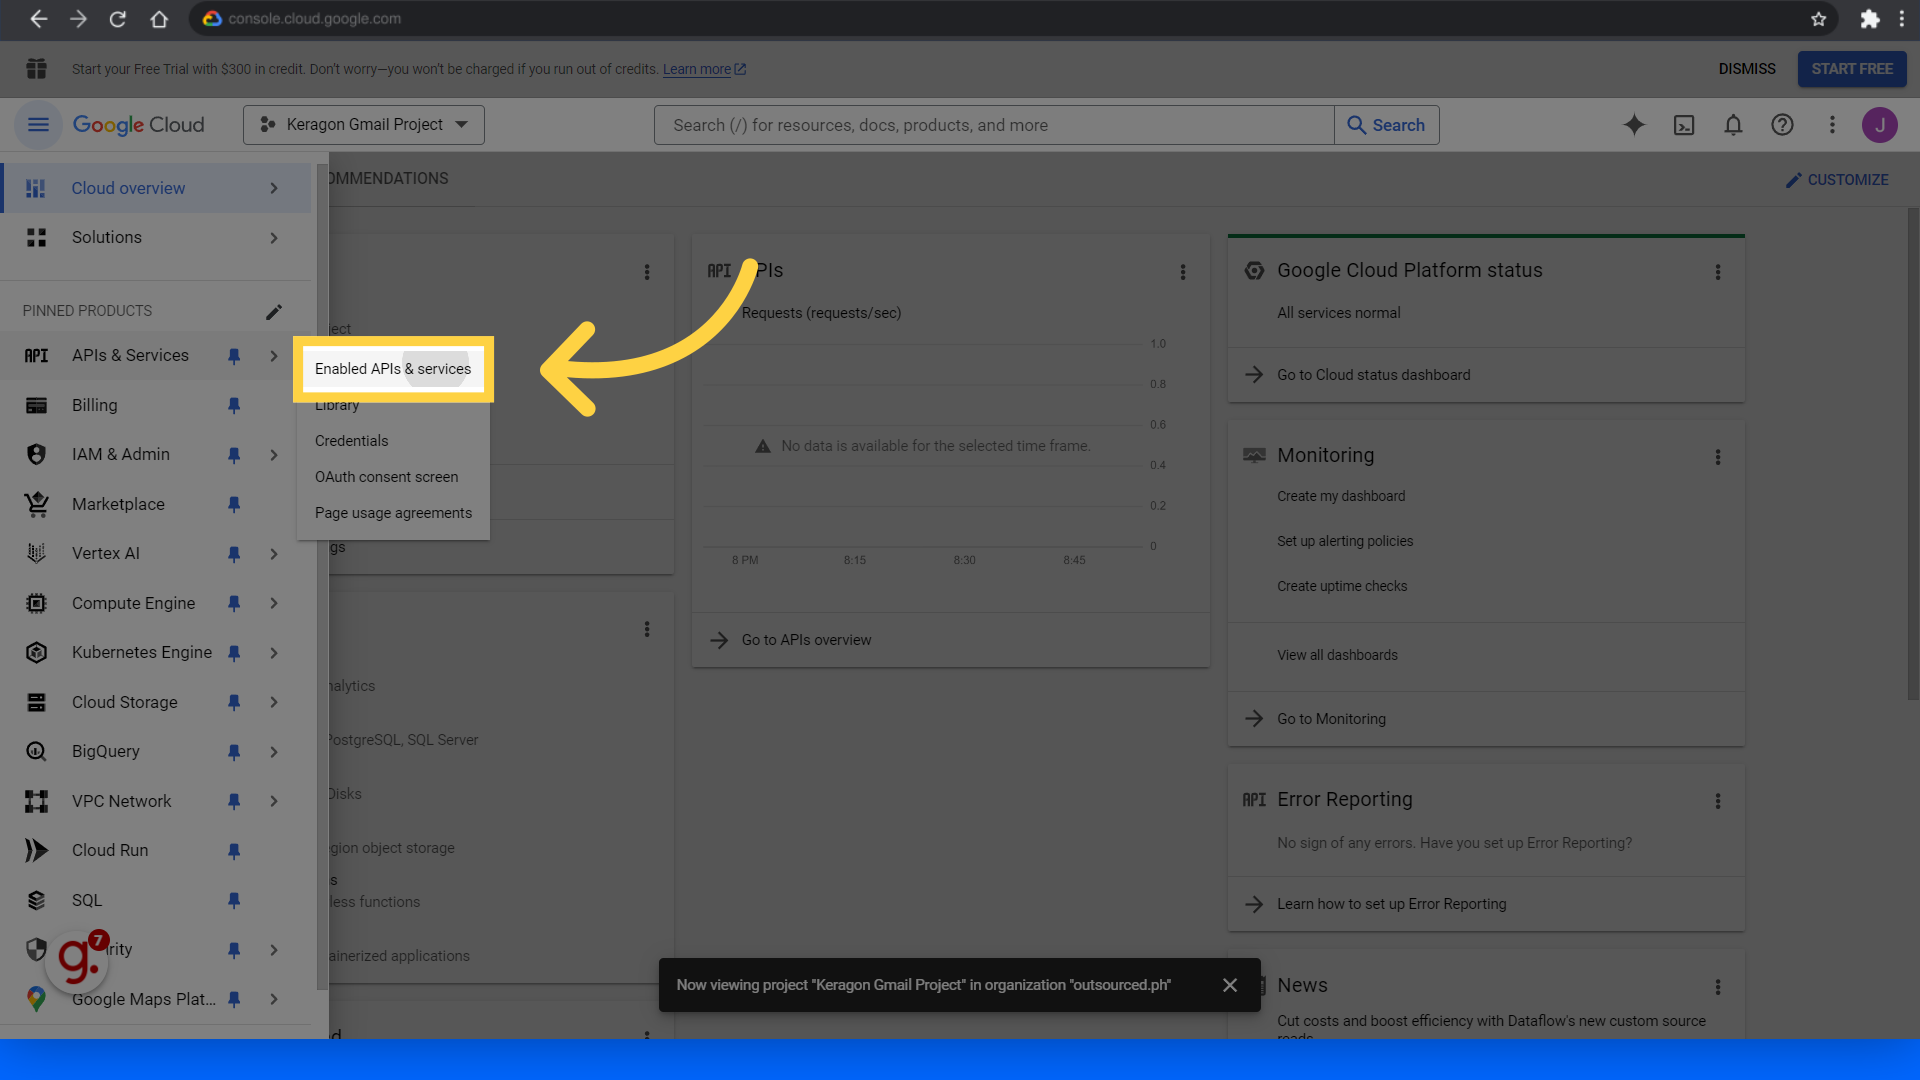
6. Click the menu icon
Click the menu icon at the top left.

7. Click "Enabled APIs & services"
Access the enabled APIs and services section.
8. Click "Search" field
Look for resources, docs, and products.
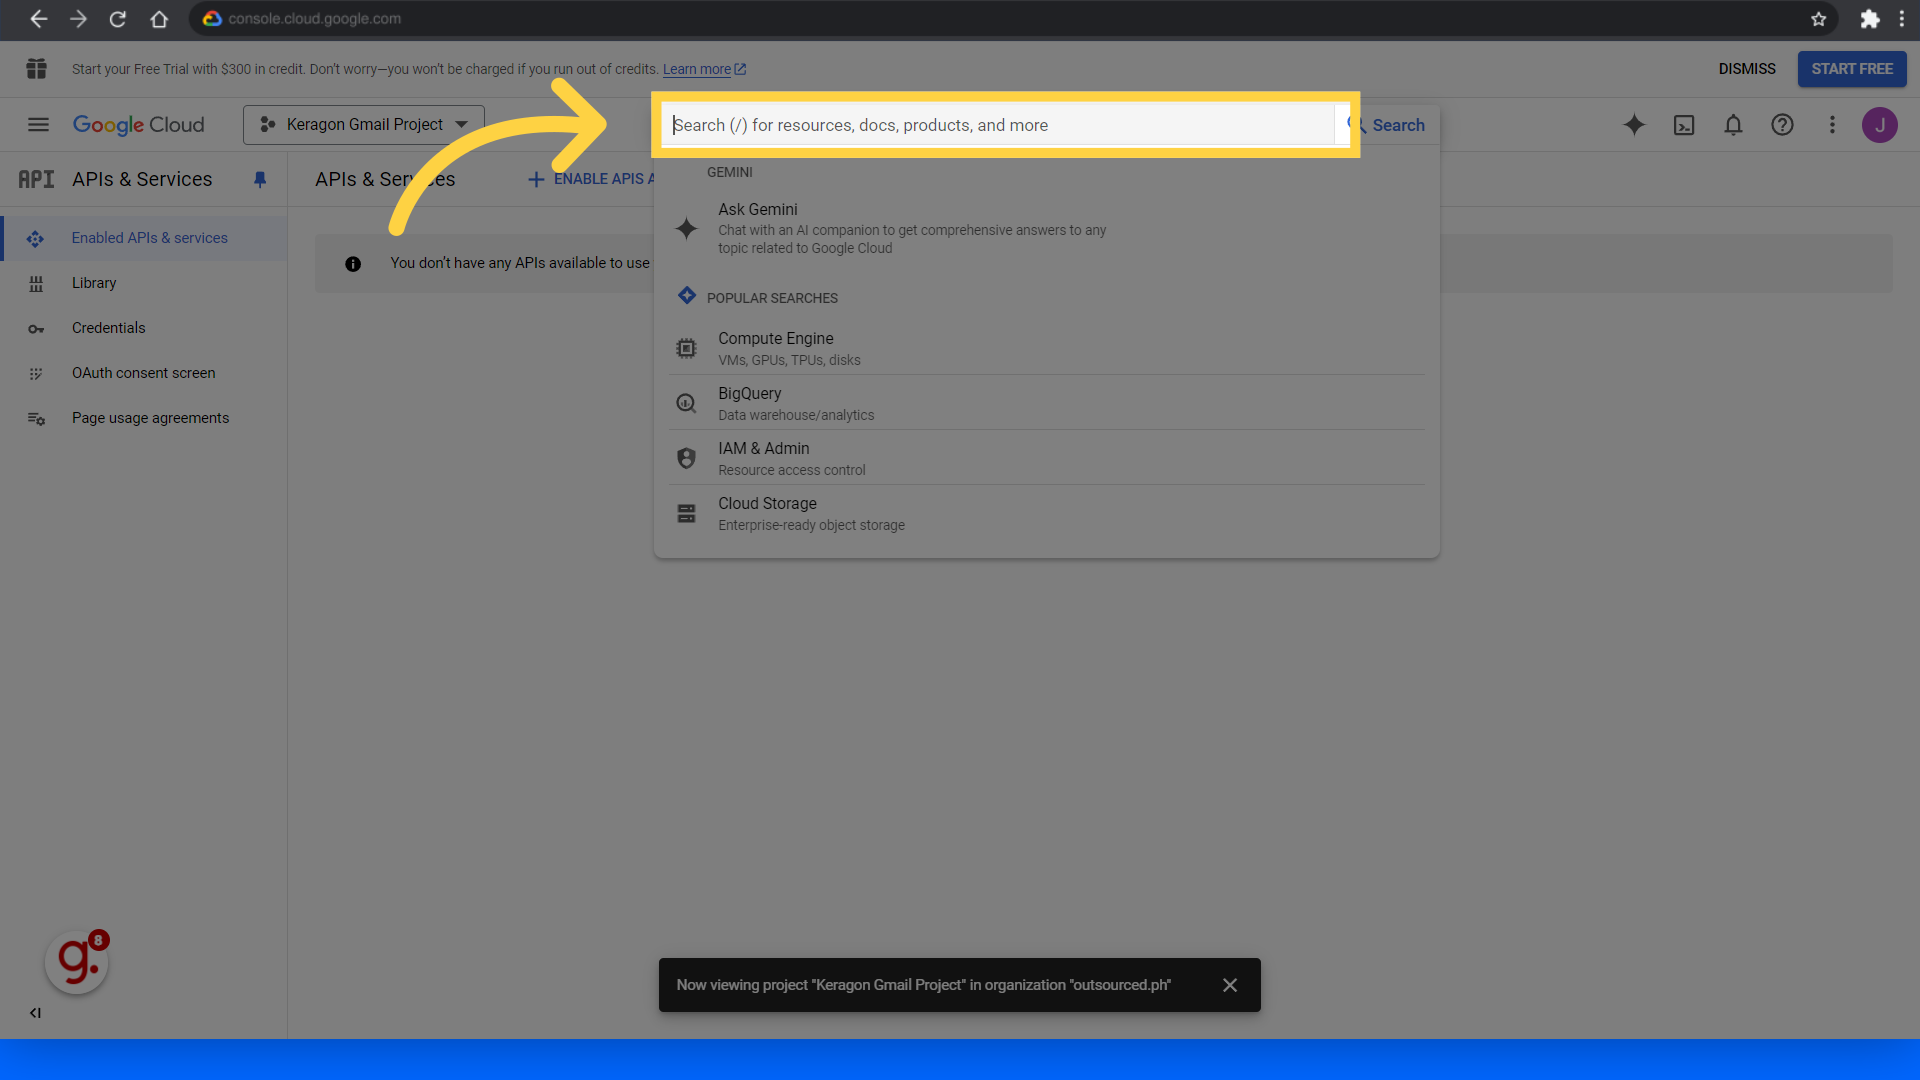
9. Search "Gmail API" and select it from the dropdown
Enter "Gmail API" in the search bar and select it from the search results.

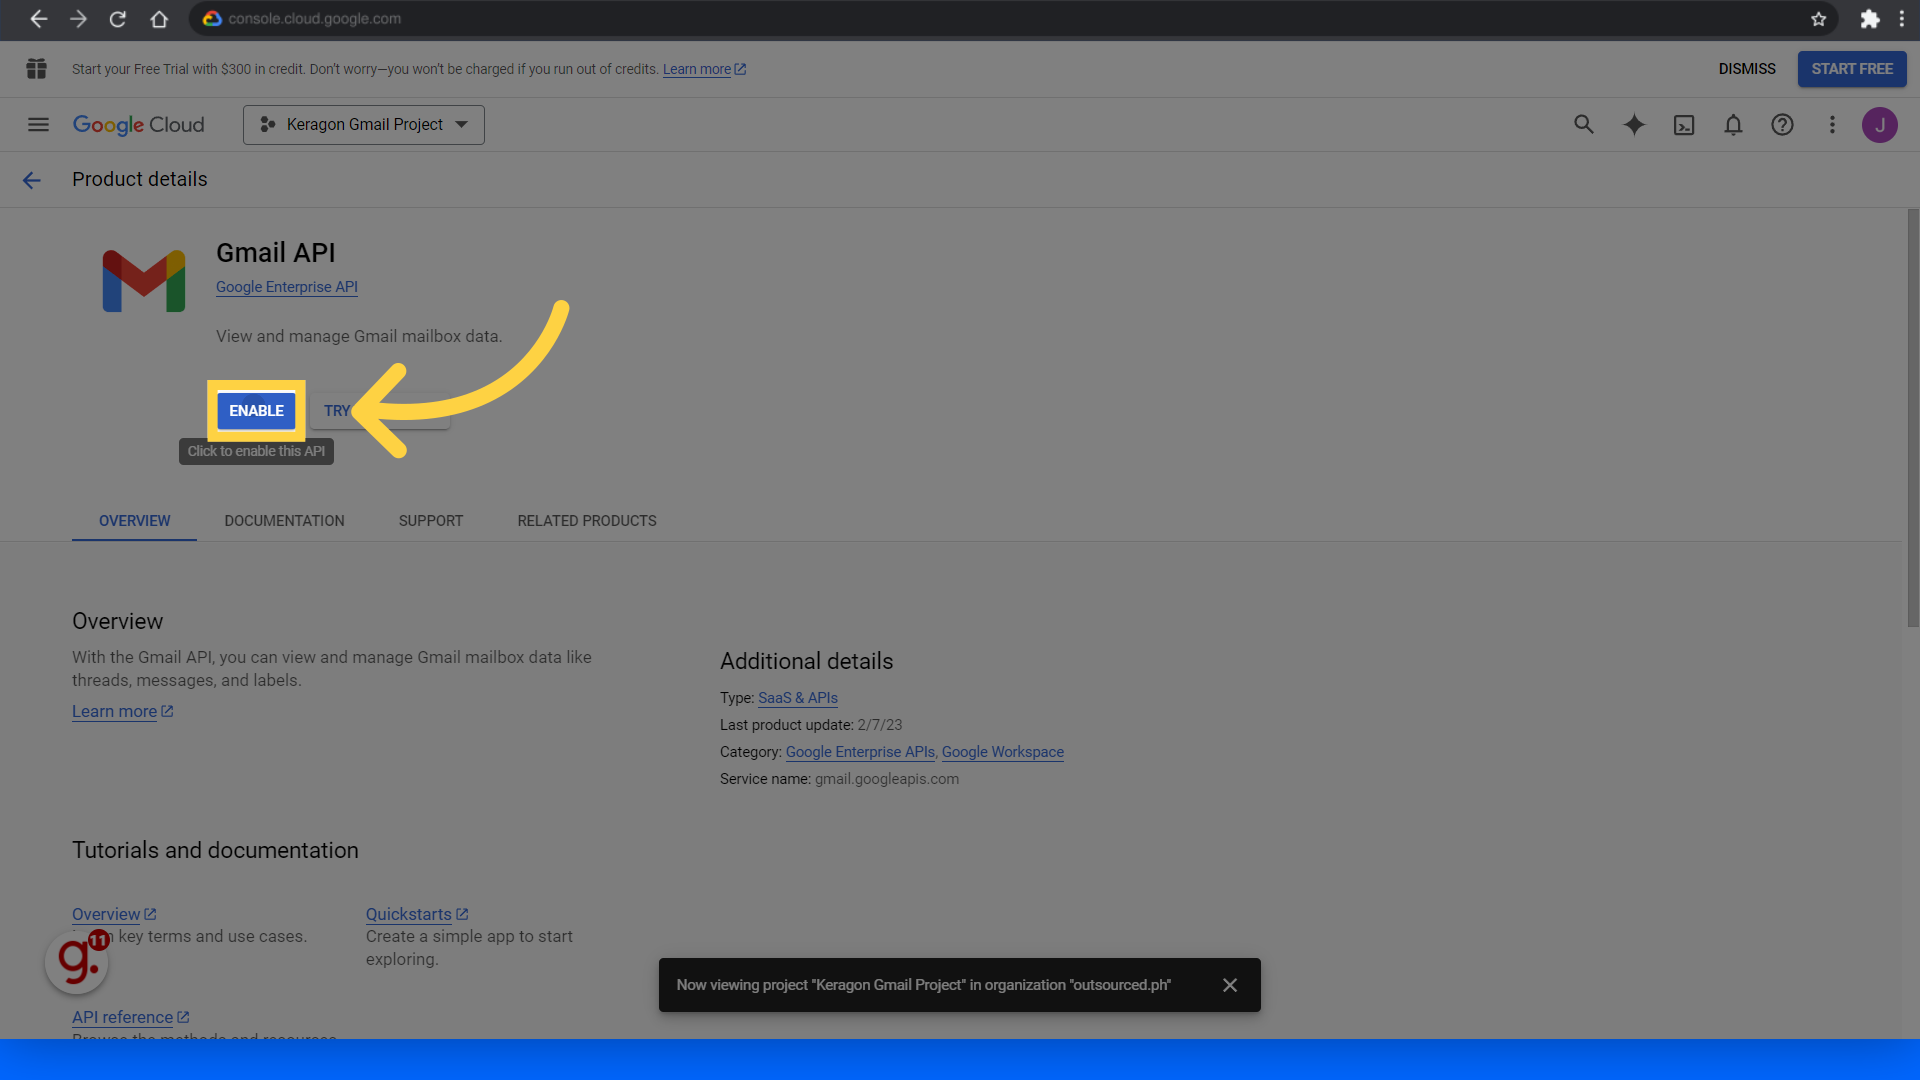
10. Click "Enable"
Enable the Gmail API.
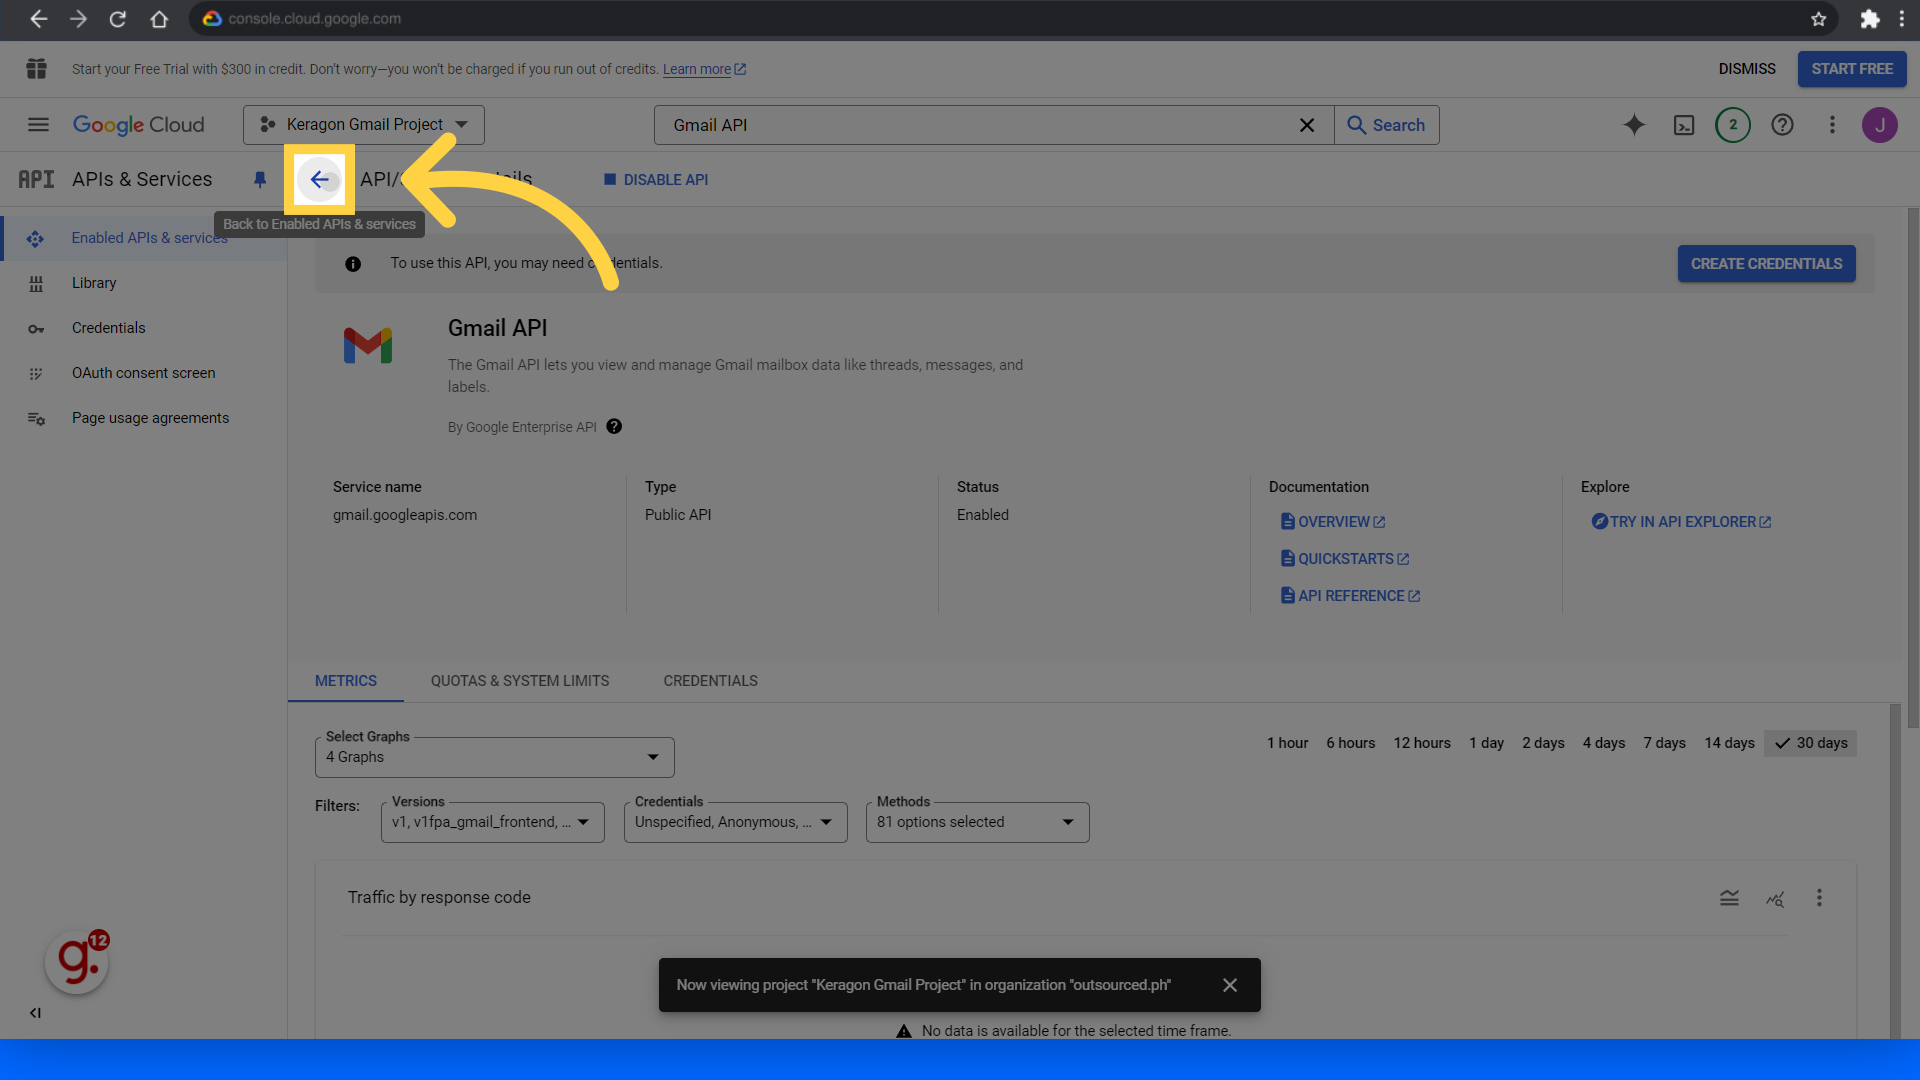
11. Click here
Go back to the "Enabled APIs" dashboard.
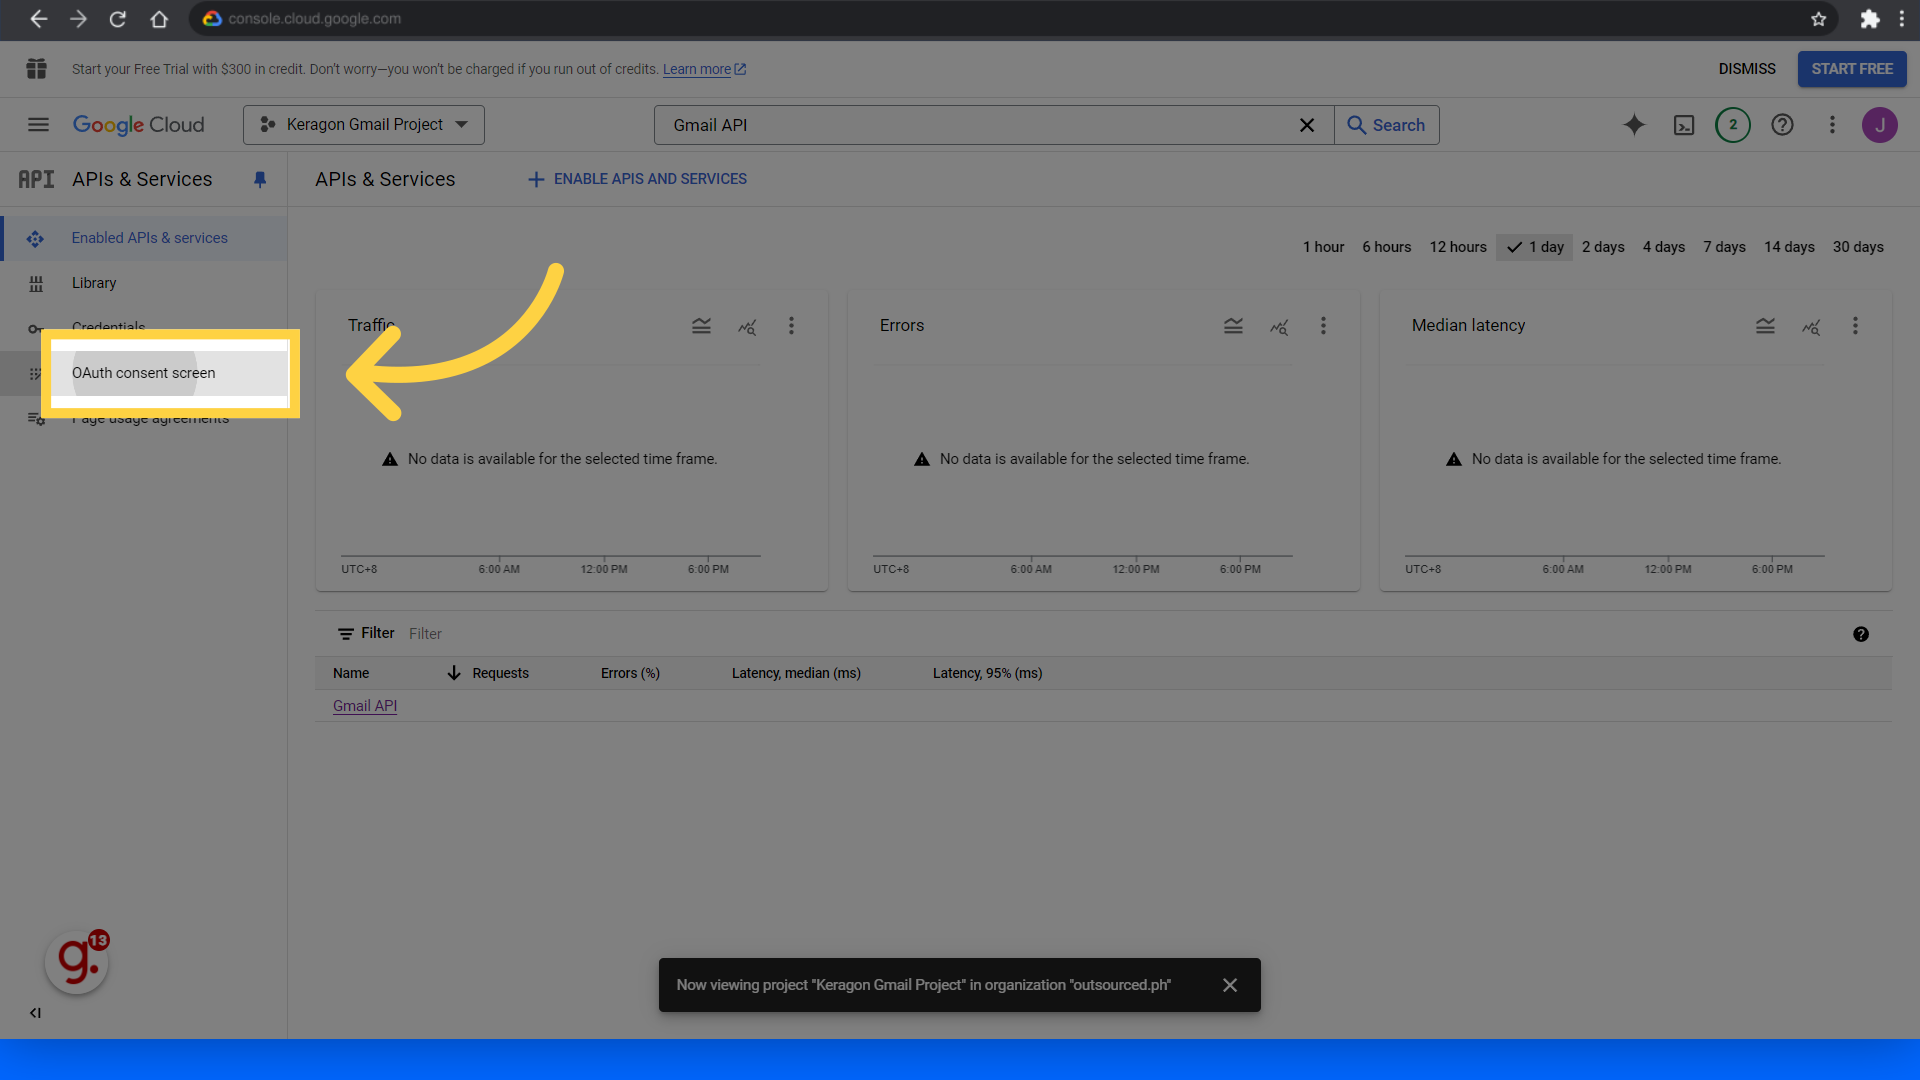
12. Click "OAuth consent screen"
Access the OAuth consent screen settings.
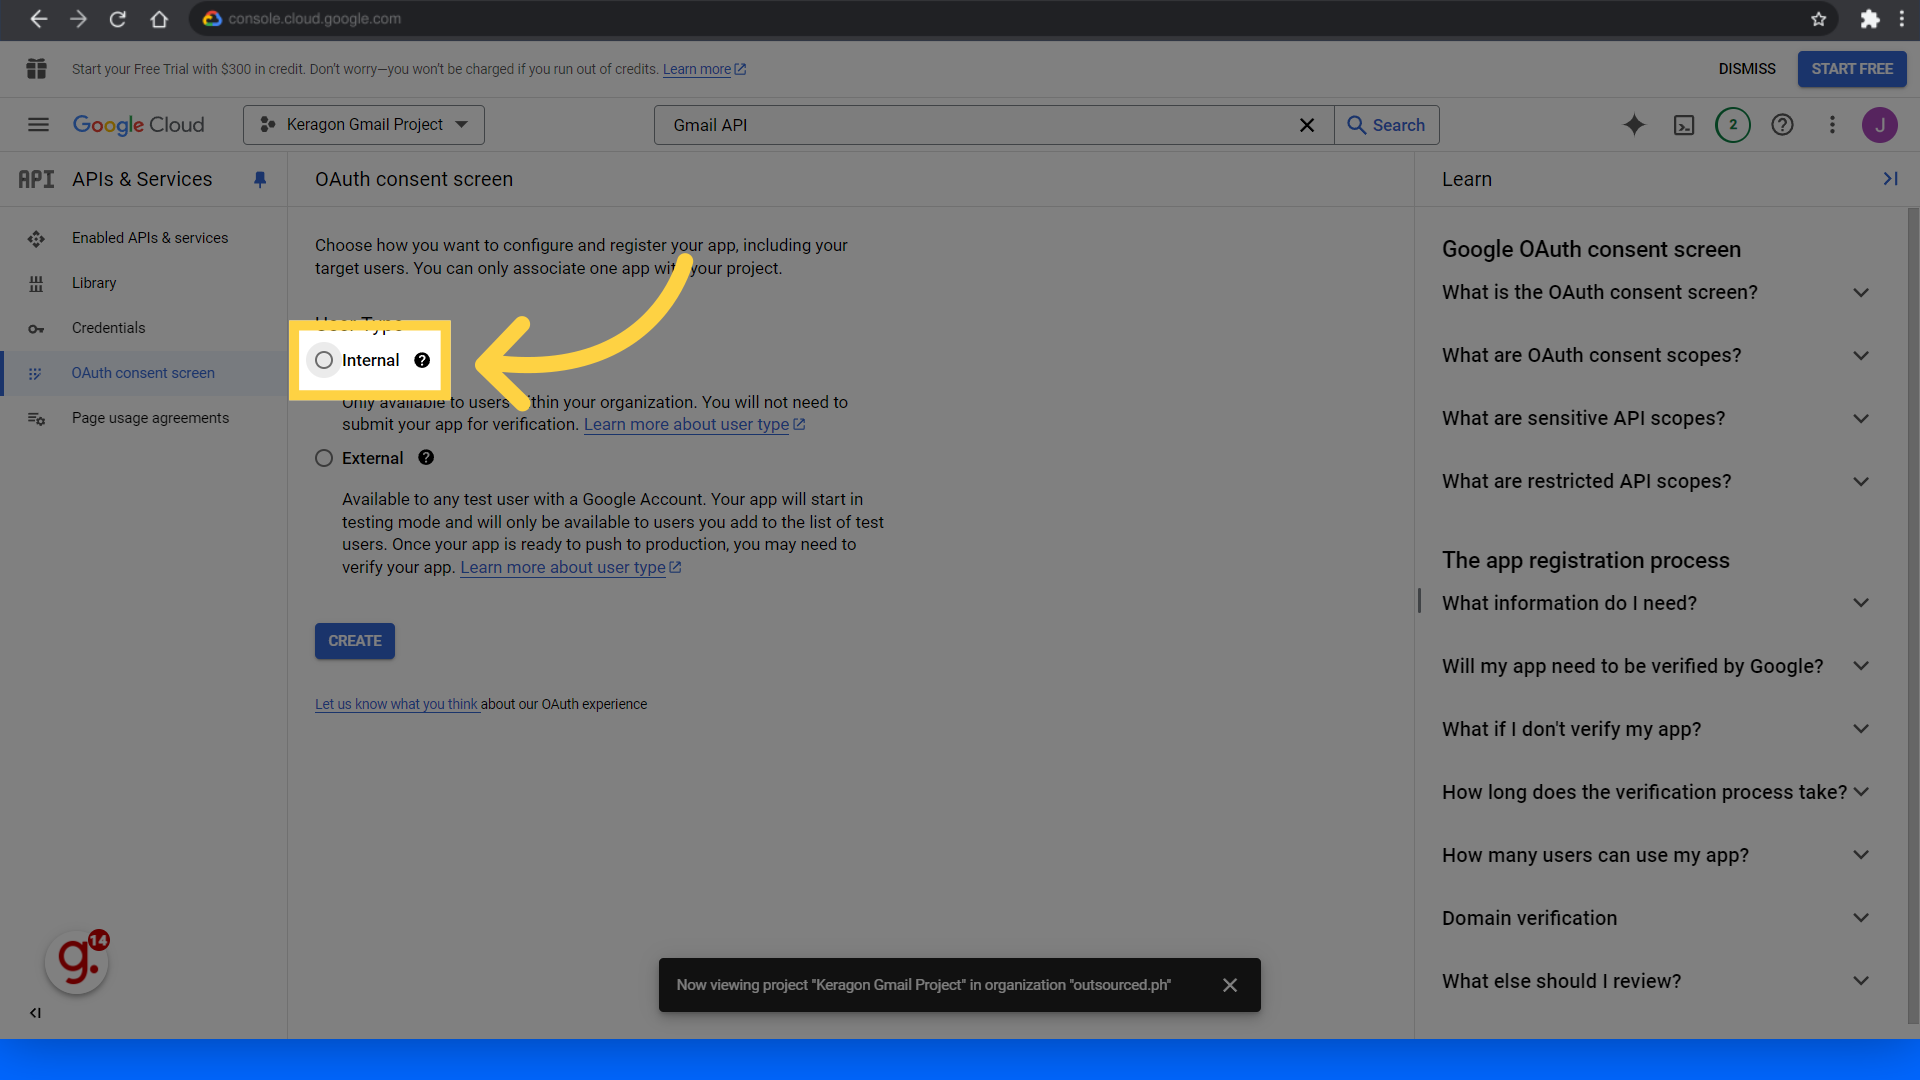
13. Click "Internal"
Select the Internal option under User Type.
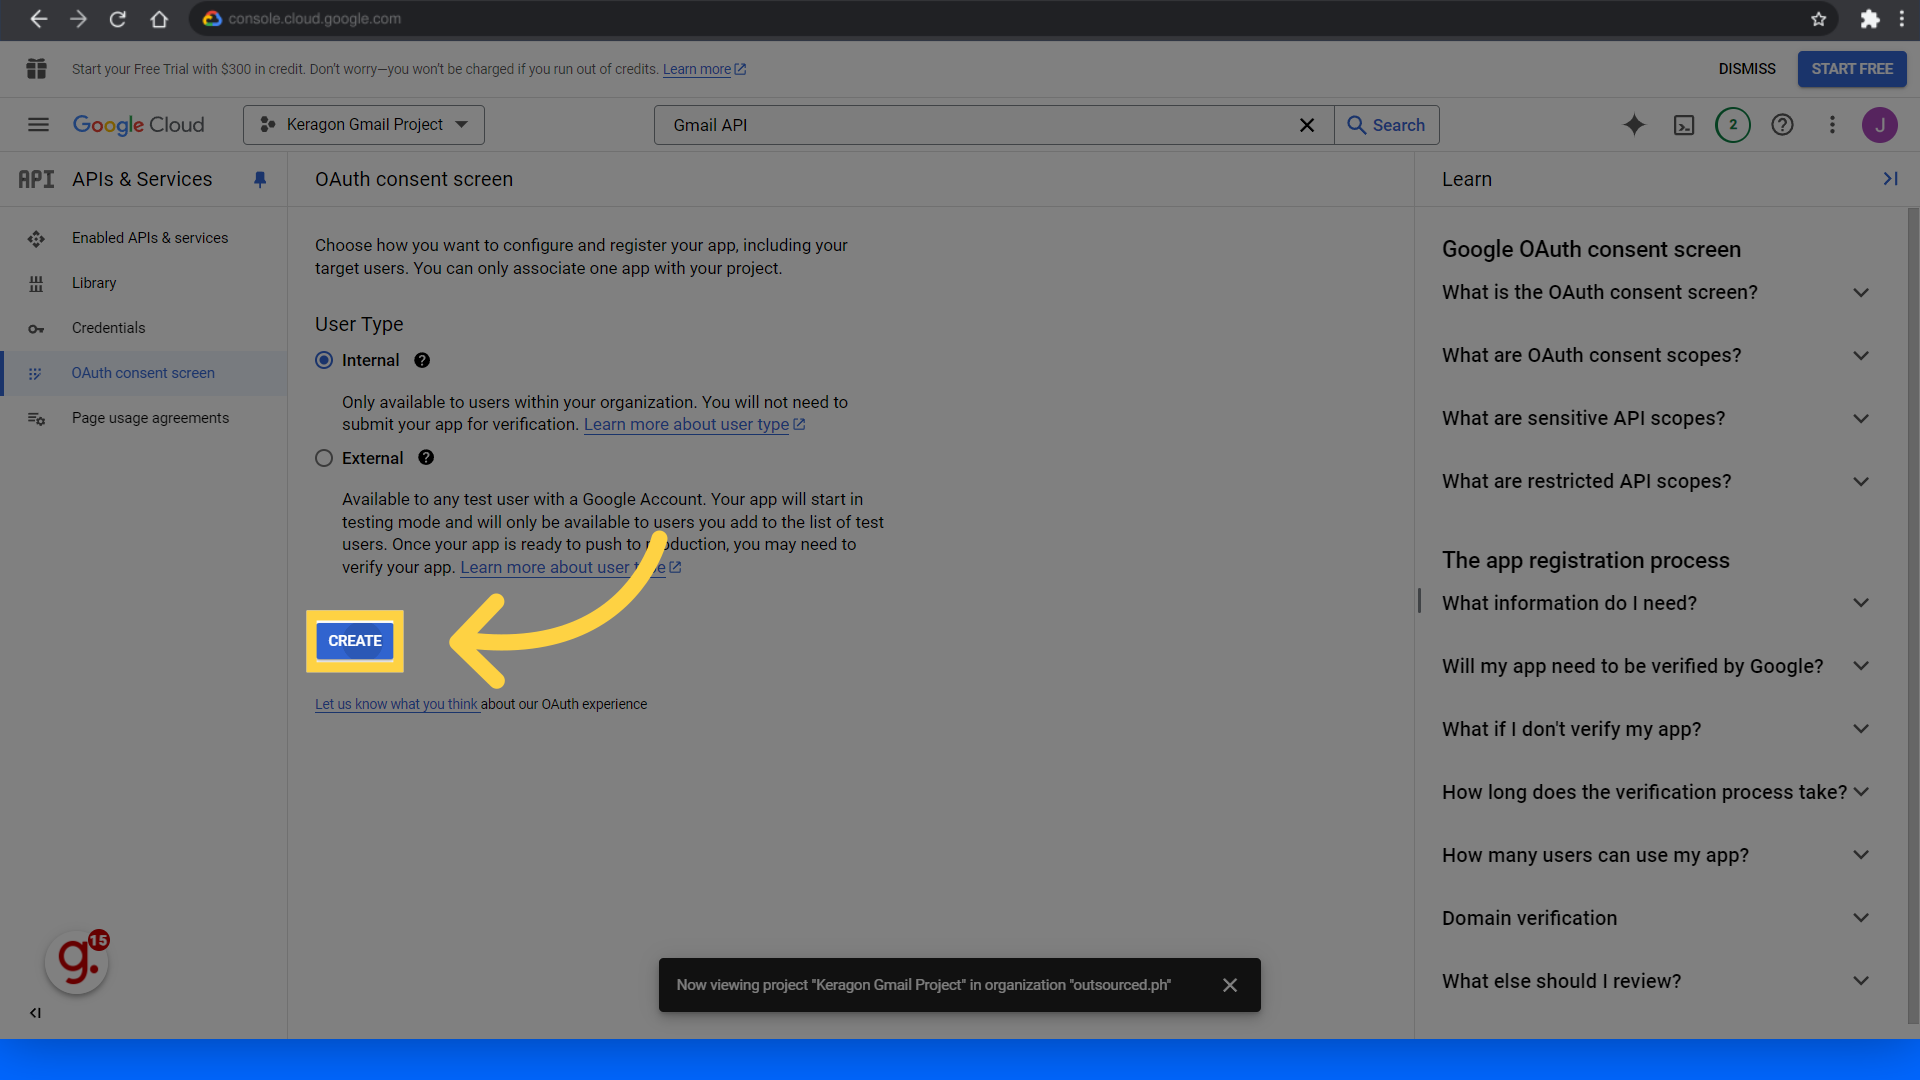
14. Click "Create"
Click CREATE.
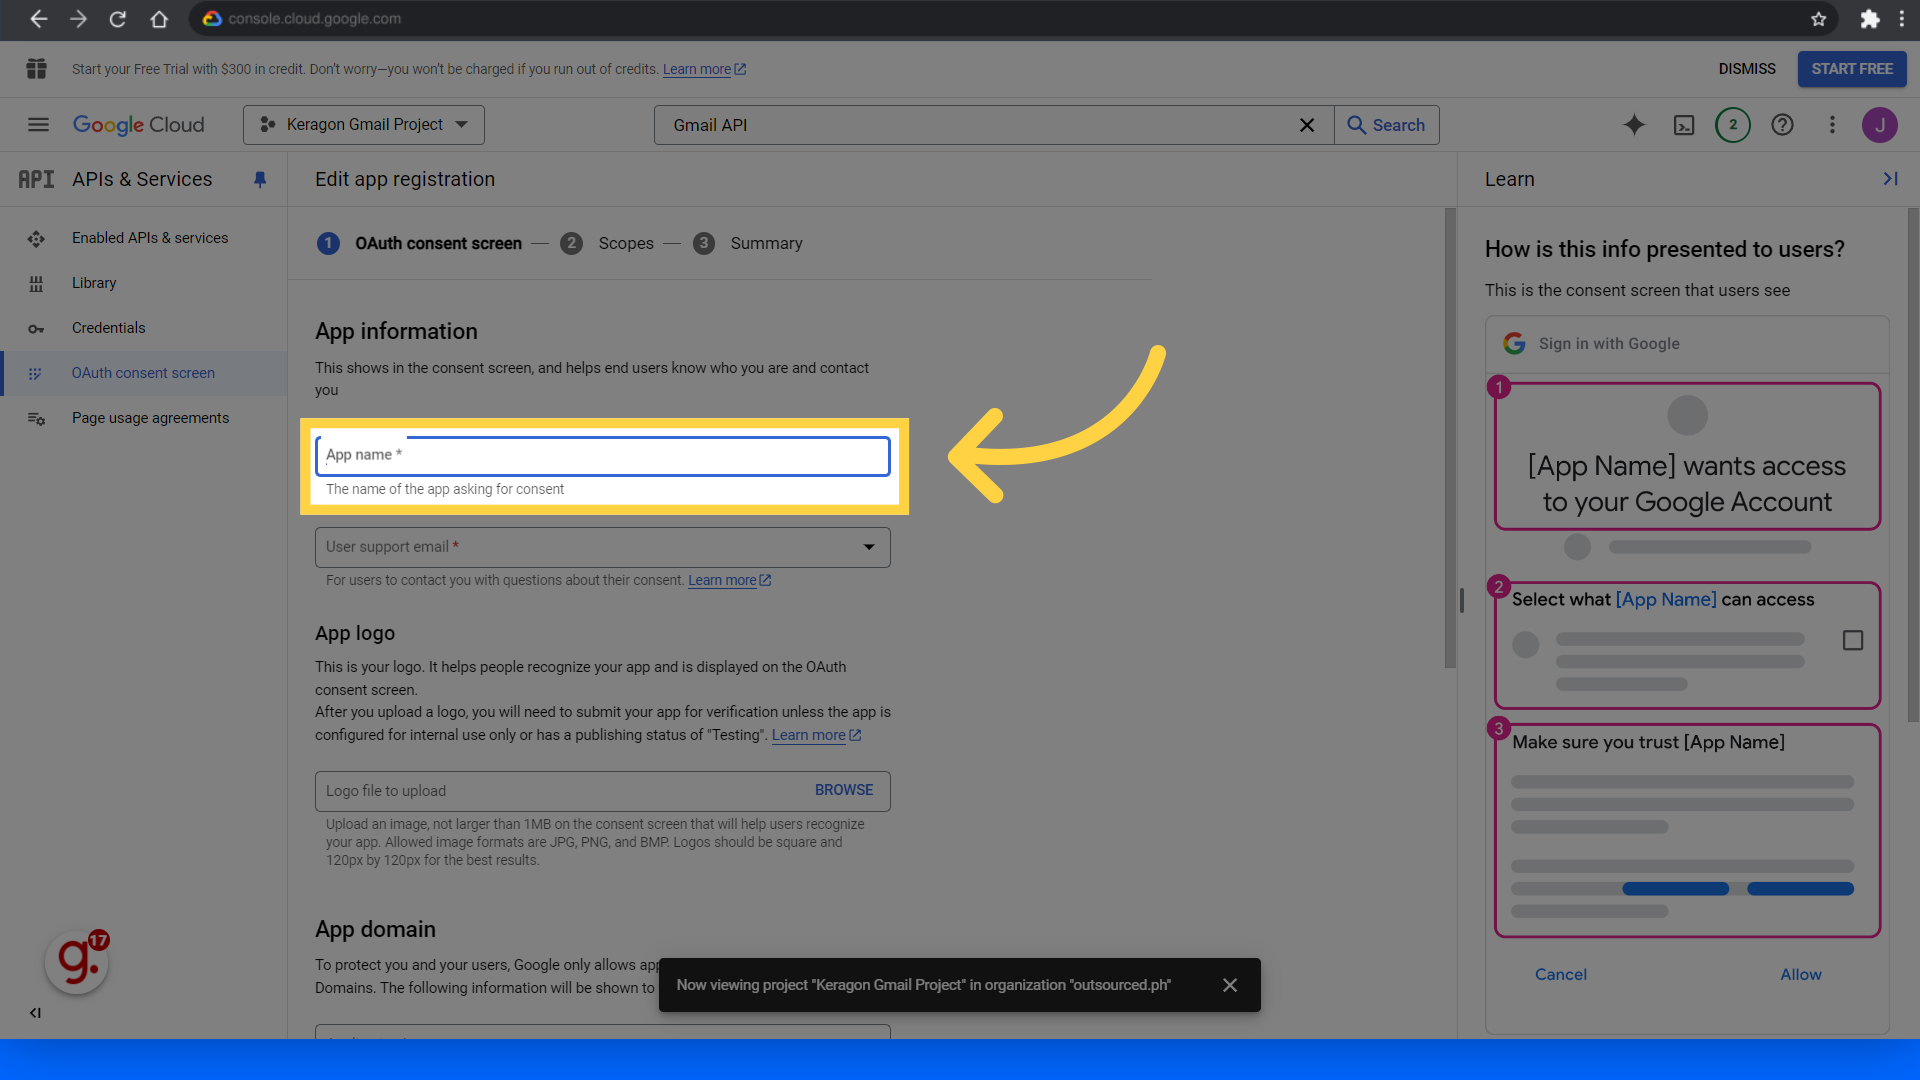
15. Set the "App name"
Proceed by selecting and filling in the app name field. For example "Keragon Gmail App".
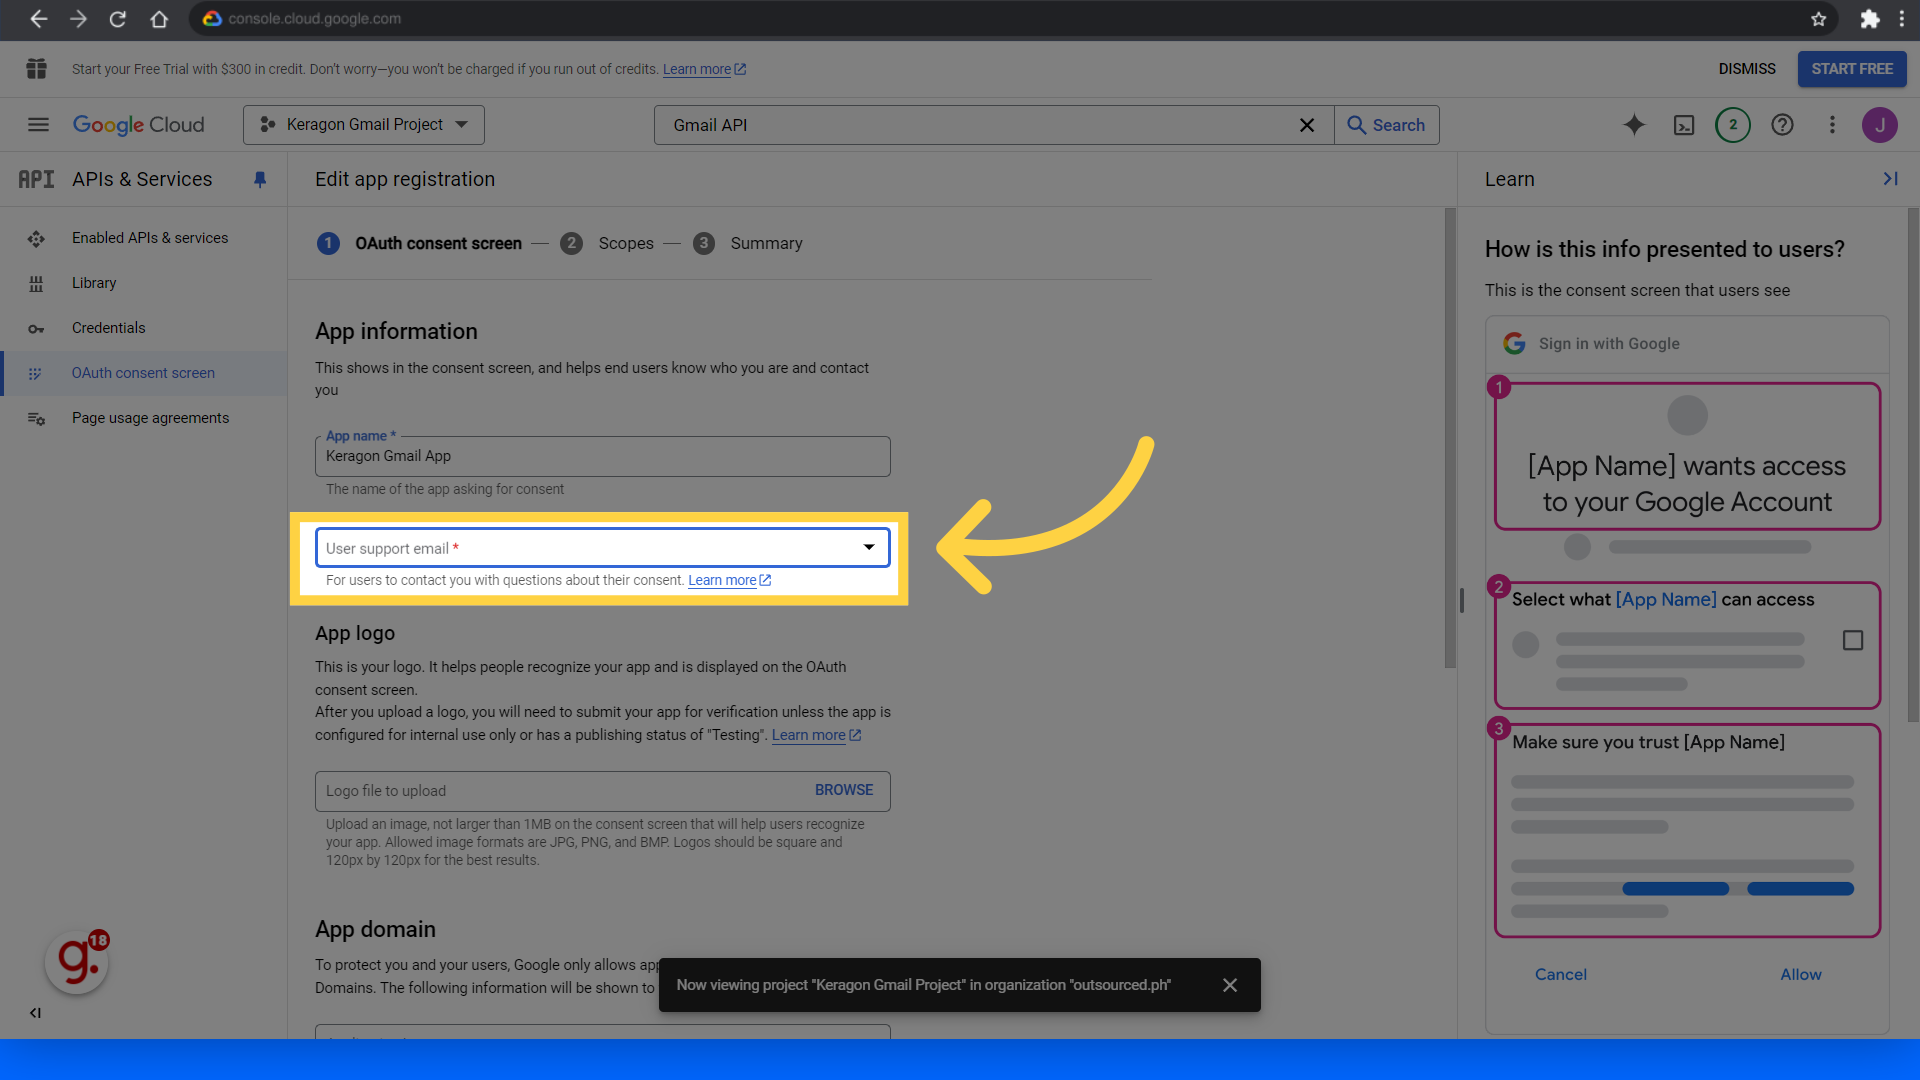
16. Set the User support email field
Select the email address from the dropdown.
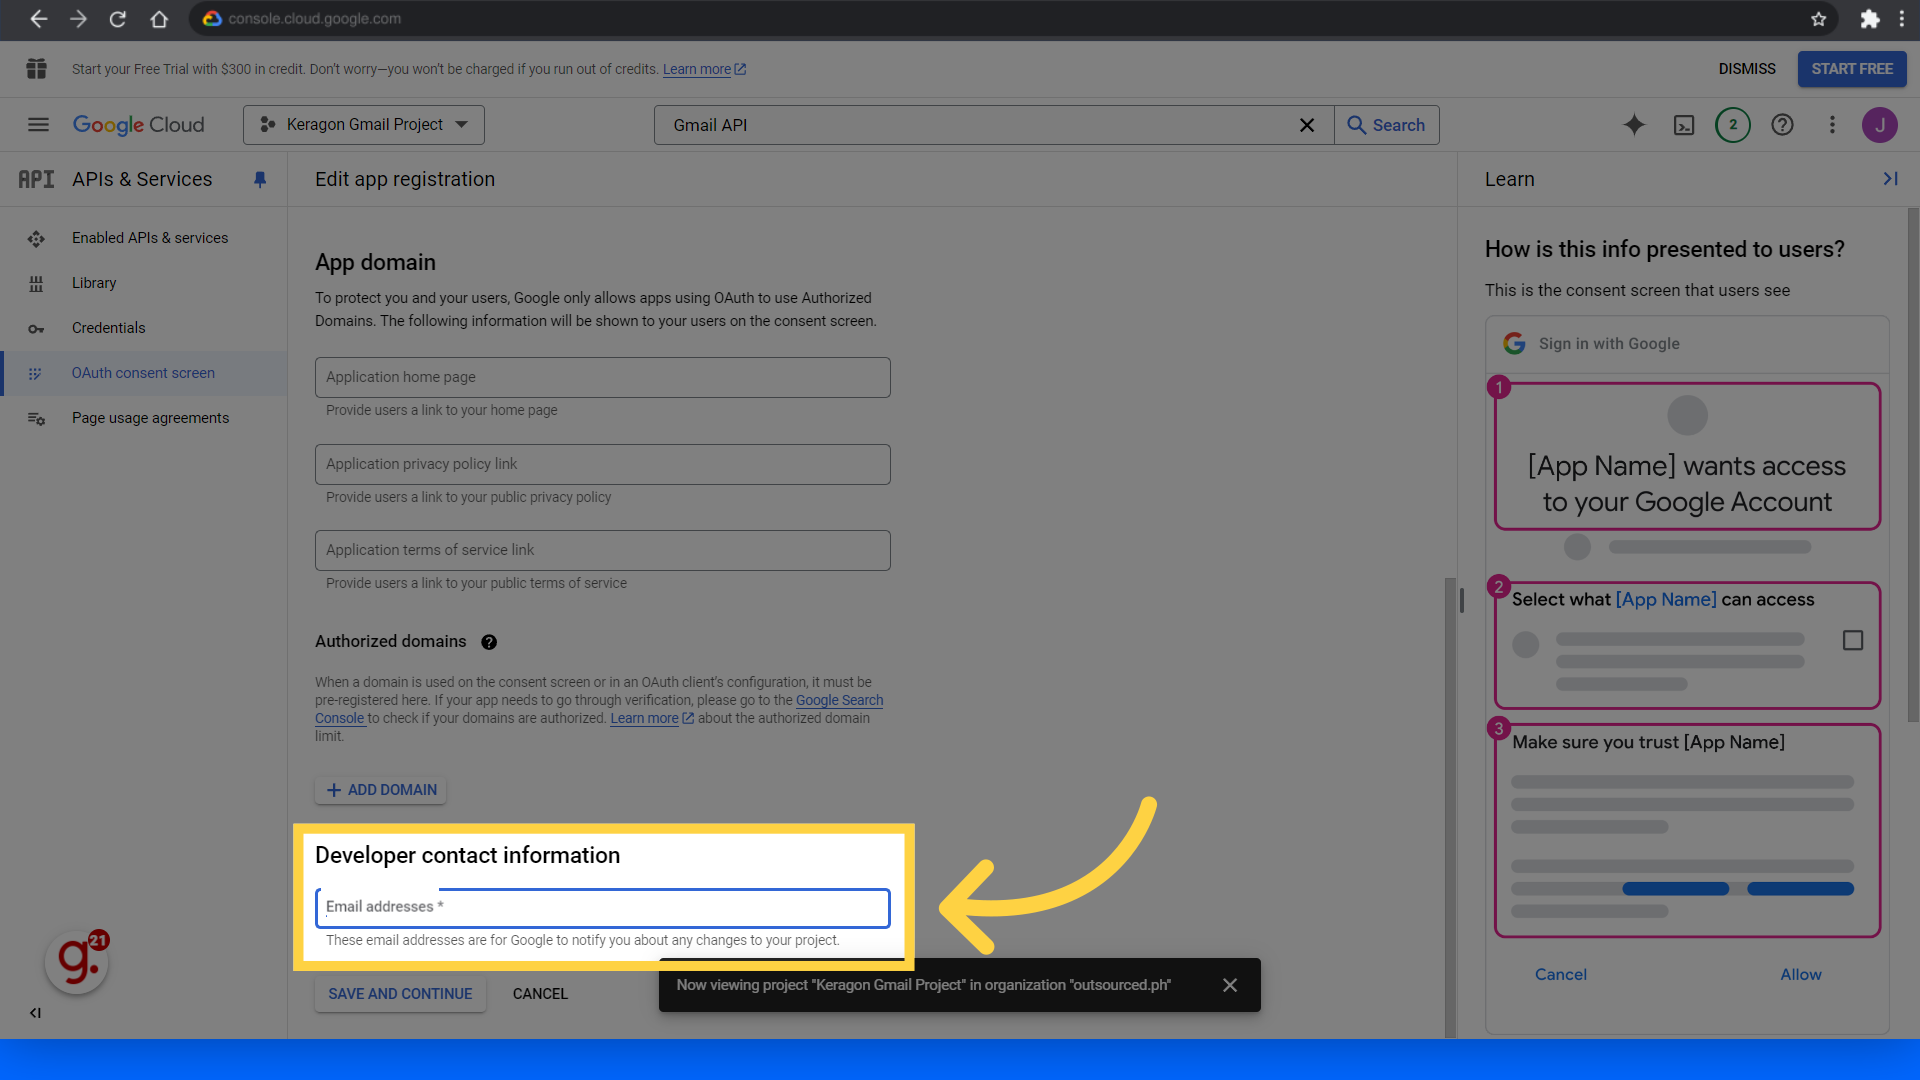
17. Add an email address under Developer contact information
Sent an email address under Developer contact information.
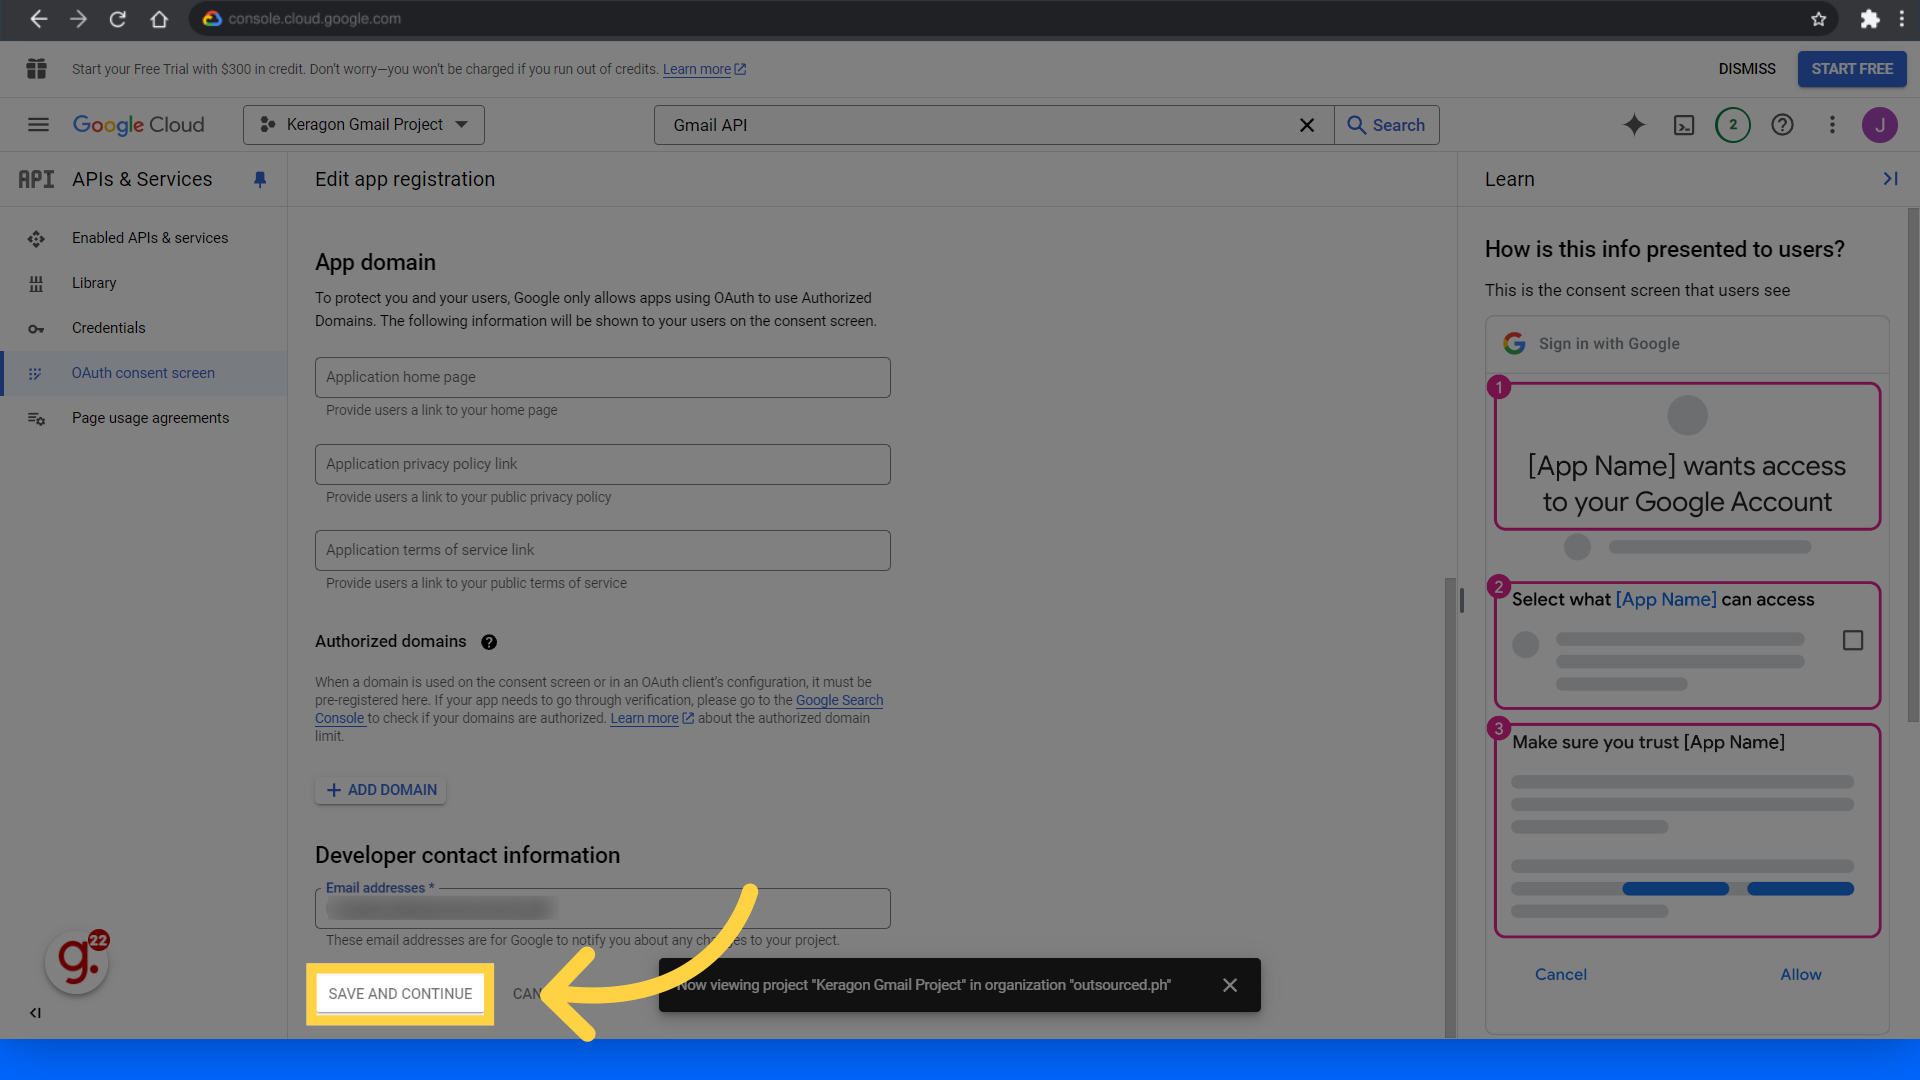
18. Click "Save and continue"
Save and proceed to the next step.
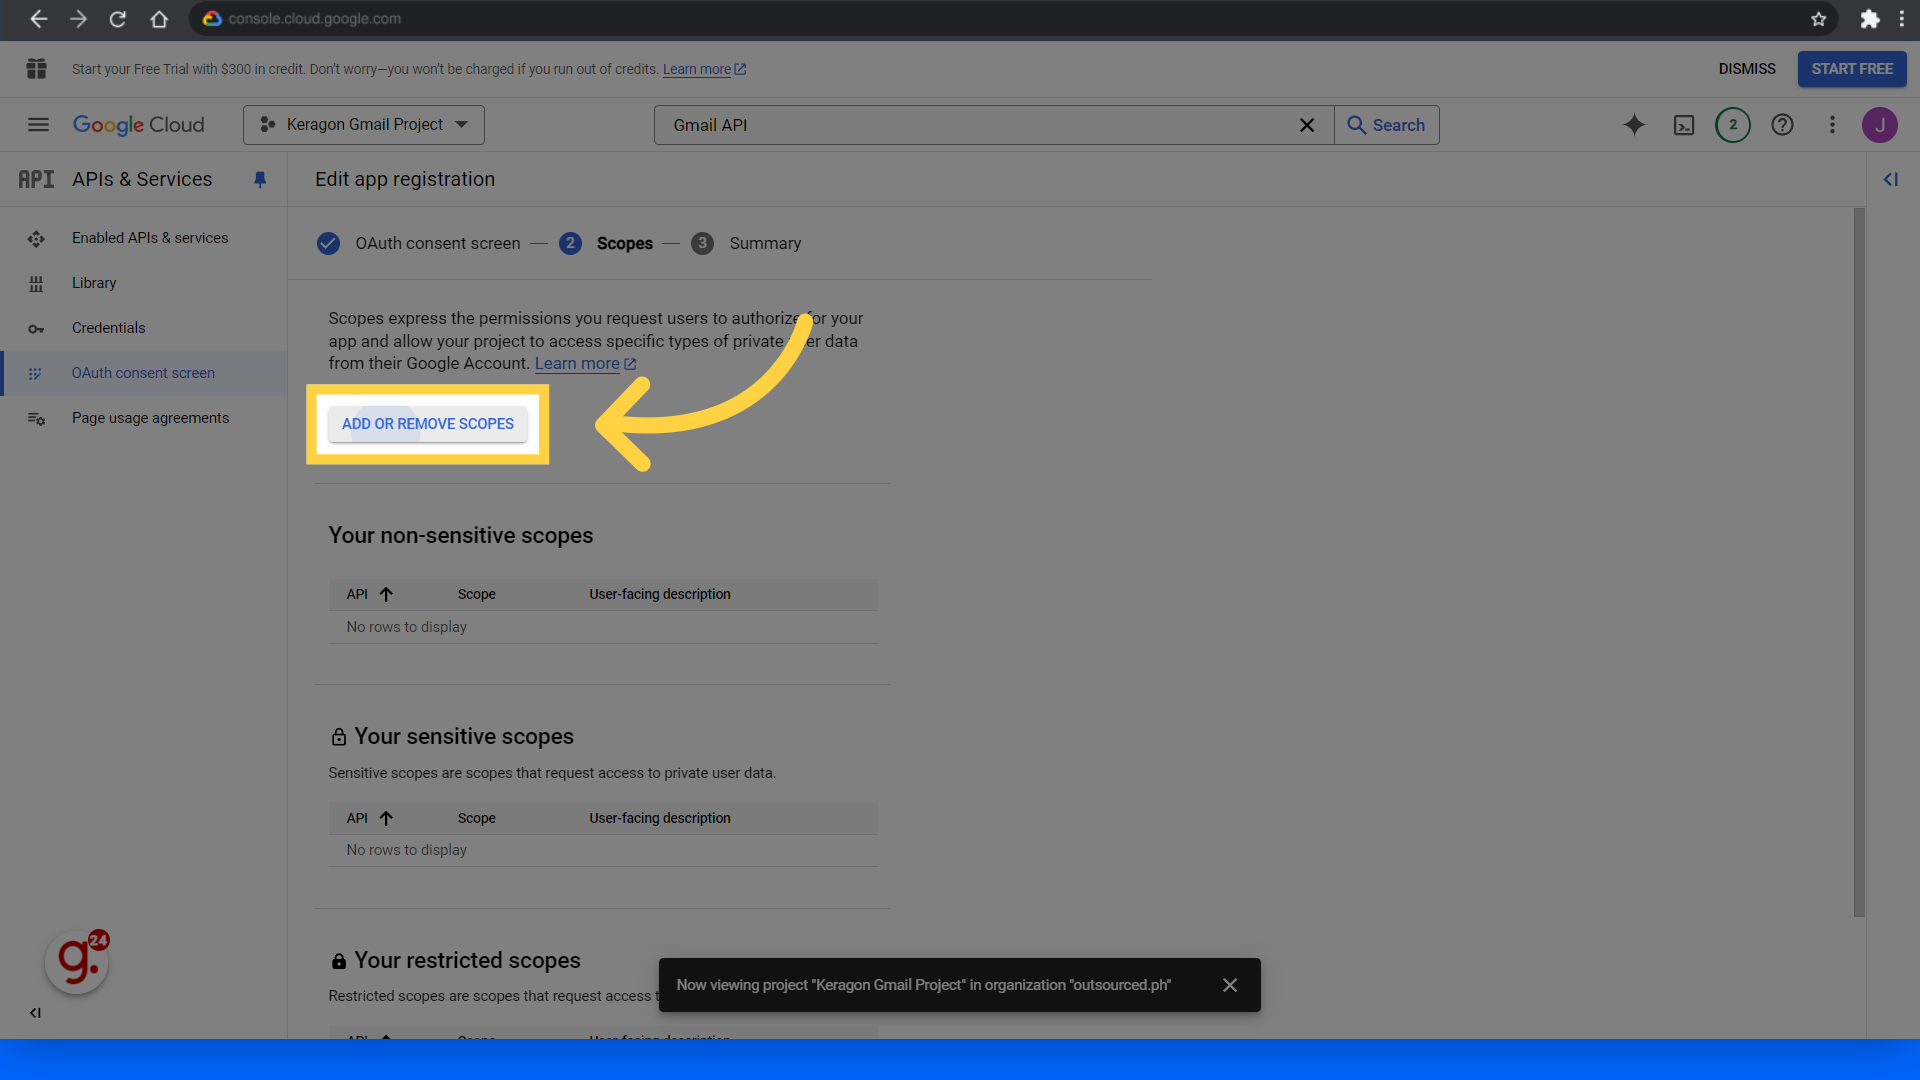
19. Click "Add or remove scopes"
Access the option to add or remove scopes.
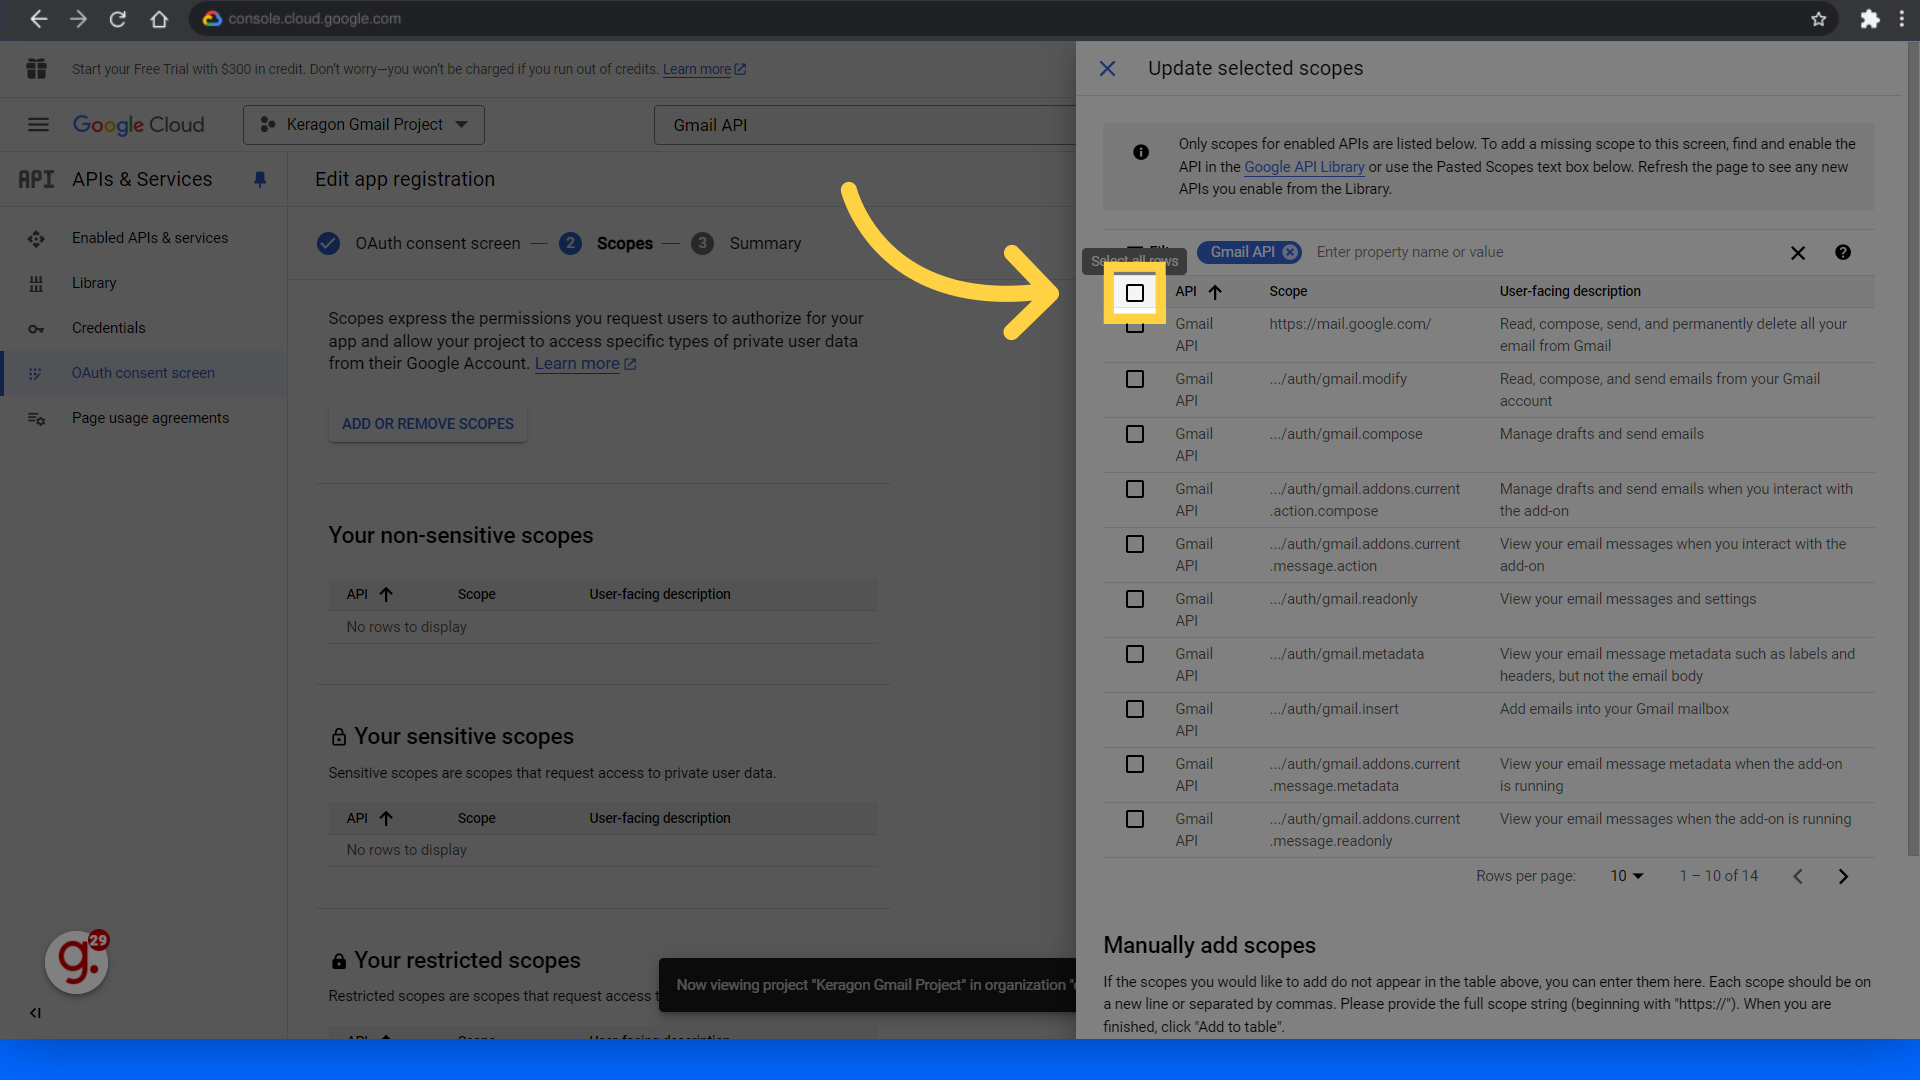
20. Search for "Gmail API"
In the Filter, search for Gmail API.

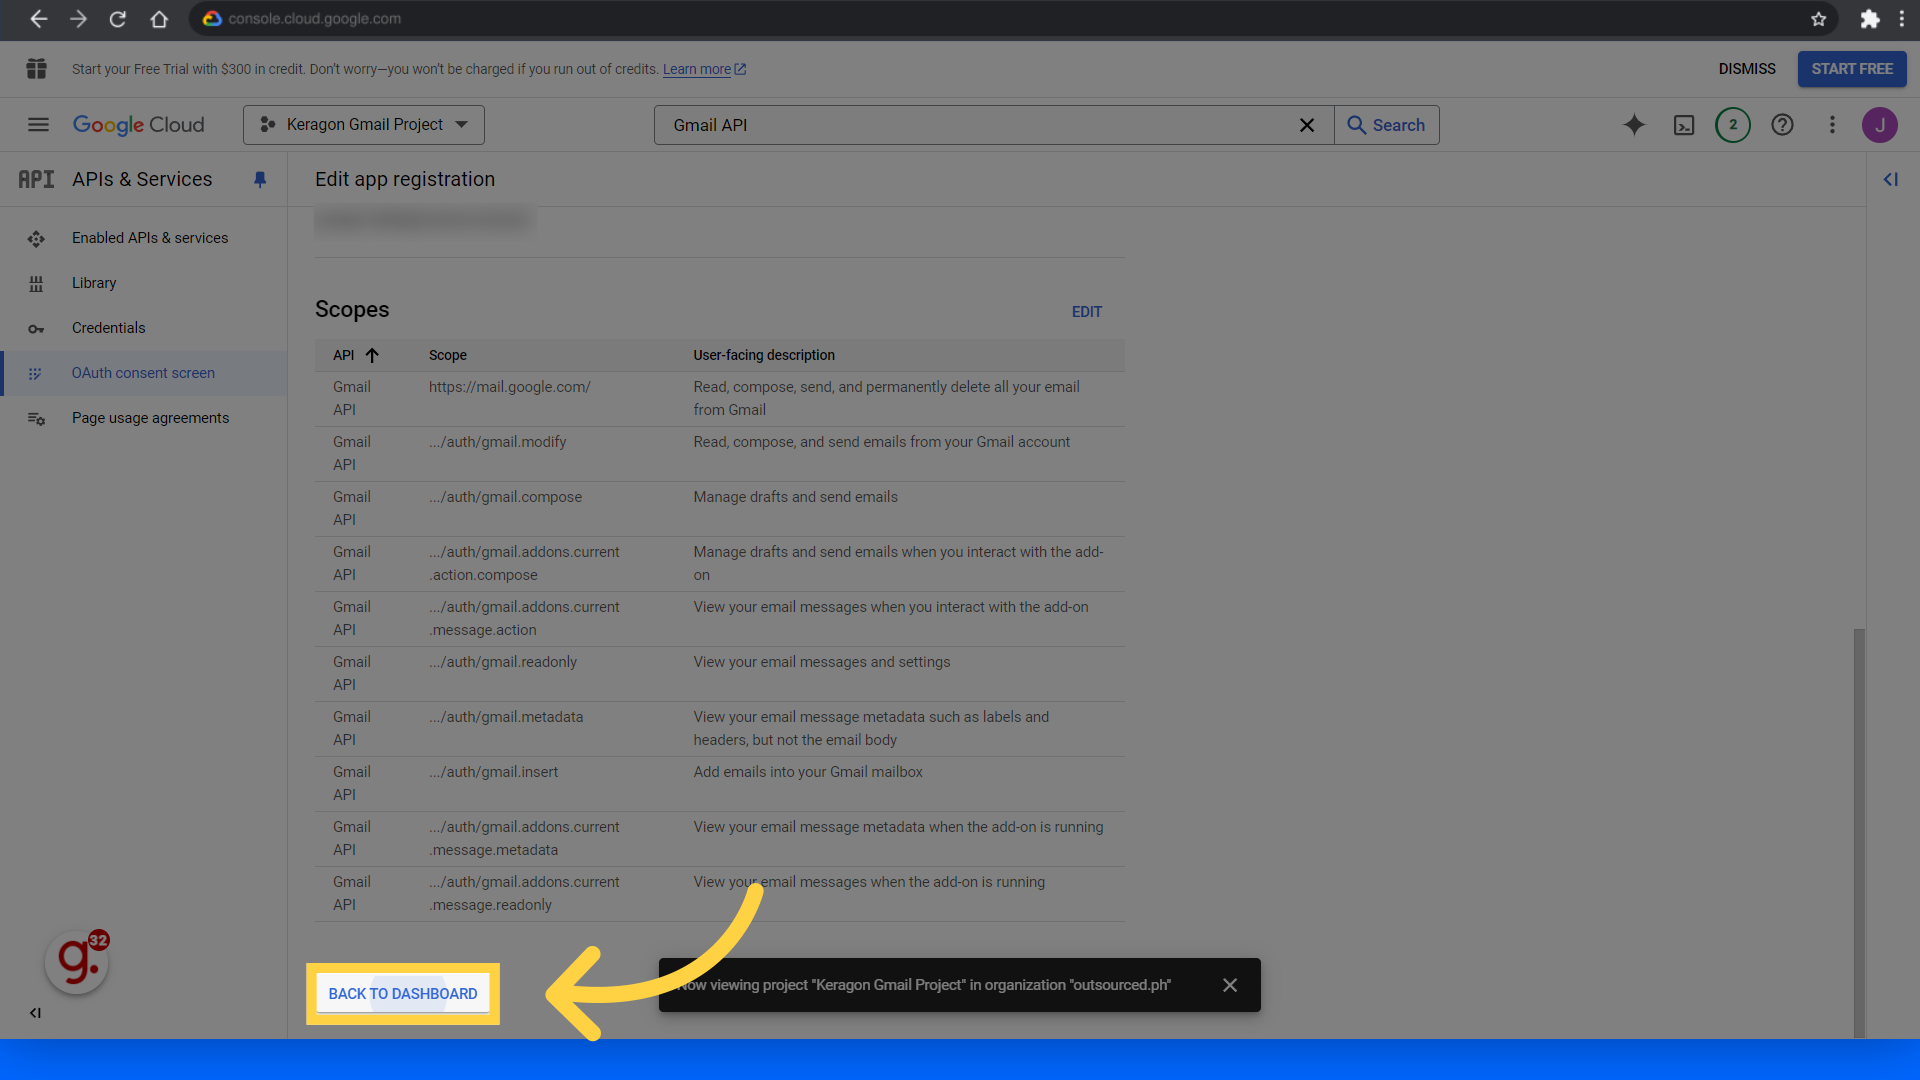
21. Click here
Enable all scopes by clicking the highlighted checkbox.
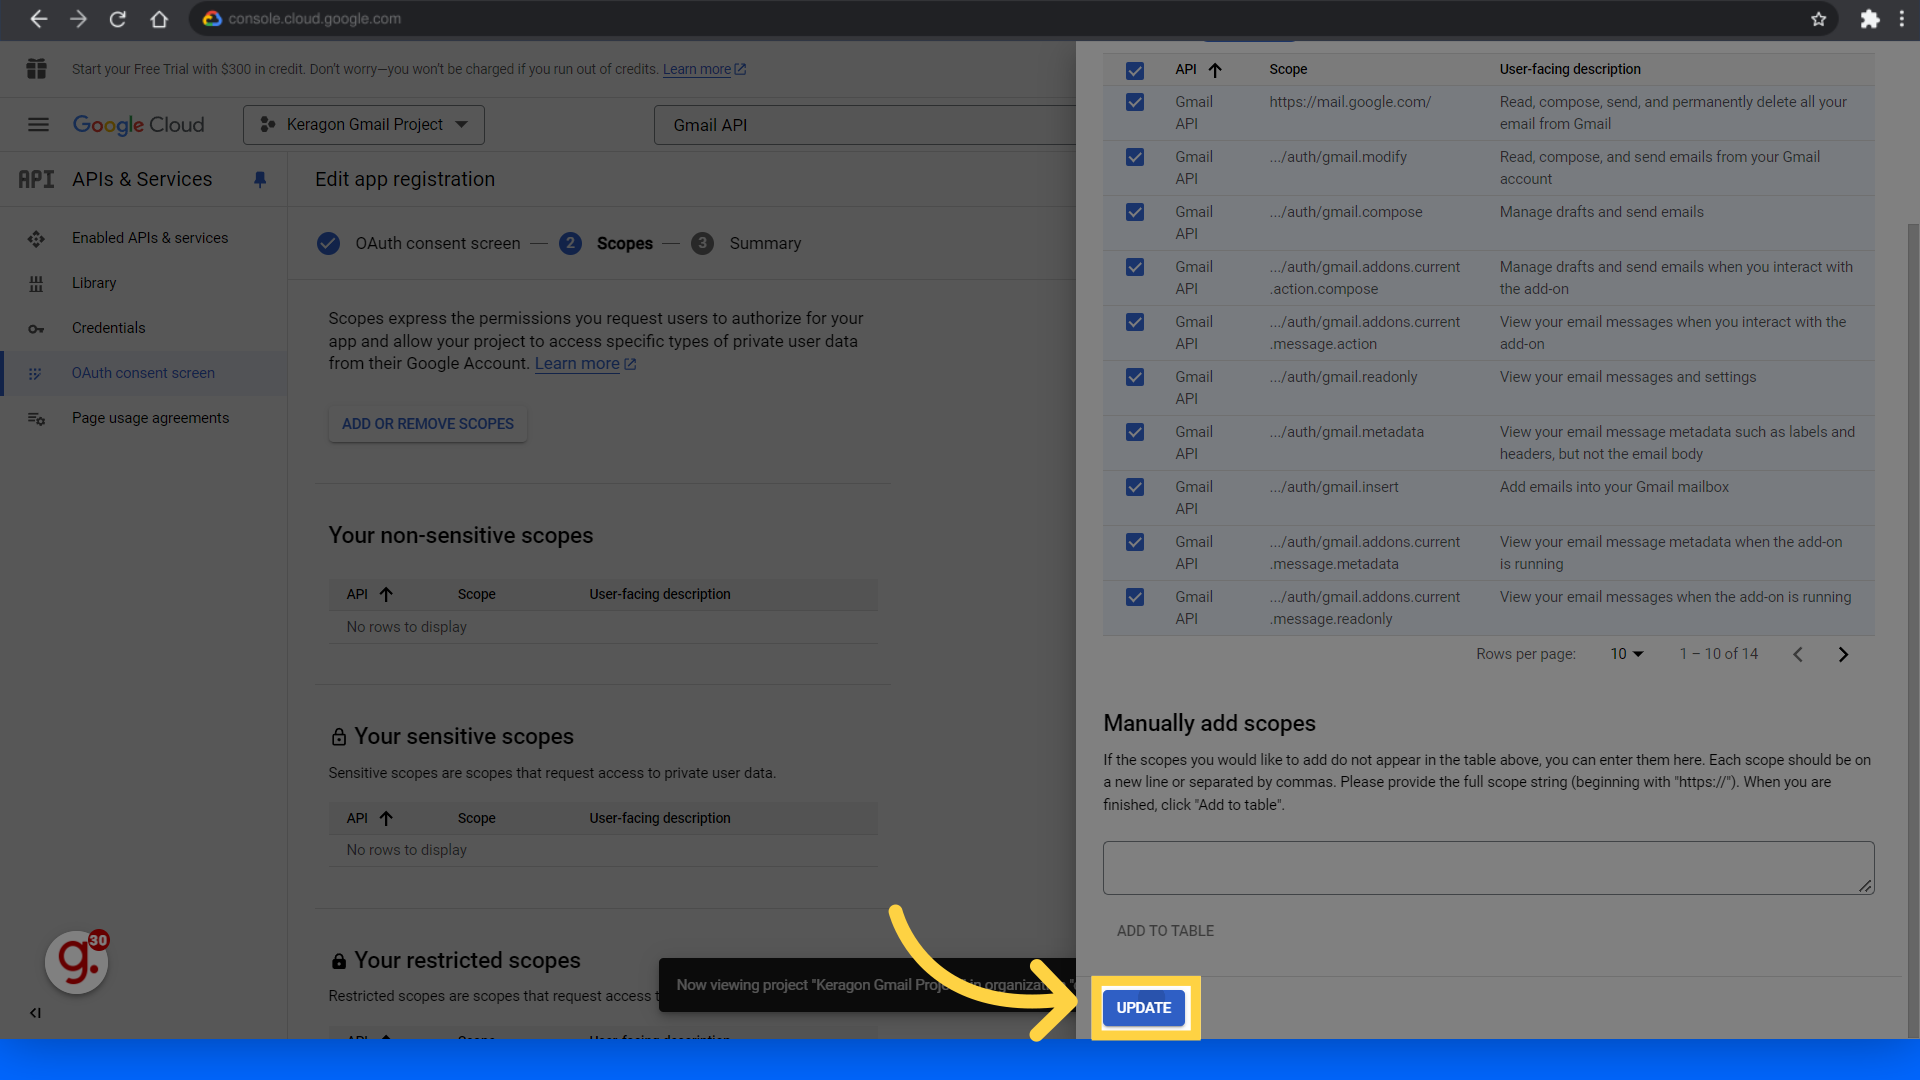
22. Click "Update"
Click the Update button.
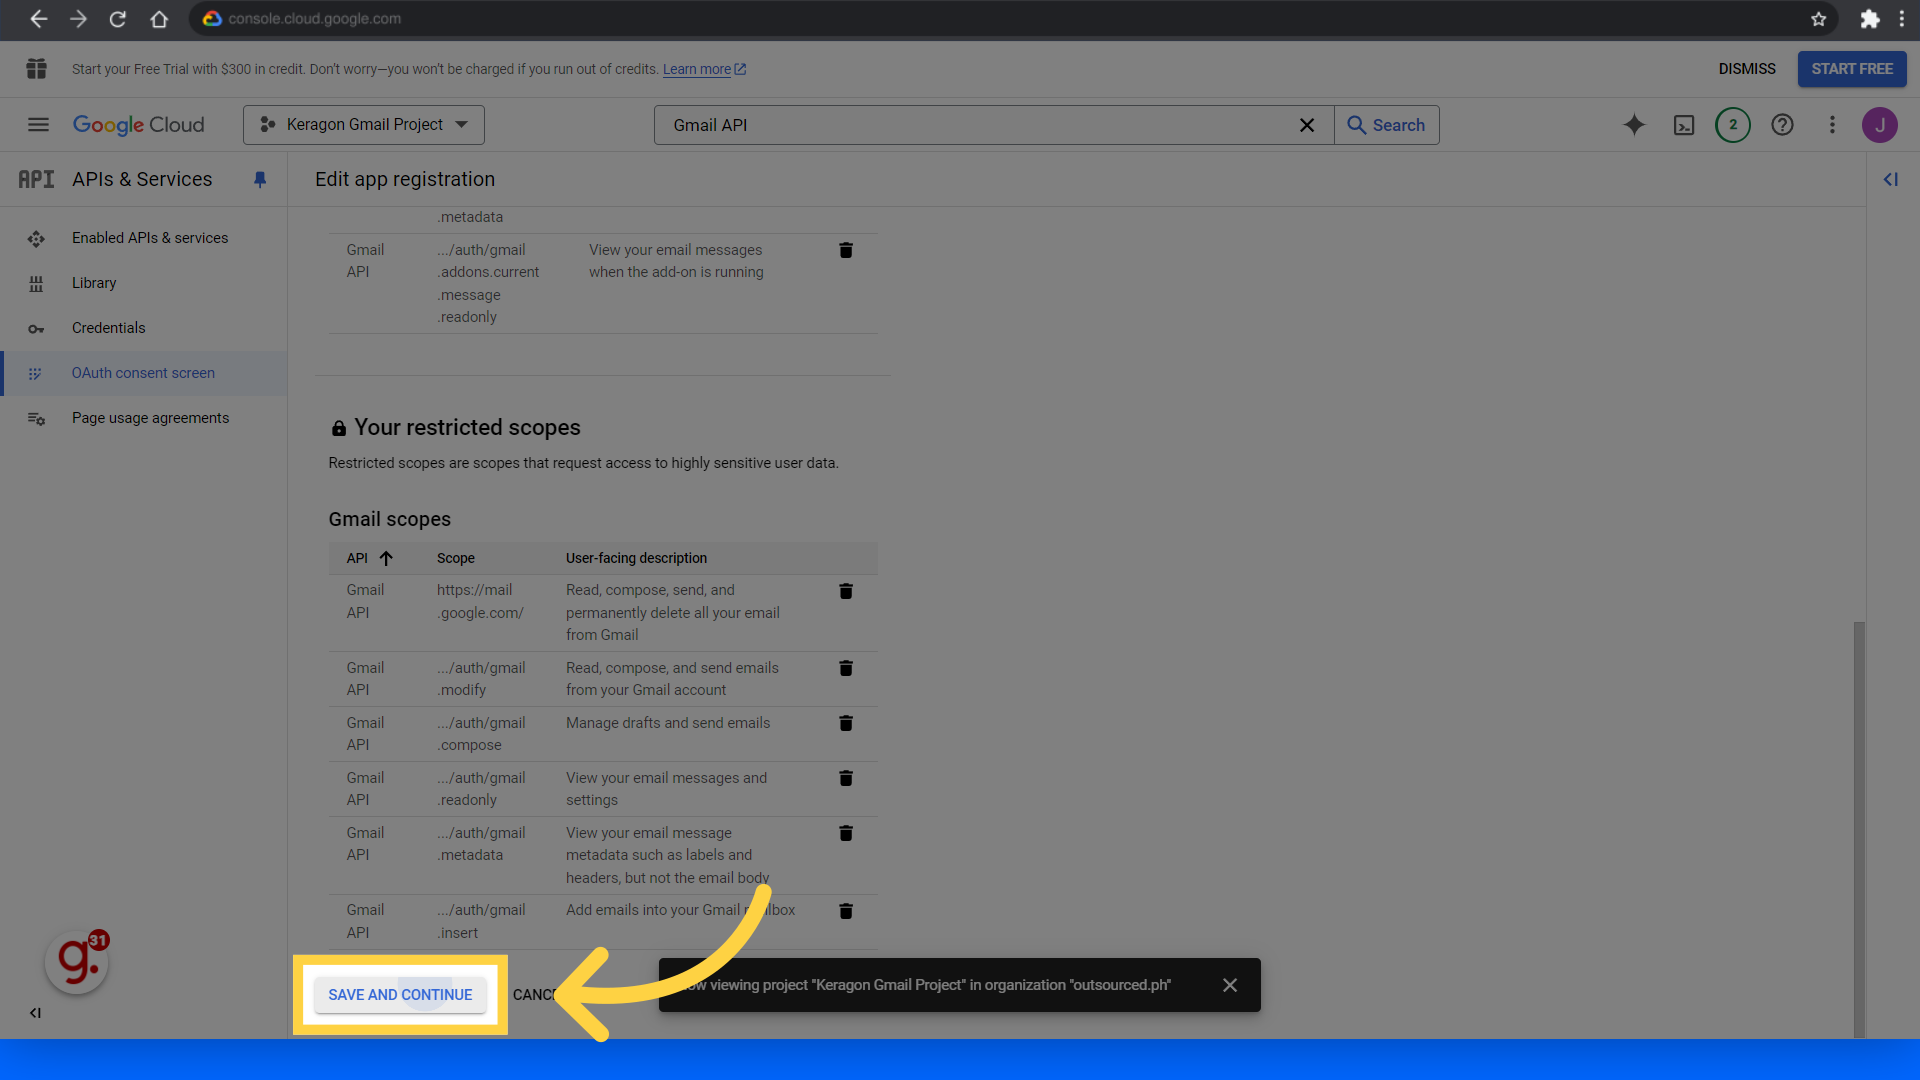
23. Click "Save and continue"
Save and move on to the next step.
24. Click "Back to dashboard"
Return to the main dashboard.
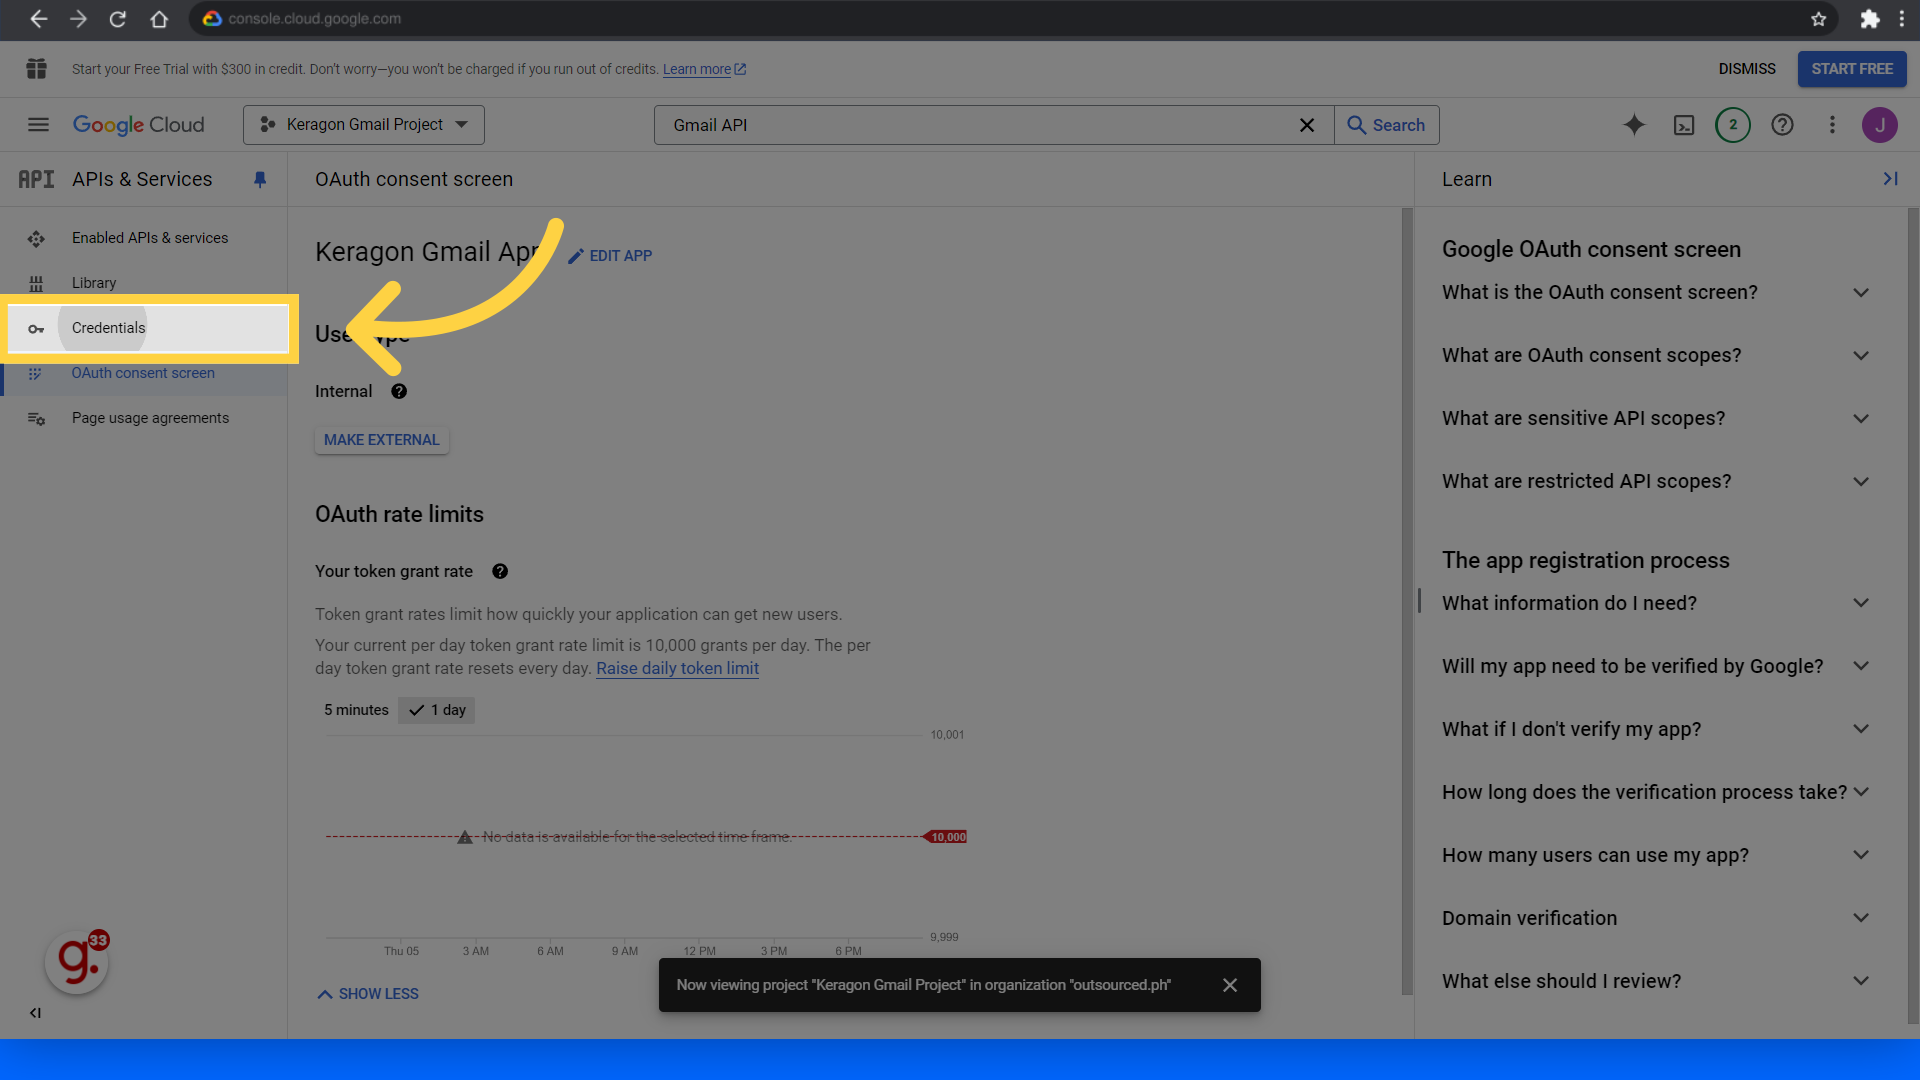
25. Click "Credentials"
Access the credentials section.
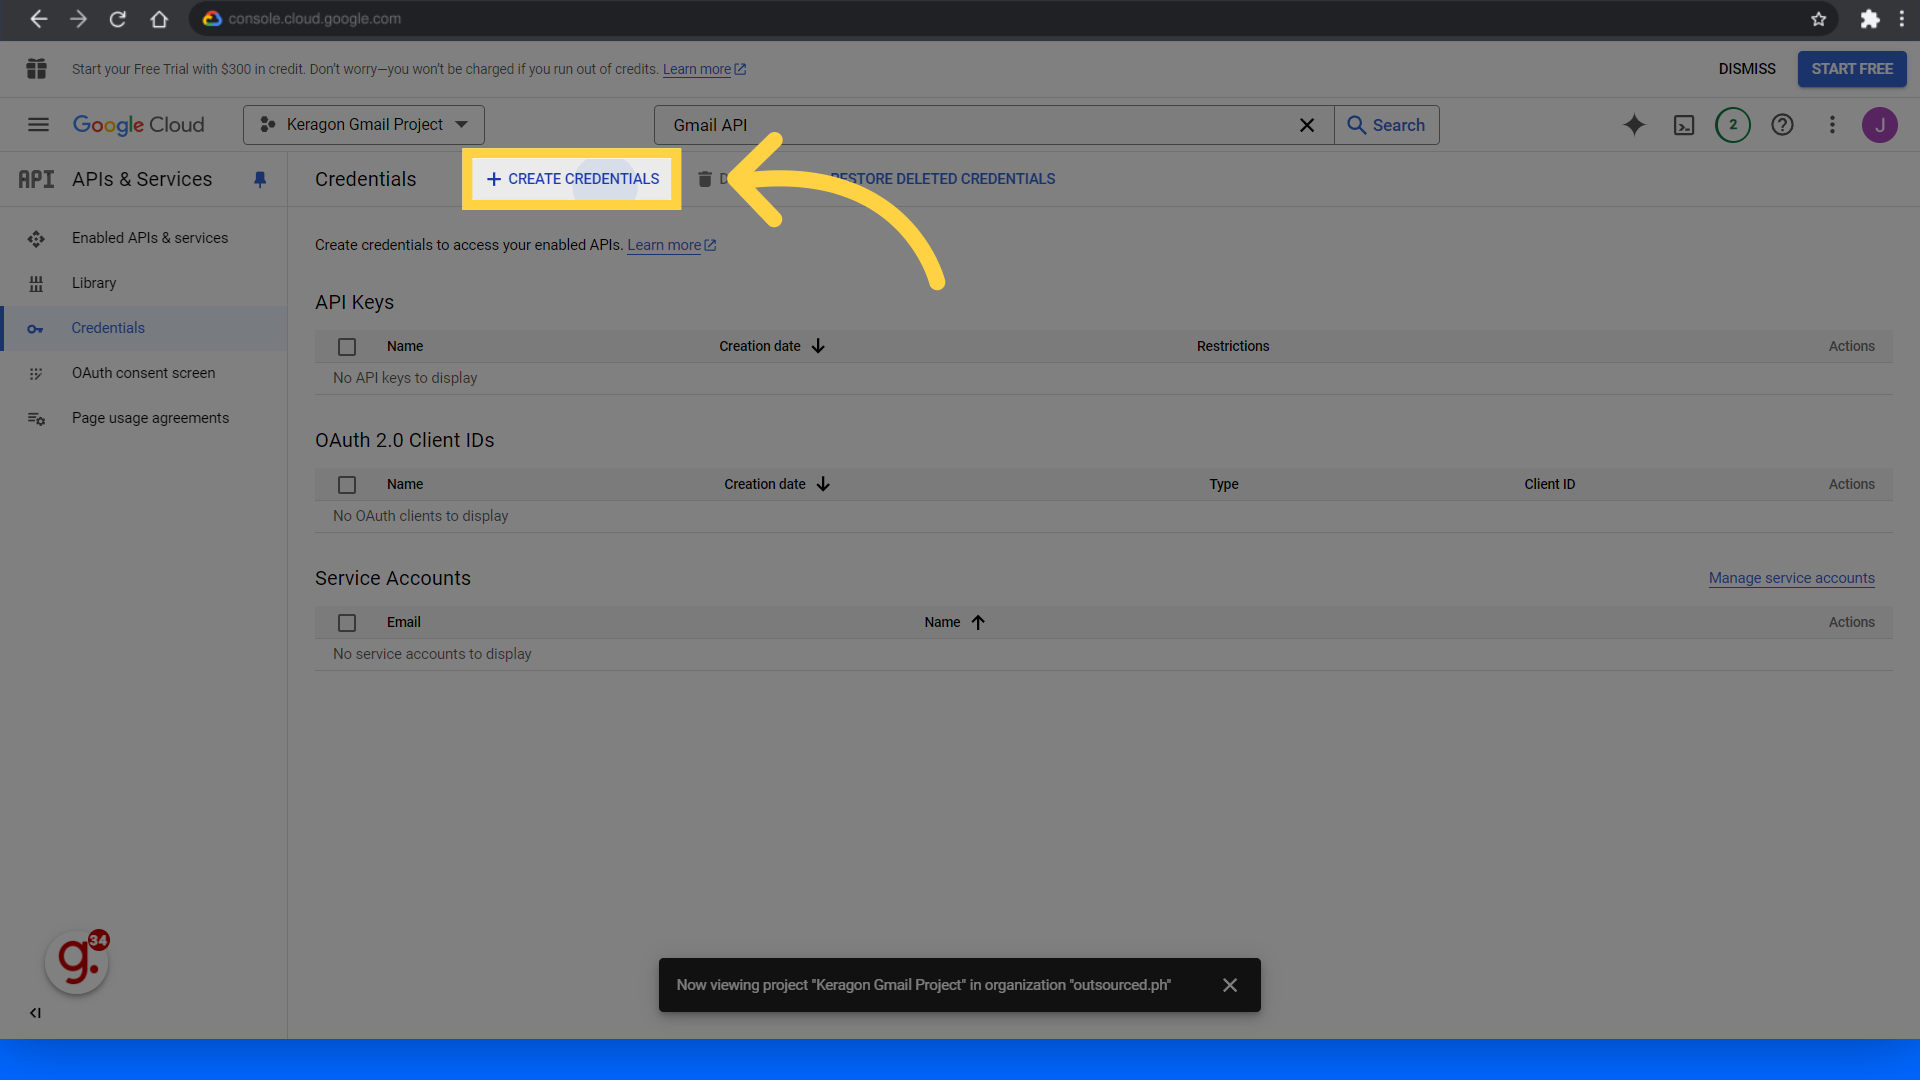
26. Click "Create credentials"
Initiate the creation of new credentials.
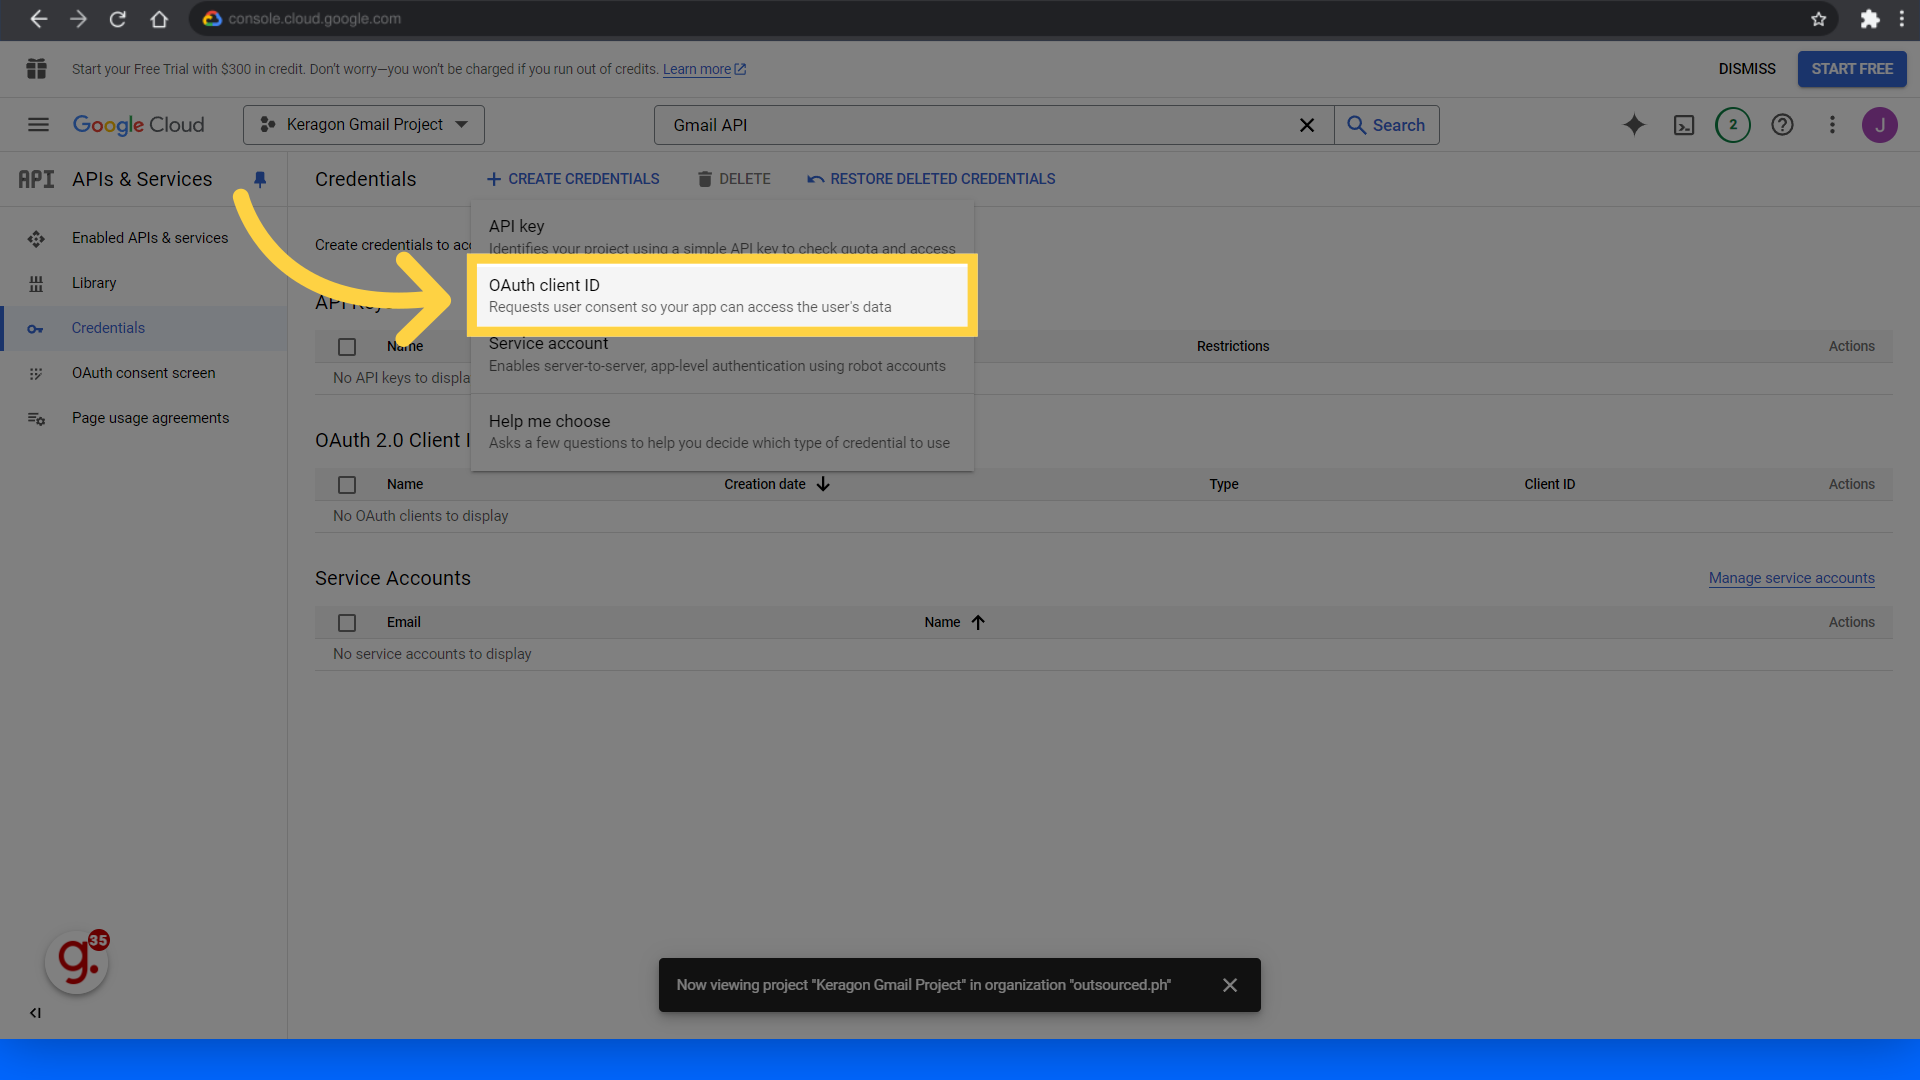
27. Click "OAuth client ID"
Select the OAuth client ID option.
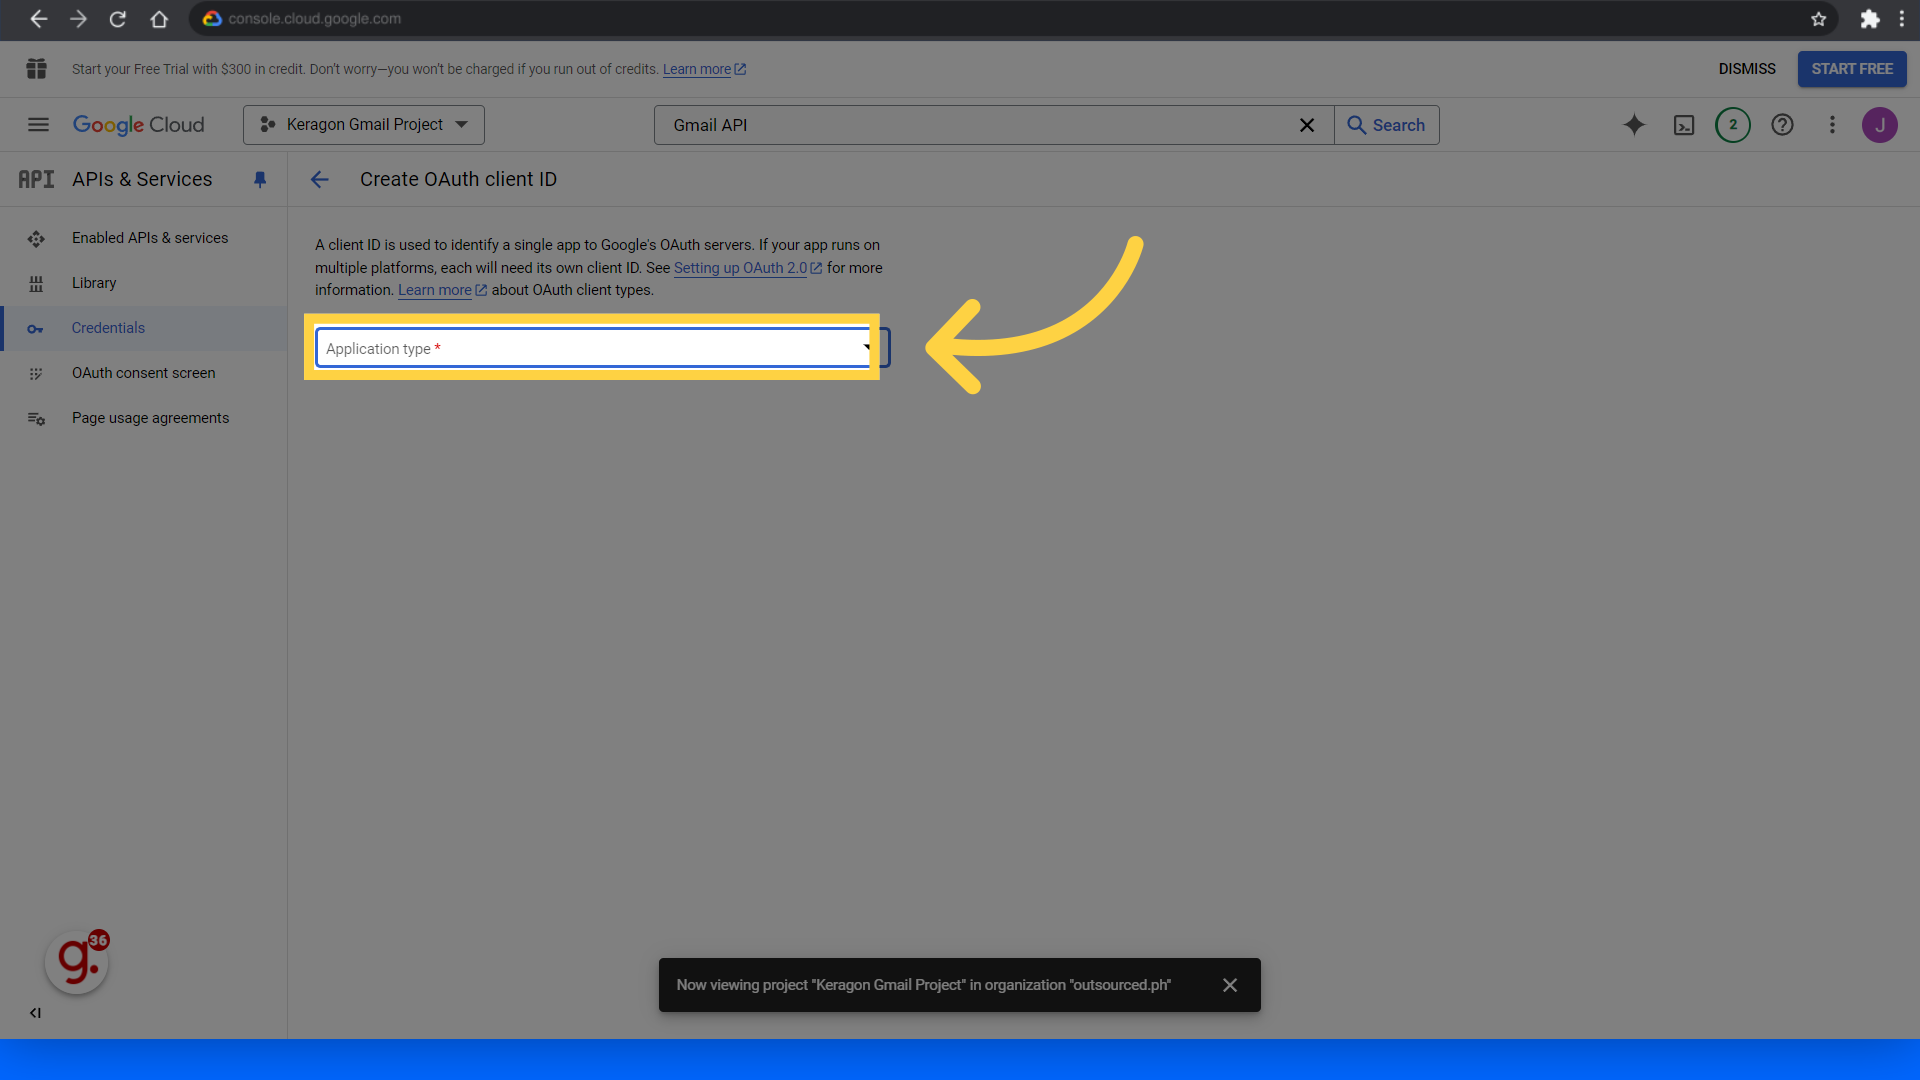
28. Click "Application type"
Click the Application type field.
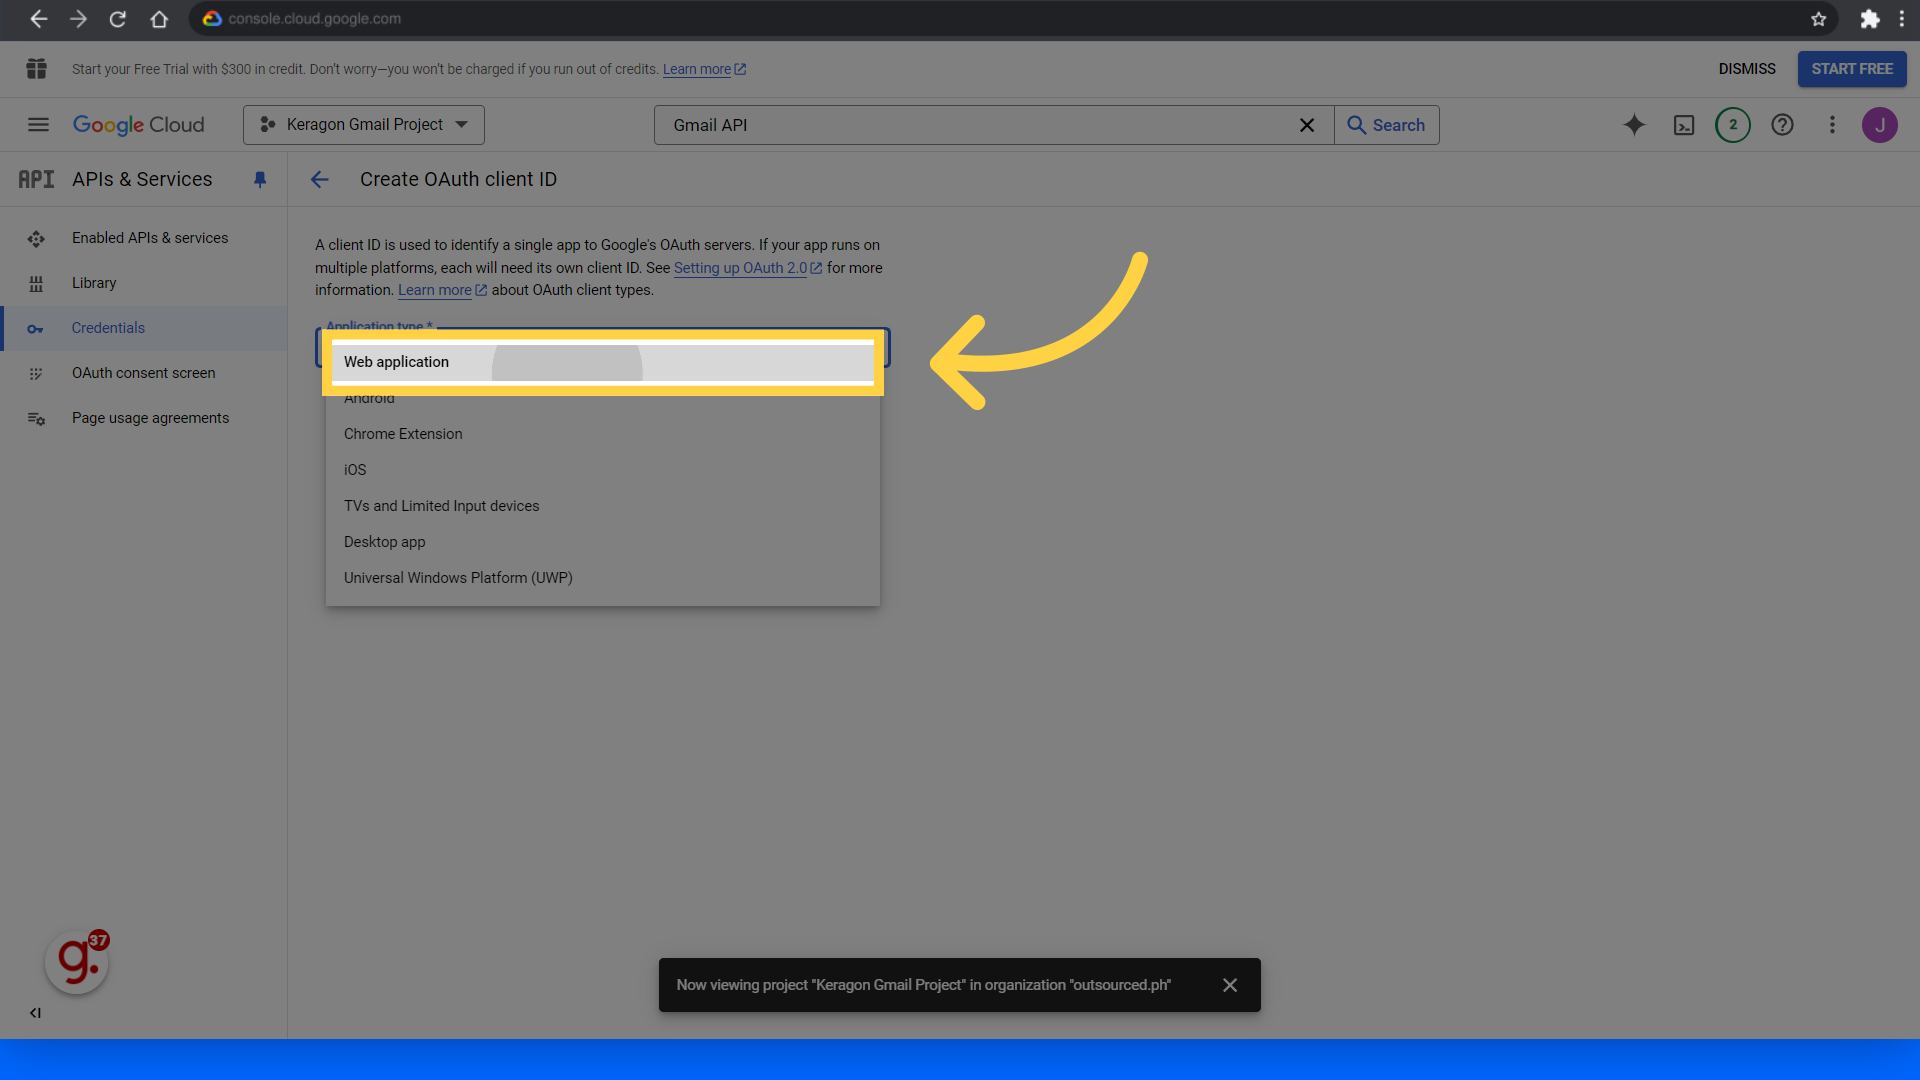
29. Click "Web application"
Select the Web application type.
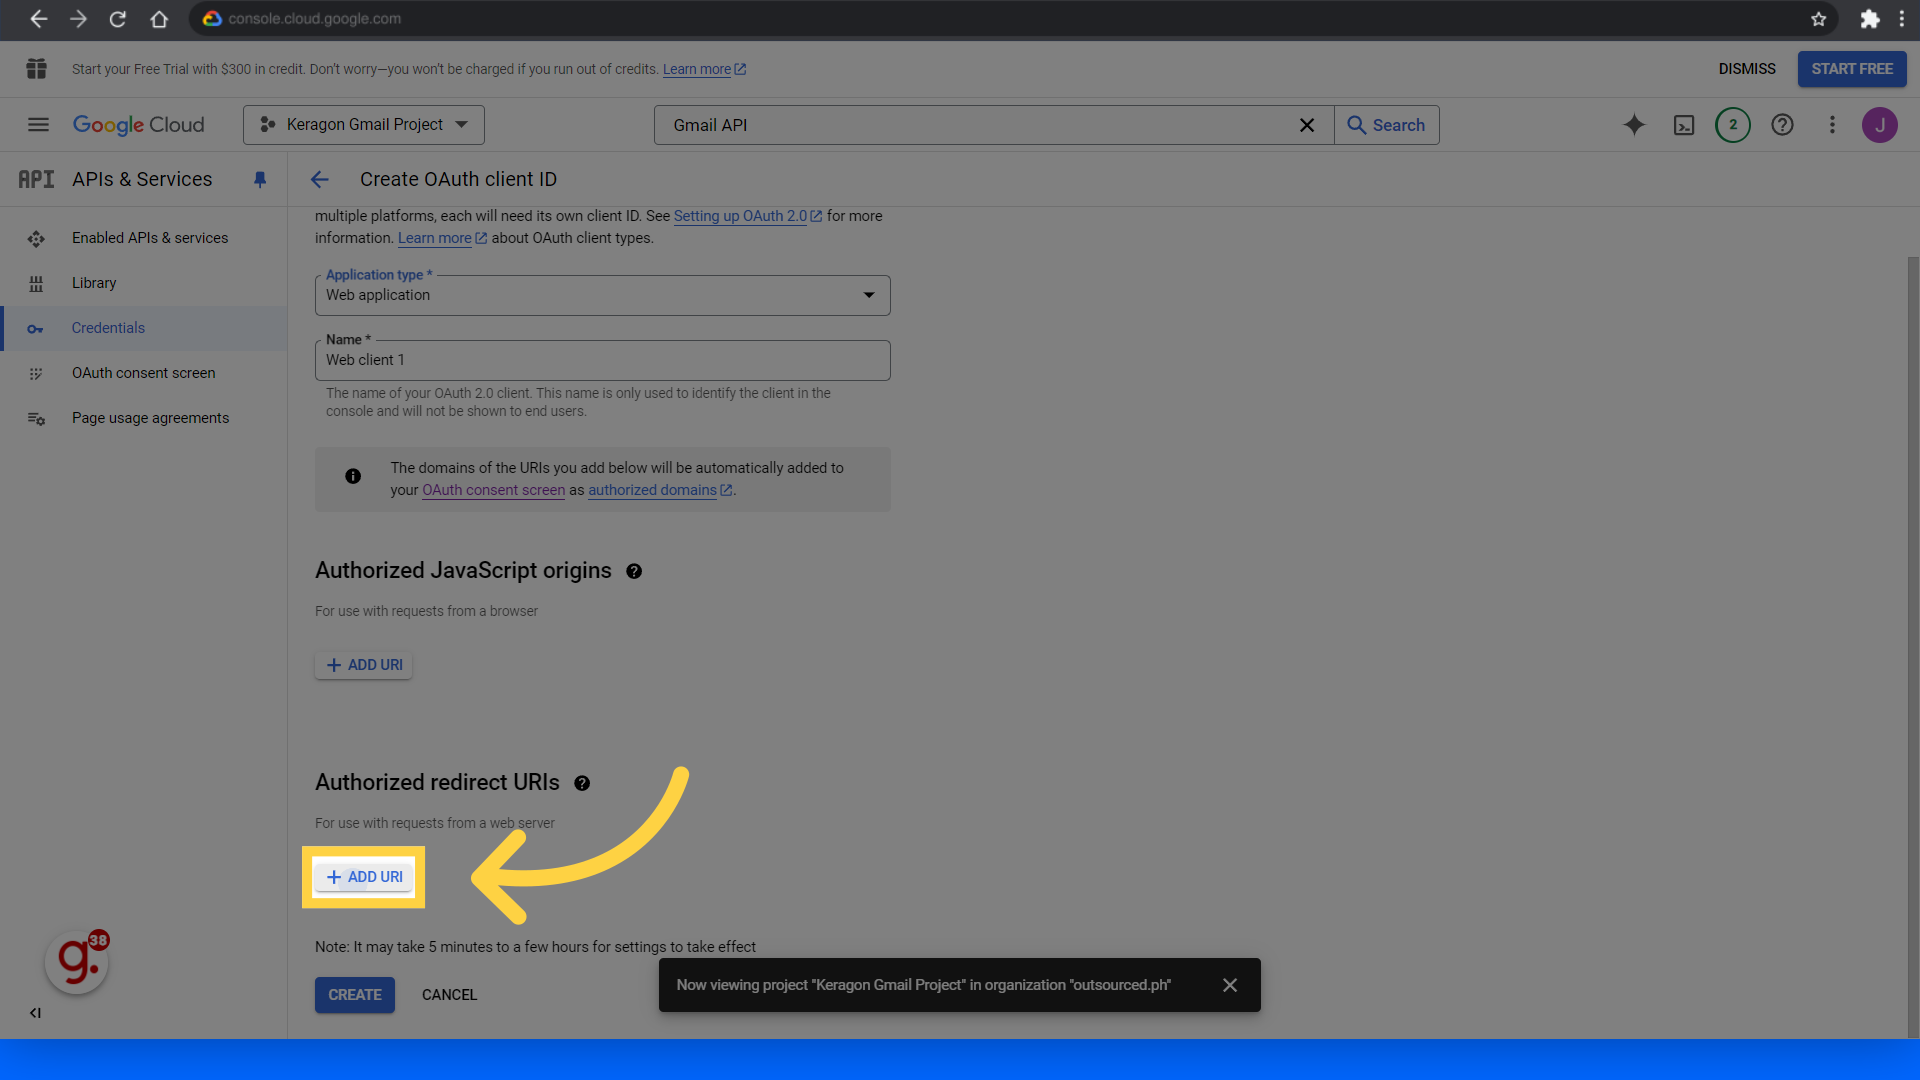
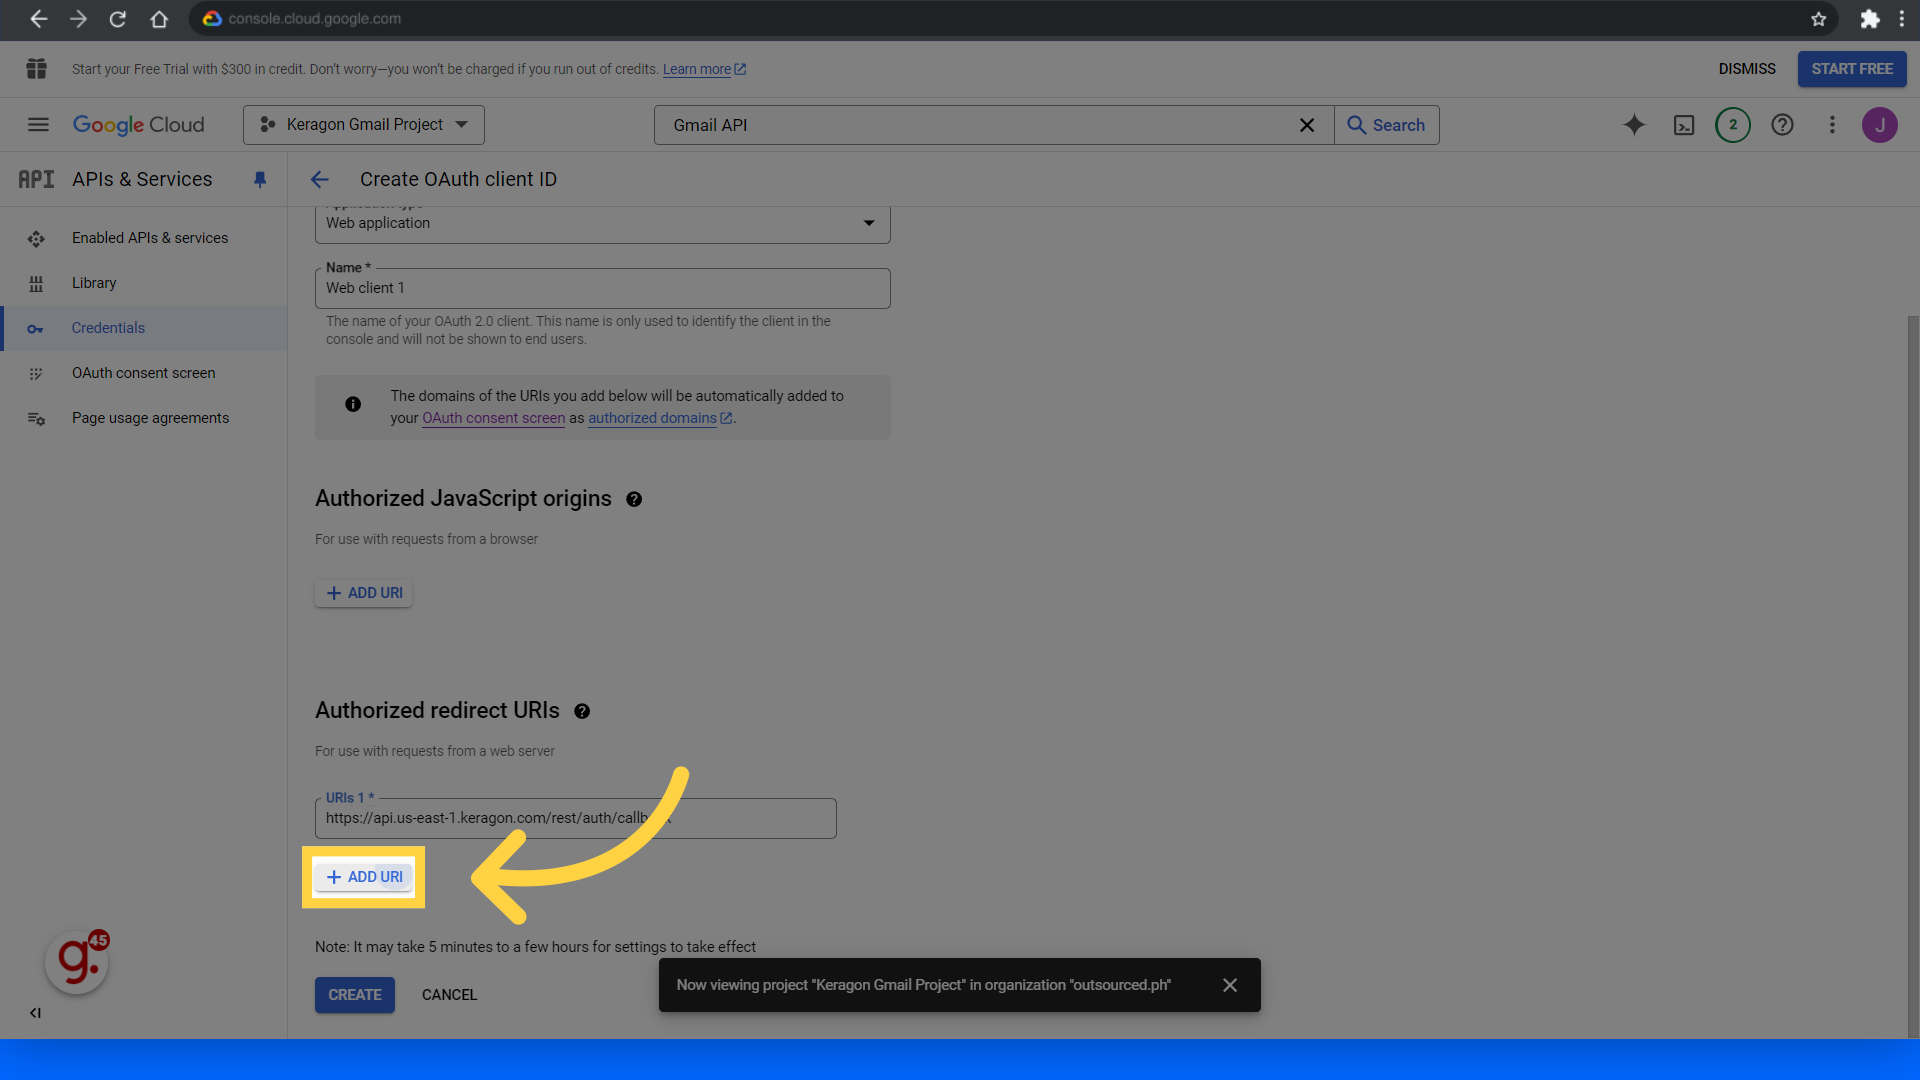
30. Click "Add URI"
Add new URIs under Authorized redirect URIs.
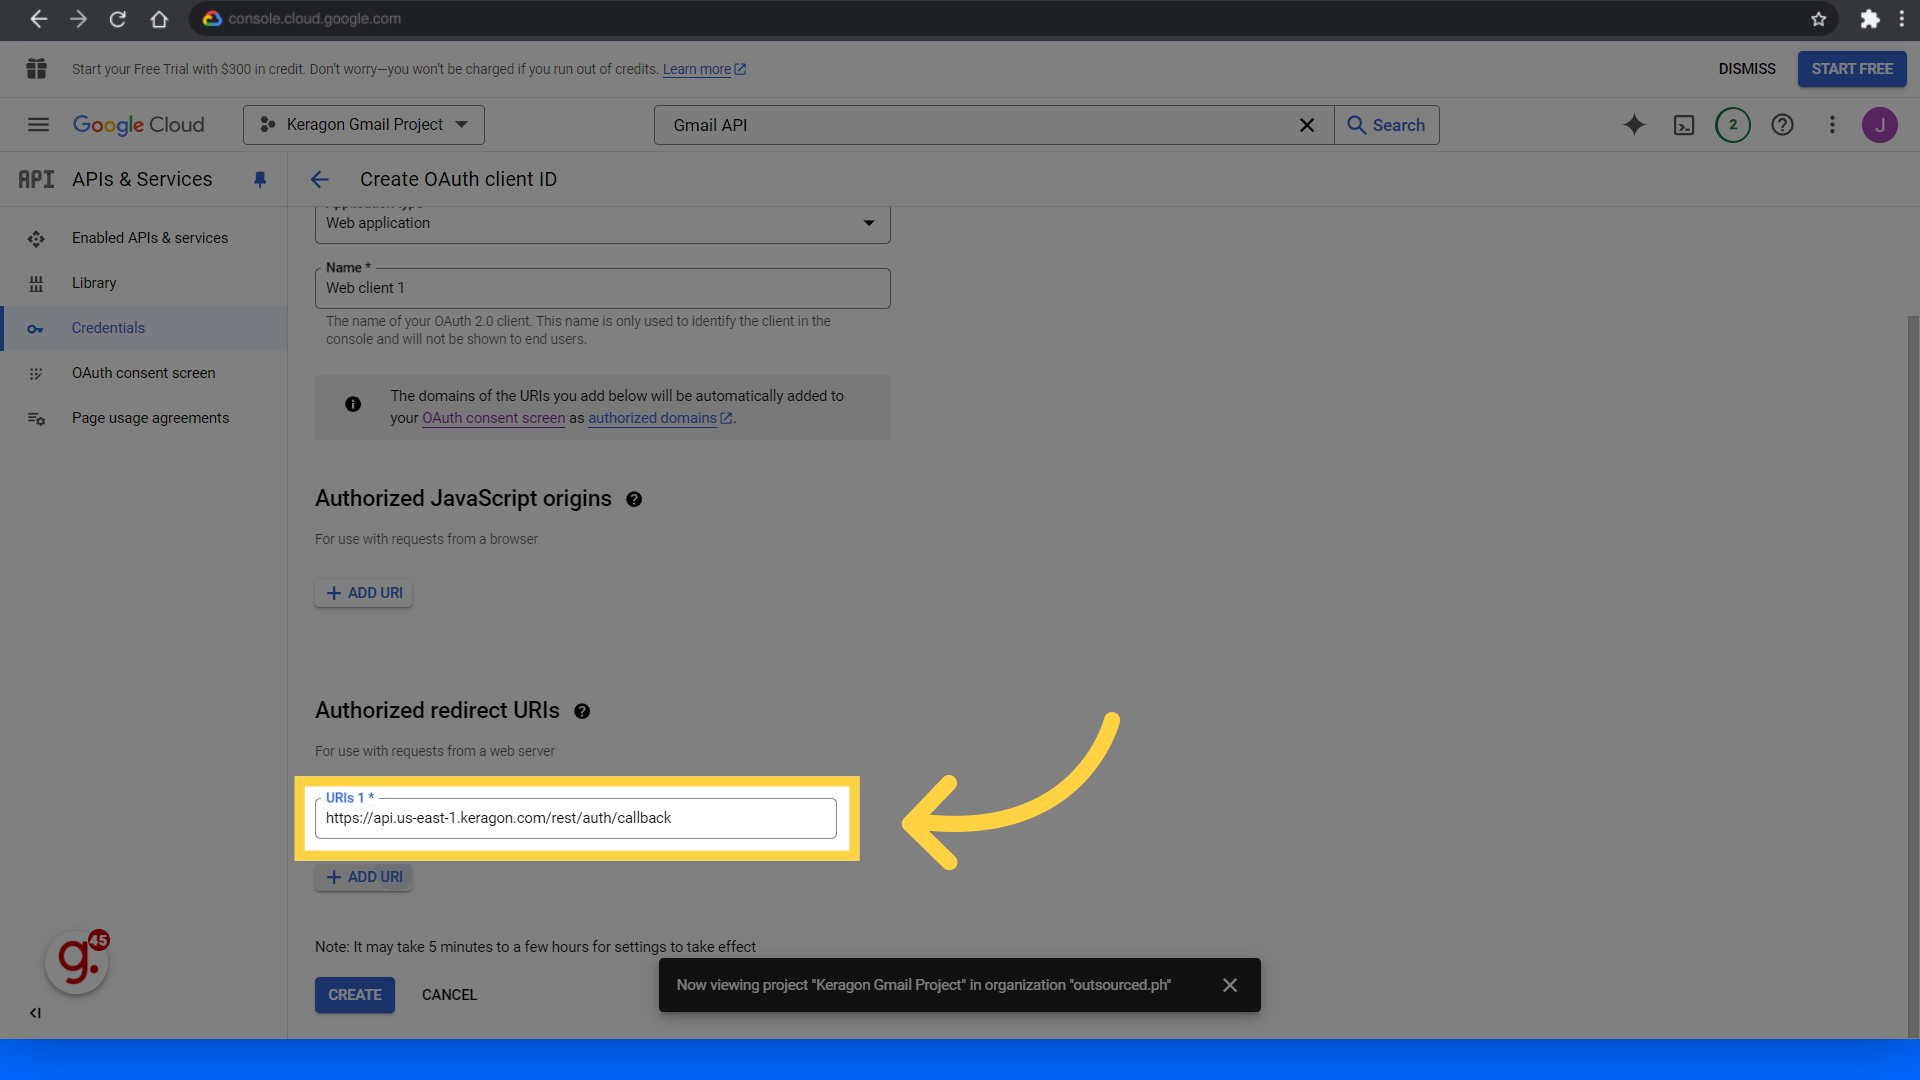
31. Fill "https://api.us-east-1.keragon.com/rest/auth/callback"
Add a new URI.
32. Click "Add URI"
Add the URI to the list and add another one.
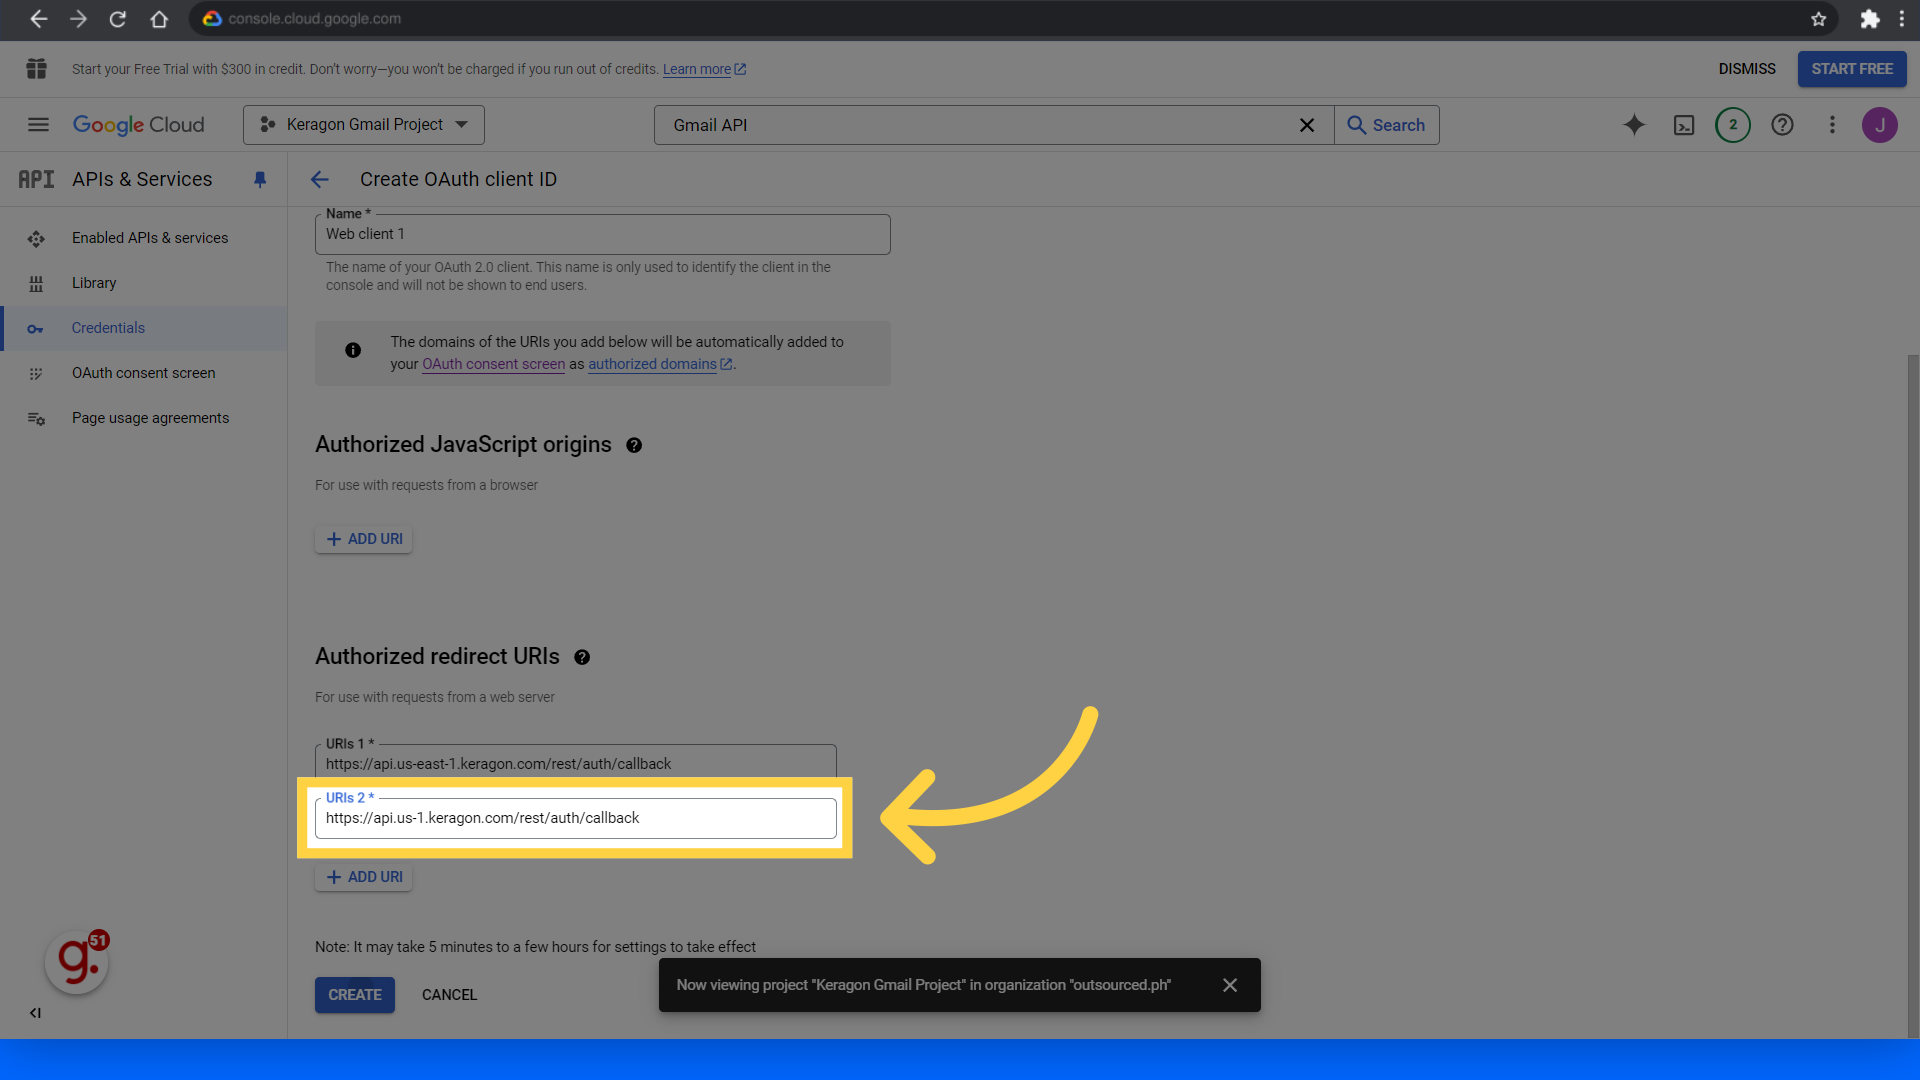
33. Fill "https://api.us-1.keragon.com/rest/auth/callback"
Enter the second URI here.
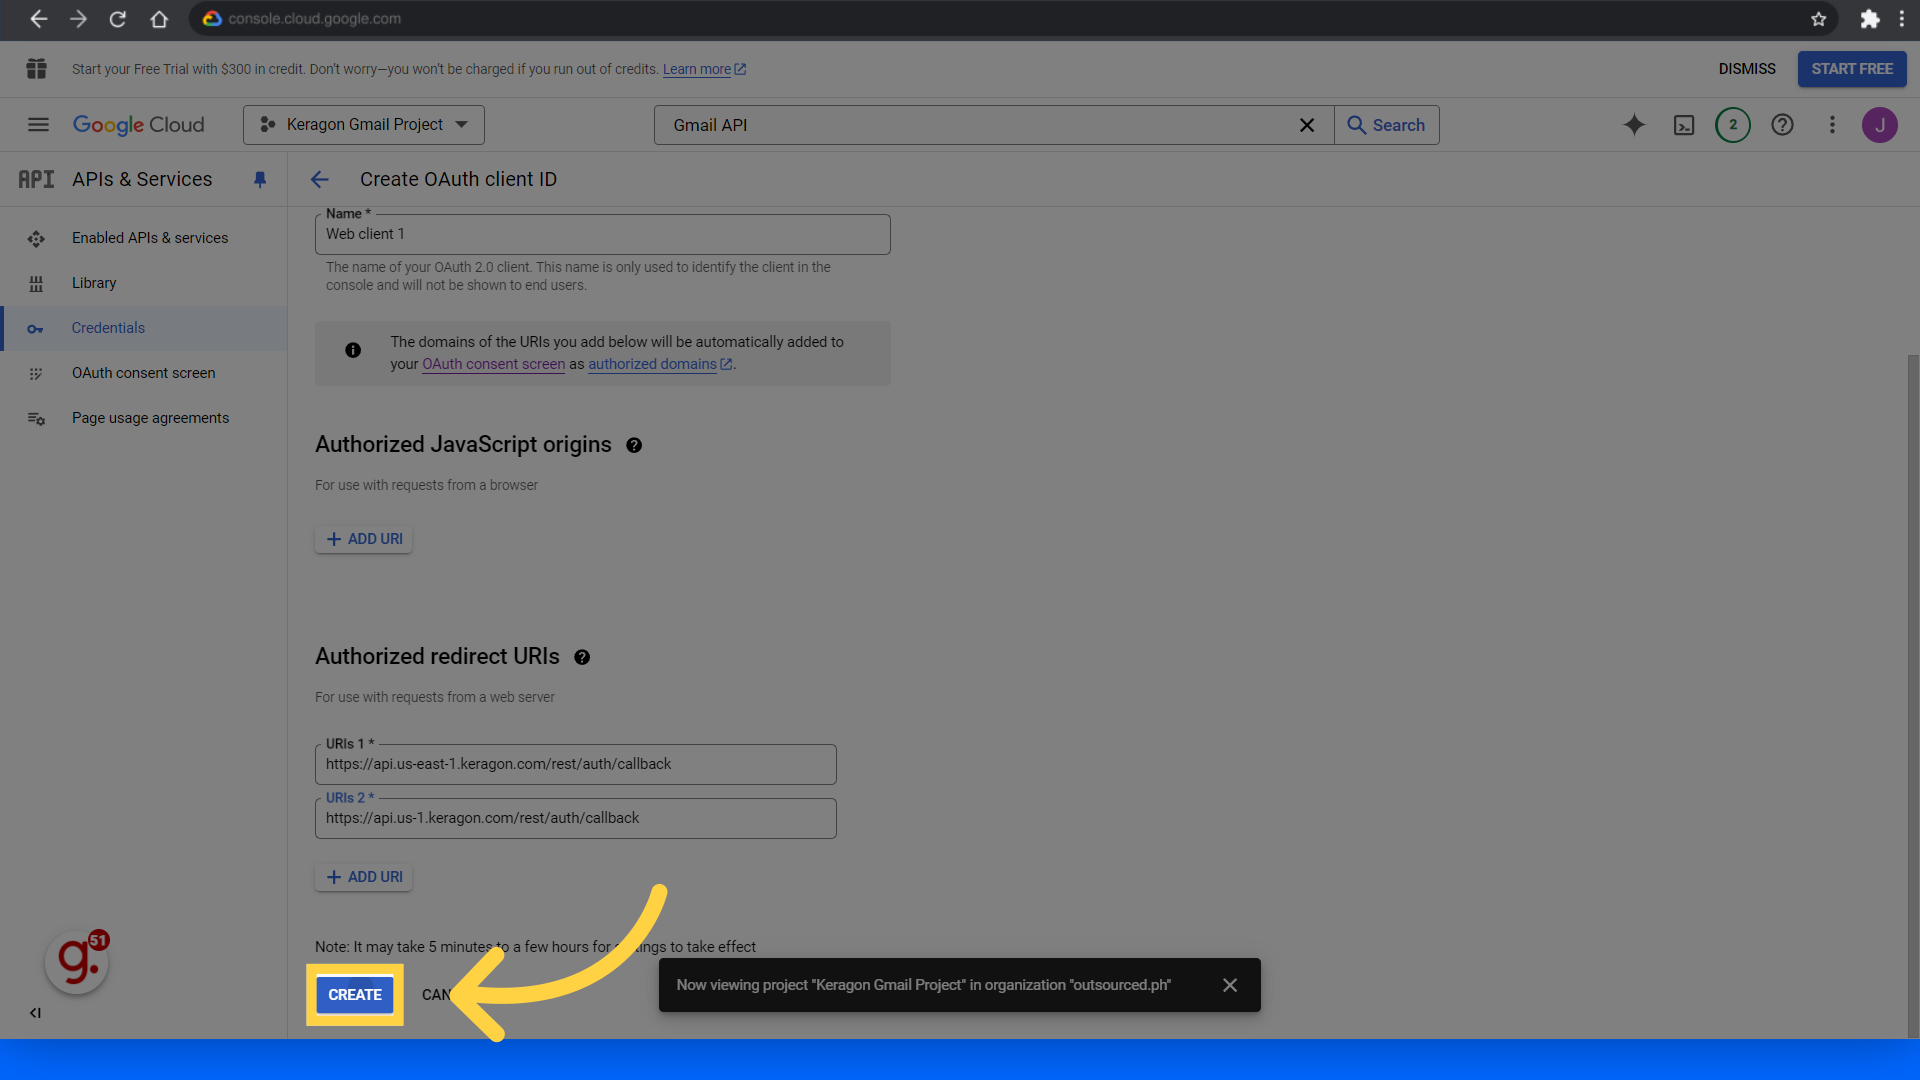
34. Click "Create"
Create the credentials.
35. Copy your Client ID and Client Secret
Copy the Client ID and secret and paste them into your Keragon Gmail authentication.
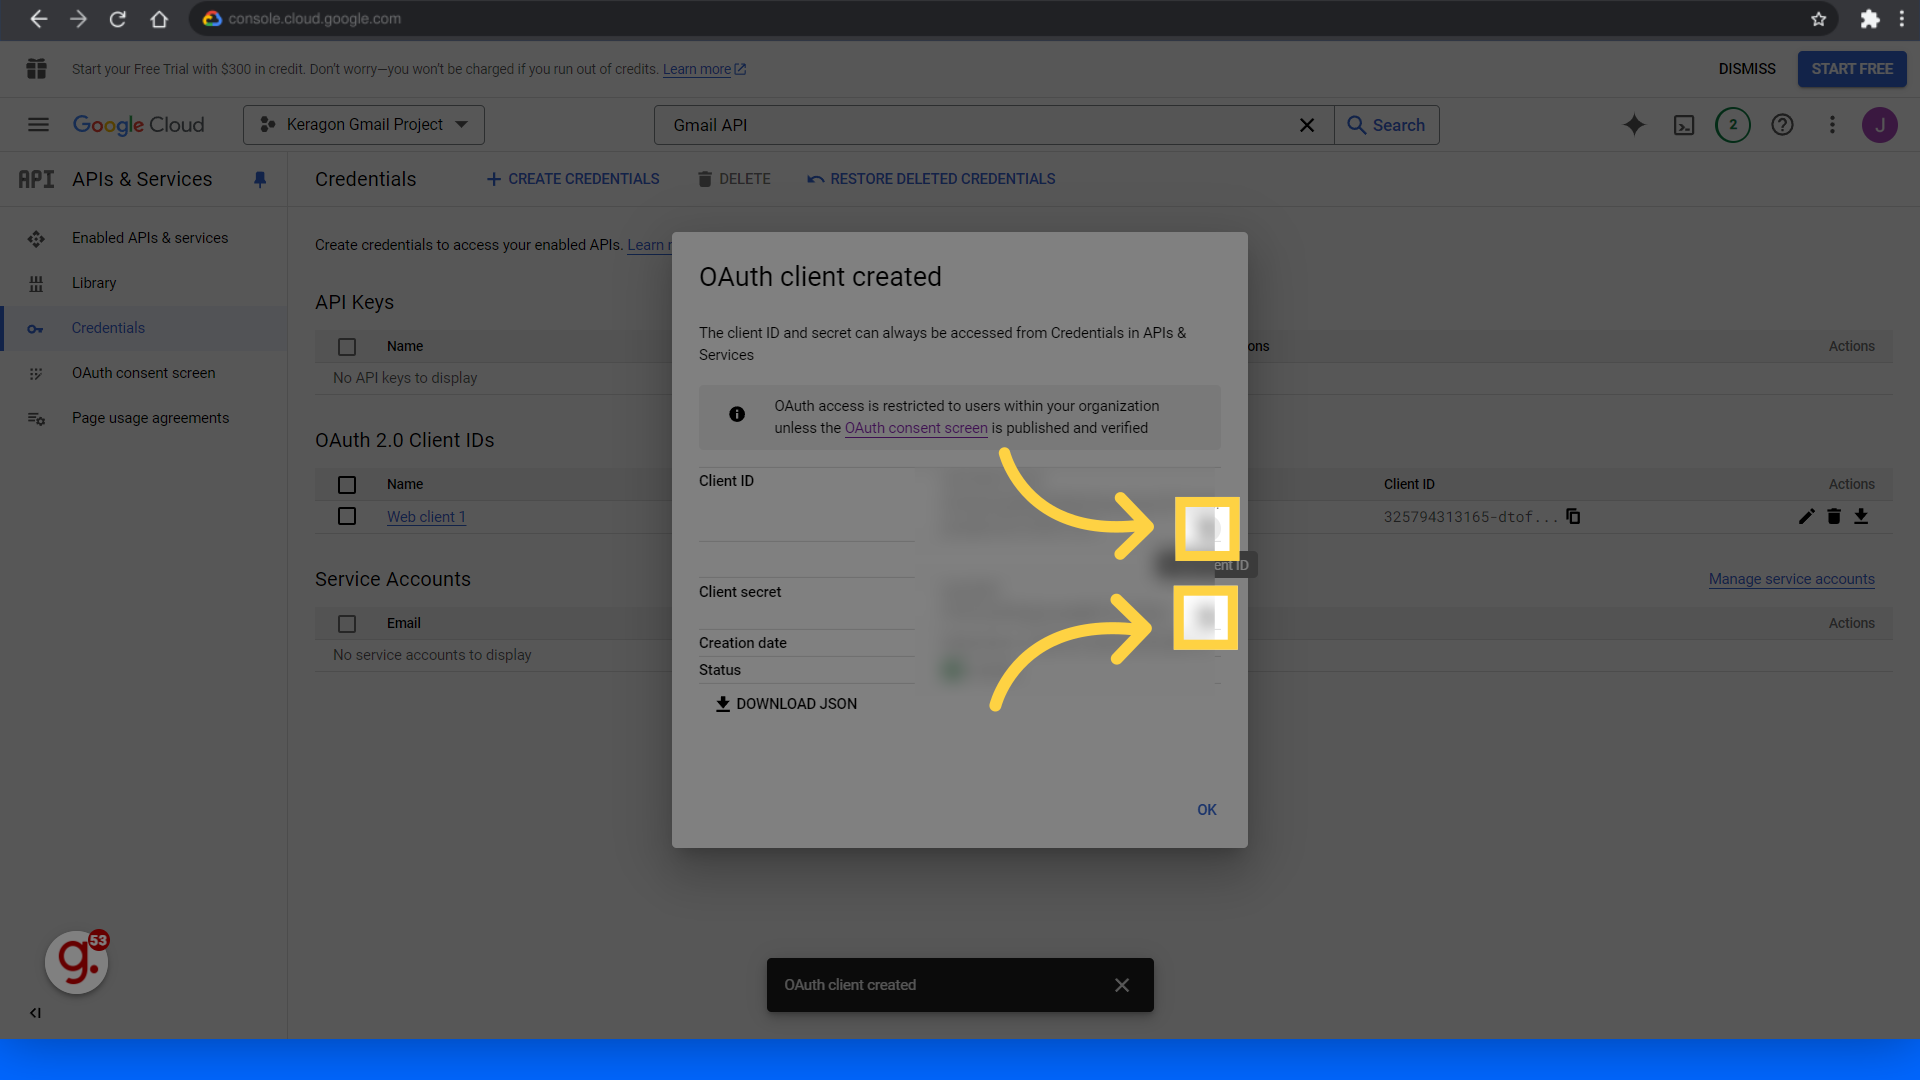
You are now set up to authenticate Gmail on Keragon dashboard and start building your HIPAA-compliant workflow.